 9
9
Antec P110 Luce Review
Value & Conclusion »Test System
| System Parts for Case Reviews | |
|---|---|
| Processor: | Intel Core i5-6600K |
| Motherboards: | ATX: MSI Z270 Tomahawk mATX: MSI H270M Mortar Arctic mini-ITX: MSI Z270I Gaming Pro Carbon AC Provided by: MSI |
| Graphics Card: | Long: NVIDIA GeForce GTX 280 OEM Short: HIS Radeon 5350 HD |
| Memory: | 16 GB ADATA XPG Dazzle DDR4 2800 MHz CL17-17-17 1.25V 16 GB ADATA XPG Z1 DDR4 3000 MHz CL18-18-18 1.35V 16 GB ADATA XPG Z1 DDR4 2400 MHz CL16-16-16 1.20V Provided by: ADATA |
| HDD: | Western Digital 320 GB 7200 RPM |
| SSD: | ADATA Premier Pro SP920 MLC 256 GB ADATA Ultimate SU800 3D TLC 256 GB ADATA Premier SP550 TLC 240 GB Provided by: ADATA |
| Power Supply: | Fractal Design Integra 630W Provided by: Fractal Design |
| Cooling: | Air Cooling Mini-ITX: Thermalright AXP-100R Air Cooling mATX: Thermalright Macho 90 Air Cooling ATX: Cooler Master Hyper 212 LED |
Assembly
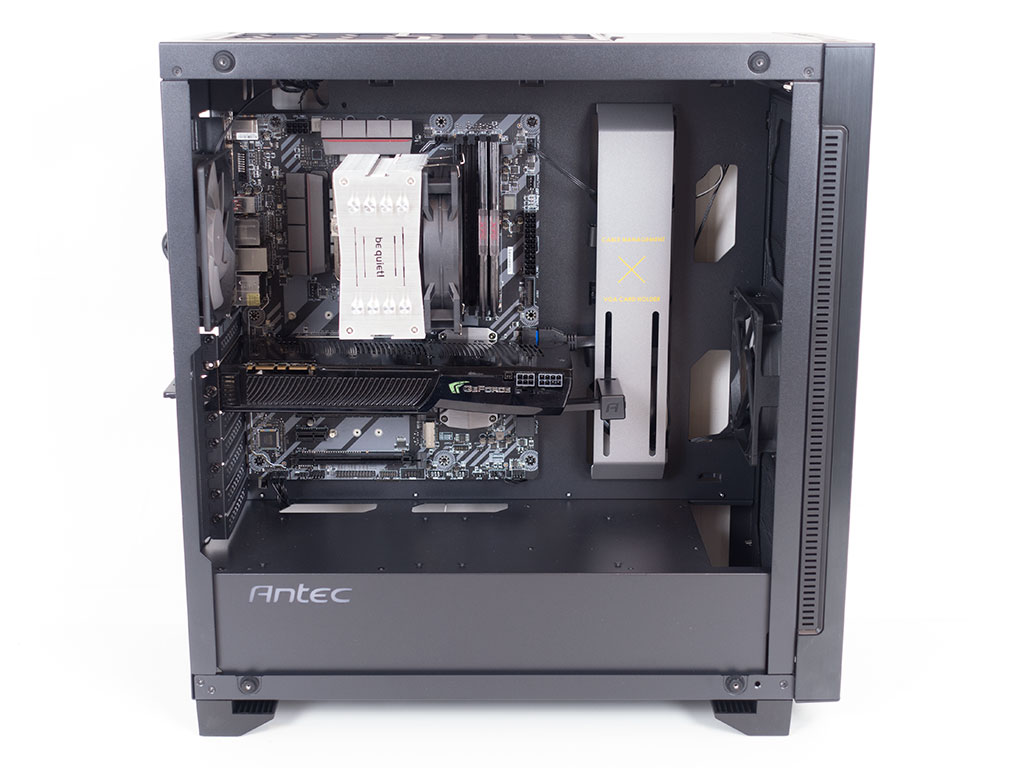
Installing the motherboard is done by traditional means, with spacers and screws. As you can see, there is plenty of space above the board for liquid-cooling elements. As the installed GPU is not extremely long, I had to move the support bit towards it a little bit, and it flexes a little bit due to the pressure, but having the extra support is certainly not a bad thing.
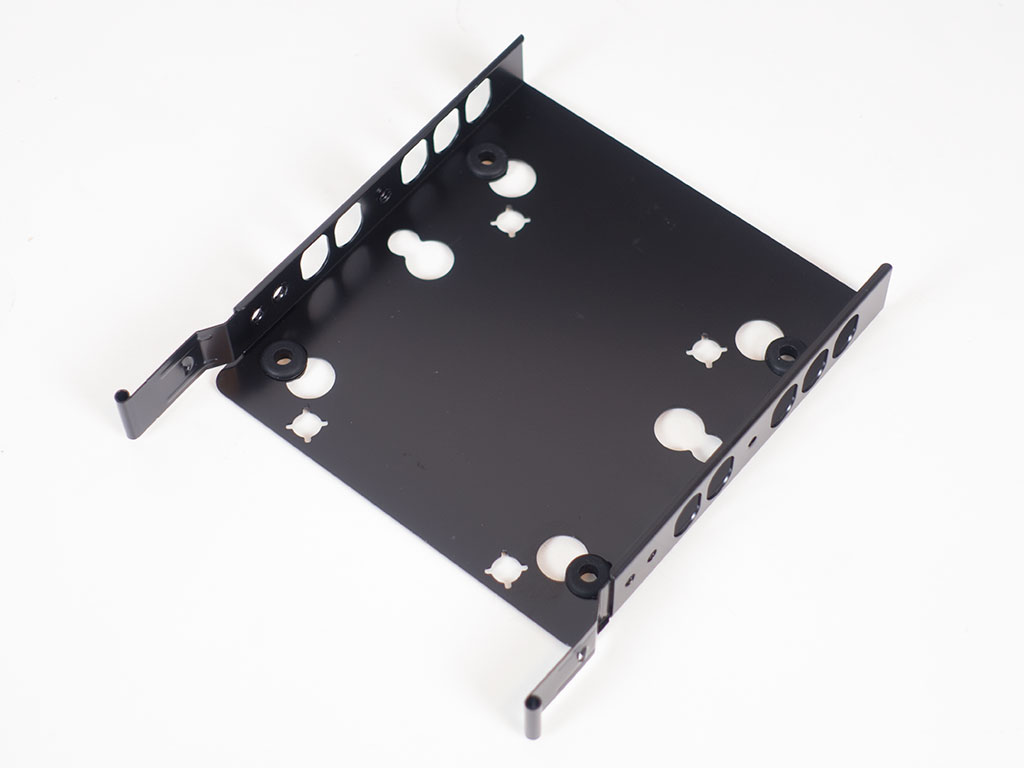
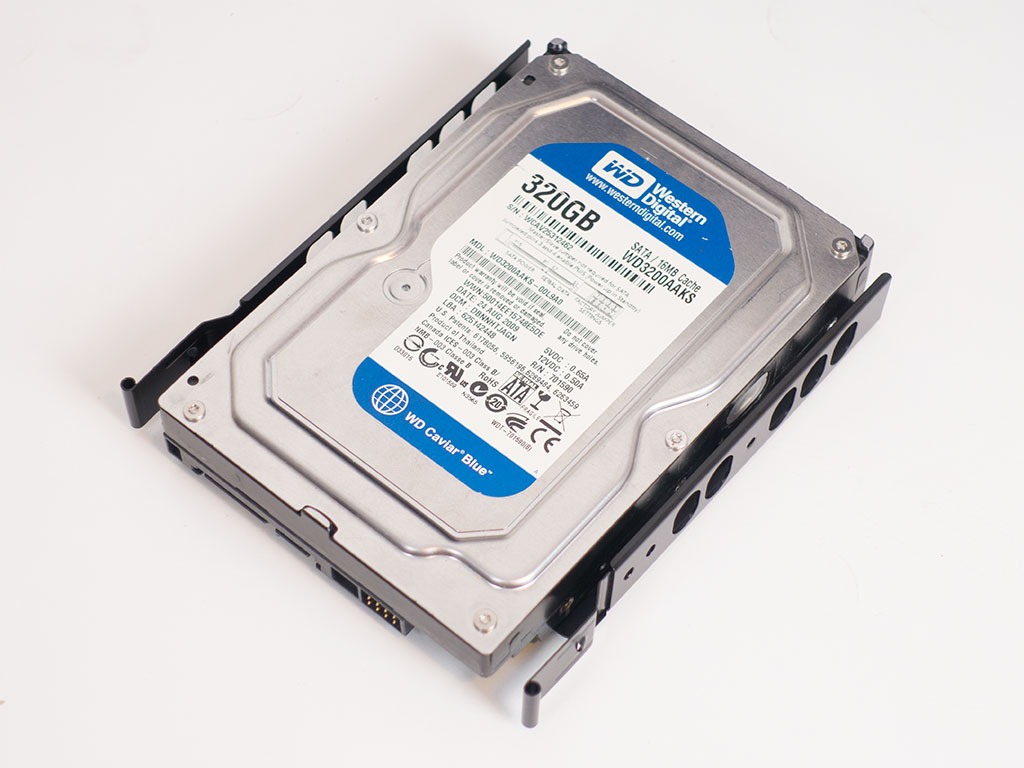
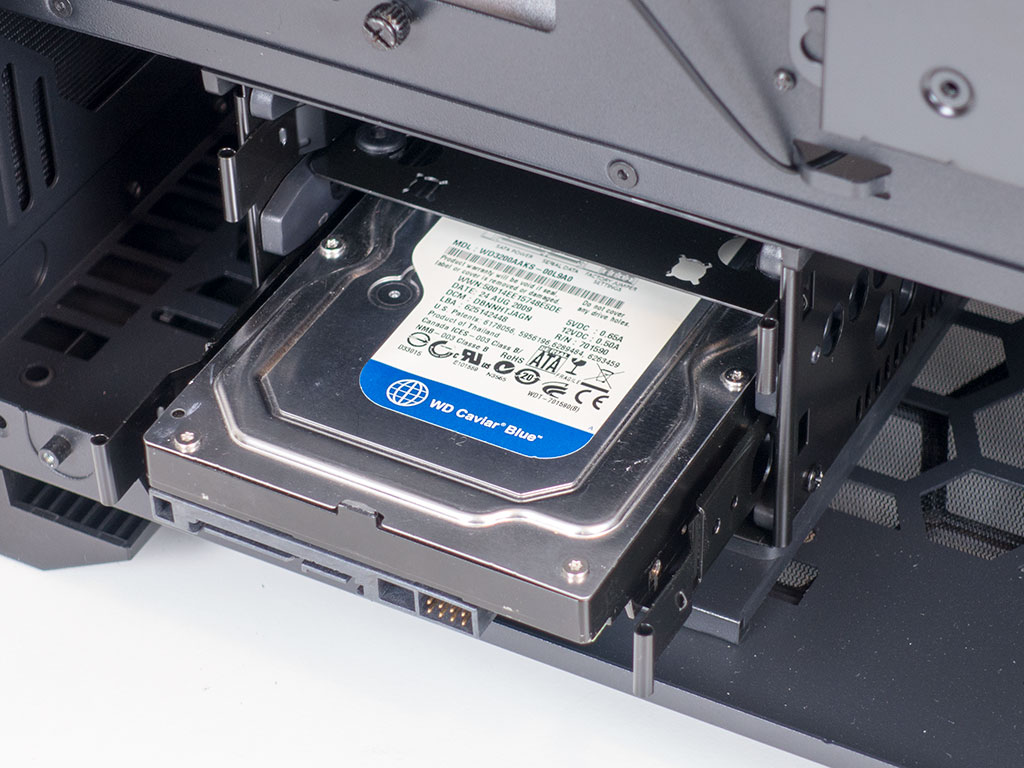
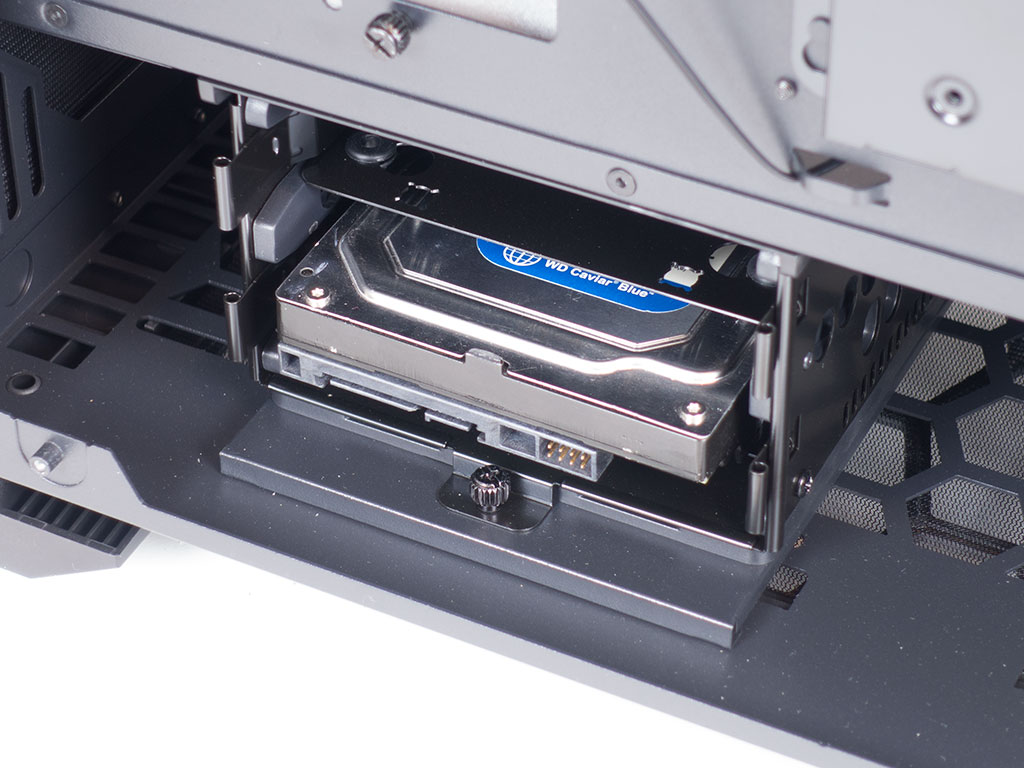
Installing hard drives to the classic trays is done by simply placing a storage device into one and screwing it into place. Once filled, slide it back into one of the two provided bays.

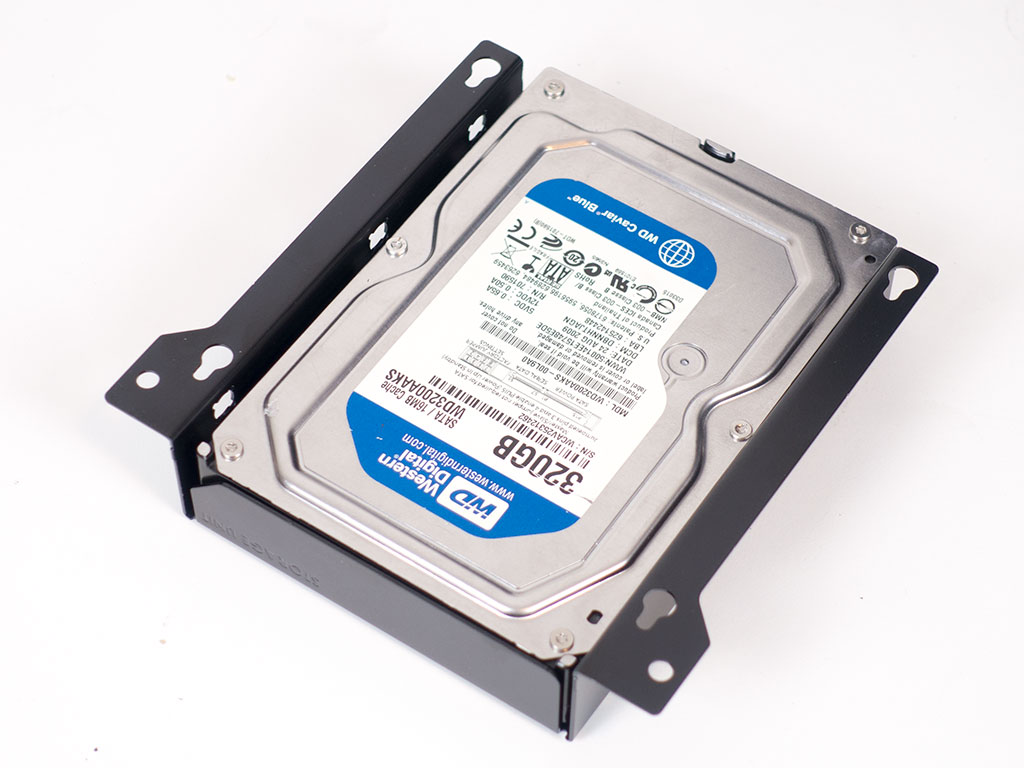
With the larger containers for hard drives, you will have to apply the rubber rings yourself to then screw the drive down. Once placed, put the whole unit back into the chassis until covered to make sure it won't disturb the case's clean interior look.
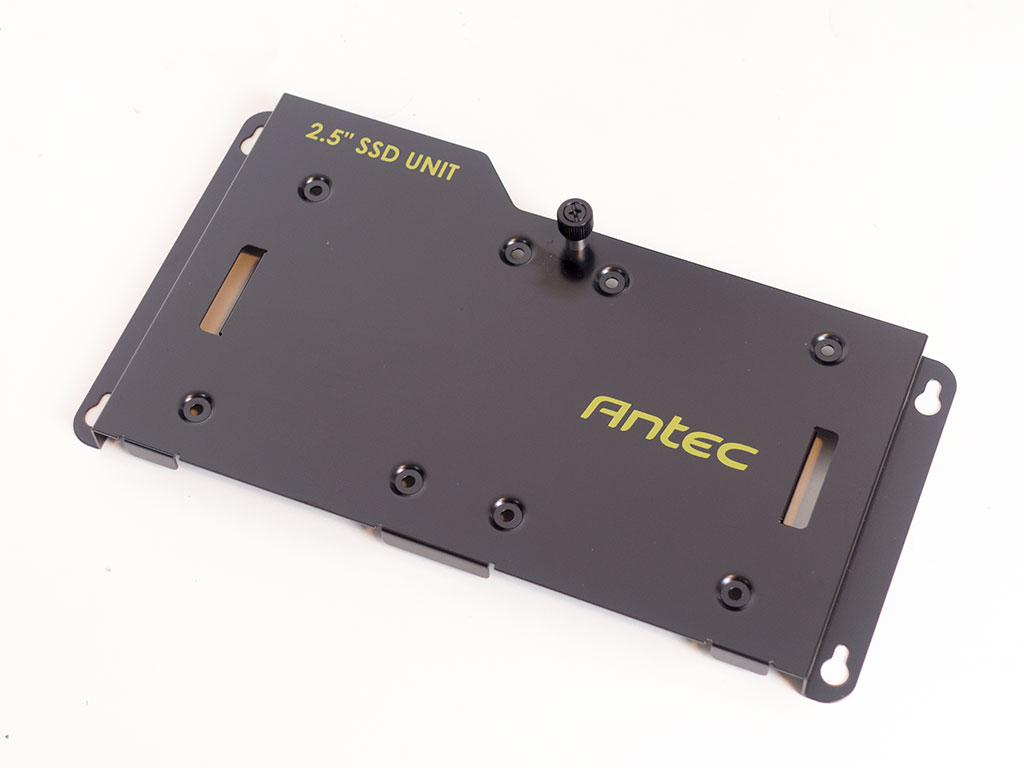
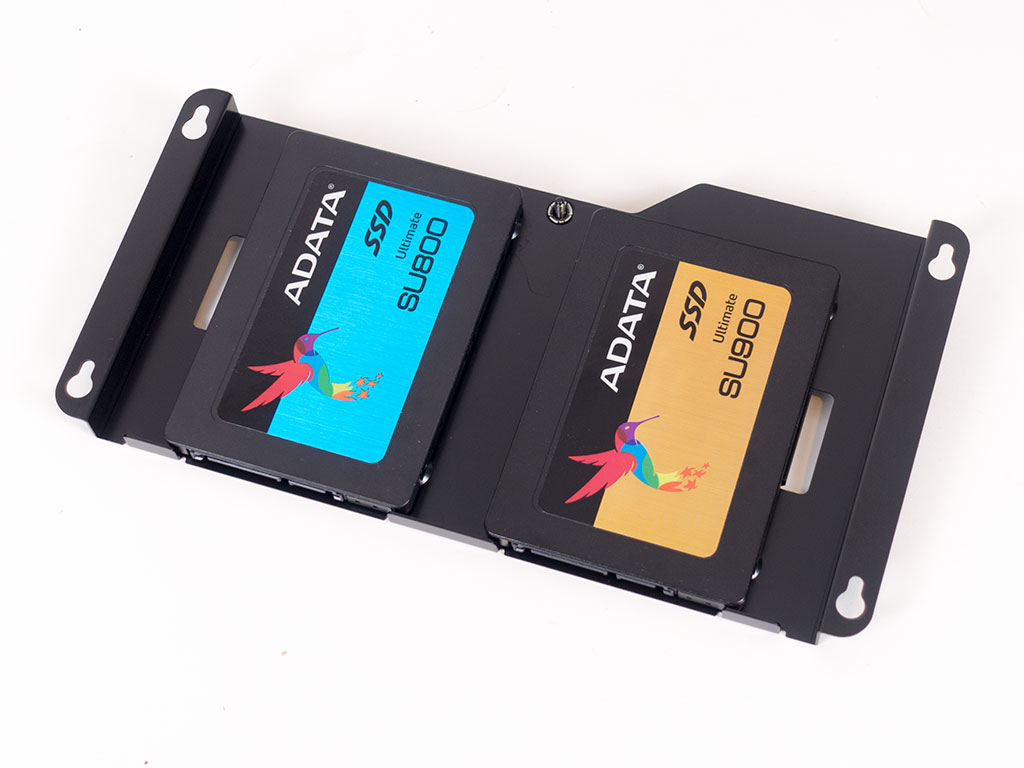
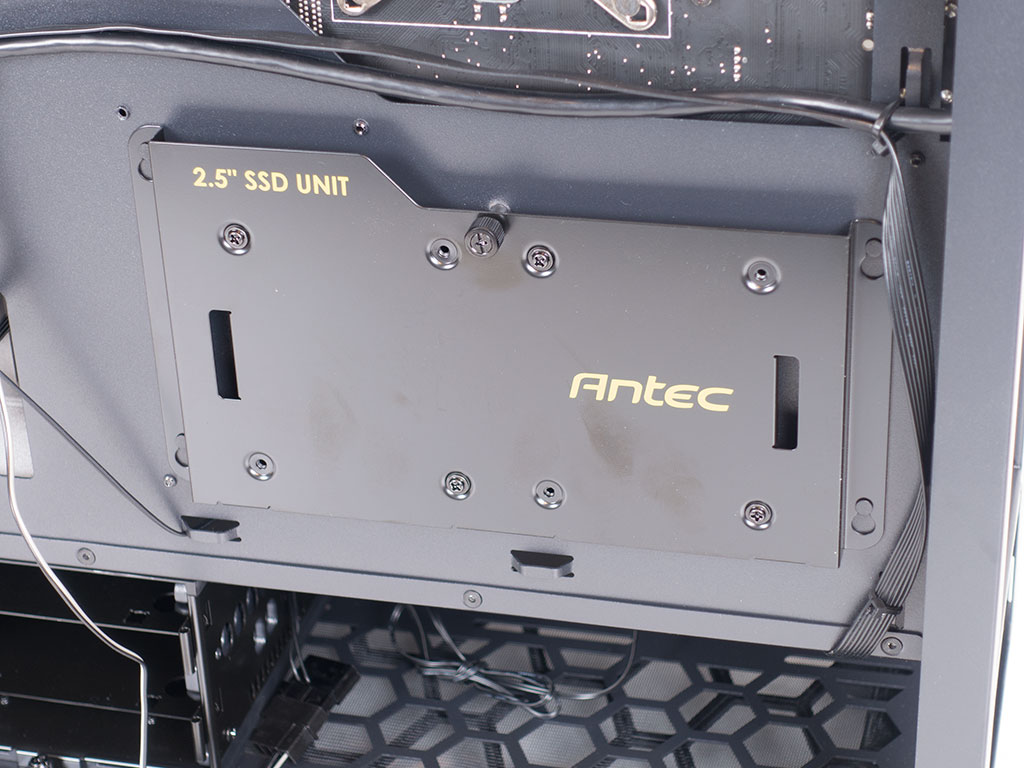
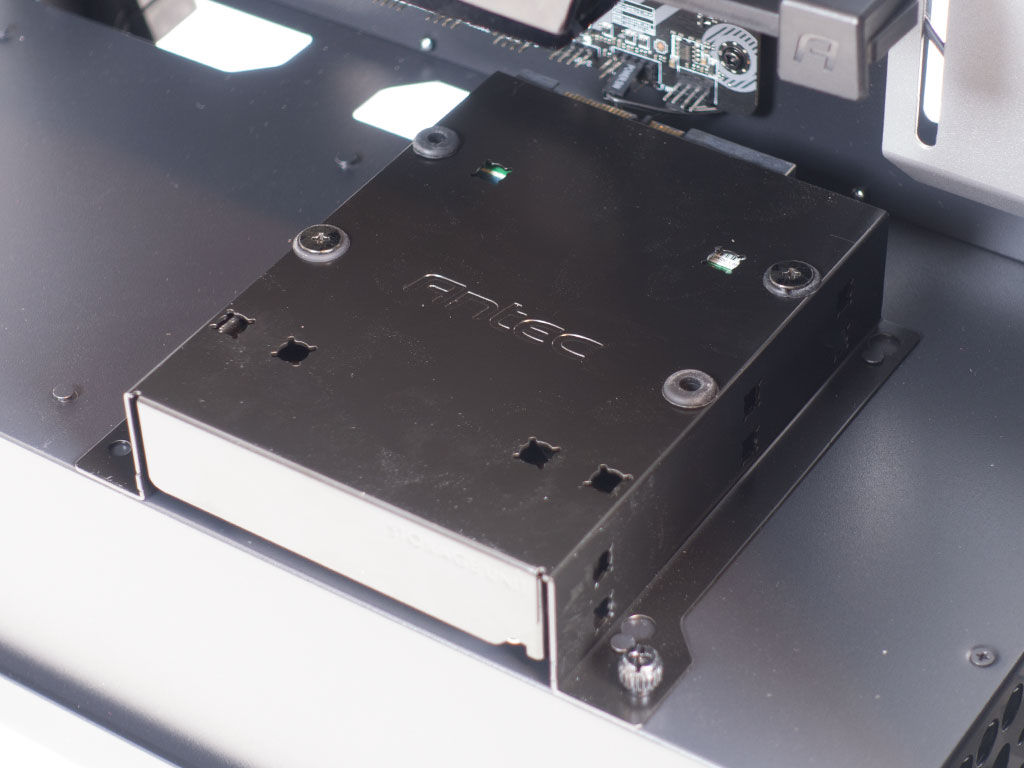
Adding an SSD requires you to take off the metal plate on the backside of the motherboard tray. Simply screw the SSD to the plate and put the whole contraption back on to the motherboard tray; with a spring-loaded thumbscrew, it will sit tight.
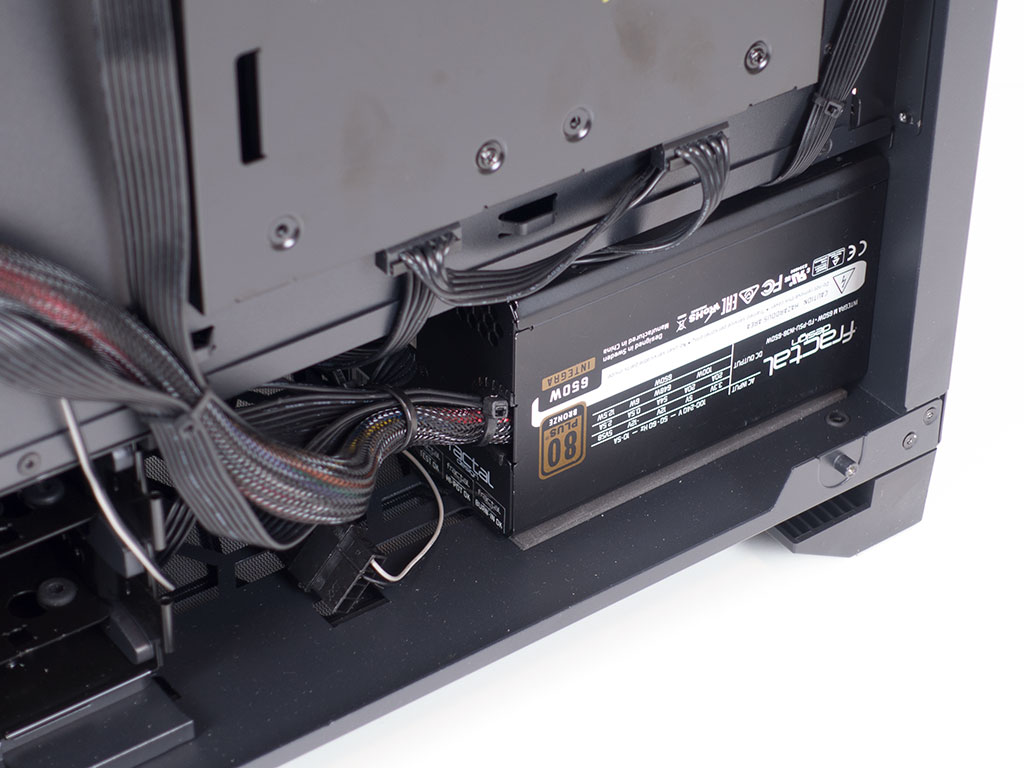
Thankfully, there is loads of space to place a fairly long PSU underneath the metal shroud. Antec provides the right screws to secure the power supply to the chassis from outside.

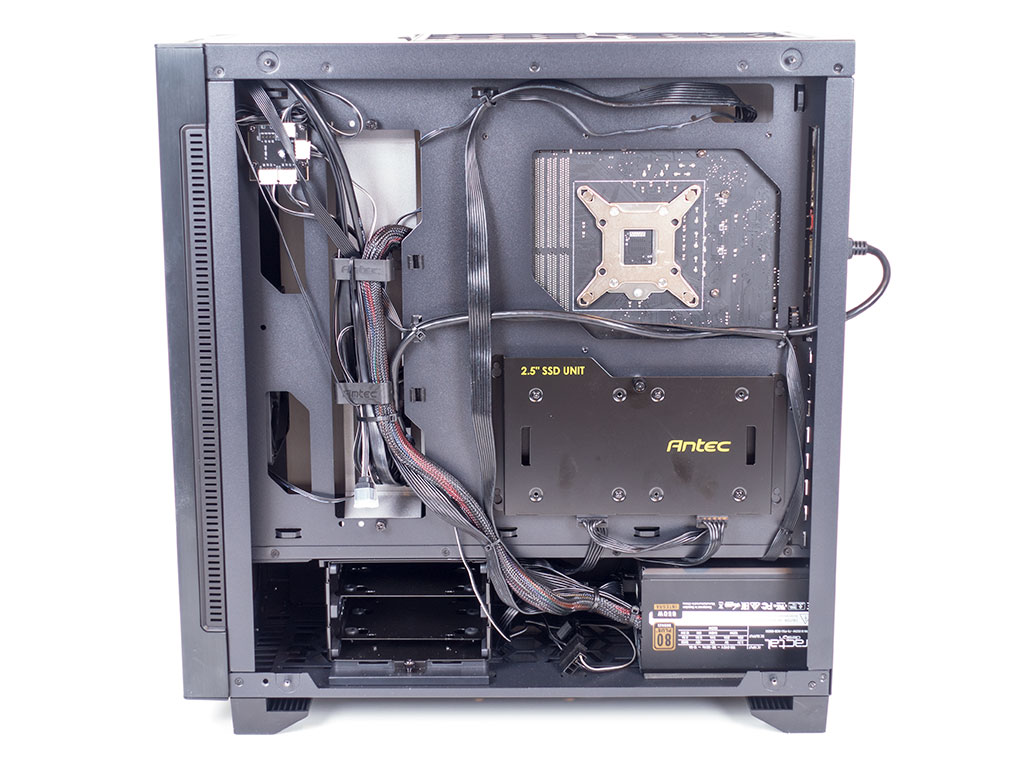
With everything in place, the interior of the Antec P110 Luce is extremely clean. Most of the cable mess is contained within the silver-covered bit due to the plastic clips. As you can see, the HDMI cable is routed out the back and connected to the rear of the chassis.
Finished Looks
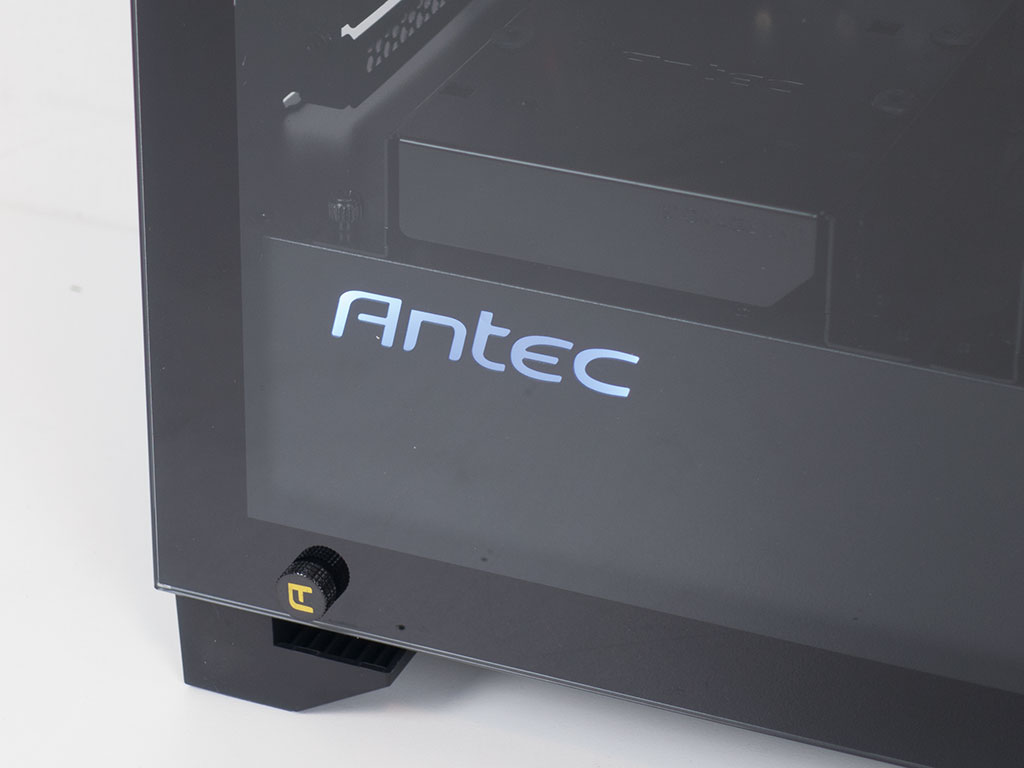
Once turned on, you will immediately notice the lit up Antec logo in the front of the chassis. It comes equipped with an RGB backlight to match whatever color you set the power button and optional RGB elements within the chassis to.
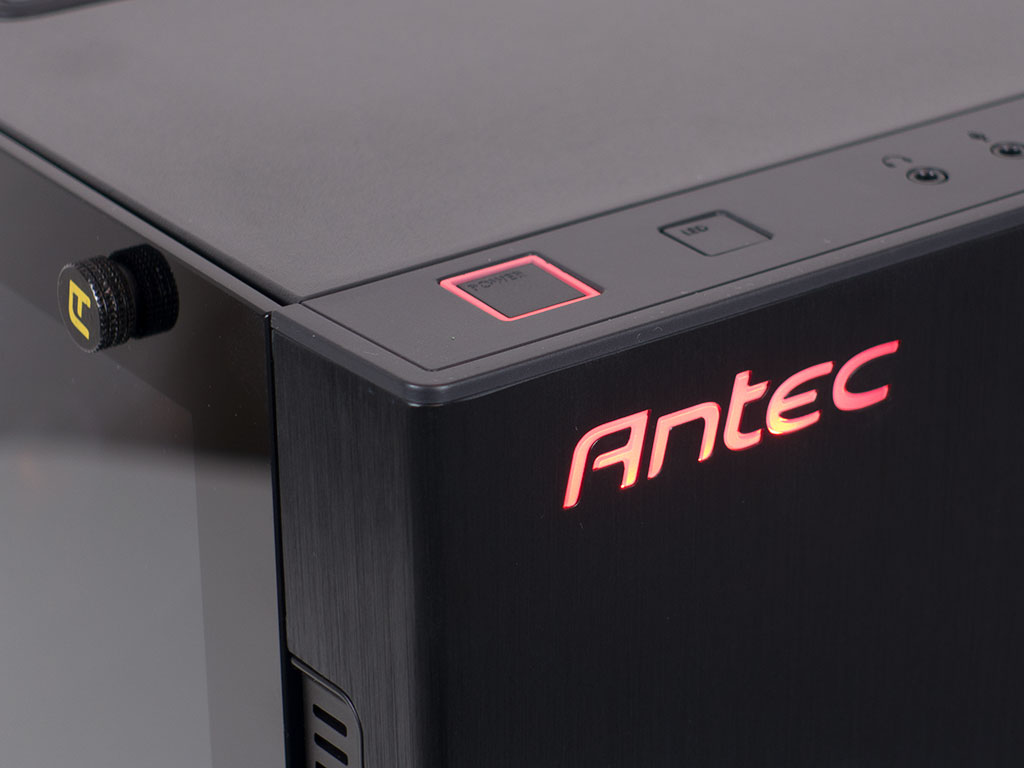
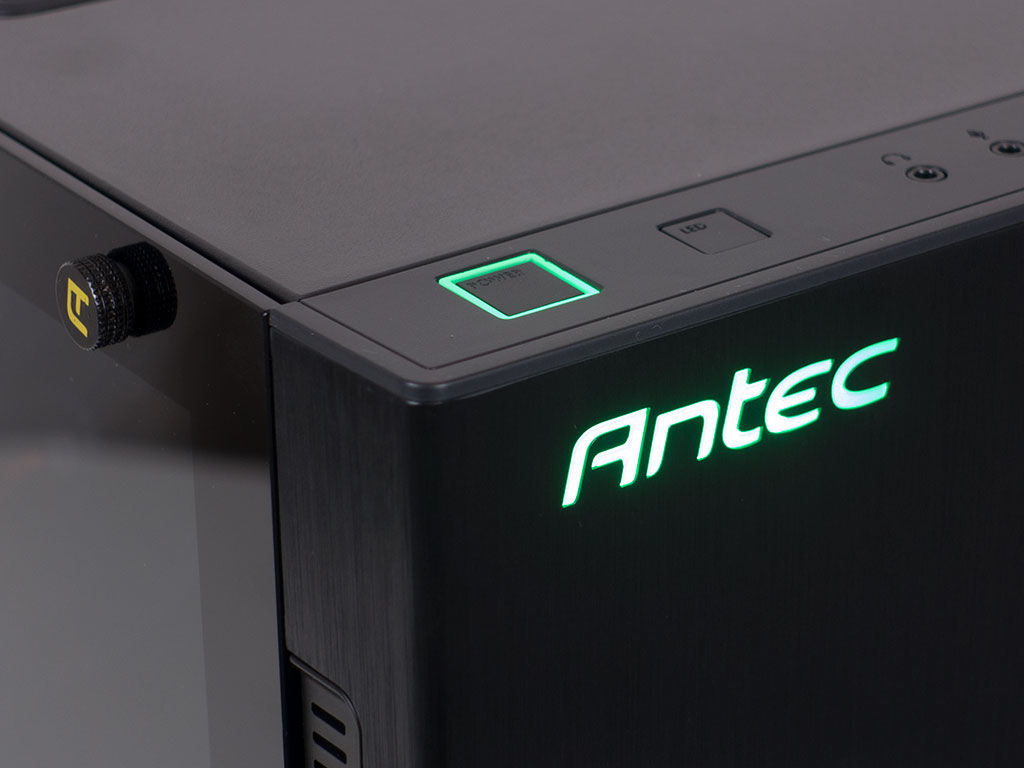
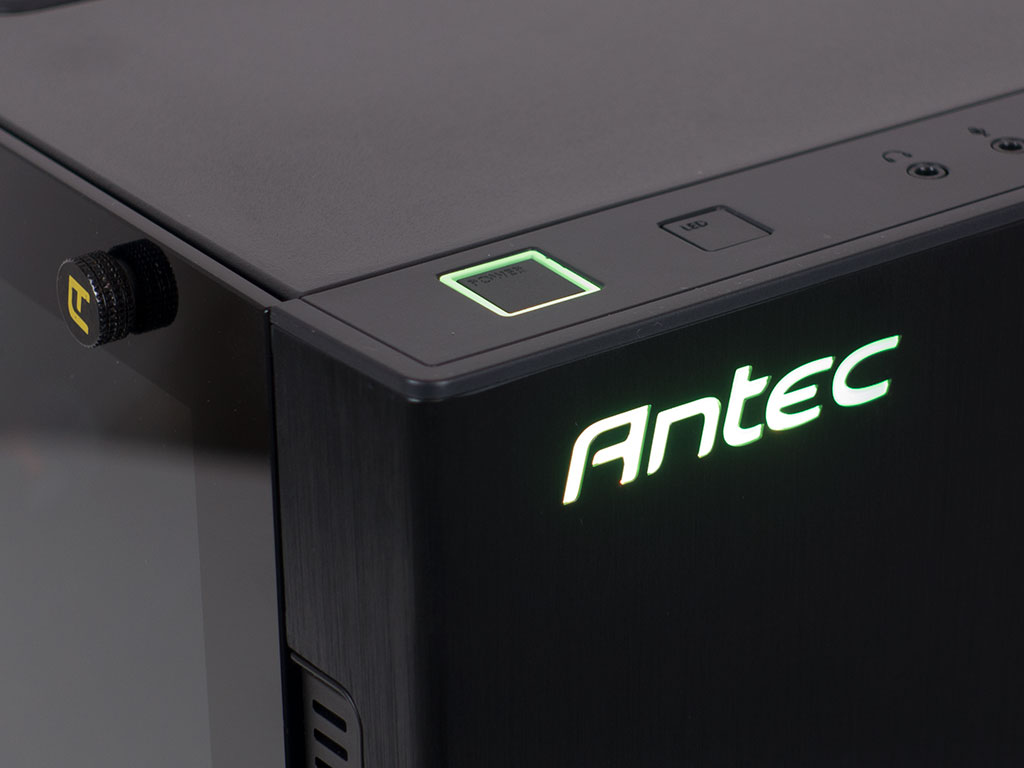
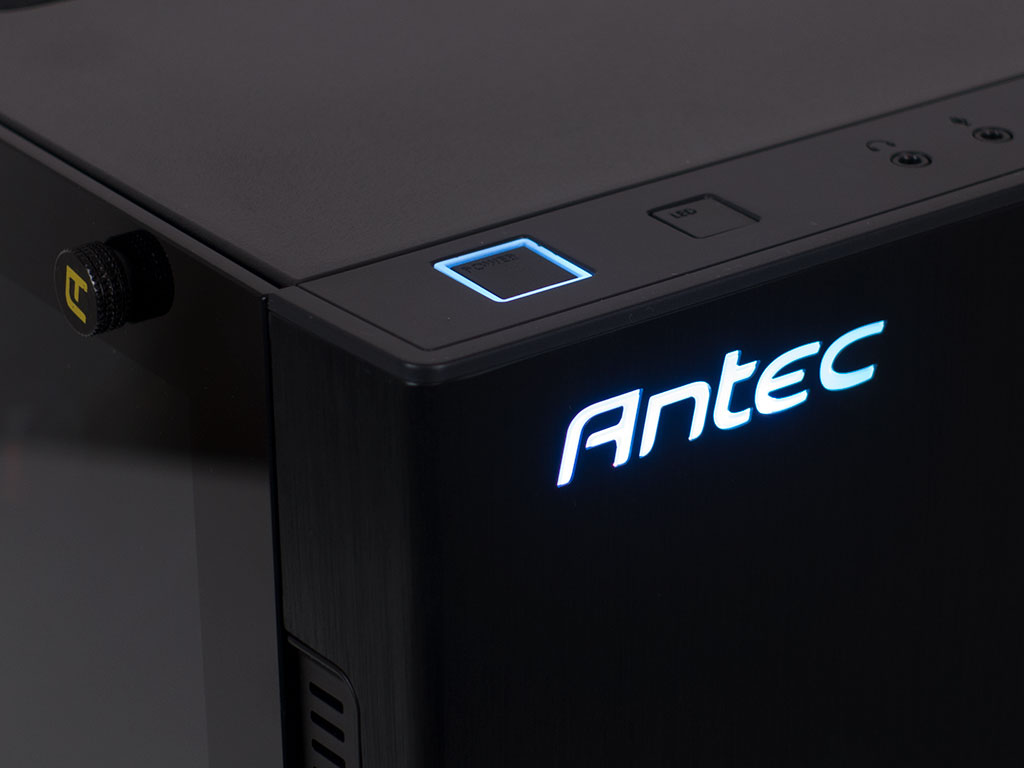

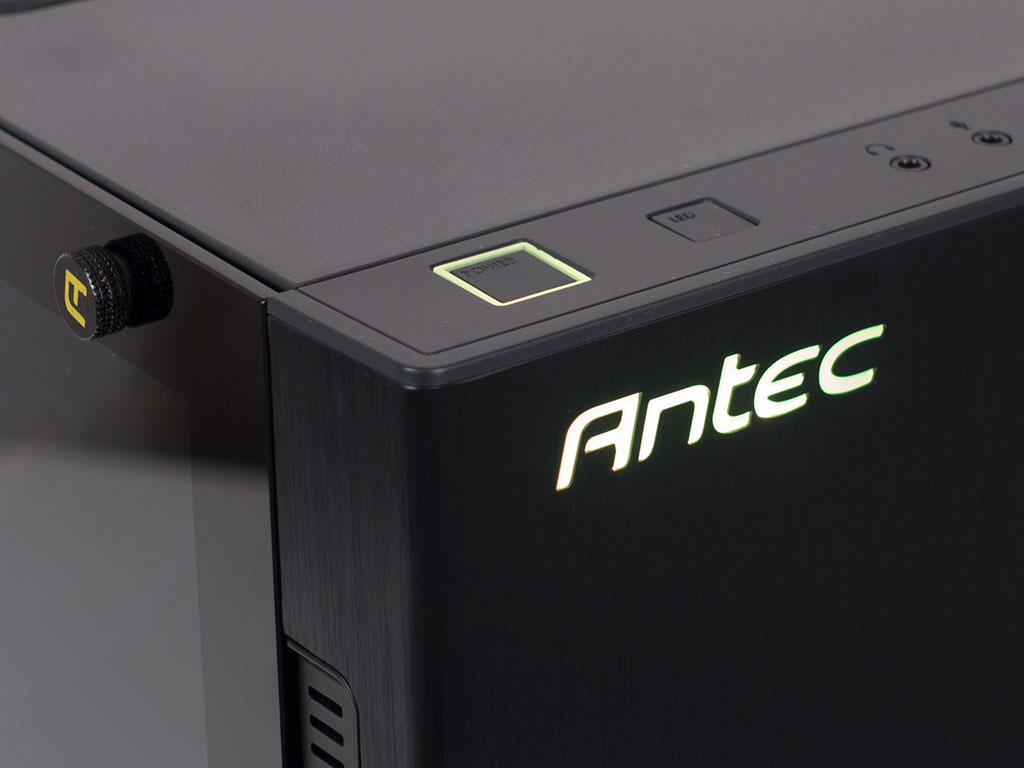

There are seven different standard colors to cycle through. As you are able to expand the lighting elements with standard 4-pin LED strips, making the whole chassis light up in the same color is also possible.
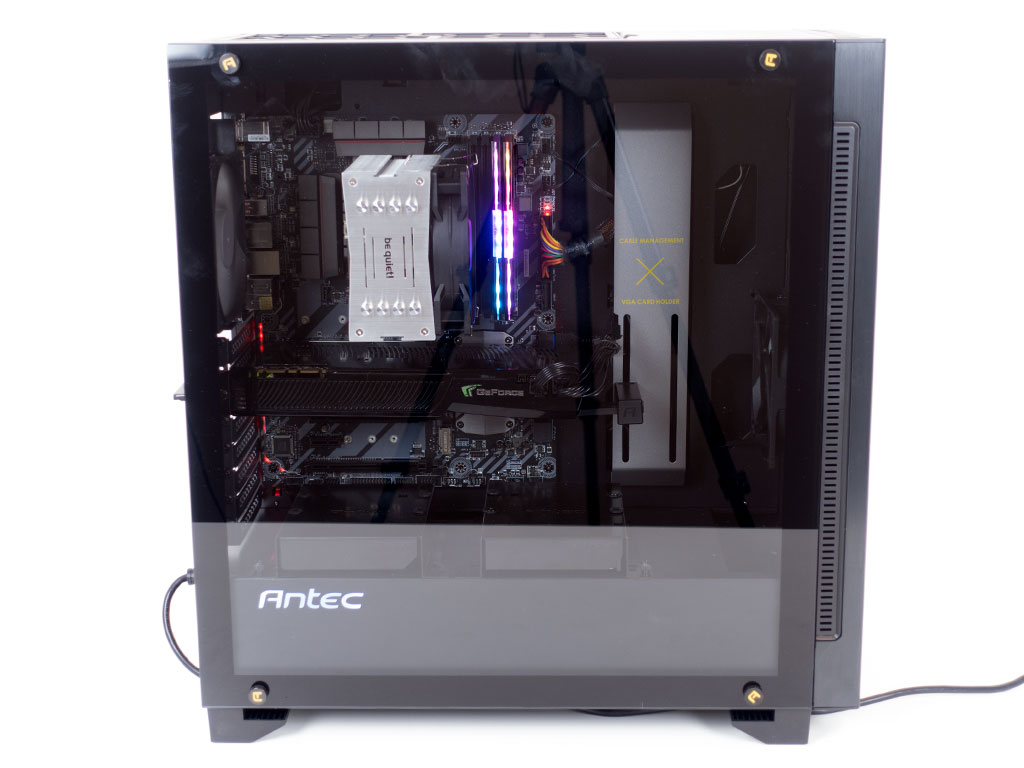
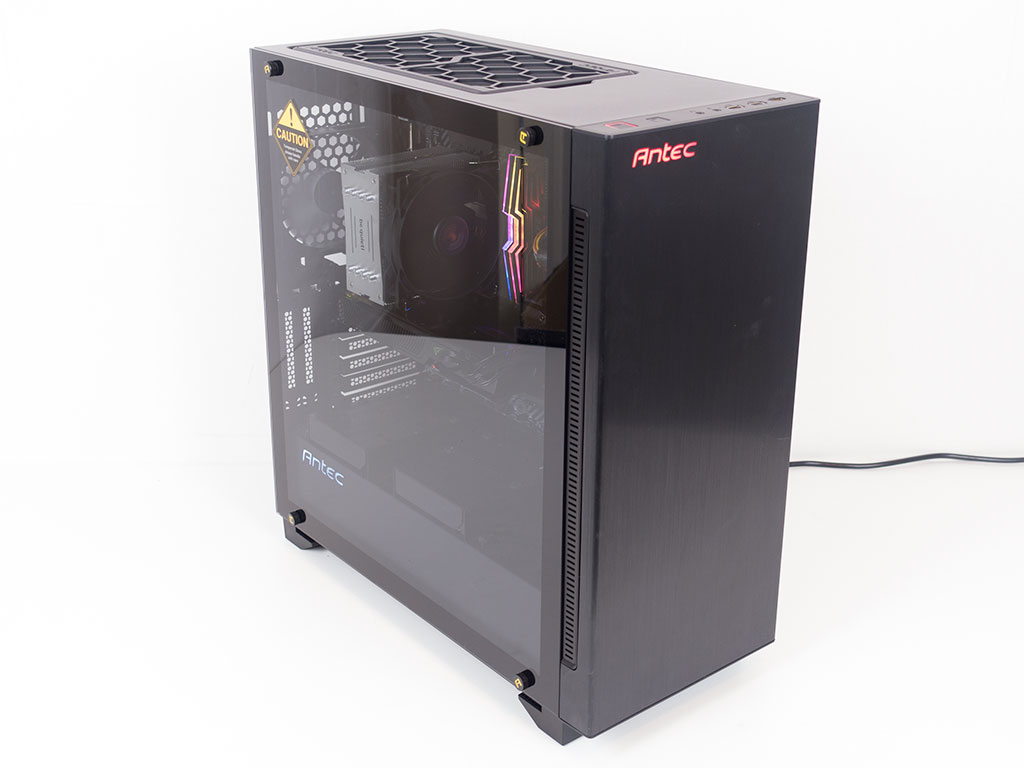
Looking at the side, you can clearly see all the hardware within the P110 Luce. On top of that, the embedded Antec logo in the shroud also lights up, but only in white. It would have been really nice had Antec made it RGB as well so that you could have it match, and it is unfortunate that you are left with only white as a choice here.
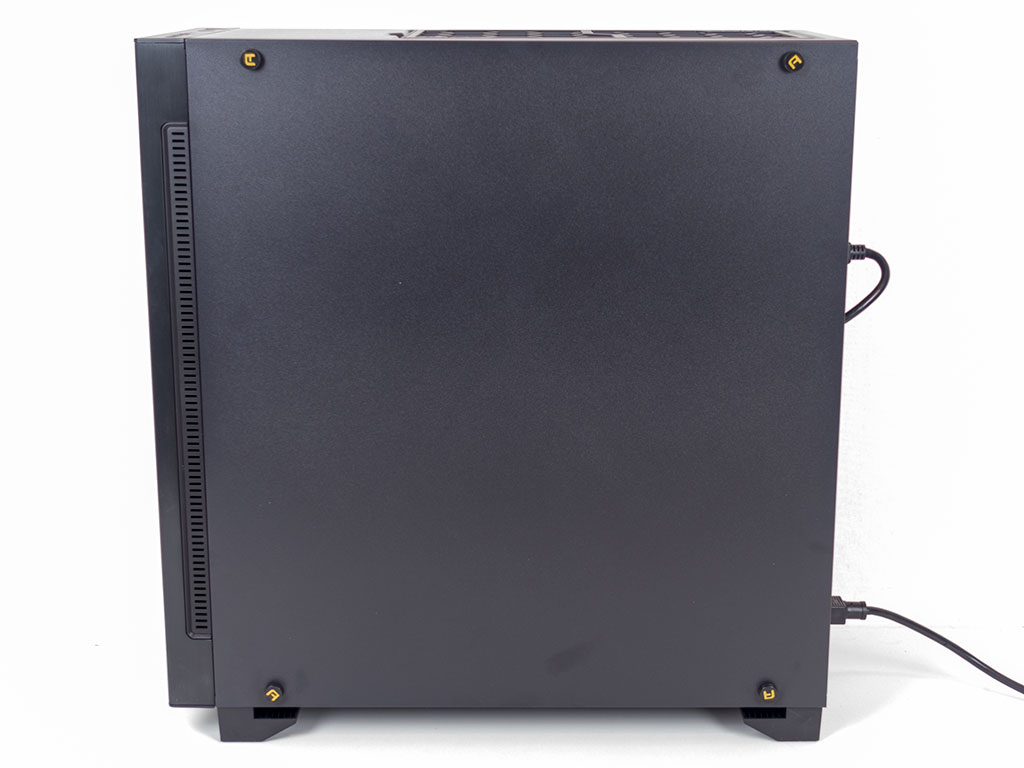
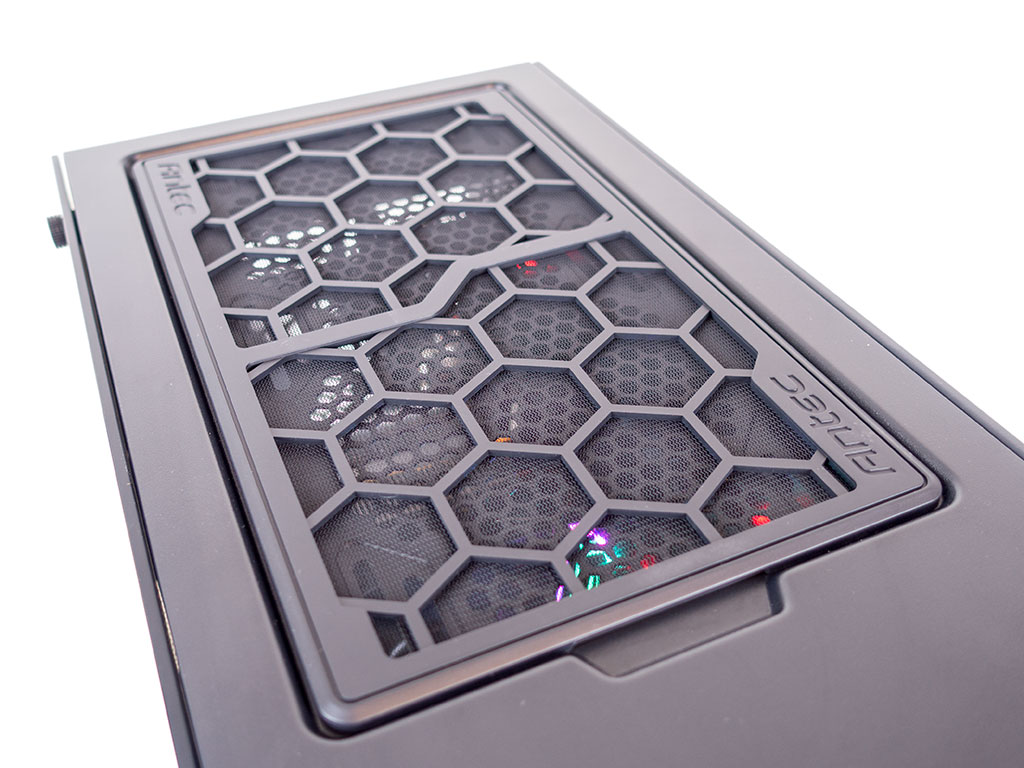

Looking through the top, you can also see the innards of the chassis glowing through the dust filter. In the rear, everything is pretty ordinary with the exception of the HDMI cable, which comes out to the left of the motherboard and connects straight to the rear of the board or GPU.
Mar 30th, 2025 12:58 EDT
change timezone
Latest GPU Drivers
New Forum Posts
- Undervolt i9-14900HX Laptop Newbie (0)
- 3GB/s PCIe features test w/3D Mark (2)
- GPU Crashing System From Hibernation (15)
- Is ARC SLI friendly? (9)
- Intel Arc A770 LE Temperature (7)
- The TPU UK Clubhouse (26011)
- Can you guess Which game it is? (25)
- random system shutdown with fans running at full speed (10)
- Bought Mining rx 580 with flashed bios but yellow triangle shows at device manager (4)
- Looking for Palit 5090 Gamerock OC BIOS (17)
Popular Reviews
- Sapphire Radeon RX 9070 XT Pulse Review
- ASRock Phantom Gaming B850 Riptide Wi-Fi Review - Amazing Price/Performance
- Samsung 9100 Pro 2 TB Review - The Best Gen 5 SSD
- Palit GeForce RTX 5070 GamingPro OC Review
- Assassin's Creed Shadows Performance Benchmark Review - 30 GPUs Compared
- Sapphire Radeon RX 9070 XT Nitro+ Review - Beating NVIDIA
- ASRock Radeon RX 9070 XT Taichi OC Review - Excellent Cooling
- Enermax REVOLUTION D.F. 12 850 W Review
- AMD Ryzen 7 9800X3D Review - The Best Gaming Processor
- AMD Ryzen 9 9950X3D Review - Great for Gaming and Productivity
Controversial News Posts
- MSI Doesn't Plan Radeon RX 9000 Series GPUs, Skips AMD RDNA 4 Generation Entirely (142)
- Microsoft Introduces Copilot for Gaming (124)
- AMD Radeon RX 9070 XT Reportedly Outperforms RTX 5080 Through Undervolting (119)
- NVIDIA Reportedly Prepares GeForce RTX 5060 and RTX 5060 Ti Unveil Tomorrow (115)
- Over 200,000 Sold Radeon RX 9070 and RX 9070 XT GPUs? AMD Says No Number was Given (100)
- NVIDIA GeForce RTX 5050, RTX 5060, and RTX 5060 Ti Specifications Leak (96)
- Retailers Anticipate Increased Radeon RX 9070 Series Prices, After Initial Shipments of "MSRP" Models (90)
- China Develops Domestic EUV Tool, ASML Monopoly in Trouble (88)