 75
75
Aqua Computer LEAKSHIELD Review - No More Leaks
Installation »Closer Examination
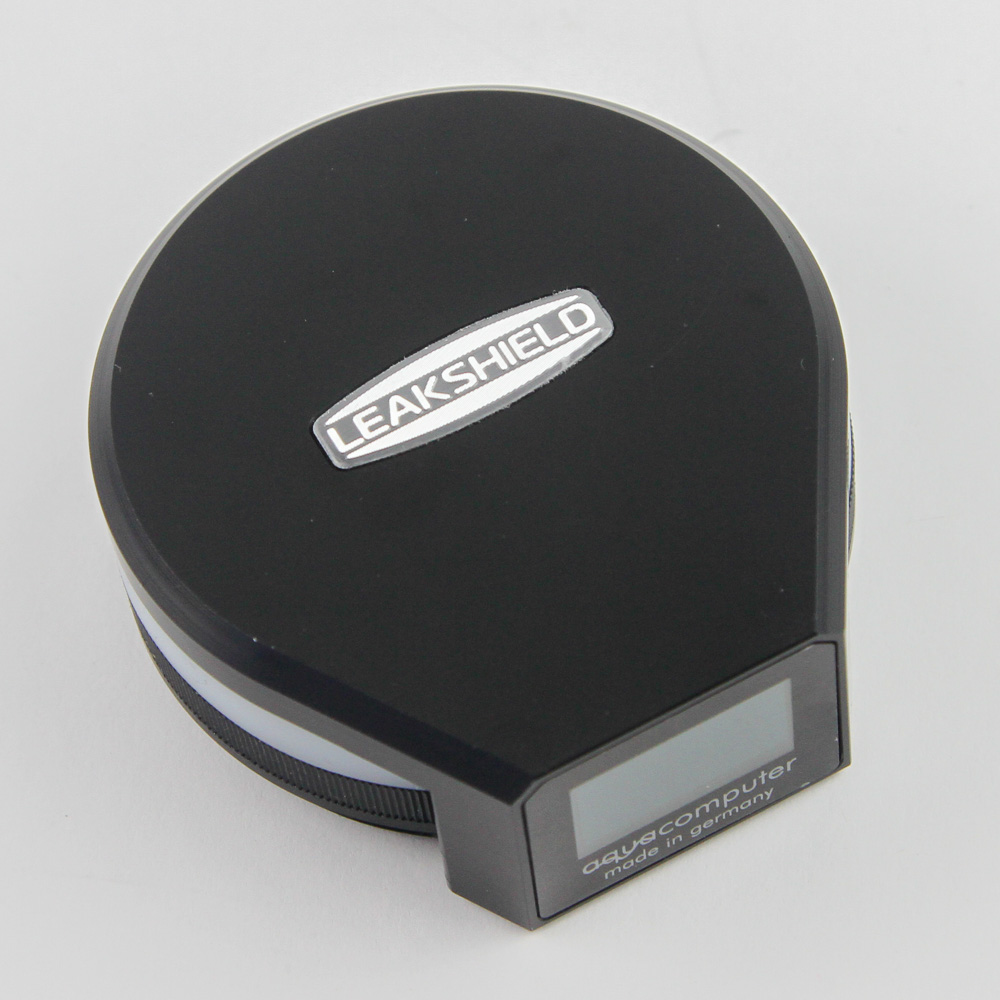
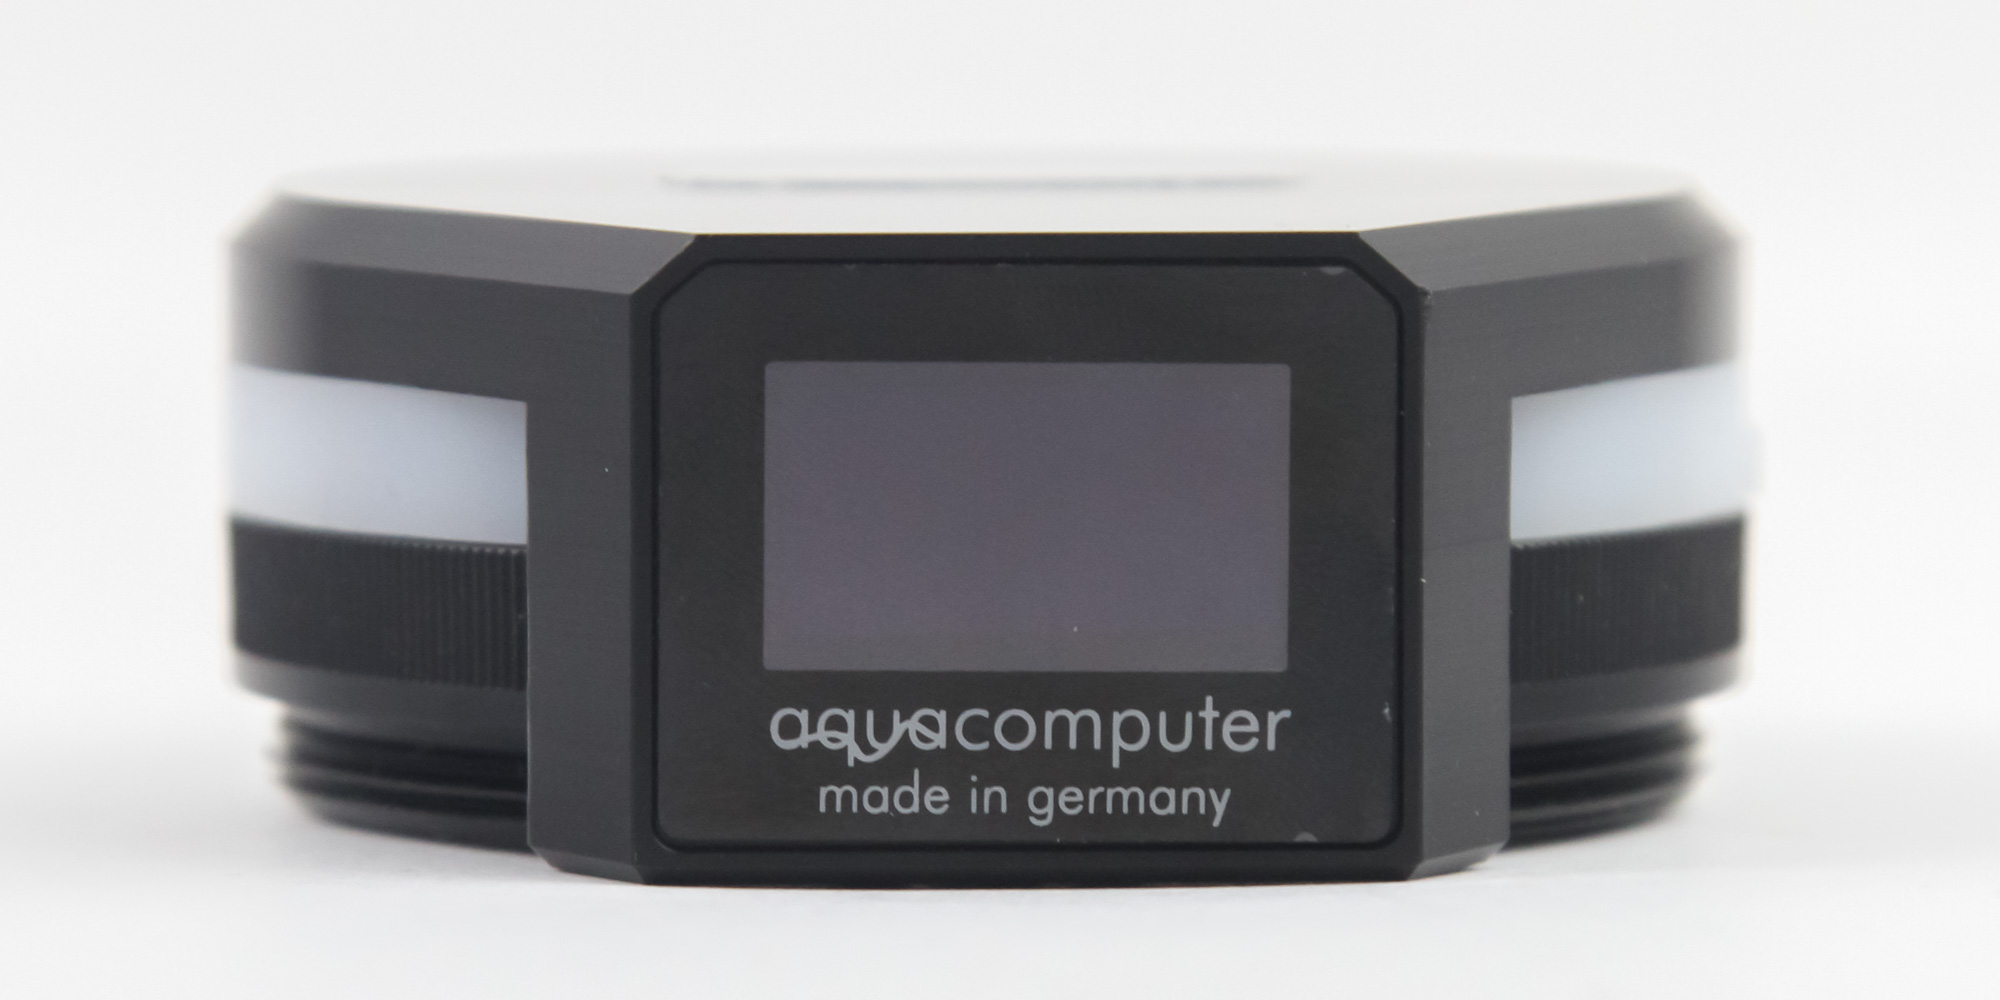
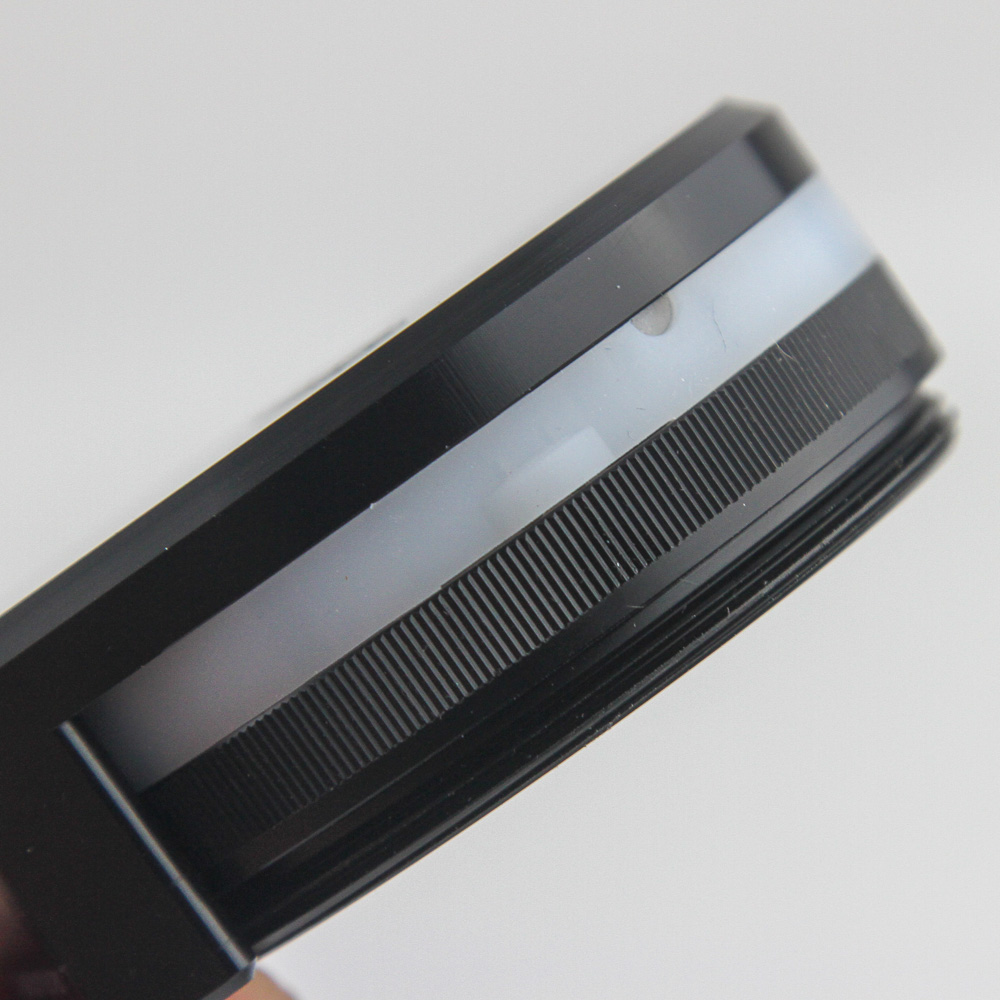
Here it is! The Aqua Computer LEAKSHIELD looks like a thicker ice hockey puck with an OLED display. The majority of the construction uses POM (acetal), machined similar to a cylindrical reservoir lid on purpose. The total height is just under 3 cm, with a diameter of 72 mm and a thread on the bottom for installation. A badge on top spells out LEAKSHIELD, should you forget what it is, but more importantly for branding purposes. The monochrome OLED display is all of 128 x 64 pixels in resolution, identical to what Aqua Computer uses in all its VISION products, going back to the CPU block we saw in 2017. It does not have a VISION mention and instead uses the company logo and a "made in germany" tagline. Going around the side in the middle is a silicone ring housing six dRGB LEDs that are compatible with the RGBpx system for function and form alike. A subtle bump on the right side in the silicone hides a button underneath to control the LEAKSHIELD via the OLED display for a fully stand-alone operation.
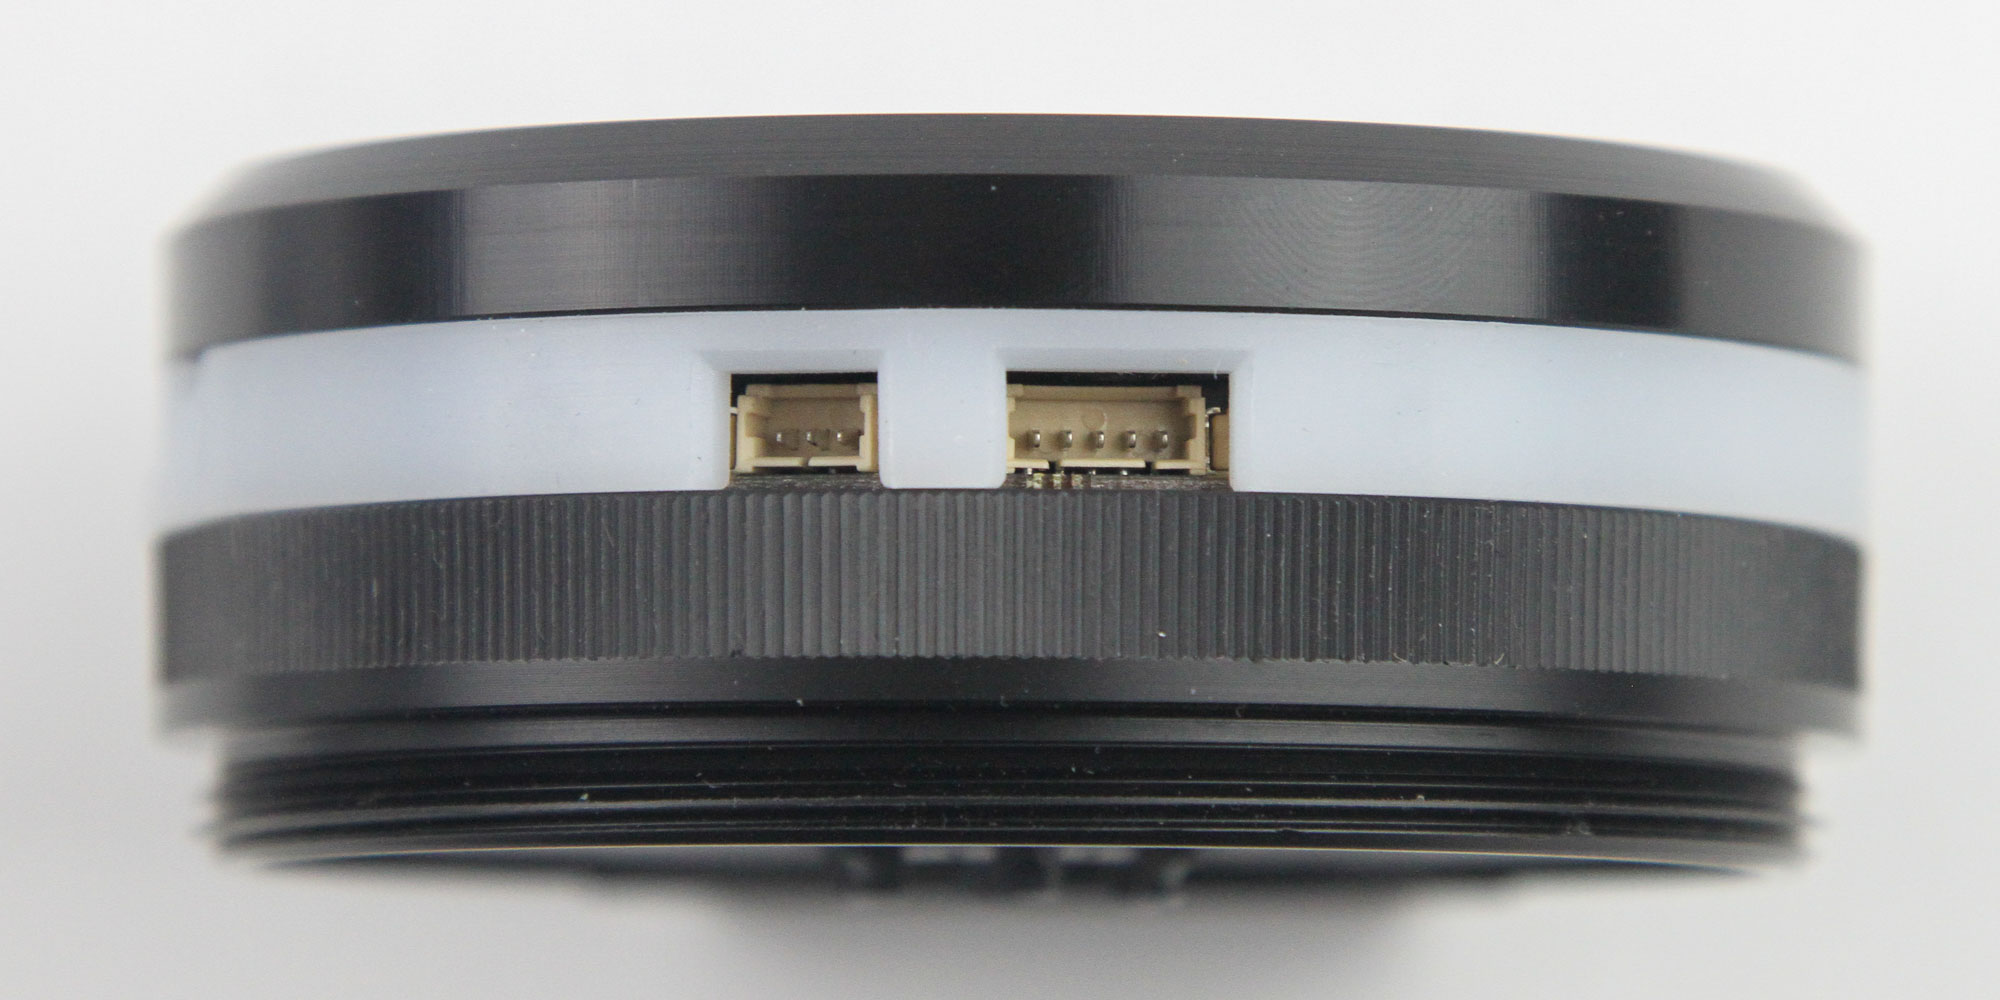
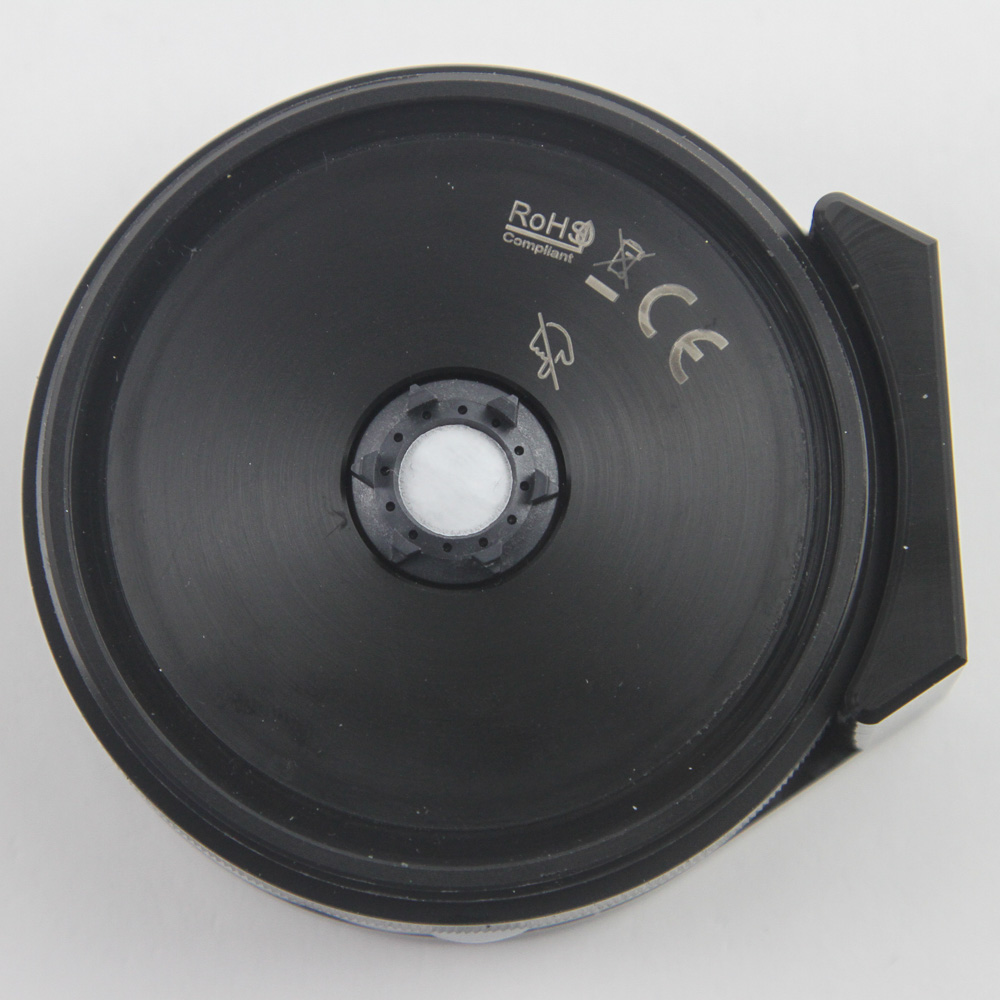
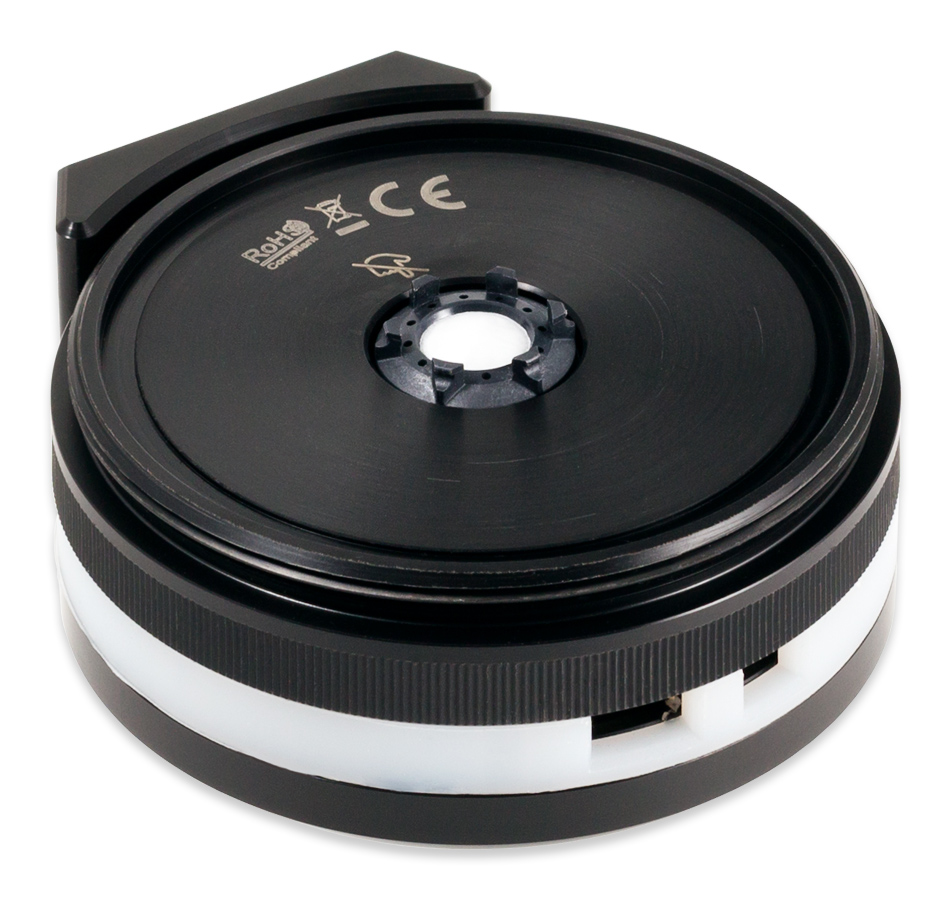
On the back are the two ports that make the LEAKSHIELD what it is, with the right 5-pin mini port for the USB connection using the provided cable. The 3-pin mini port on the left is for optional use, called the "Signal" connector, and makes use of a separately purchased cable that goes to the power switch header on your motherboard if you wish for LEAKSHIELD, via aquasuite, to turn off the system when a leak is detected. On the bottom, we see certification labels etched into the POM, but also the real mechanism of LEAKSHIELD. See that white membrane there? You can look, but you best not touch it! It is the only thing preventing coolant from entering the innards of the LEAKSHIELD, which also helps measure the differential pressure on either side of it. Behind the membrane is a highly sensitive solenoid valve, which is in turn hooked up to a vacuum pump.
That's right, the LEAKSHIELD is basically a smart vacuum pump that pumps out air and creates a state of negative pressure in conjunction with the positive pressure output from the actual coolant pump. This balance is coupled with pressure sensors for the system to be measured in equilibrium, detect leaks, and turn up the negative pressure for when there is a leak to where the coolant would rather go through the loop than be pushed out as per usual. We will discuss this in more detail over the subsequent pages, but this is hopefully a decent summary of where things are going with the Aqua Computer LEAKSHIELD.
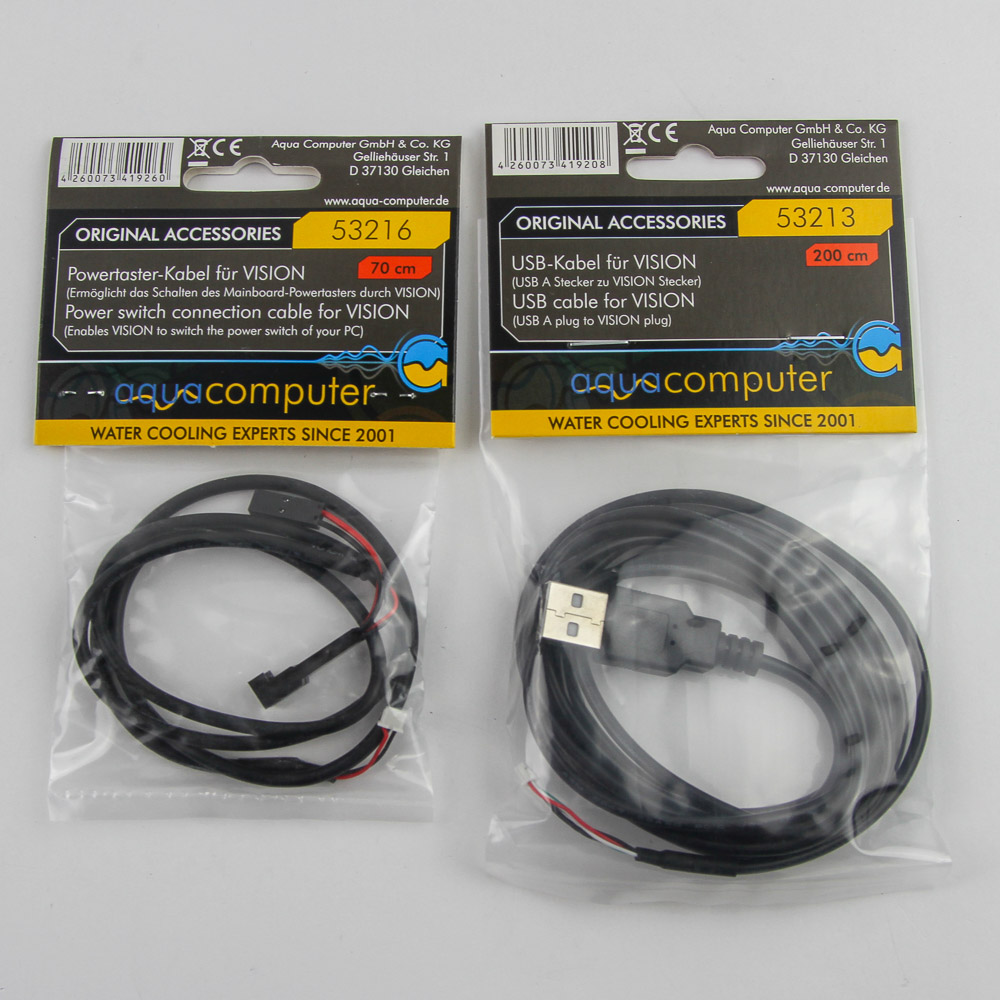
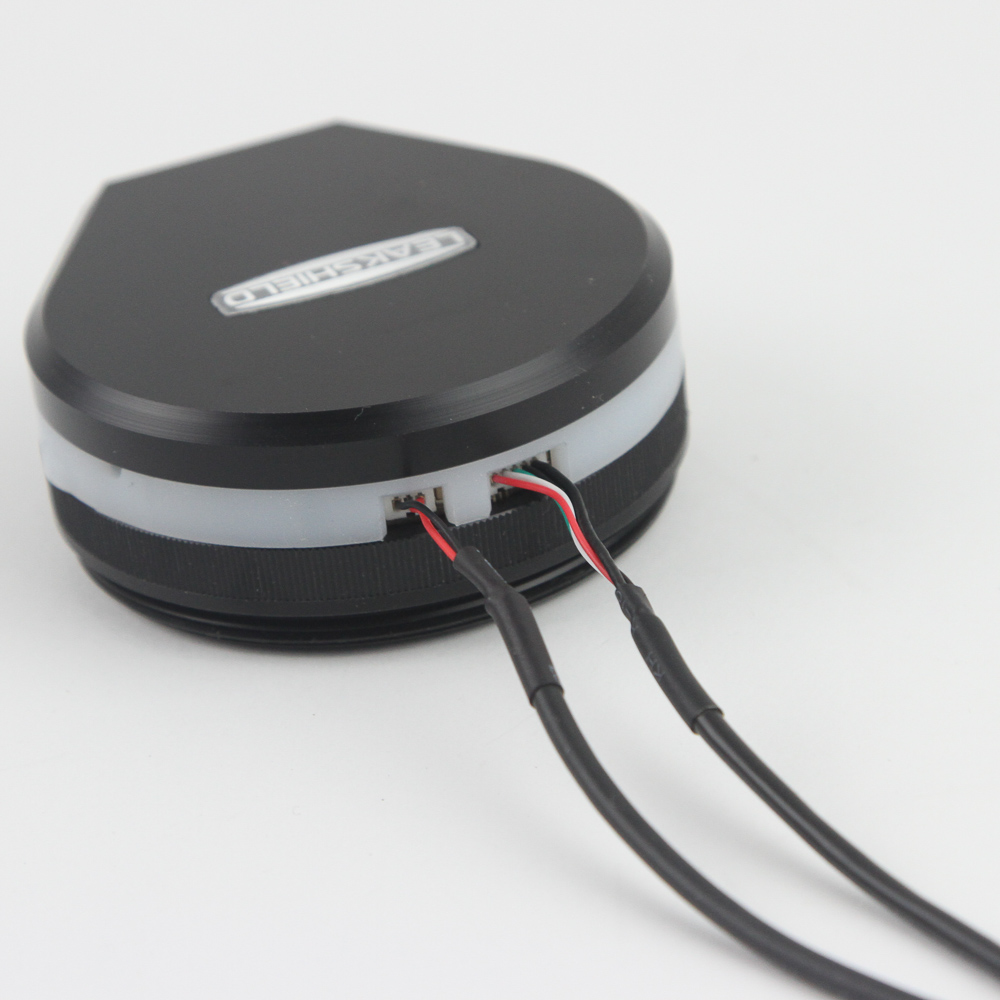
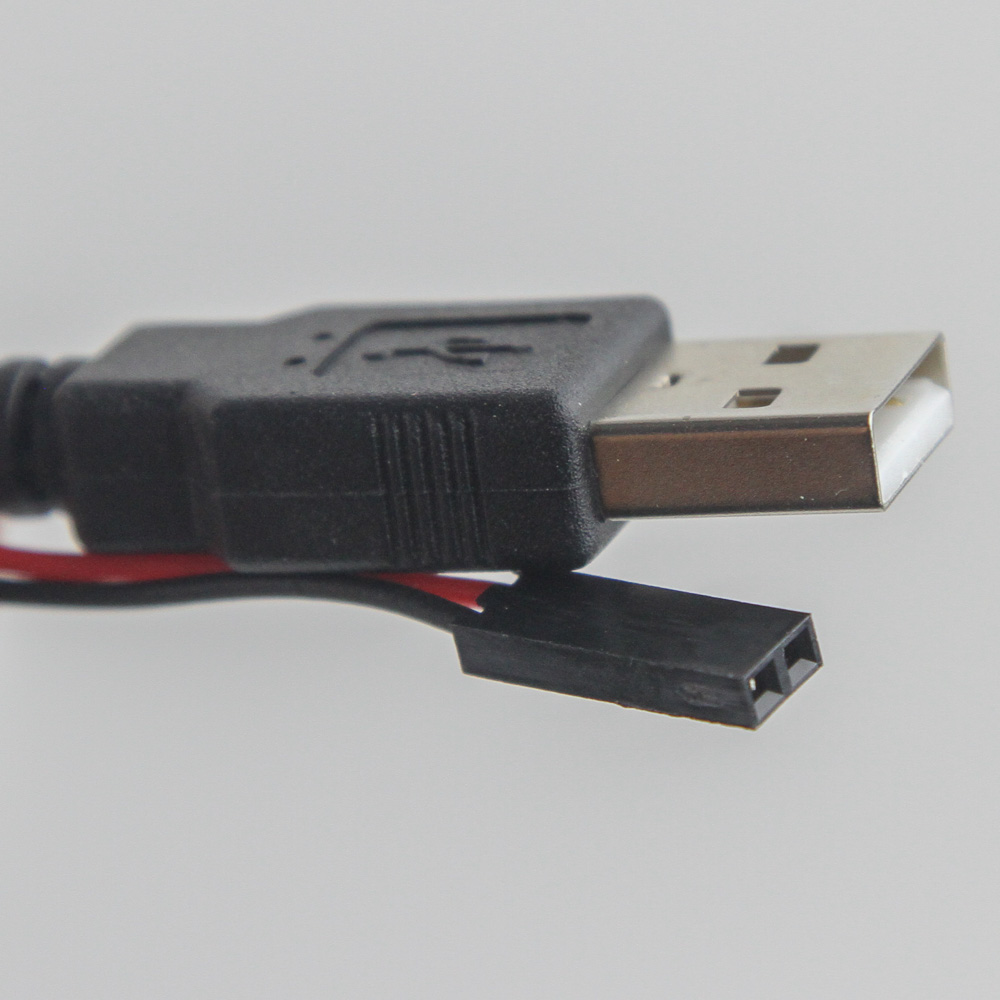
This is where I would typically move on to the installation, but Aqua Computer sent along a couple optional extras that needed coverage. The first is the aforementioned signal cable, which sells for ~$3.5 and goes from the left signal port to the power switch on your motherboard if you want to have the optional feature of aquasuite and/or LEAKSHIELD to turn off the PC in an emergency. The cable is 70 cm long and has a daisy-chained pass-through, so you can still use the power button on your PC case alongside. The second cable is a replacement for the included stock USB cable, but allows for an external USB Type-A port to be used instead if you are out of internal USB 2.0 headers. This one is 2 m long and great for testing the LEAKSHIELD with a portable system, such as a laptop to go over the basic aquasuite features before fitting it into a test system. These plug into the two ports on the back of the unit just fine, but taking them out is easier said than done owing to the inset plugs with the snug fit. It does feel somewhat fragile when wiggling the cables out, which is due to the port choice.
Jul 15th, 2025 16:13 CDT
change timezone
Latest GPU Drivers
New Forum Posts
- No offense, here are some things that bother me about your understanding of fans. (144)
- RTX 5070 discussion (11)
- I would give anything for Valve's Steam to have an option to disable the Big Picture Mode button. How many times have I accidently clicked it, fml (52)
- Choosing the right motherboard (6)
- Solidigm NVMe Custom Modded Driver for All NVMe Brands SSDs & Any NVMe SSDs (229)
- Stupid things one has done with hardware (64)
- Recommend me a decent budget card :) (33)
- What's your latest tech purchase? (24278)
- TOS 6 on Ugreen NAS (0)
- Folding Pie and Milestones!! (9620)
Popular Reviews
- MSI GeForce RTX 5060 Gaming OC Review
- Our Visit to the Hunter Super Computer
- Lexar NM1090 Pro 4 TB Review
- SilverStone SETA H2 Review
- NVIDIA GeForce RTX 5050 8 GB Review
- Fractal Design Epoch RGB TG Review
- Sapphire Radeon RX 9060 XT Pulse OC 16 GB Review - An Excellent Choice
- AMD Ryzen 7 9800X3D Review - The Best Gaming Processor
- Upcoming Hardware Launches 2025 (Updated May 2025)
- Corsair FRAME 5000D RS Review
TPU on YouTube
Controversial News Posts
- Intel's Core Ultra 7 265K and 265KF CPUs Dip Below $250 (288)
- Some Intel Nova Lake CPUs Rumored to Challenge AMD's 3D V-Cache in Desktop Gaming (140)
- AMD Radeon RX 9070 XT Gains 9% Performance at 1440p with Latest Driver, Beats RTX 5070 Ti (131)
- NVIDIA Launches GeForce RTX 5050 for Desktops and Laptops, Starts at $249 (122)
- NVIDIA GeForce RTX 5080 SUPER Could Feature 24 GB Memory, Increased Power Limits (115)
- Microsoft Partners with AMD for Next-gen Xbox Hardware (105)
- Intel "Nova Lake‑S" Series: Seven SKUs, Up to 52 Cores and 150 W TDP (100)
- NVIDIA DLSS Transformer Cuts VRAM Usage by 20% (99)