 9
9
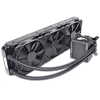
ASUS ROG RYUJIN II 360 Review
Finished Looks »Installation
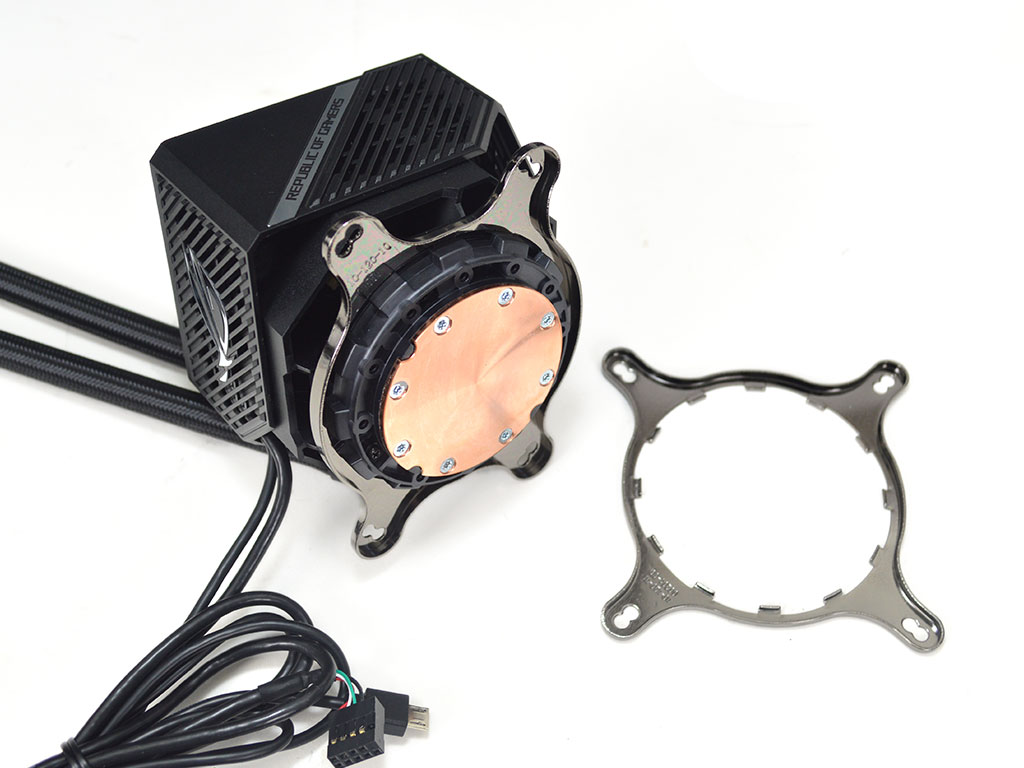
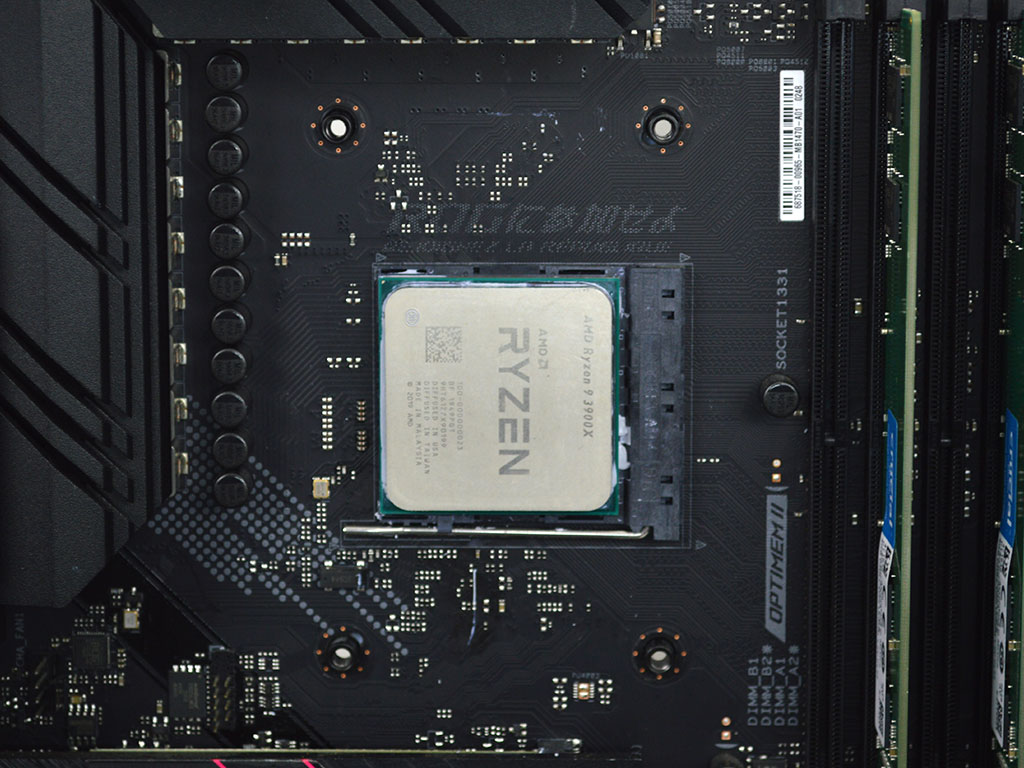
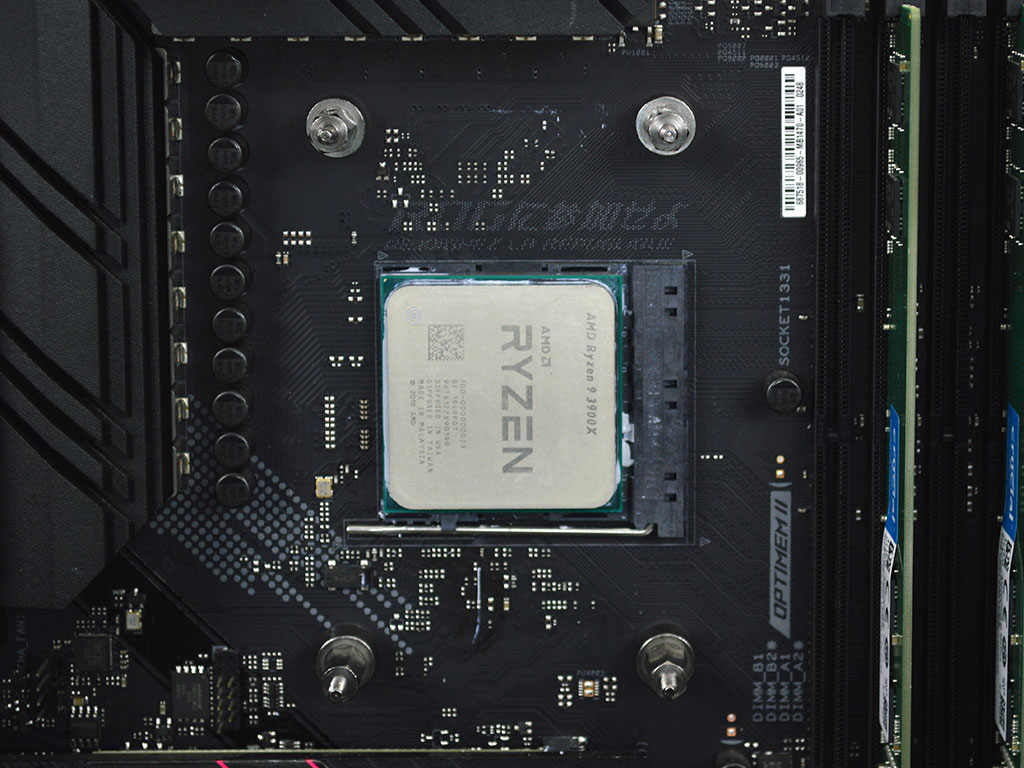
Installing the ASUS Ryujin II 360 is, at first, a straightforward affair. You will need to remove the preinstalled Intel bracket if you are building or have an AMD-based system, which is as simple as a quick twist before sliding it off and replacing it with the AMD bracket. Next, remove the default AMD-mounting brackets from the motherboard, but keep the backplate in place. To secure said backplate, use the AMD standoffs.
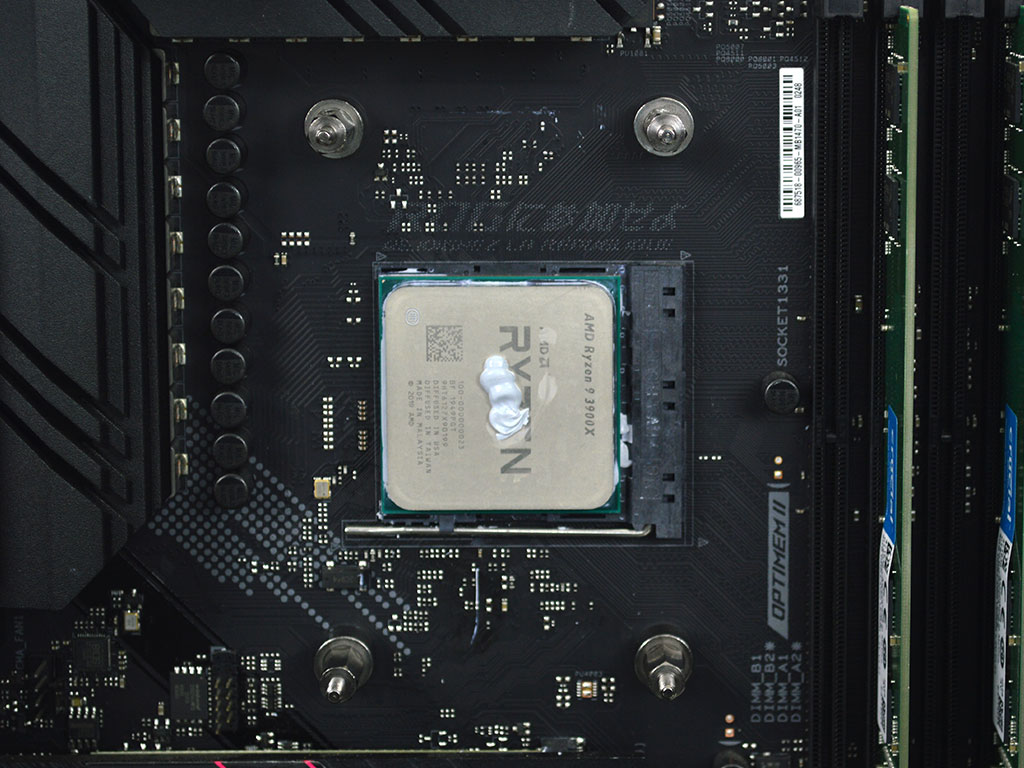
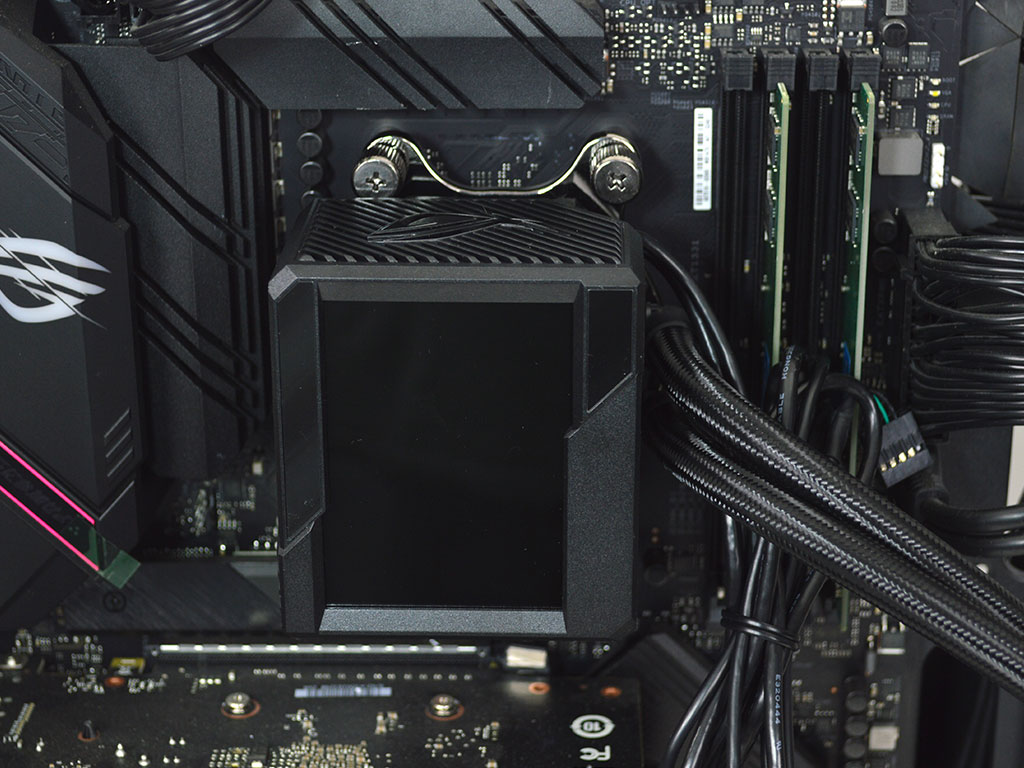
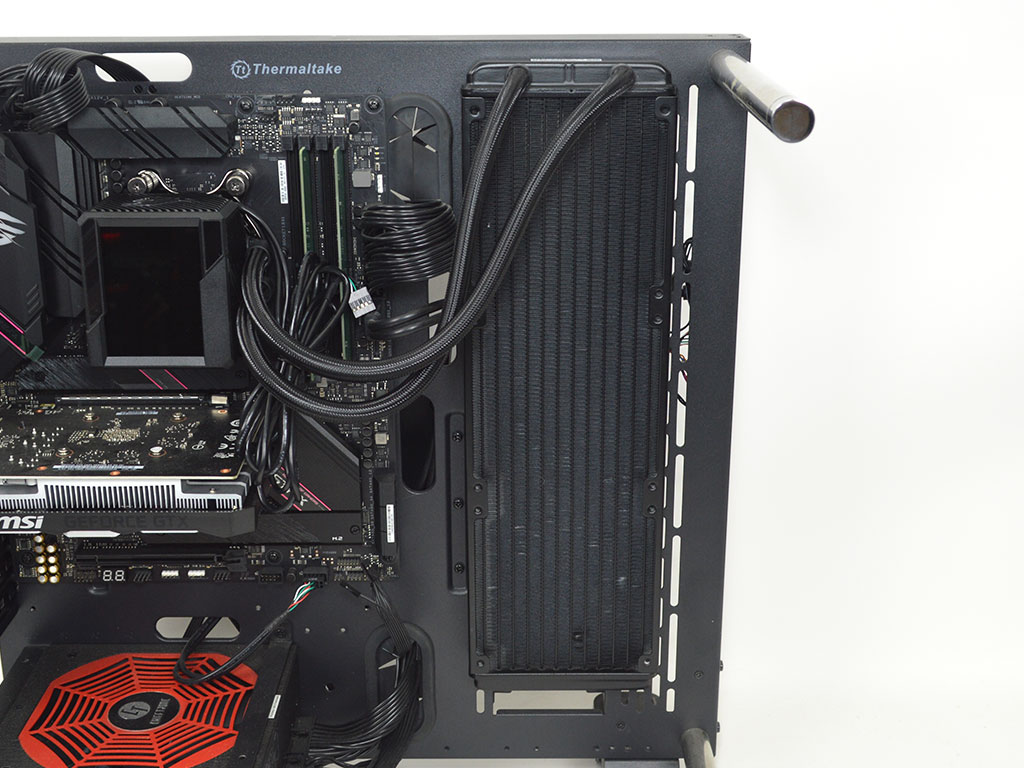
Next, if you are not using the pre-applied thermal paste, apply the paste of your choice. Other than that, remove the top cover of the pump—it just pops off—and position the pump block on the CPU before securing it with the included thumbscrews. As I prefer to mount the pump first, the next step is to secure the radiator to the chassis.


Finally, all that remains is to secure the fans to the radiator and then plug everything in. The fan controller is rather simple by design, but everything is well labeled and works just fine. After booting up the system, you will need to use ASUS Armoury Crate to control the cooler.
Overall, the installation was fairly straightforward for both platforms due to the Asetek design.
Jul 14th, 2025 15:31 CDT
change timezone
Latest GPU Drivers
New Forum Posts
- AMD 7Ghz? This keeps popping up on my feeds! (5)
- Best motherboards for XP gaming (151)
- No offense, here are some things that bother me about your understanding of fans. (108)
- Which CPU to Choose for a 7900 XT? Ryzen 7 7700 or Ryzen 5 9600X? (43)
- Bent pins on an AM5 mobo, any way to test them and also find which ones were on the schematic? (6)
- i7 2860QM how to raise power limit? (20)
- Arc 770a 16gb money pit (9)
- Frametime spikes and stuttering after switching to AMD CPU? (572)
- What's your latest tech purchase? (24265)
- TPU's Nostalgic Hardware Club (20506)
Popular Reviews
- Lexar NM1090 Pro 4 TB Review
- Our Visit to the Hunter Super Computer
- MSI GeForce RTX 5060 Gaming OC Review
- Fractal Design Epoch RGB TG Review
- NVIDIA GeForce RTX 5050 8 GB Review
- Corsair FRAME 5000D RS Review
- Sapphire Radeon RX 9060 XT Pulse OC 16 GB Review - An Excellent Choice
- Chieftec Iceberg 360 Review
- AMD Ryzen 7 9800X3D Review - The Best Gaming Processor
- Upcoming Hardware Launches 2025 (Updated May 2025)
TPU on YouTube
Controversial News Posts
- Intel's Core Ultra 7 265K and 265KF CPUs Dip Below $250 (288)
- Some Intel Nova Lake CPUs Rumored to Challenge AMD's 3D V-Cache in Desktop Gaming (140)
- AMD Radeon RX 9070 XT Gains 9% Performance at 1440p with Latest Driver, Beats RTX 5070 Ti (131)
- NVIDIA Launches GeForce RTX 5050 for Desktops and Laptops, Starts at $249 (122)
- NVIDIA GeForce RTX 5080 SUPER Could Feature 24 GB Memory, Increased Power Limits (115)
- Microsoft Partners with AMD for Next-gen Xbox Hardware (105)
- Intel "Nova Lake‑S" Series: Seven SKUs, Up to 52 Cores and 150 W TDP (100)
- NVIDIA DLSS Transformer Cuts VRAM Usage by 20% (97)