 2
2
Aukey KM-G6 Mechanical Keyboard Review
Driver & Performance »Disassembly
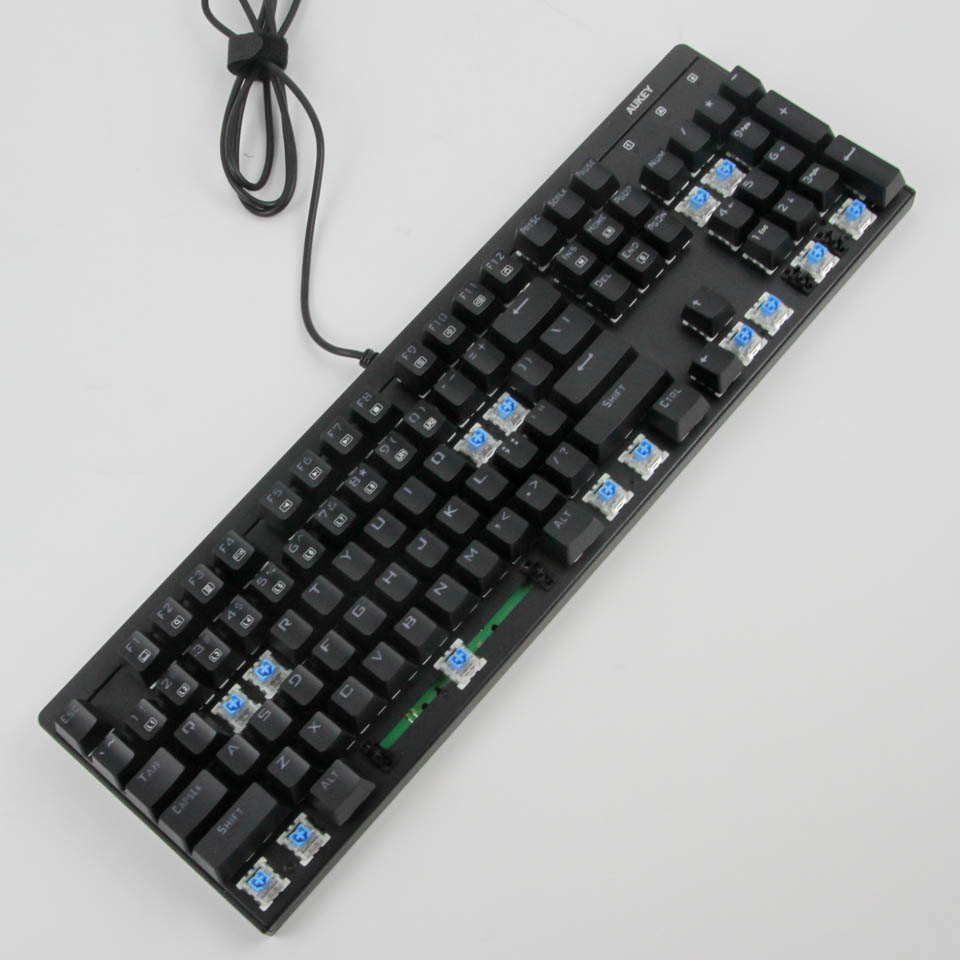
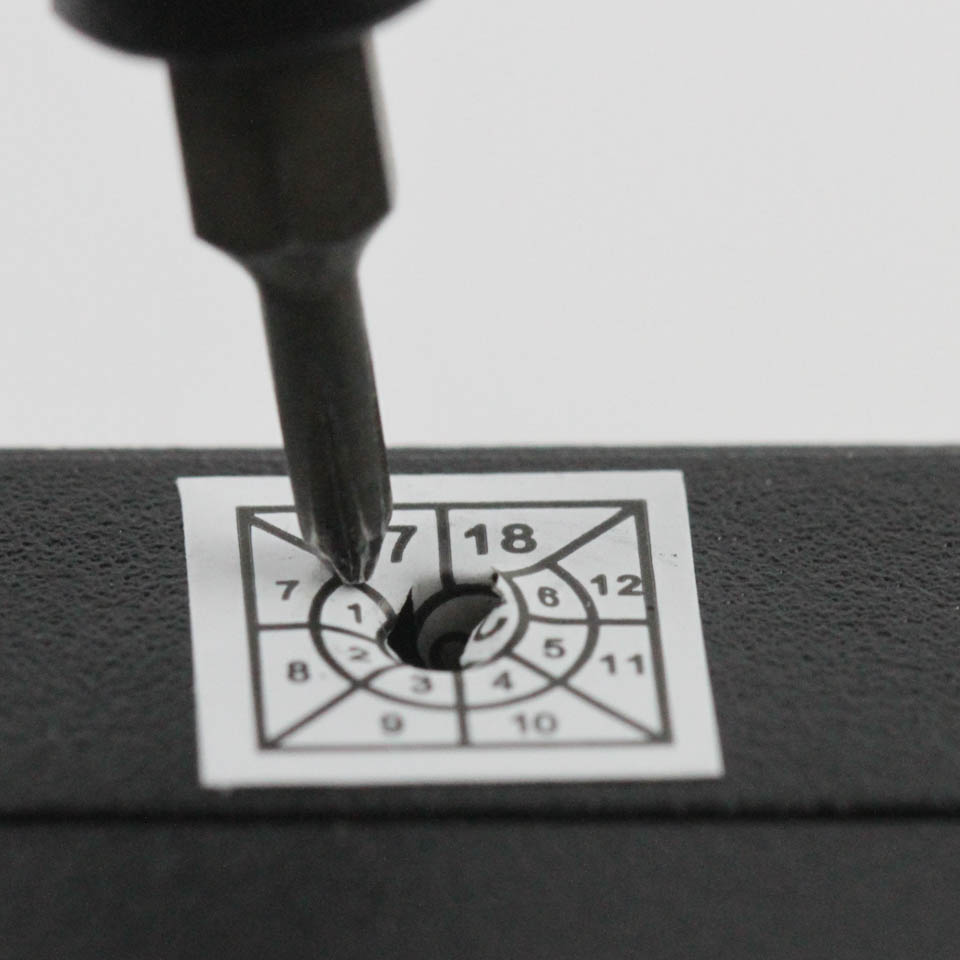
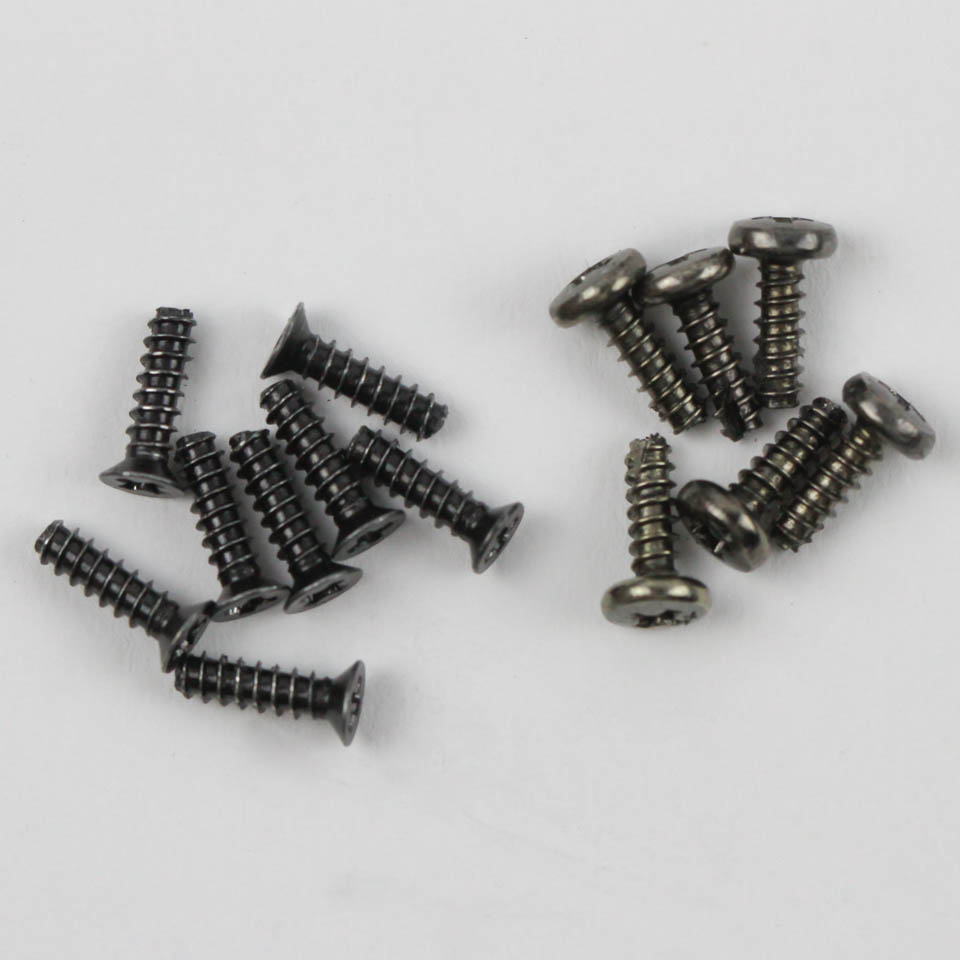

Let me start off by saying that you do not need to disassemble to the extent I did if all you wish to do is take a look at the PCB. Indeed, in this case, you only have to remove some specific keycaps as seen above to access eight countersunk Phillips-head screws on the front. There are screws on the back, however, which piqued my curiosity, including one underneath the QC sticker we saw before. These additional six screws will need to be removed if you have to replace or repair the USB cable.

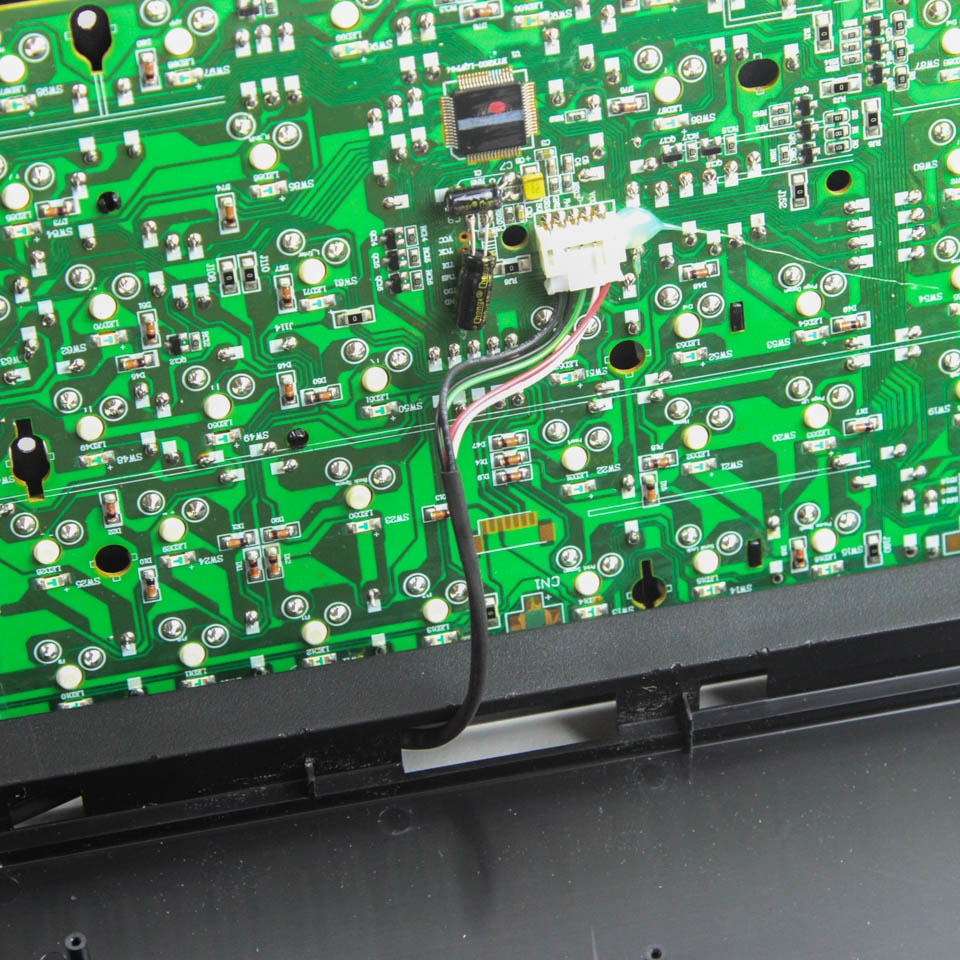
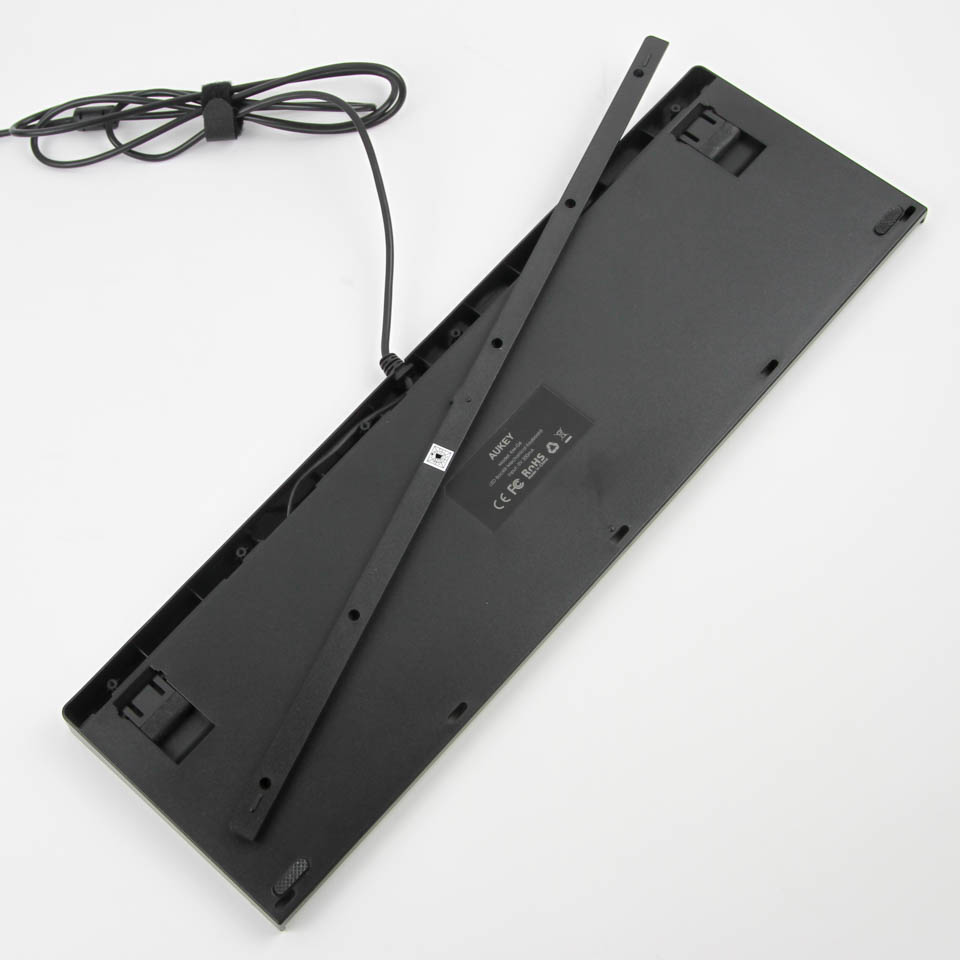
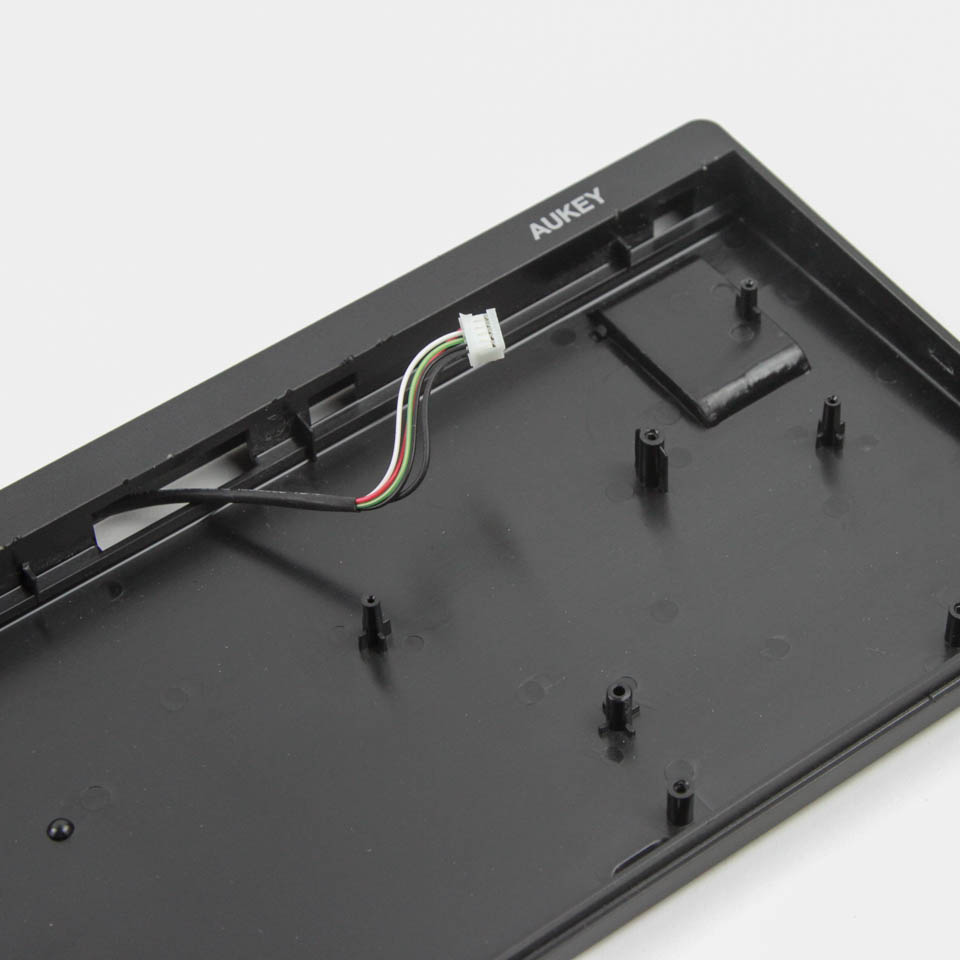
Note that there are metal tabs from the steel frame jutting into the plastic case extension at the top, but you can just lift and slide off the metal frame piece for enough room to then dislodge the cable from the internal USB connector on the PCB. This helps separate the top and bottom pieces of the keyboard, and now, we see that the second set of six screws were holding a thin plastic section in place, removal of which exposes openings for the keyboard cable to go through. This is effectively cable management in practice and does not really do much to help take a look at the PCB.
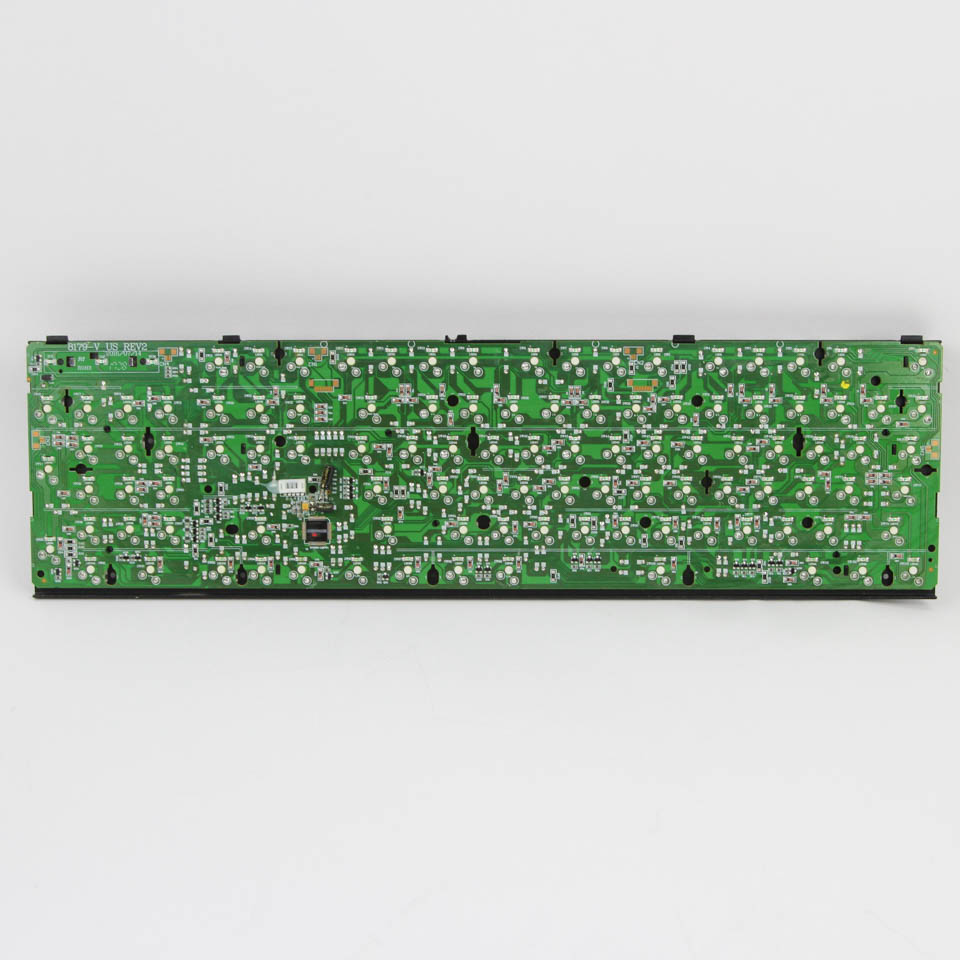
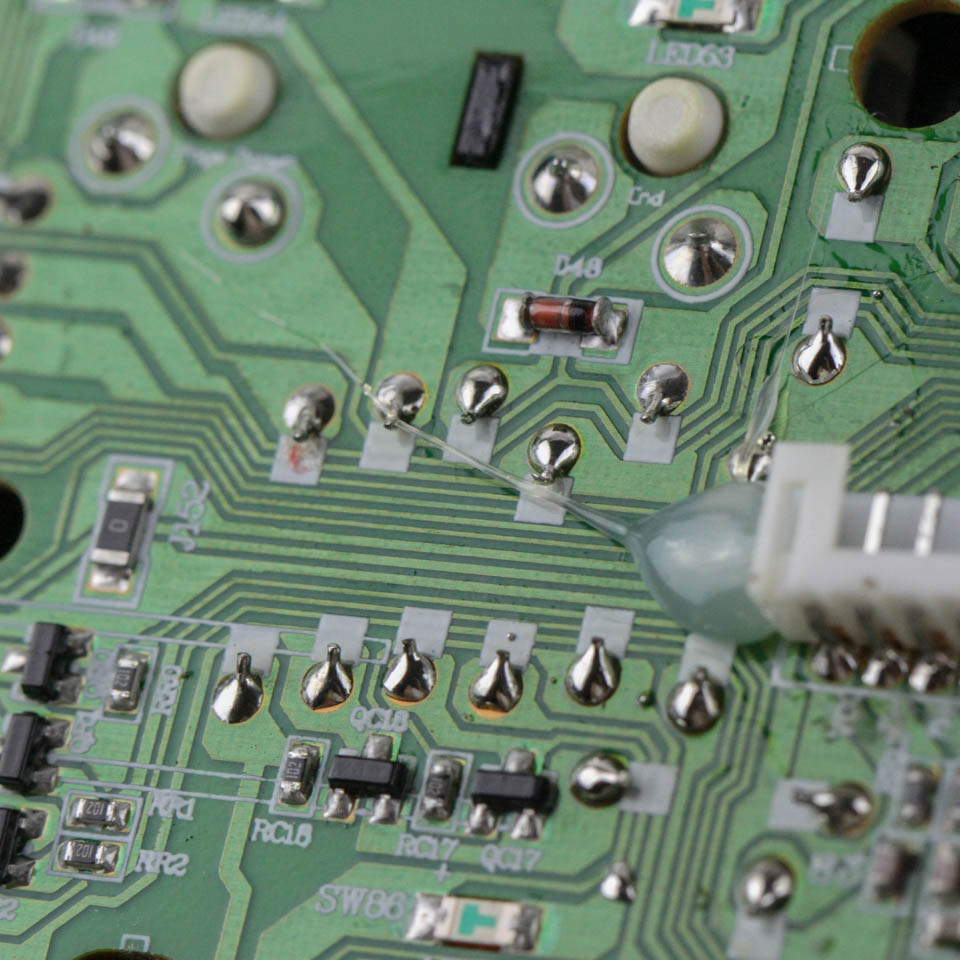

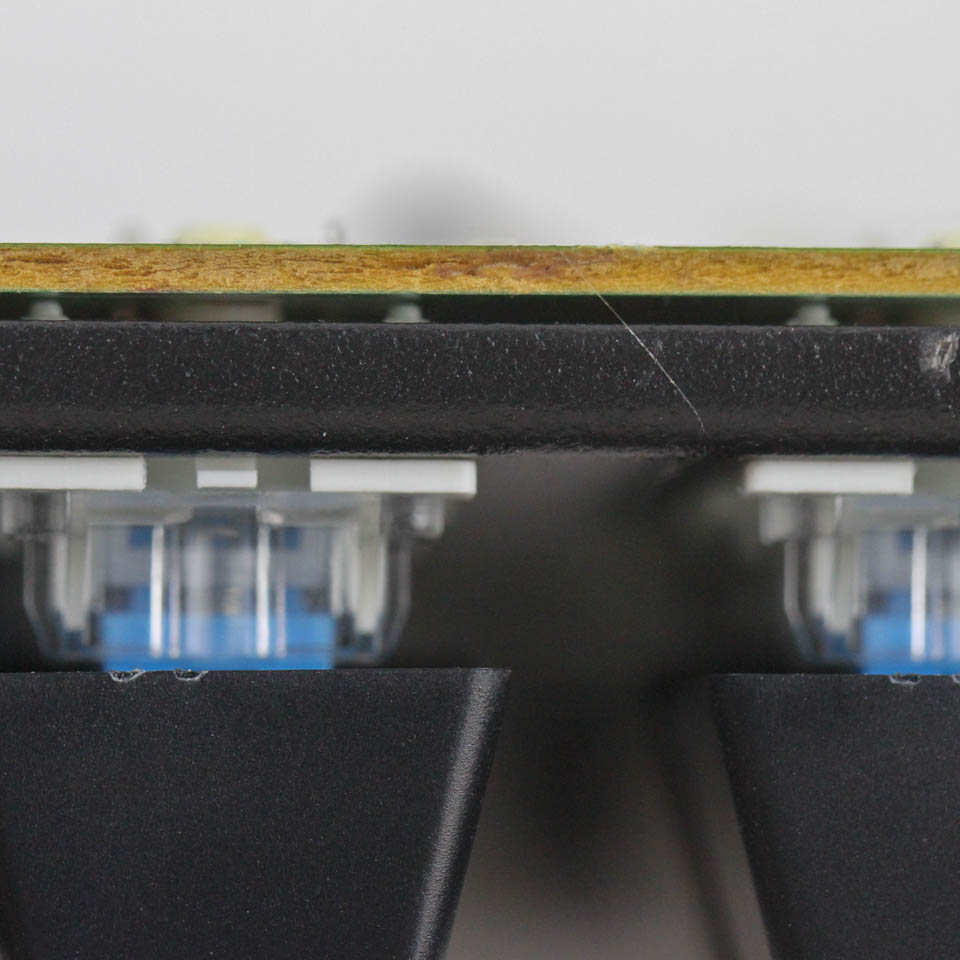
This is a different PCB than the black one used in the KM-G8, which again shows that Aukey is not simply recycling parts. The green PCB employed here has hand-soldered components, although they are all soldered well enough to where I have no issues. Well, except for that piece of hot glue action on the internal USB connector that could have been done better. Aukey has decided to apply an opaque mask on the microcontroller to prevent identification, which I still don't understand the reasoning behind since we are in a day and age where OEMs talk freely. Regardless, this being a standard keyboard with no software driver support and relatively simple backlighting, there is not much the MCU has to do. As long as it has some onboard memory for the programmed functions, including the keyboard-specific media functions, it'll do the job well enough. All the components, including the switches, LEDs, and capacitors, are soldered to a multi-layered PCB.
Before we move on, be advised that disassembly may void the warranty and that TechPowerUp is not liable for any damages incurred if you decide to go ahead and do so anyway.
Jul 2nd, 2025 07:40 CDT
change timezone
Latest GPU Drivers
New Forum Posts
- WD HDD spin down or stop working while transferring data (31)
- Technical Issues - TPU Main Site & Forum (2025) (254)
- GravityMark v1.89 GPU Benchmark (306)
- PCIe 16x does not work (5)
- HTPC Power Consumption Discussion, Upgrade vs Migration (24)
- Need advices with undervolting my I9 13900h, Acer Nitro V15 ANV15-51-93PU (0)
- RTX 5070 discussion (2)
- RX 9000 series GPU Owners Club (1108)
- Help me choose the right PSU , Cooler Master vs Seasonic (63)
- My PSU died.. (3)
Popular Reviews
- ASUS ROG Crosshair X870E Extreme Review
- Crucial T710 2 TB Review - Record-Breaking Gen 5
- Sapphire Radeon RX 9060 XT Pulse OC 16 GB Review - An Excellent Choice
- AVerMedia CamStream 4K Review
- Upcoming Hardware Launches 2025 (Updated May 2025)
- AMD Ryzen 7 9800X3D Review - The Best Gaming Processor
- Sapphire Radeon RX 9070 XT Nitro+ Review - Beating NVIDIA
- Lexar NQ780 4 TB Review
- AMD Ryzen 9 9950X3D Review - Great for Gaming and Productivity
- NVIDIA GeForce RTX 5060 8 GB Review
TPU on YouTube
Controversial News Posts
- Intel's Core Ultra 7 265K and 265KF CPUs Dip Below $250 (288)
- NVIDIA Grabs Market Share, AMD Loses Ground, and Intel Disappears in Latest dGPU Update (209)
- Some Intel Nova Lake CPUs Rumored to Challenge AMD's 3D V-Cache in Desktop Gaming (140)
- NVIDIA GeForce RTX 5080 SUPER Could Feature 24 GB Memory, Increased Power Limits (112)
- Microsoft Partners with AMD for Next-gen Xbox Hardware (105)
- NVIDIA Launches GeForce RTX 5050 for Desktops and Laptops, Starts at $249 (105)
- Intel "Nova Lake‑S" Series: Seven SKUs, Up to 52 Cores and 150 W TDP (100)
- NVIDIA DLSS Transformer Cuts VRAM Usage by 20% (92)