 8
8
AZIO IZO Keyboard Review - Typing on Candy!
Software & Performance »Disassembly


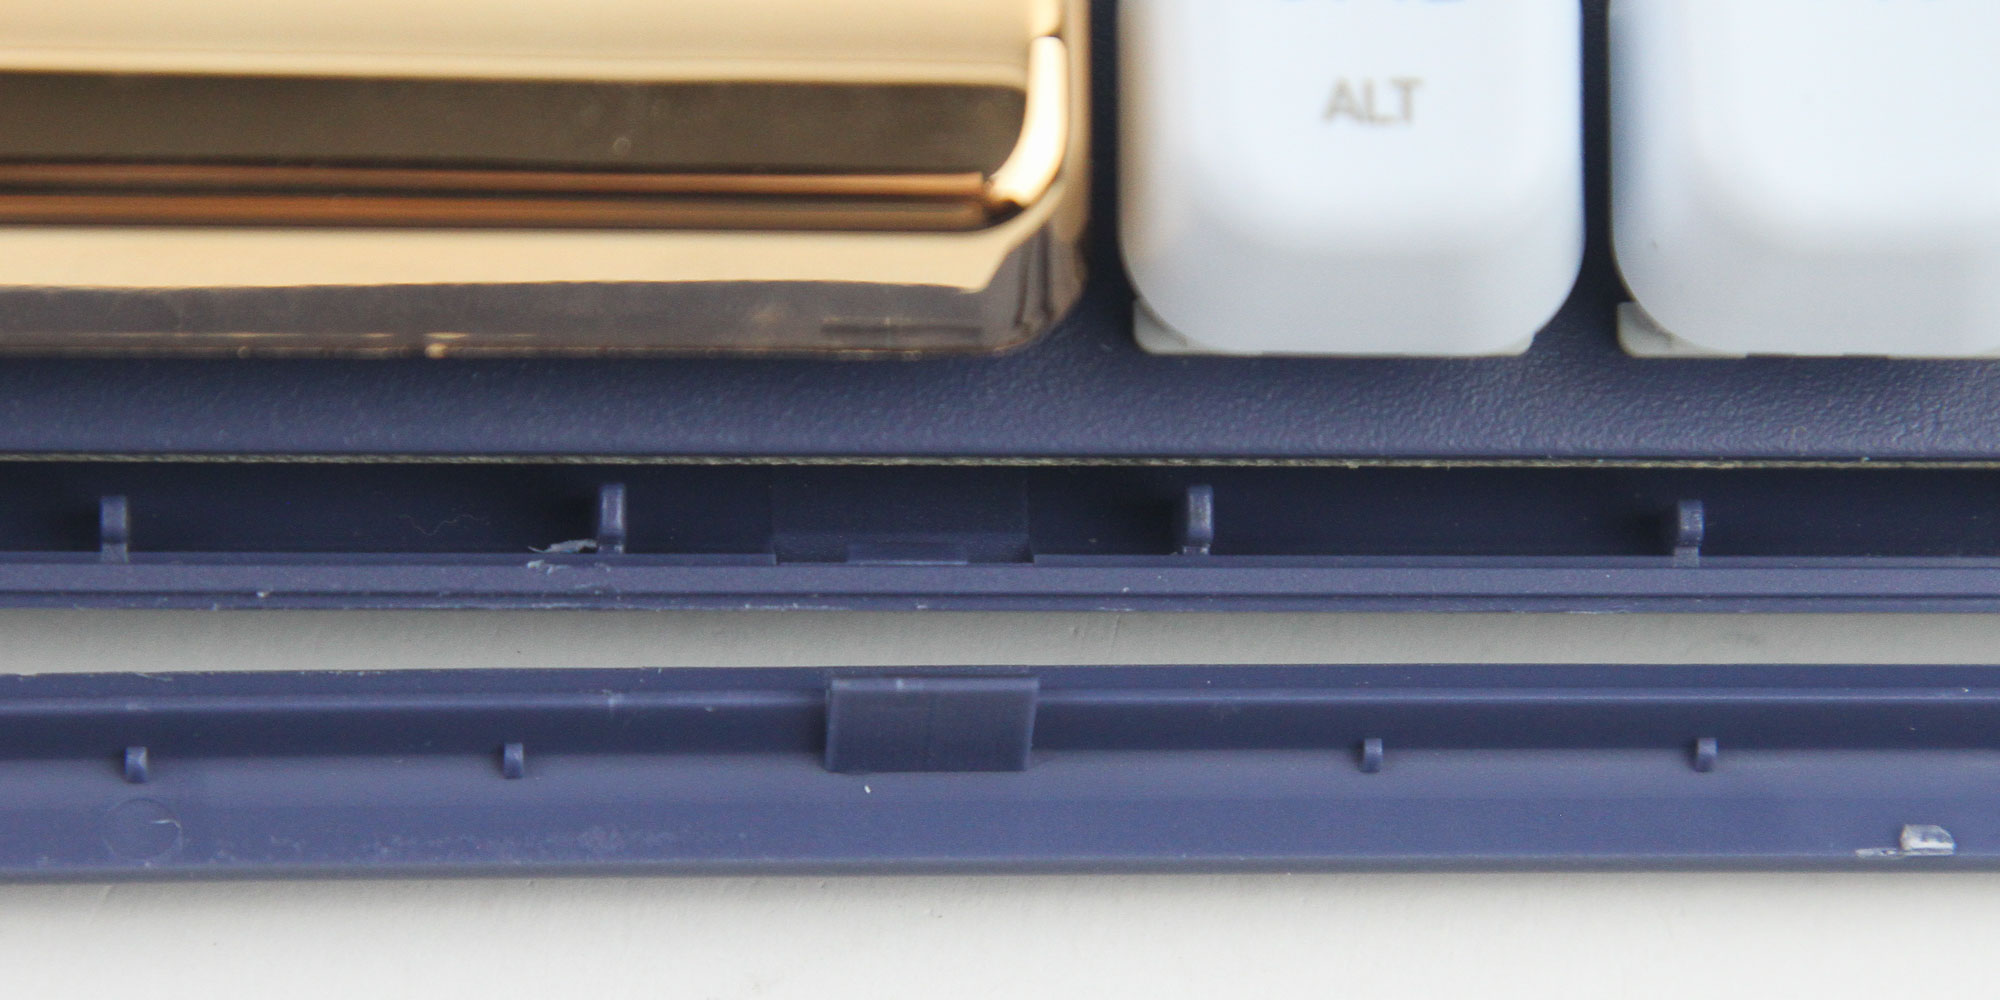
I do not recommend disassembling the IZO unless you absolutely want to mod it while understanding that it will void the warranty. Even so, you may scratch or cut into the plastic case, so be aware of this. Begin with pulling off the cover knob over the encoder wheel, which reveals how practically unnecessary this larger wheel is compared to the otherwise compact 75% form factor. Now take a thin, flat object and pry apart all the interlocking plastic tabs holding the top plastic panel in place. Start at the top where the plastic is thicker and more amenable to be pried apart without the tabs breaking off. In the top panel, you will also see two plastic plungers that fit into the plate for alignment, but the tabs are used for the actual installation.
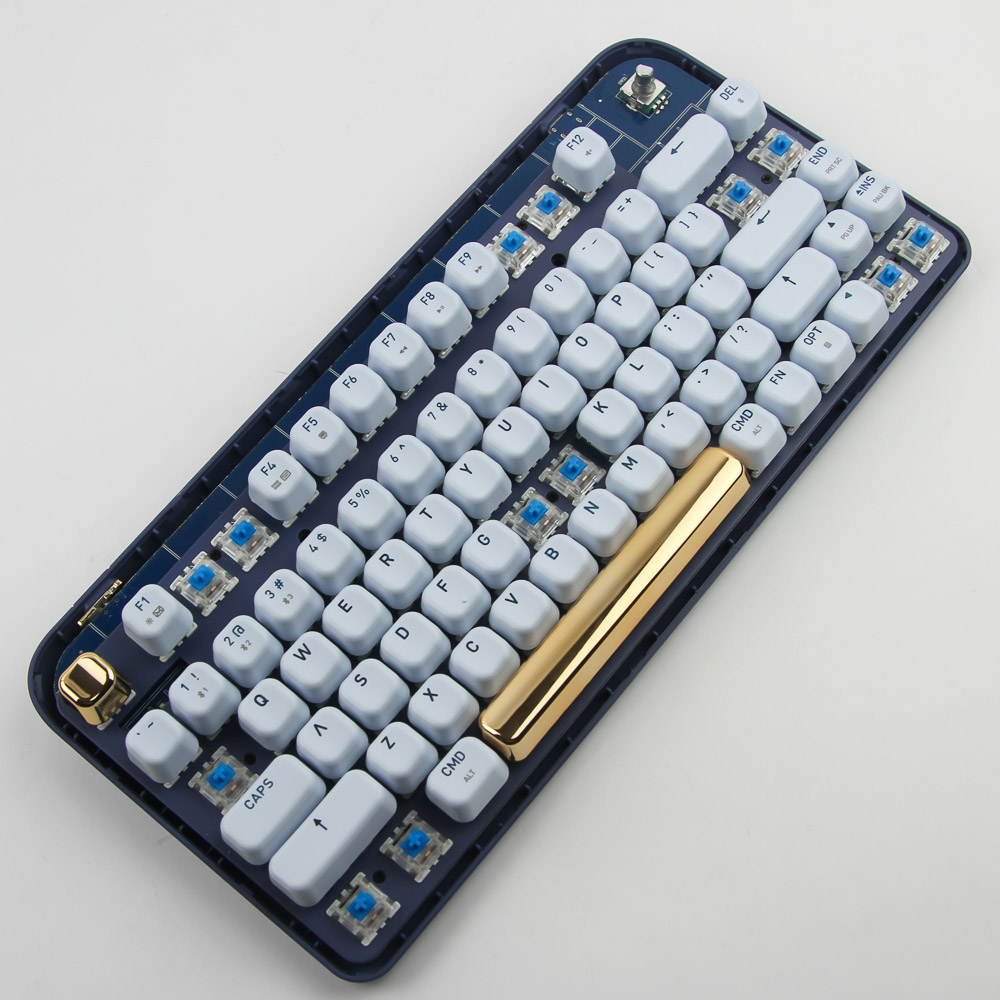
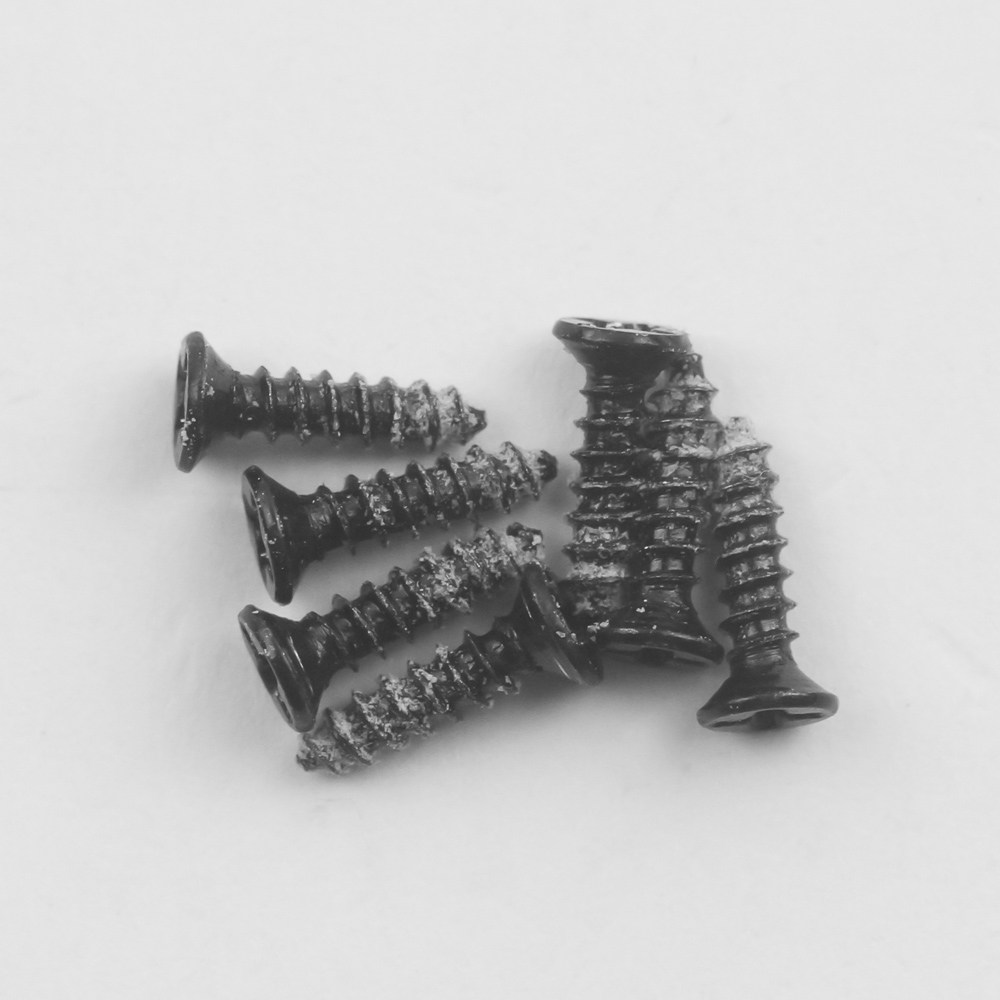
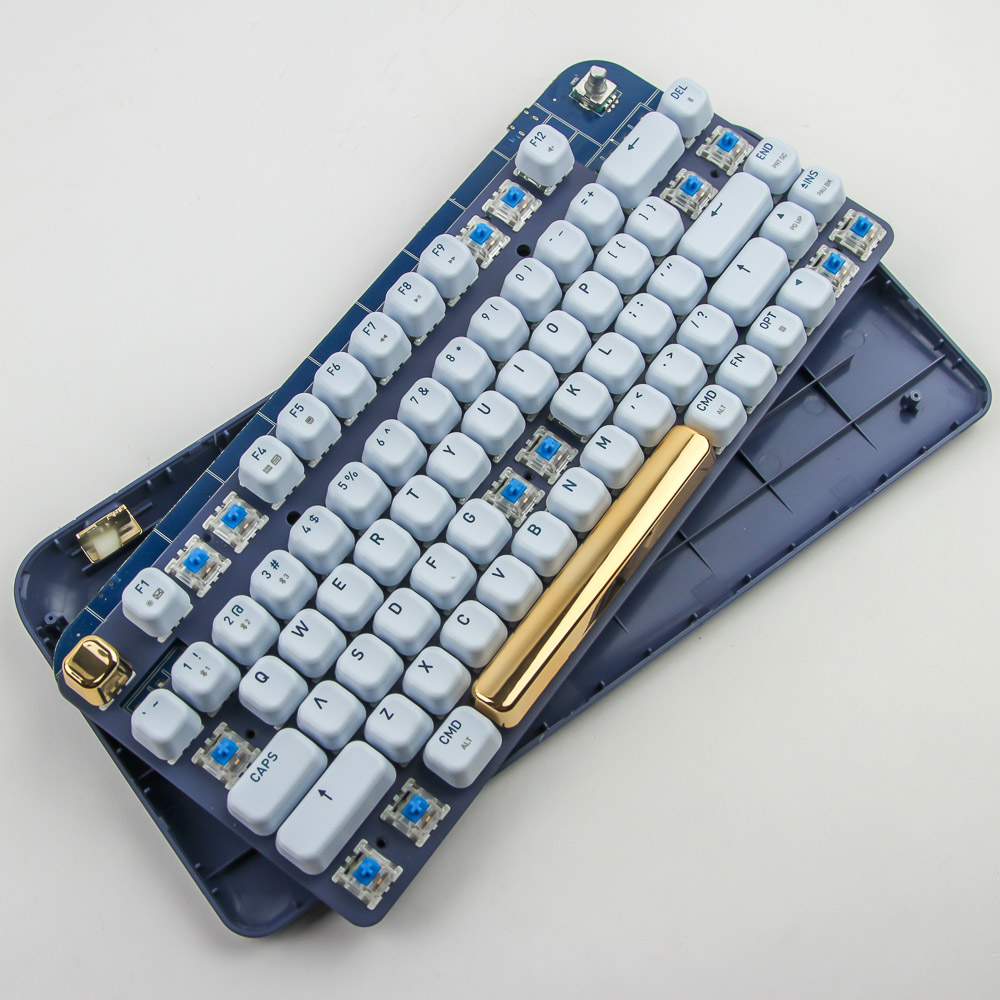
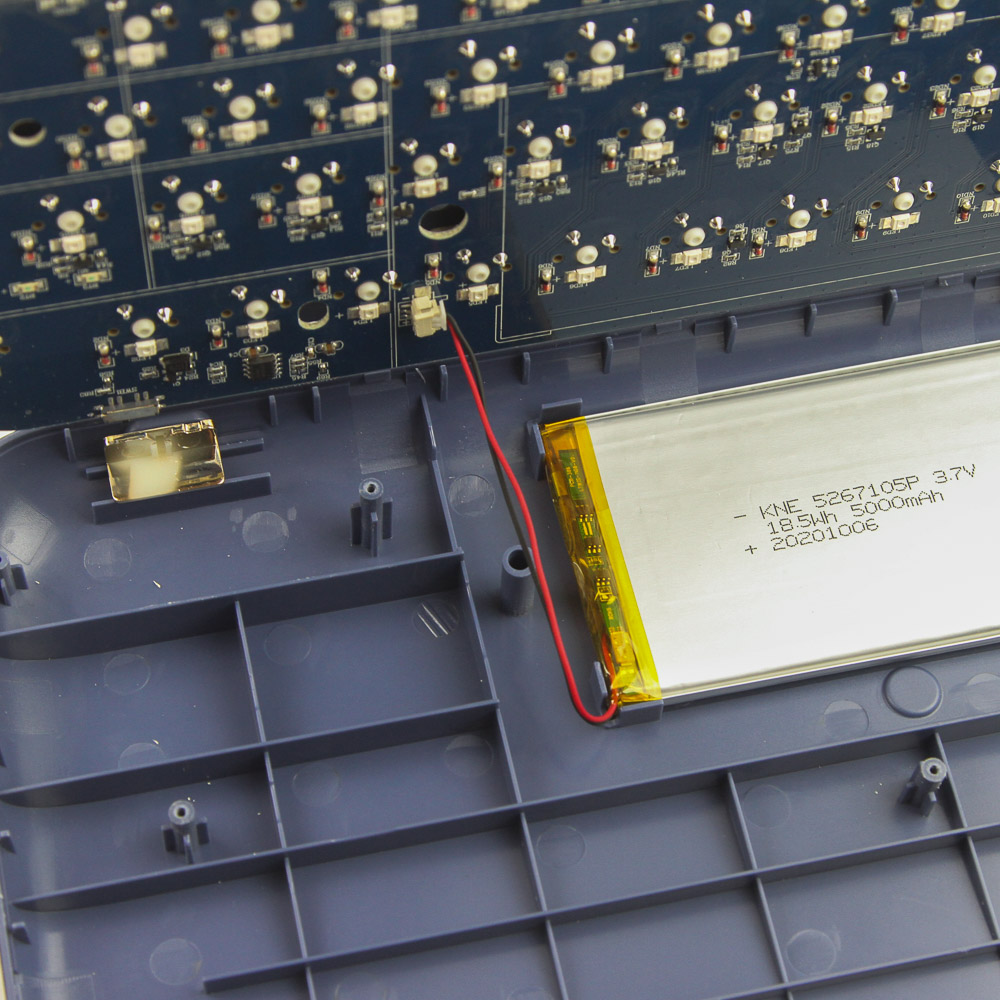
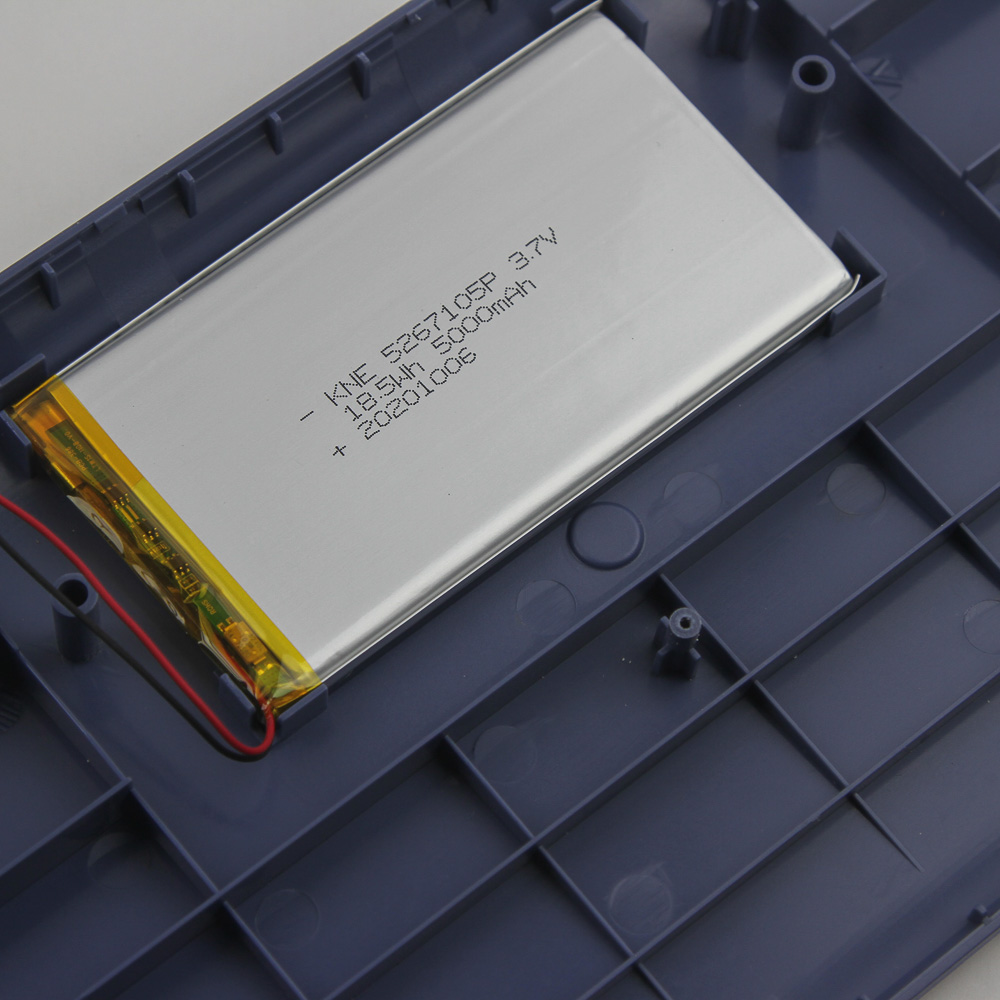

You now need to remove some specific keycaps as seen above to access seven Phillips head screws that are countersunk into the matching blue steel plate on this Blue Iris keyboard. With all screws removed, the plate/PCB comes off far enough to access an internal cable going from the battery on the bottom panel to a connector on the PCB. Dislodge the cable from the PCB to completely separate the two pieces, and we see the use of ABS plastic for both plastic panels as well as a whopping 5000 mAh battery here. AZIO used really large capacity batteries with the Retro series, and I am glad to see it retained here. There is no foam to help with sound-absorbing, but the bottom panel has sections cut into the plastic, which will to an extent isolate typing reverberations. The PCB is blue and has the switches soldered through the plate. It is also rounded in design to better match the case, and solder quality is quite good.
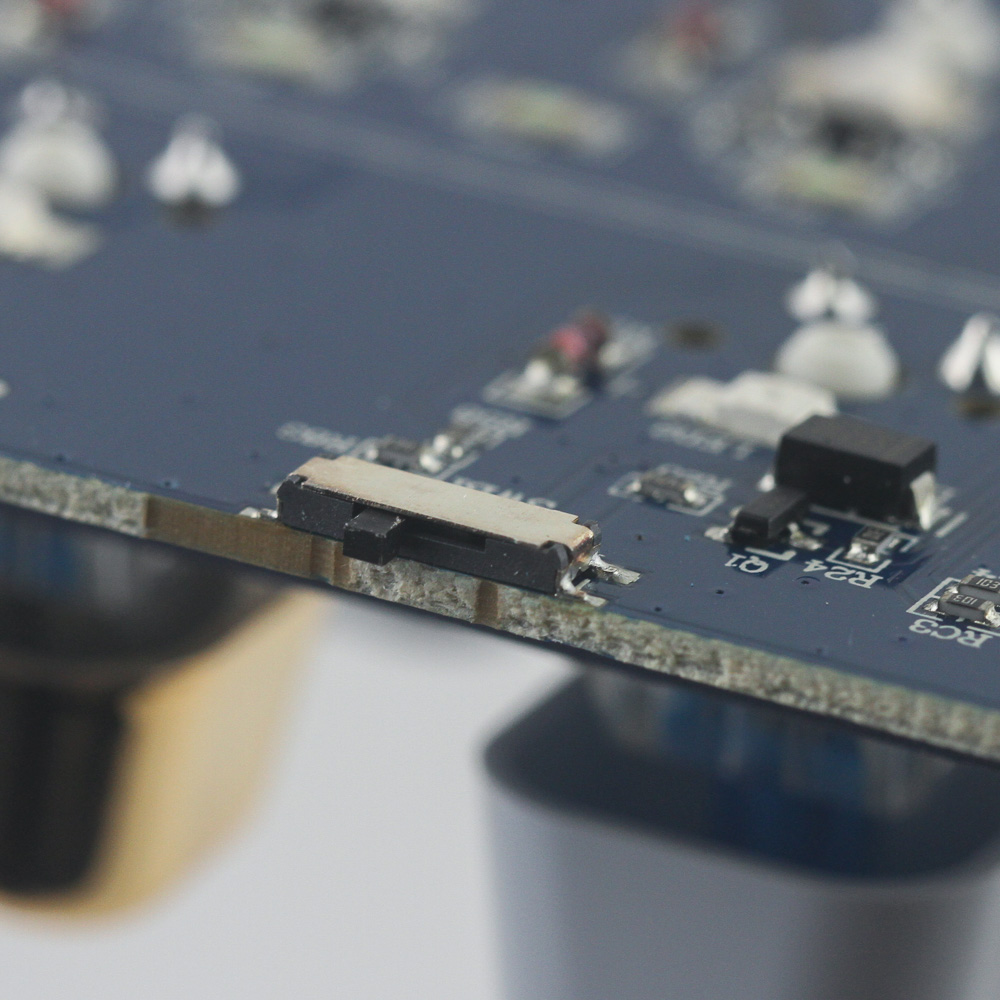
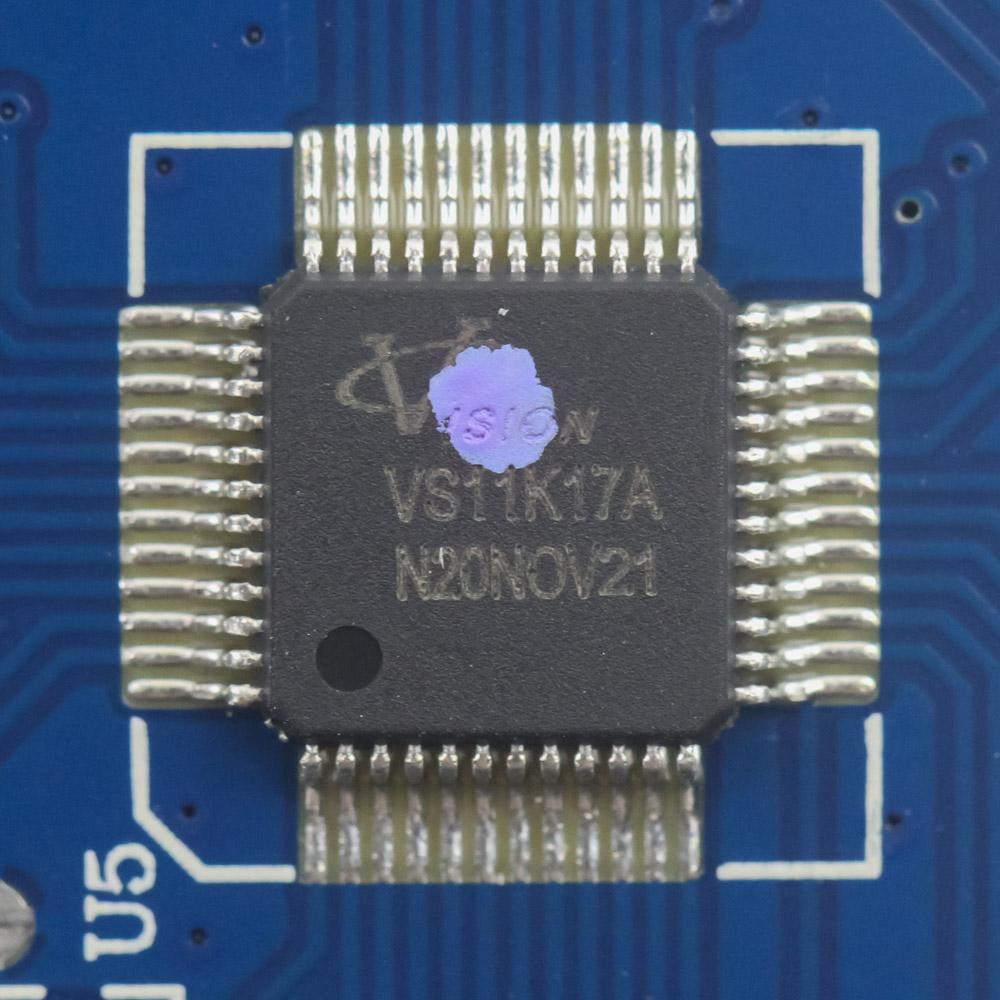
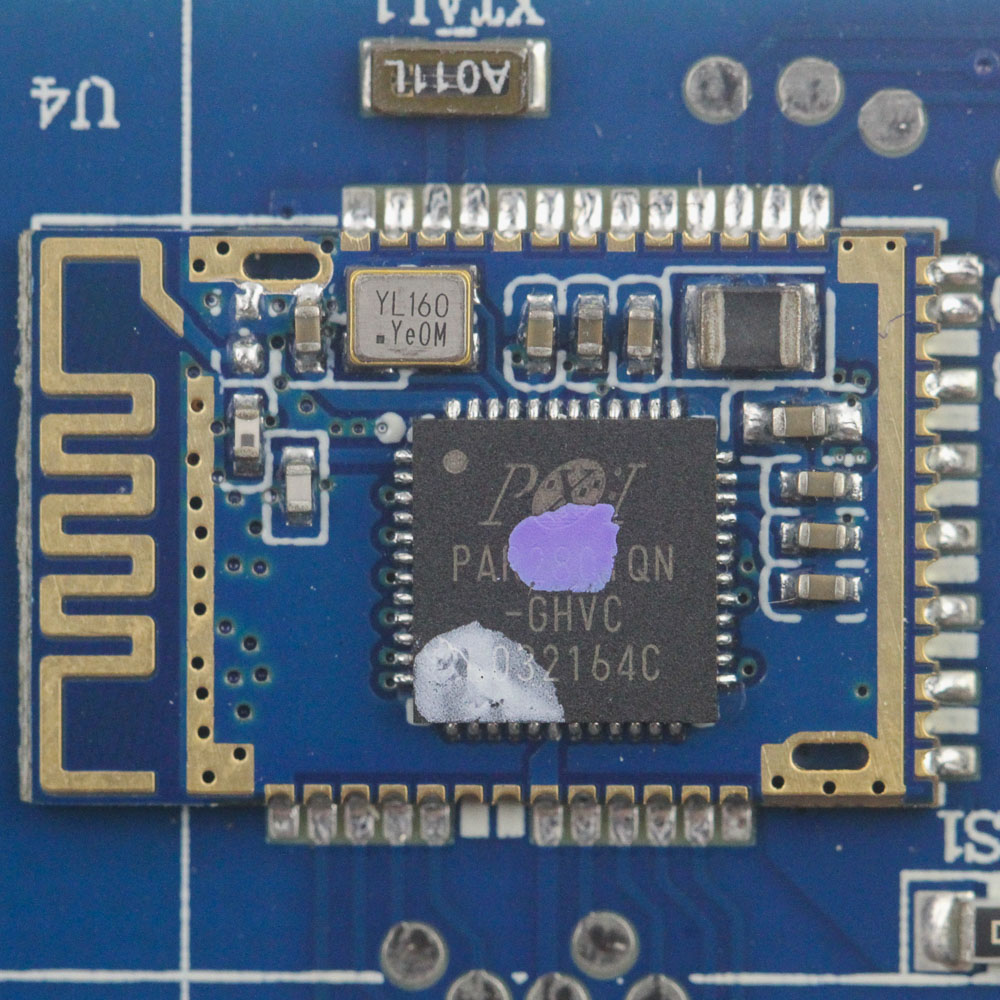

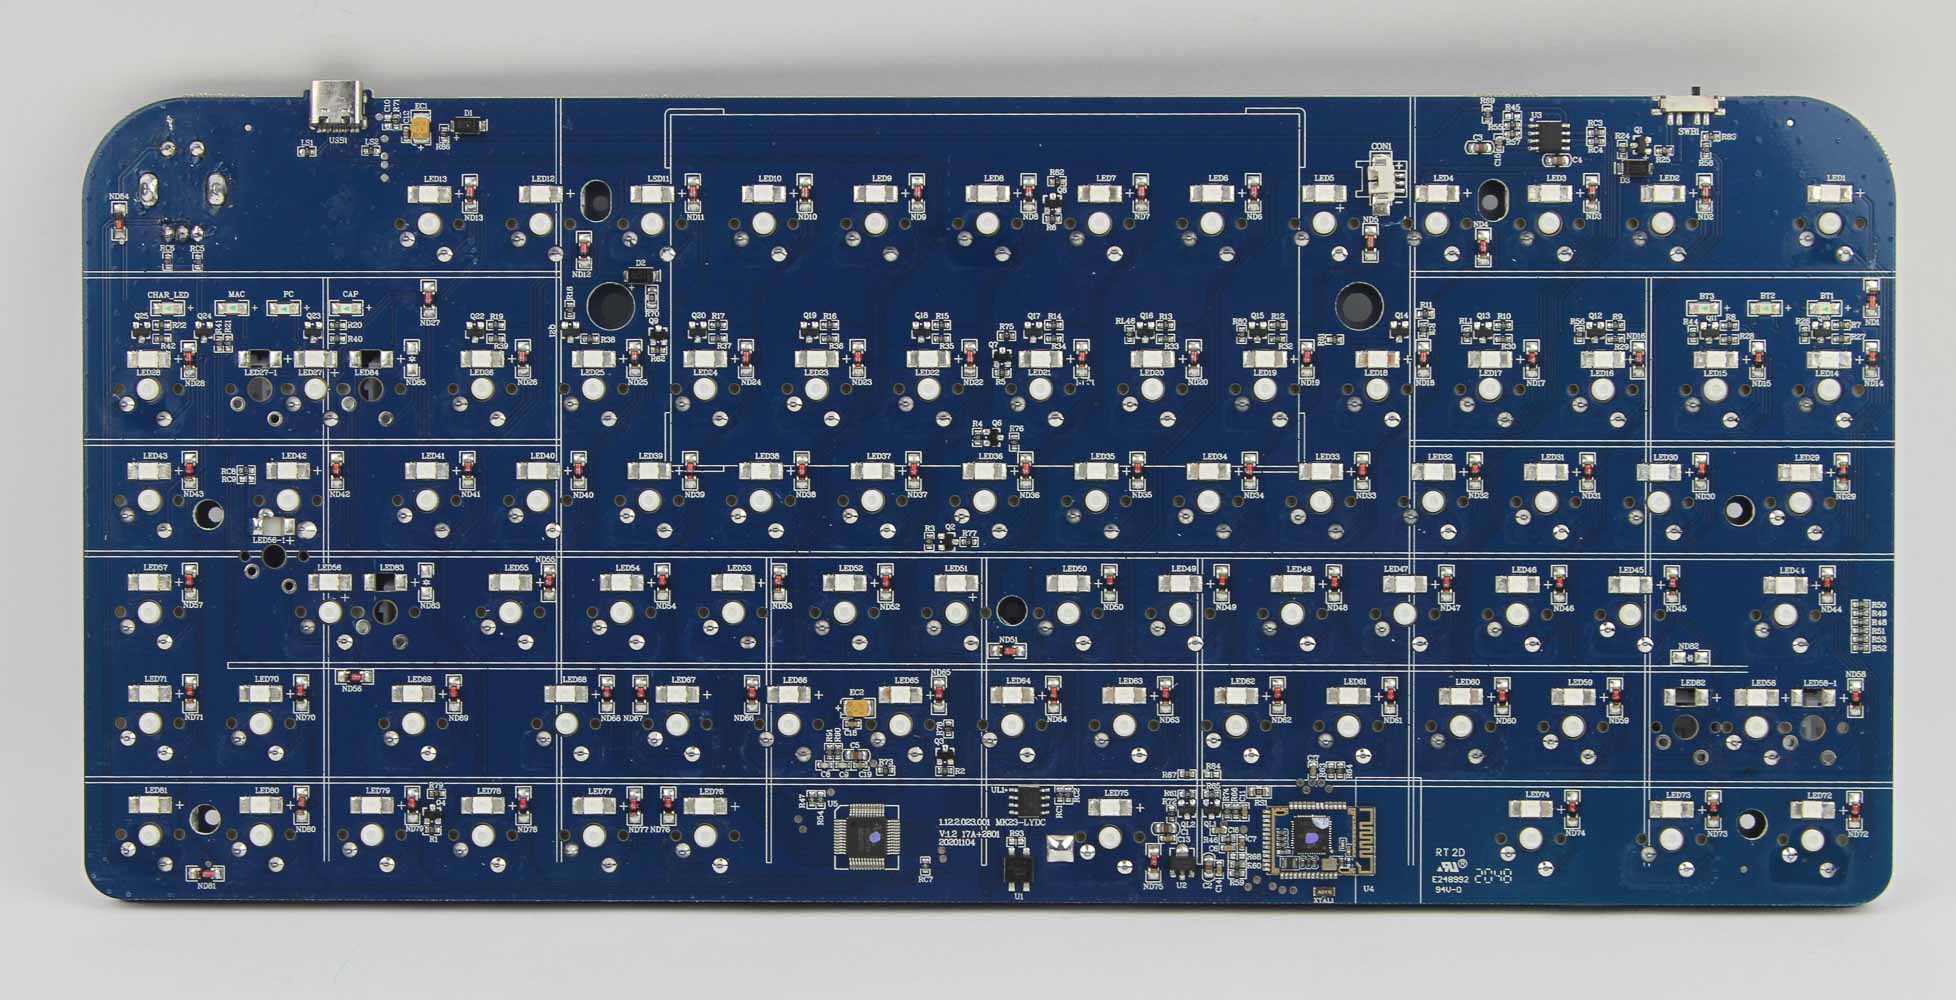
There is a simple switch with three positions for the toggle slider we saw before, and the USB port is on the other side of the PCB for wired mode. Powering the wired connectivity of the AZIO IZO is a Vision VS11K17A 32-bit ARM Cortex-M0 USB microcontroller for which there is little information aside from it having been used in similar keyboards in the past available online. Wireless connectivity is powered by a PixArt PXI2801QN Bluetooth 5.0 processor and integrated Cortex M0 32-bit microcontroller with 128 KB onboard flash memory and 80 KB SRAM. As is the norm, all the components, including the switches, LEDs, and capacitors, are soldered to a multi-layered PCB.
Before we move on, be advised that disassembly may void the warranty and that TechPowerUp is not liable for any damages incurred if you decide to go ahead and do so anyway.
Jul 14th, 2025 15:41 CDT
change timezone
Latest GPU Drivers
New Forum Posts
- Stupid things one has done with hardware (47)
- No offense, here are some things that bother me about your understanding of fans. (109)
- AMD 7Ghz? This keeps popping up on my feeds! (5)
- Best motherboards for XP gaming (151)
- Which CPU to Choose for a 7900 XT? Ryzen 7 7700 or Ryzen 5 9600X? (43)
- Bent pins on an AM5 mobo, any way to test them and also find which ones were on the schematic? (6)
- i7 2860QM how to raise power limit? (20)
- Arc 770a 16gb money pit (9)
- Frametime spikes and stuttering after switching to AMD CPU? (572)
- What's your latest tech purchase? (24265)
Popular Reviews
- Lexar NM1090 Pro 4 TB Review
- Our Visit to the Hunter Super Computer
- MSI GeForce RTX 5060 Gaming OC Review
- Fractal Design Epoch RGB TG Review
- NVIDIA GeForce RTX 5050 8 GB Review
- Corsair FRAME 5000D RS Review
- Sapphire Radeon RX 9060 XT Pulse OC 16 GB Review - An Excellent Choice
- Chieftec Iceberg 360 Review
- AMD Ryzen 7 9800X3D Review - The Best Gaming Processor
- Upcoming Hardware Launches 2025 (Updated May 2025)
TPU on YouTube
Controversial News Posts
- Intel's Core Ultra 7 265K and 265KF CPUs Dip Below $250 (288)
- Some Intel Nova Lake CPUs Rumored to Challenge AMD's 3D V-Cache in Desktop Gaming (140)
- AMD Radeon RX 9070 XT Gains 9% Performance at 1440p with Latest Driver, Beats RTX 5070 Ti (131)
- NVIDIA Launches GeForce RTX 5050 for Desktops and Laptops, Starts at $249 (122)
- NVIDIA GeForce RTX 5080 SUPER Could Feature 24 GB Memory, Increased Power Limits (115)
- Microsoft Partners with AMD for Next-gen Xbox Hardware (105)
- Intel "Nova Lake‑S" Series: Seven SKUs, Up to 52 Cores and 150 W TDP (100)
- NVIDIA DLSS Transformer Cuts VRAM Usage by 20% (97)