 14
14
be quiet! Dark Base Pro 900 Rev. 2 Review
Value & Conclusion »Test System
| System Parts for Case Reviews | |
|---|---|
| Processor: | Intel Core i5-8600K |
| Motherboards: | ATX: MSI Z370 GAMING PRO CARBON AC MATX: Z370M GAMING PRO CARBON Mini-ITX: MSI Z370i GAMING PRO CARBON Provided by: MSI |
| Graphics Card: | Long: ASUS Radeon RX580 Short: HIS Radeon 5350 HD |
| Memory: | 16 GB XPG Dazzle DDR4 2800 MHz CL17-17-17 1.25 V 32 GB GB XPG SPECTRIX D40 3000 MHz. CL16-18-18 1.35 V 16 GB XPG GAMMIX D10 DDR4 2400 MHz CL16-16-16 1.20 V Provided by: ADATA |
| HDD: | Western Digital 320 GB 7200 RPM |
| SSD: | ADATA XPG SX850 256 GB ADATA Ultimate SU800 3D 256 GB ADATA Ultimate SU700 240 GB Provided by: ADATA |
| Power Supply: | Antec High Current Gamer 650 W Antec High Current Gamer 750 W Provided by: Antec |
| Cooling: | be quiet! Dark Rock 4 be quiet! Pure Slim be quiet! Shadow Rock 2 be quiet! Shadow Rock LP Provided by: be quiet! |
Assembly

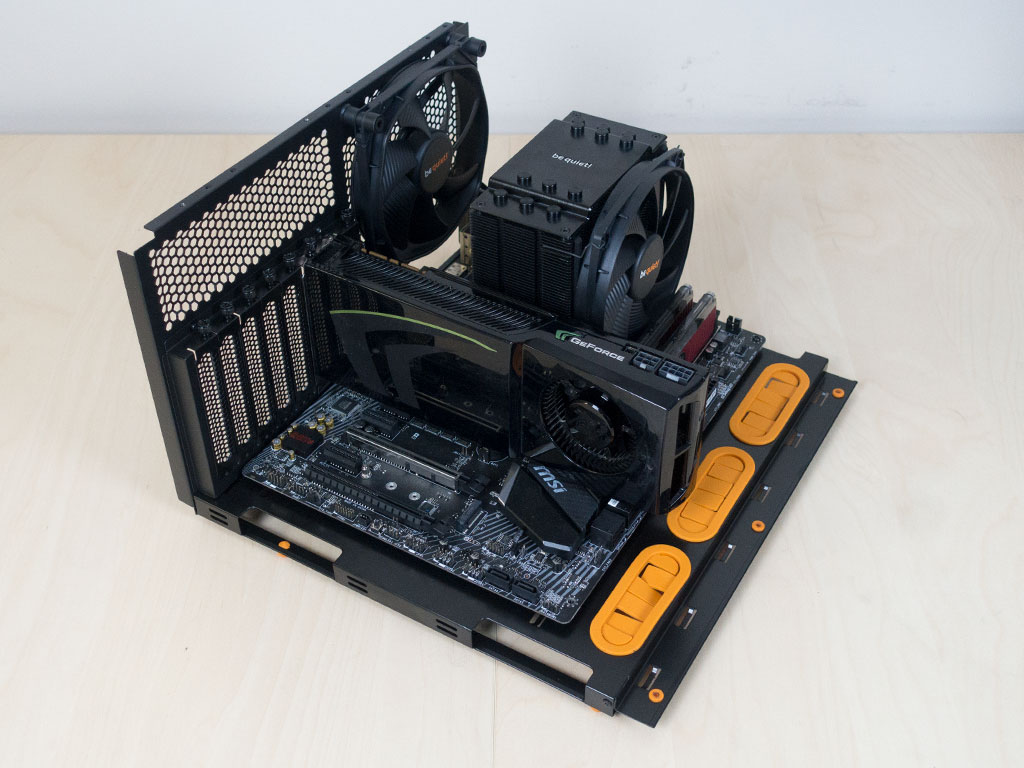

As you may remove the motherboard tray, you may also add all the major components within the restrictions of the chassis frame. This makes assembly of large air coolers and multi-GPU setups quite easy. Once they have been put in place, simply replace the filled tray. While this is great, the majority of us will probably just skip taking the tray out by adding the components the traditional way, as there is plenty of space all around.
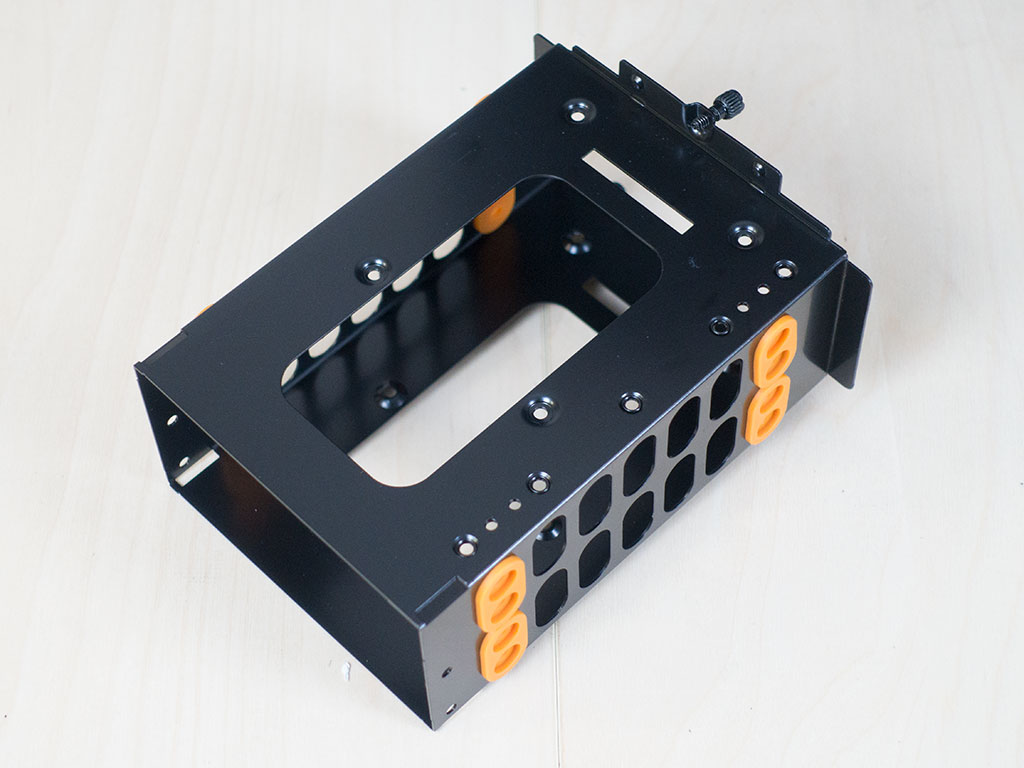
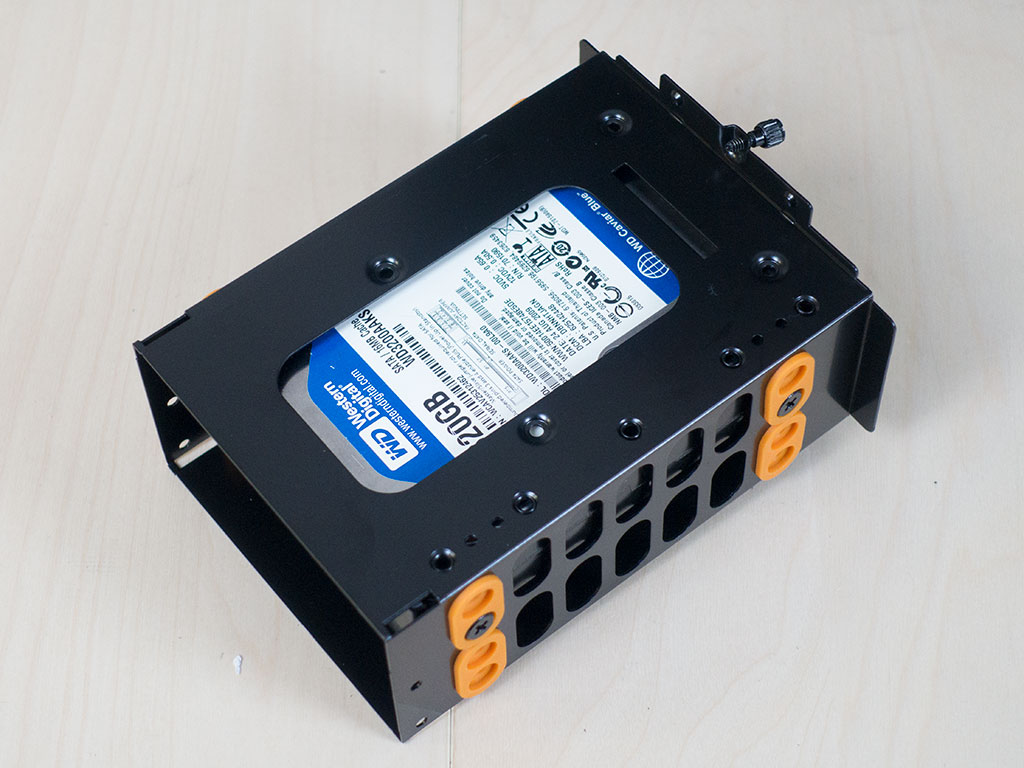

To install hard drives inside the 3.5" trays, simply loosen the three thumbscrews and pull the whole contraption out toward the motherboard tray. Each of these metal units may hold a 3.5" drive or two 2.5" units. Remember that pump-mounting accessory? That would go on top of one of the hard-drive trays, so you can even adjust the height at which the pump is placed.
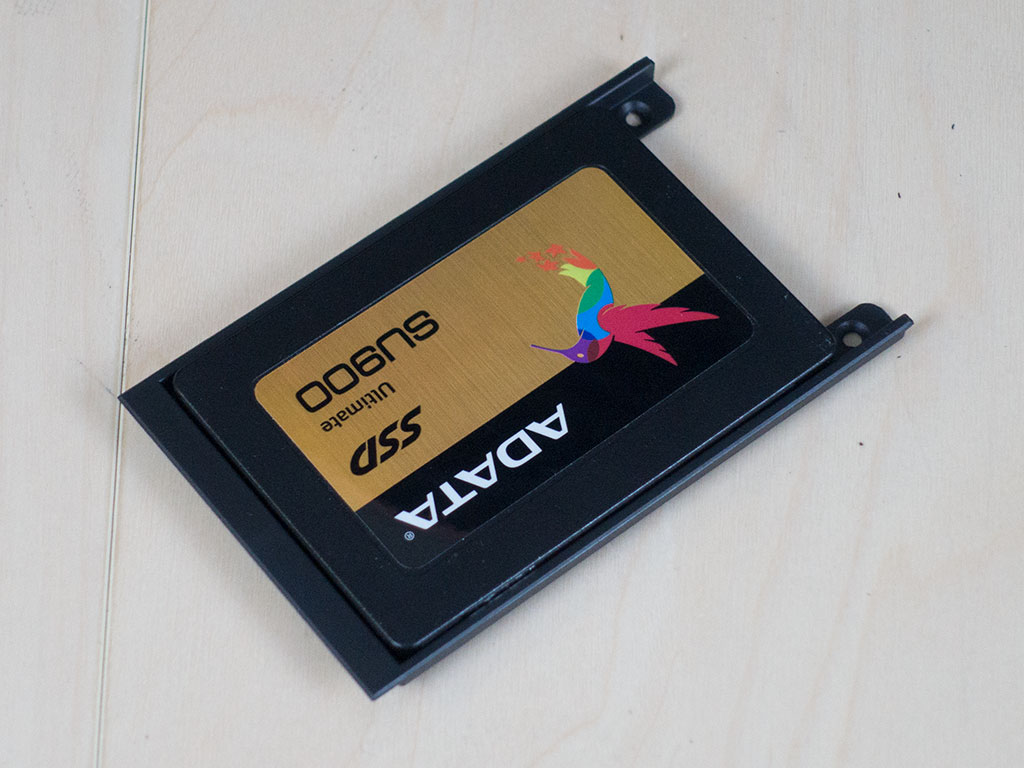
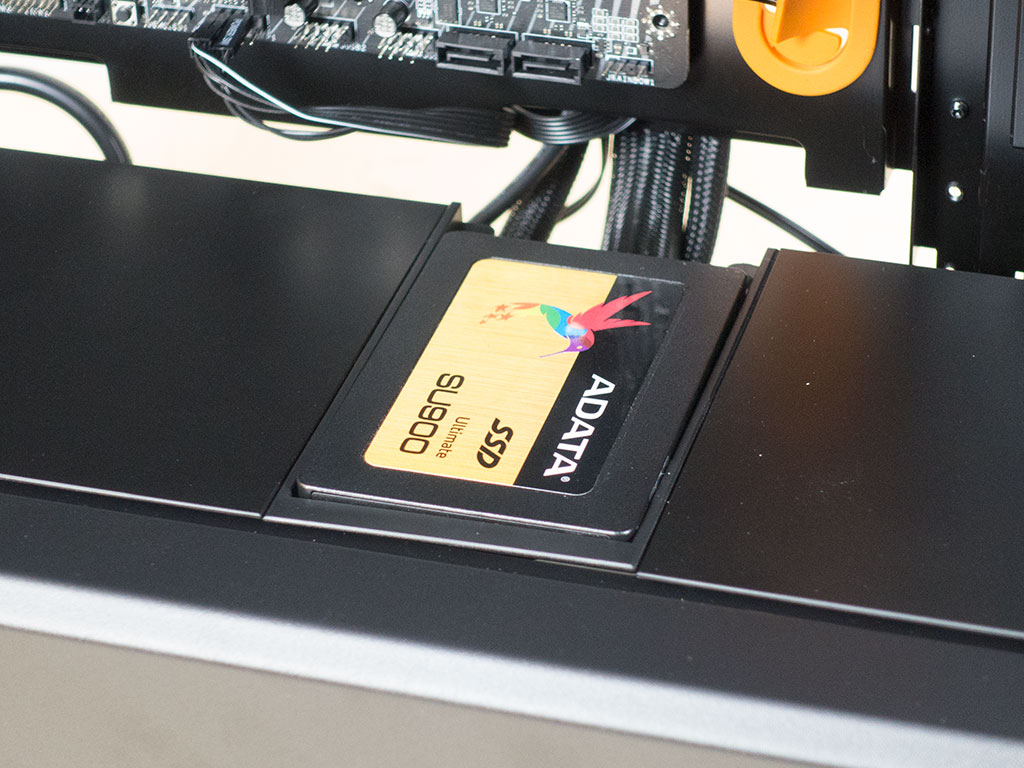
We will skip that generic SSD bracket in the back and go straight for the new one meant to go on top of the shroud. Simply fill it using traditional screws, and put it into place where it fits right in.
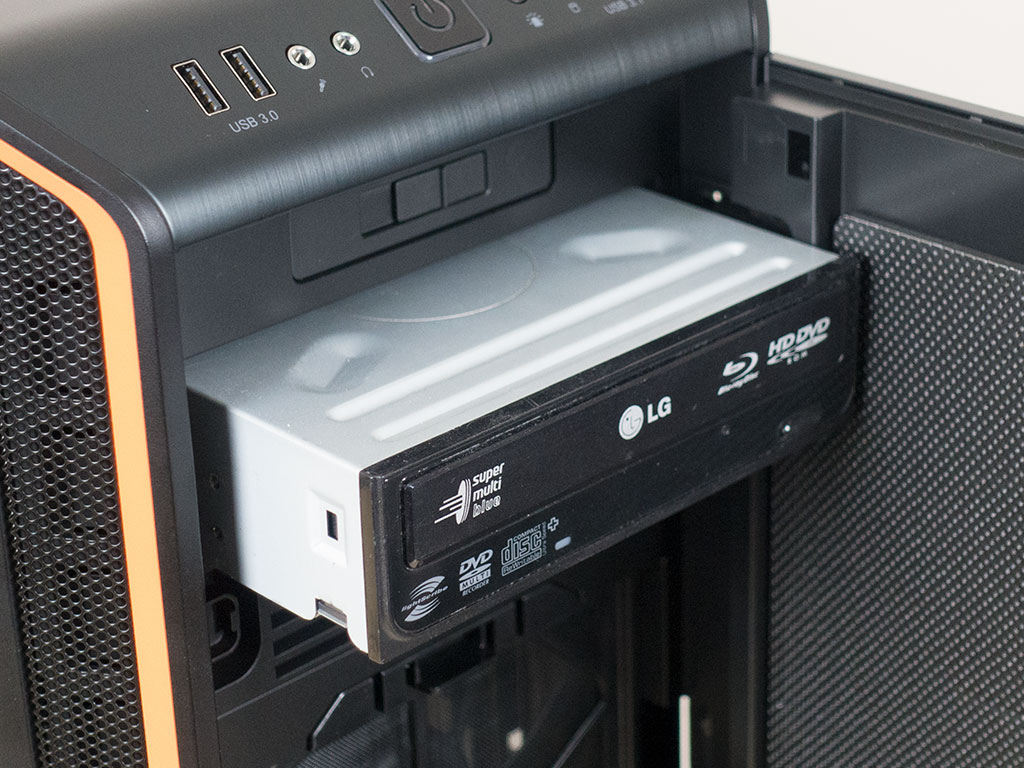
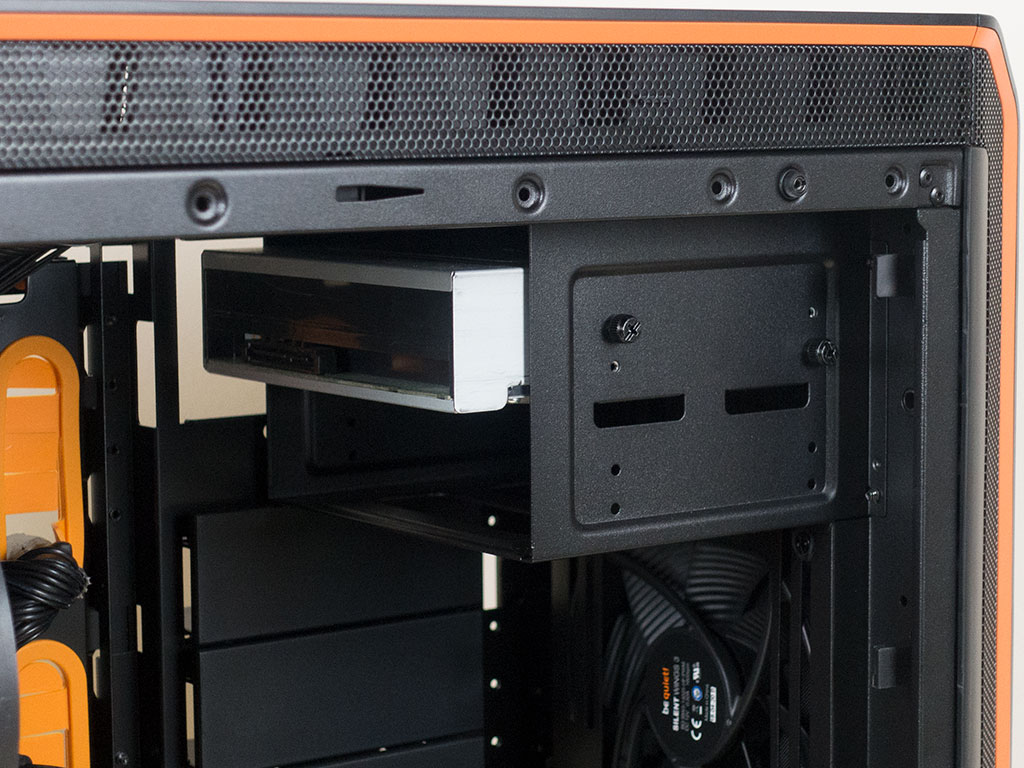
Adding an optical drive bay is the one assembly element that has been kept traditional. Simply remove the front cover and slide the drive into place. As you can see, the mounting holes line up perfectly with the drive, allowing you to secure it easily.
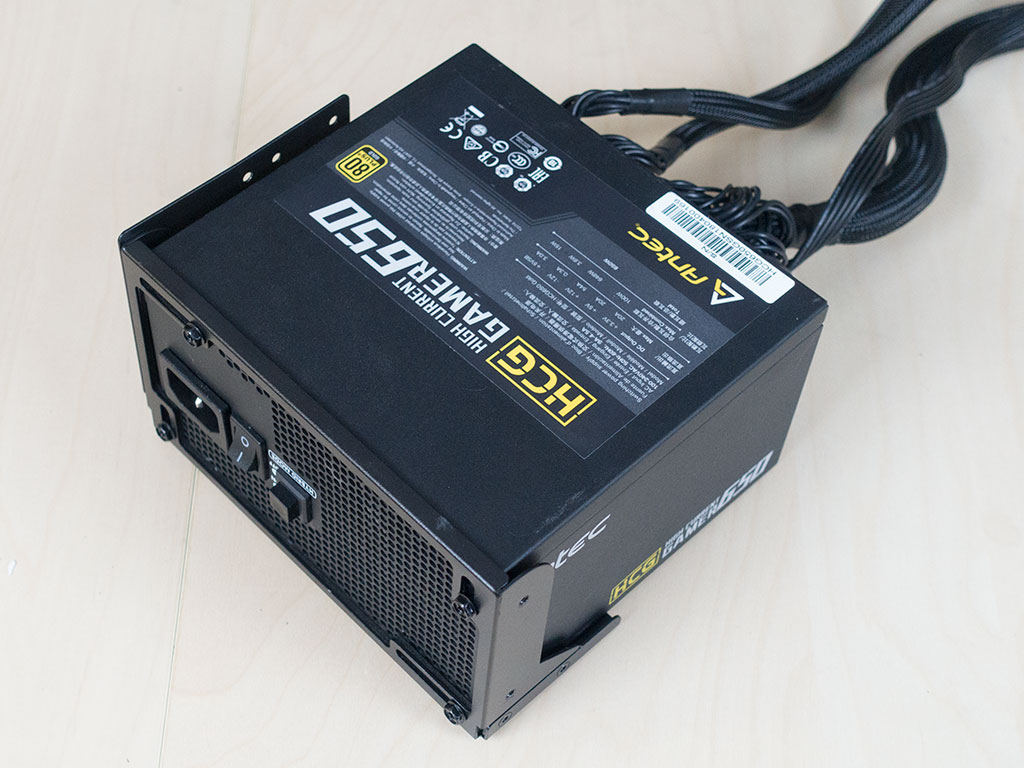
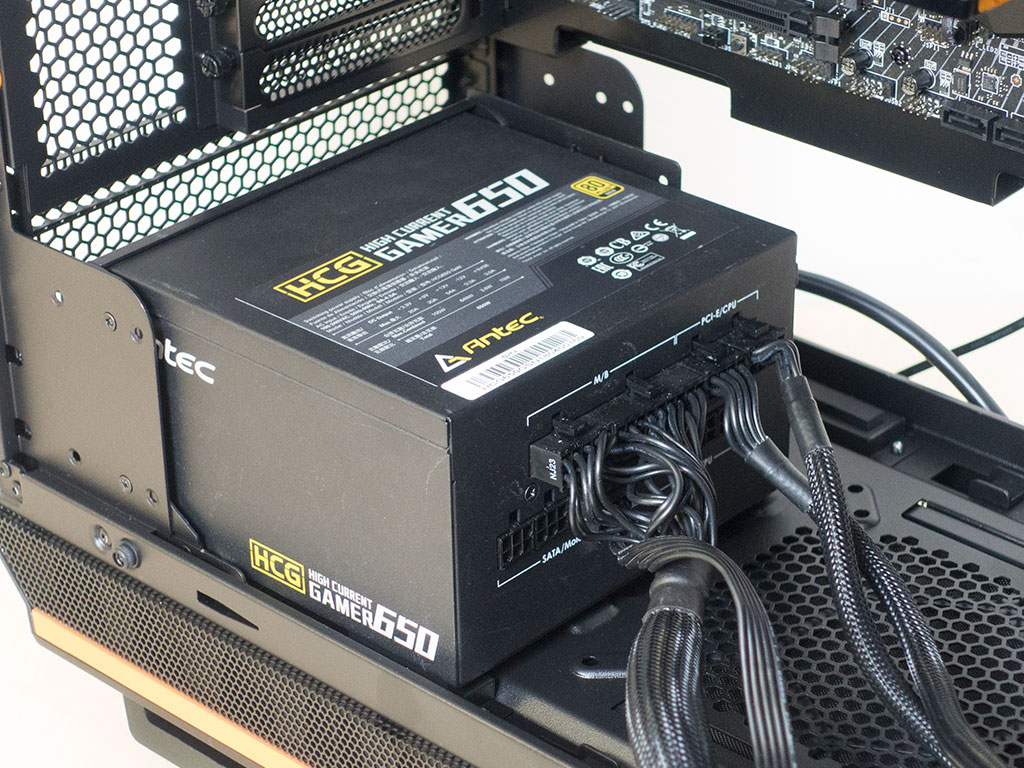
To install the power supply, you first have to take out the special frame. It is held in place by screws with a sliding mechanism, so you can put it back in place once filled quite easily. There is loads of space for large units unless you choose to install fans or liquid cooling on the floor, which would restrict your choices considerably.
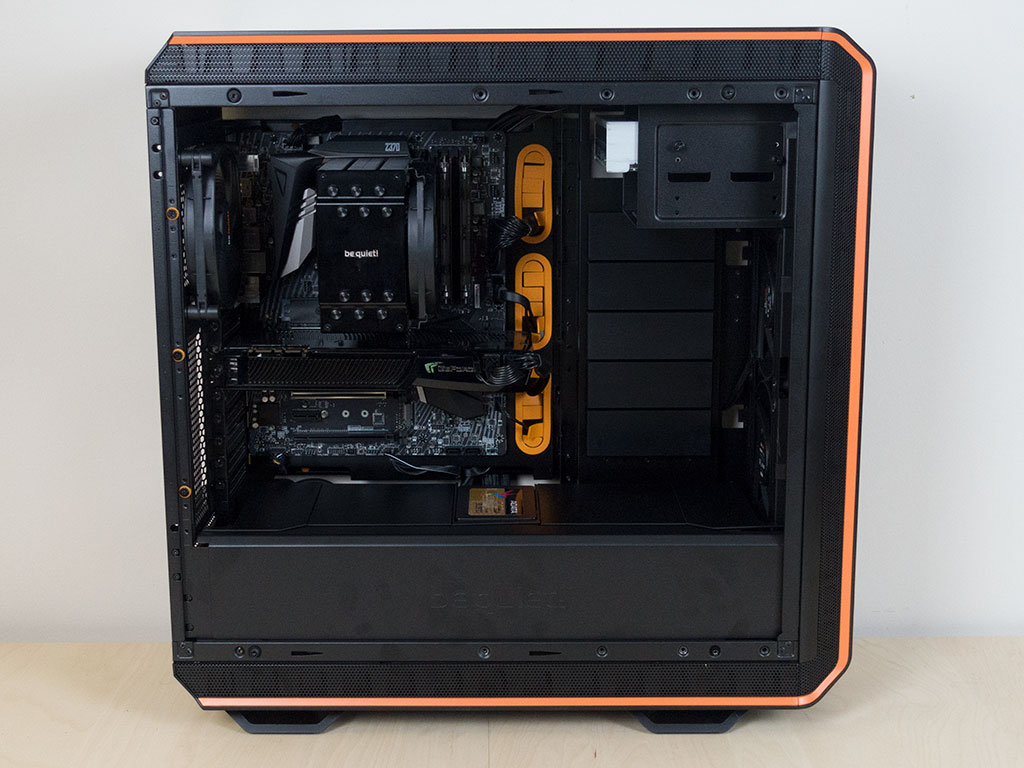
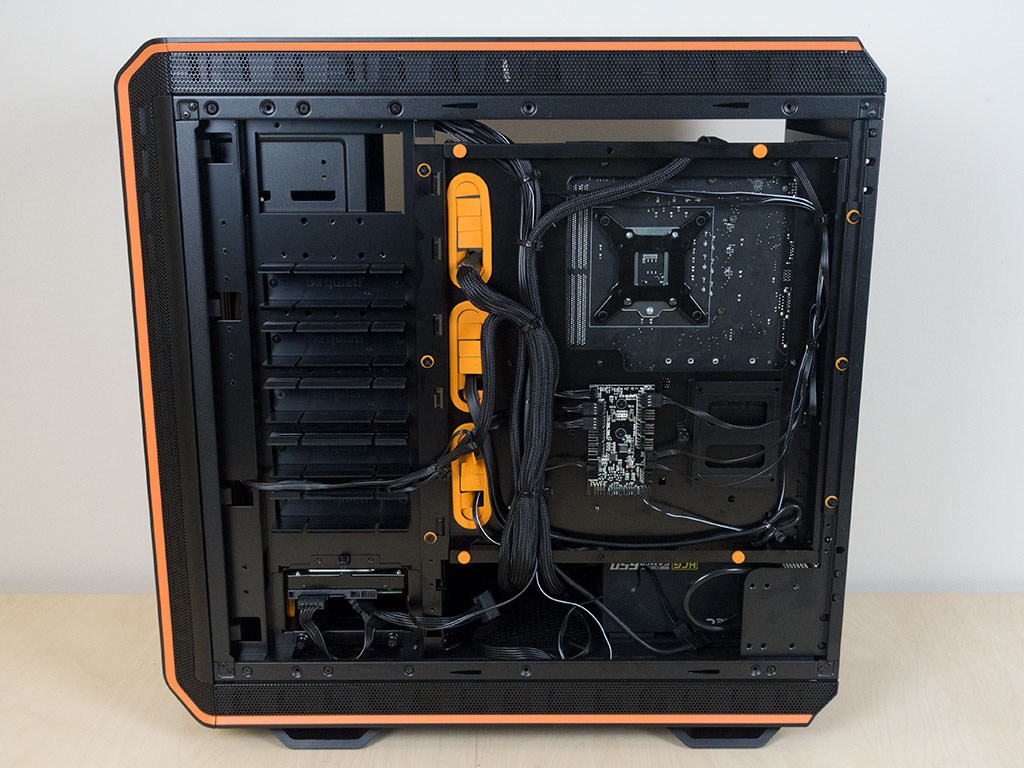
With everything in place, the interior of the be quiet! makes a very clean impression. While you may see the PSU cables with the white backdrop here, those should blend in nicely with the interior once the solid black side panel is in place. Most of the cable mess can be found behind the motherboard tray. While my setup looks a bit cluttered, this is by no means be quiet!'s fault. I could have used the mounting points to the left of the orange grommets to secure some of the cables better.
Finished Looks
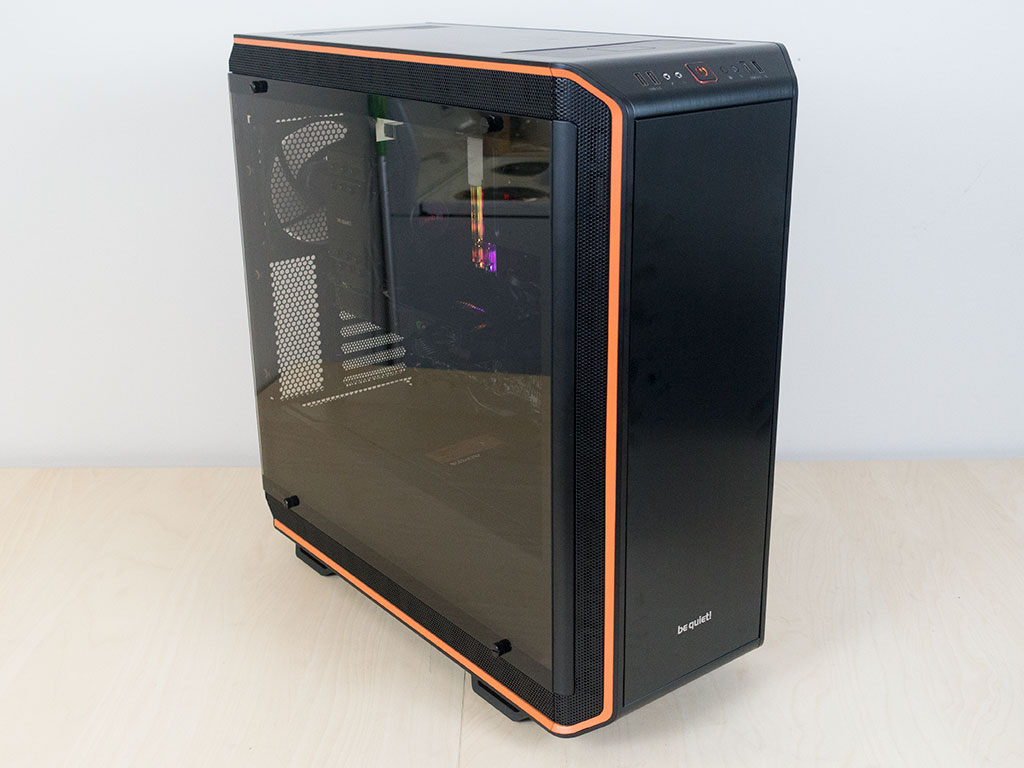

Once everything is assembled, the be quiet! Dark Base Pro 900 rev. 2 looks darn sleek and sexy. Thanks to the front door, the drive is not visible and everything looks super clean. An orange LED behind the power button lights up as well to let you know the system is on.
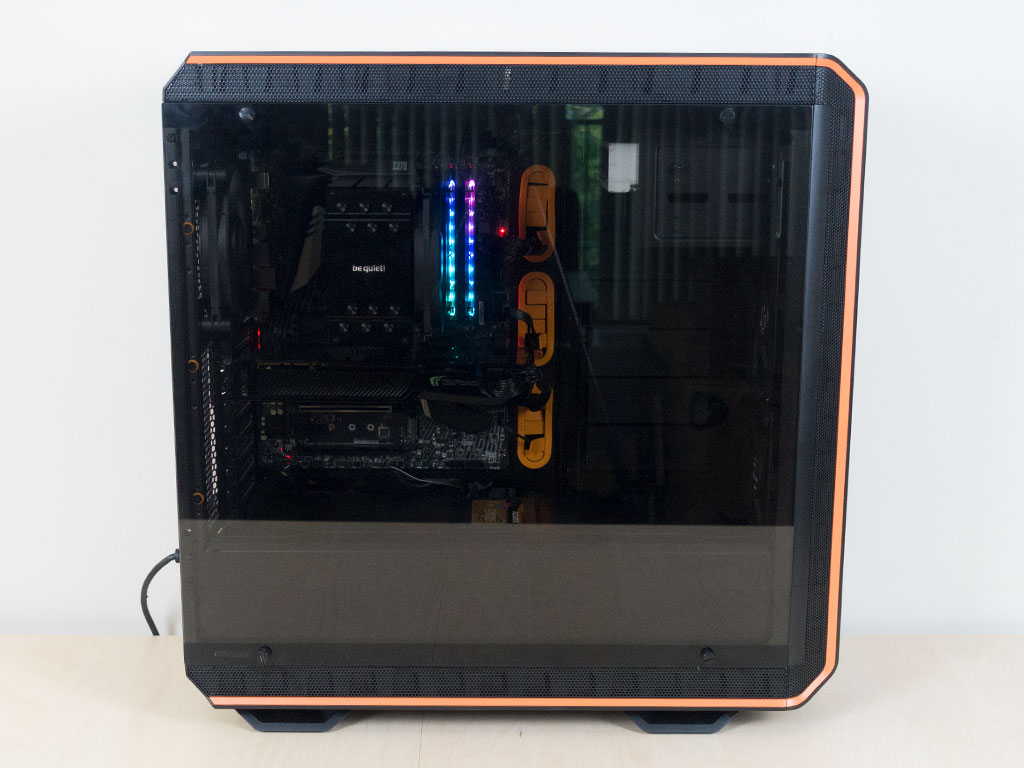
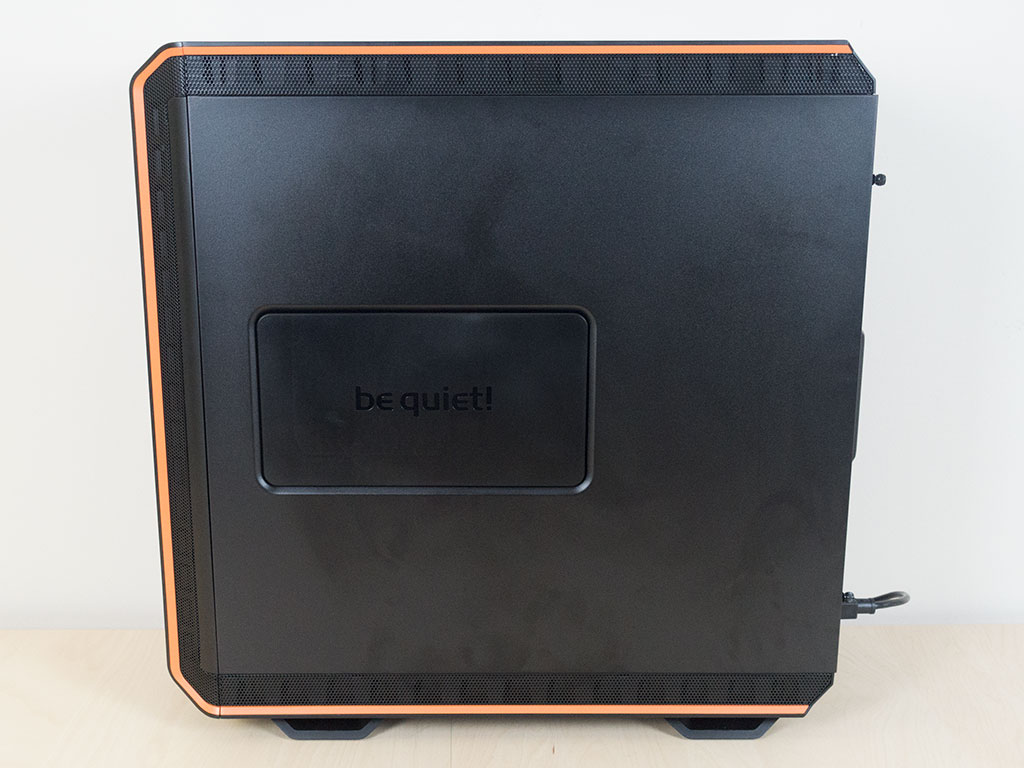
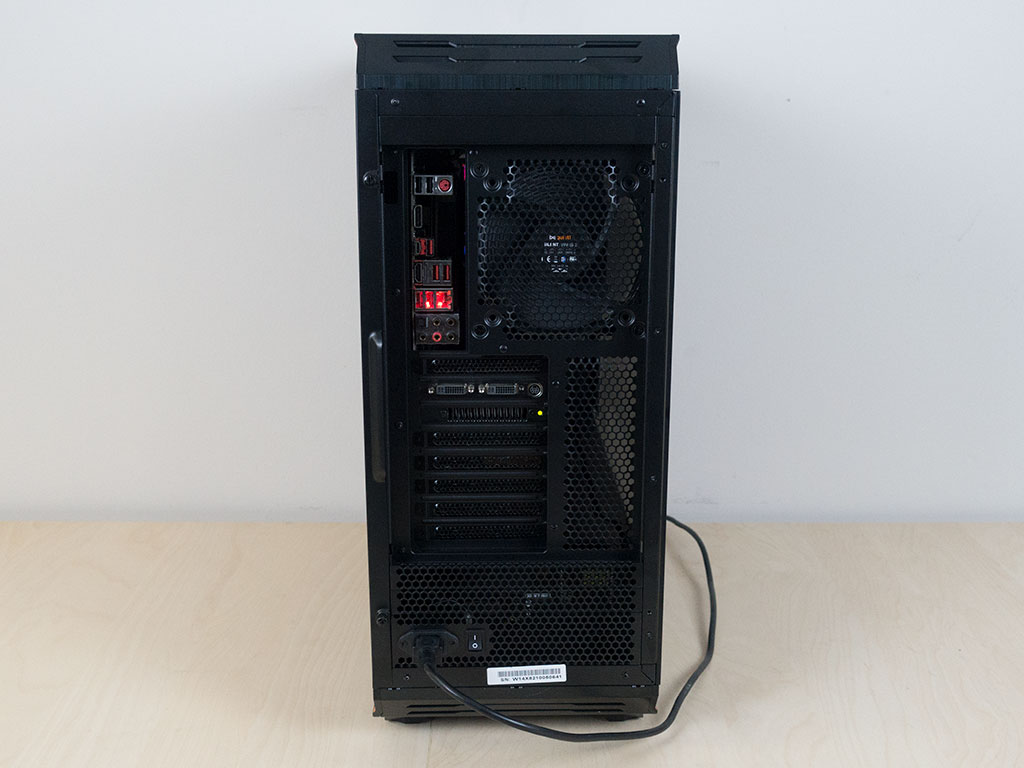
Thanks to the light tint of the glass panel, you can clearly see all the components inside in even a well-lit room and without any major lighting elements within the Dark Base Pro 900 rev. 2. The new shroud looks great inside the chassis from this vantage point. The other side and rear, on the other hand, are exactly as you would expect them to be, identical to the original revision.
Jul 5th, 2025 18:36 CDT
change timezone
Latest GPU Drivers
New Forum Posts
- [GPU-Z Test Build] New Kernel Driver, Everyone: Please Test (69)
- How do you view TPU & the internet in general? (With poll) (80)
- EVGA XC GTX 1660 Ti 8GB ROM (11)
- Rx580 subsystem id (0)
- What are you playing? (23893)
- Do you use Linux? (677)
- Optane performance on AMD vs Intel (58)
- Frametime spikes and stuttering after switching to AMD CPU? (521)
- Stalker 2 is looking great. (187)
- b550m aorus elite not posting with new ram (7)
Popular Reviews
- NVIDIA GeForce RTX 5050 8 GB Review
- Fractal Design Scape Review - Debut Done Right
- Crucial T710 2 TB Review - Record-Breaking Gen 5
- ASUS ROG Crosshair X870E Extreme Review
- PowerColor ALPHYN AM10 Review
- Sapphire Radeon RX 9060 XT Pulse OC 16 GB Review - An Excellent Choice
- Upcoming Hardware Launches 2025 (Updated May 2025)
- AMD Ryzen 7 9800X3D Review - The Best Gaming Processor
- Sapphire Radeon RX 9070 XT Nitro+ Review - Beating NVIDIA
- NVIDIA GeForce RTX 5060 8 GB Review
TPU on YouTube
Controversial News Posts
- Intel's Core Ultra 7 265K and 265KF CPUs Dip Below $250 (288)
- NVIDIA Grabs Market Share, AMD Loses Ground, and Intel Disappears in Latest dGPU Update (212)
- Some Intel Nova Lake CPUs Rumored to Challenge AMD's 3D V-Cache in Desktop Gaming (140)
- NVIDIA GeForce RTX 5080 SUPER Could Feature 24 GB Memory, Increased Power Limits (115)
- Microsoft Partners with AMD for Next-gen Xbox Hardware (105)
- NVIDIA Launches GeForce RTX 5050 for Desktops and Laptops, Starts at $249 (105)
- AMD Radeon RX 9070 XT Gains 9% Performance at 1440p with Latest Driver, Beats RTX 5070 Ti (102)
- Intel "Nova Lake‑S" Series: Seven SKUs, Up to 52 Cores and 150 W TDP (100)