 23
23
Bykski CPU-FIRE-ON-I CPU Water Block Review
Liquid Flow Restriction »Installation and Lighting
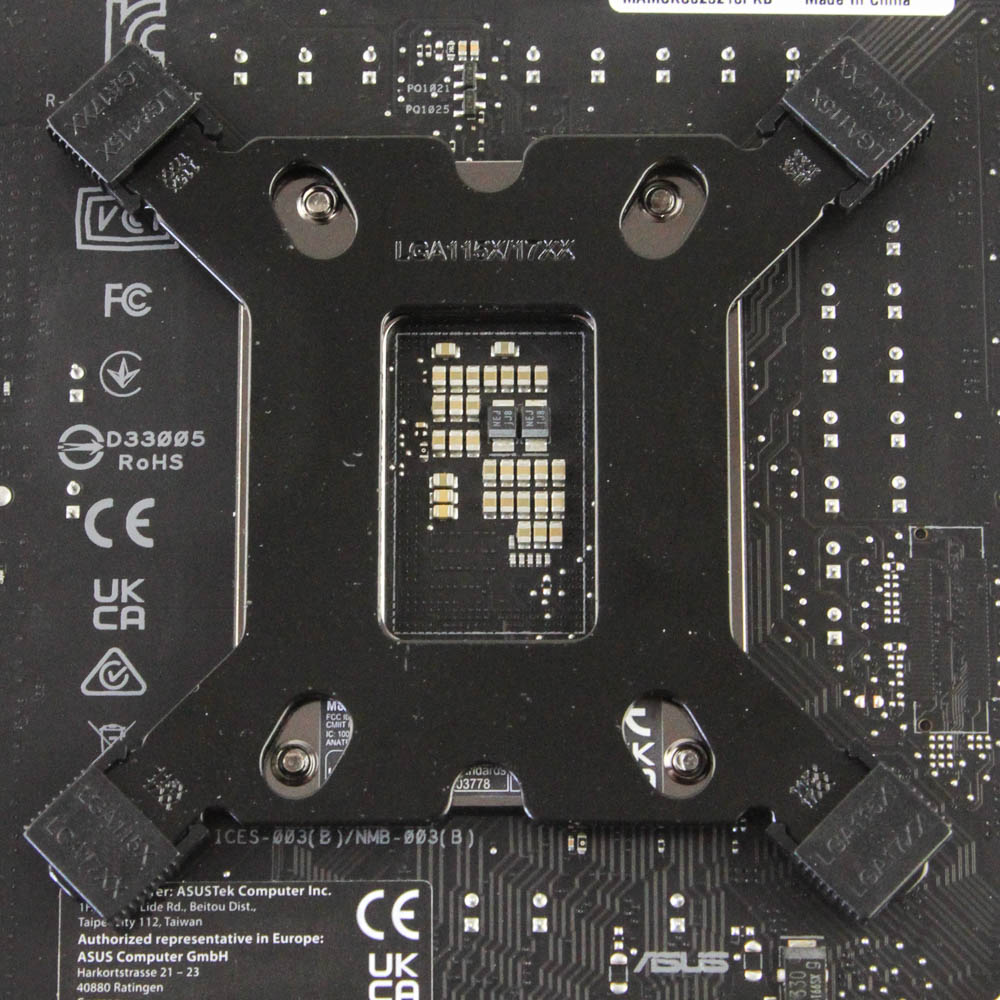

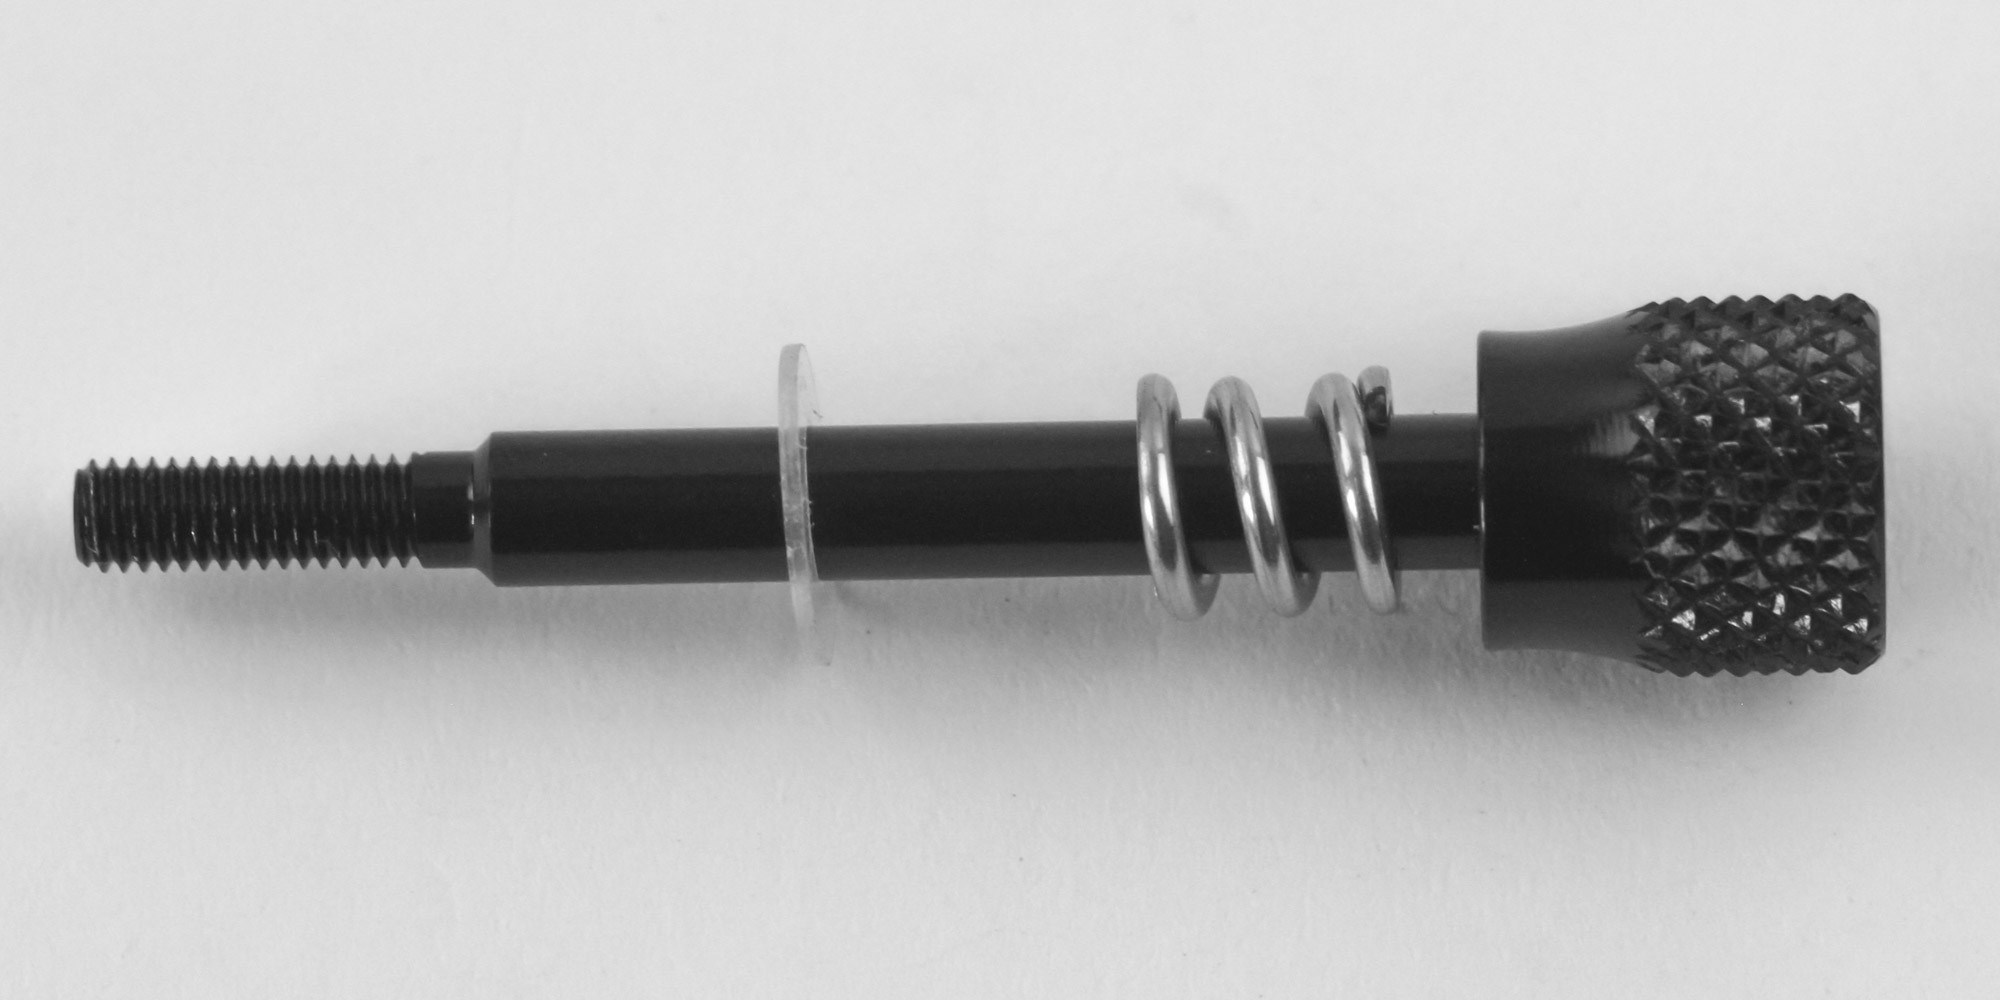


Installing the Bykski CPU-FIRE-ON-I CPU block is less complicated than the more universally compatible blocks since it is designed only for Intel platforms and has the mounting bracket pre-installed. First, orient the threads in the Intel backplate to correspond to LGA 1700, although many motherboards will have two sets of cooler mounting holes anyway. Then peel the protective covers off the 3M tape on the contact surface of the backplate which helps prevent any electrical shorting. Place the backplate in such a way that the four threaded inserts line up with the cooler mounting holes around the CPU. If done correctly, you will observe all four threaded inserts jut out slightly from the surface of the motherboard itself. Apply thermal paste on the CPU IHS and then position the block over the CPU before having the four sets of mounting posts/springs/washers go through the backplate inserts in a diagonal manner. As with the Bykski CPU-XPR-C-I, this is a non-precise installation and involves some guesswork in making sure the mounting pressure is even all around. Now connect the MOLEX cable (display) to your PSU and use the provided cable with adapter to connect the RGB cable to your motherboard LED header, although Bykski also sells its own LED controllers which simply accept the native cable connector itself.
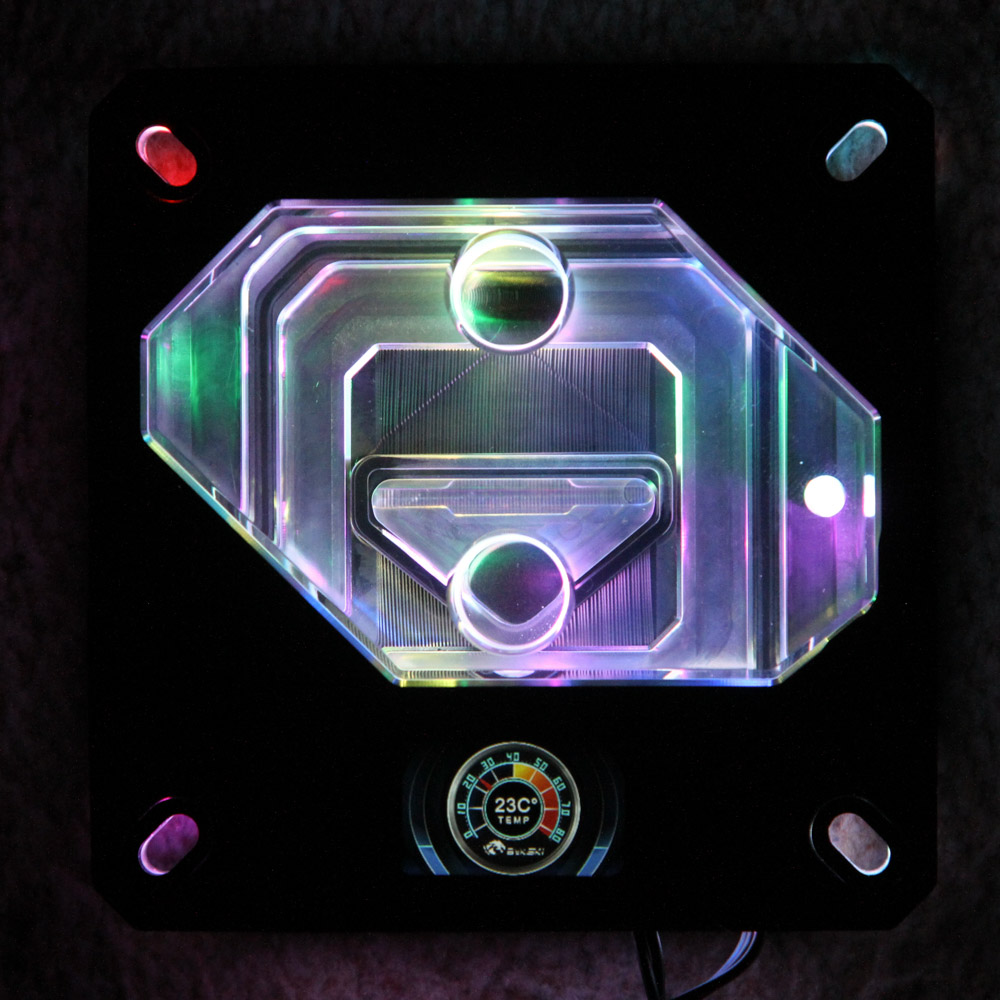
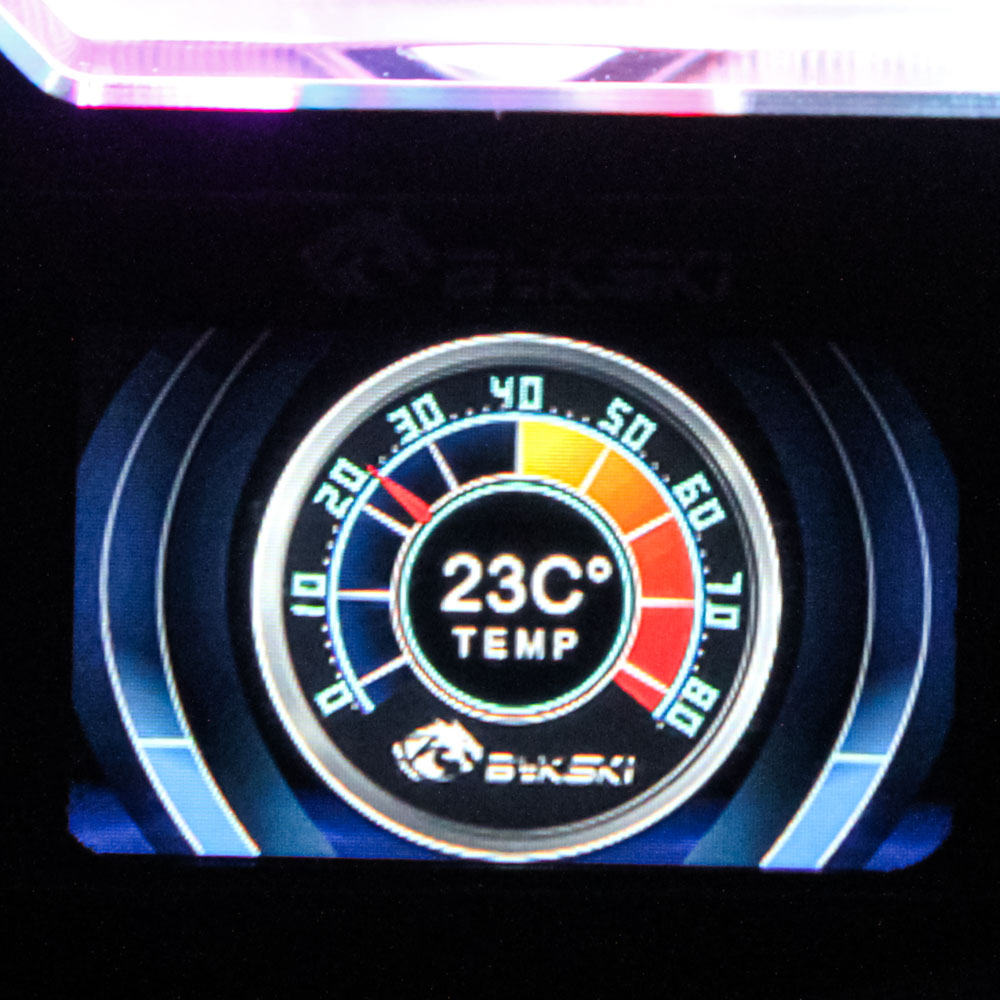

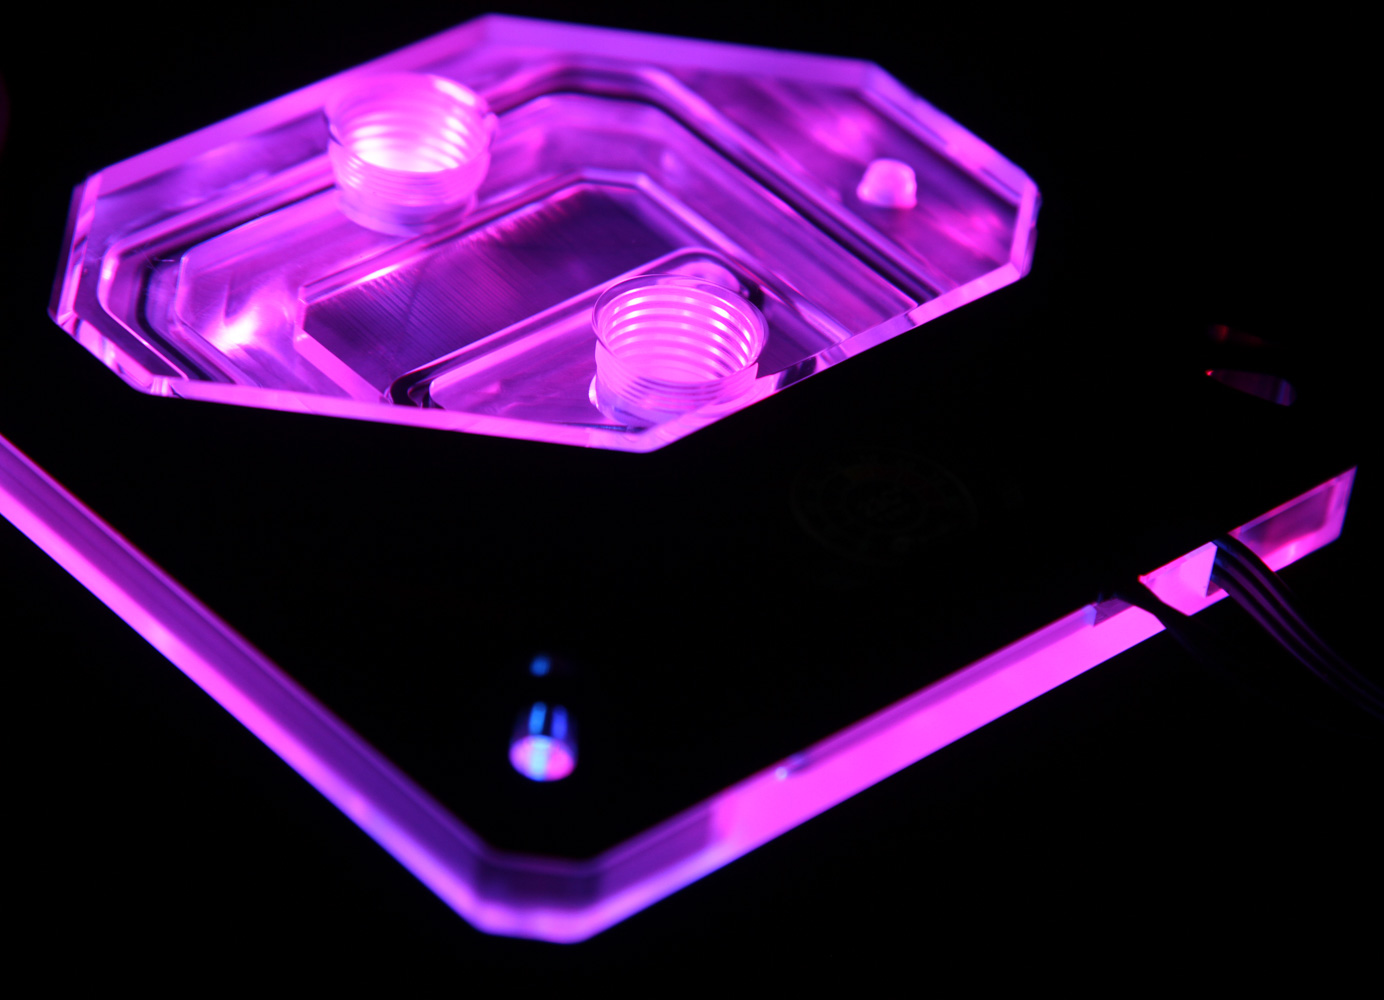
There are 12 ARGB LEDs in this CPU block spread evenly on all four sides and firing inwards to light up the clear acrylic top in addition to providing some side lighting too. The black PMMA section hides the actual LEDs, thus preventing you from seeing them as point light sources and offering a more diffused lighting effect as a result. I'd say the block does a good job in showcasing the LEDs and offering a decent light show for anyone wanting to coordinate lighting with other components in their PC. Then there's the display which you are unable to customize, but ends up showing the coolant temperature in a radial gauge similar to a speedometer. I am not sure that you will really be able to read the numbers from a typical seating position if your case is, say, two feet or further away from your eyes though.
Jul 12th, 2025 09:35 CDT
change timezone
Latest GPU Drivers
New Forum Posts
- Gigabyte graphic cards - TIM gel SLIPPAGE problem (151)
- No offense, here are some things that bother me about your understanding of fans. (36)
- Stupid buggy POS Realtek WiFi RTL8852BE (11)
- Swapping existing router w/ a replacement; any issues? (14)
- 'NVIDIA App' not usable offline? (13)
- Chrome has removed uBlock Origin 1.64.0 (remove google search suggestions) (12)
- Share your AIDA 64 cache and memory benchmark here (3097)
- The Official Linux/Unix Desktop Screenshots Megathread (778)
- [GPU-Z Test Build] New Kernel Driver, Everyone: Please Test (90)
- NVIDIA App (55)
Popular Reviews
- Fractal Design Epoch RGB TG Review
- Lexar NM1090 Pro 4 TB Review
- Corsair FRAME 5000D RS Review
- NVIDIA GeForce RTX 5050 8 GB Review
- NZXT N9 X870E Review
- Our Visit to the Hunter Super Computer
- Sapphire Radeon RX 9060 XT Pulse OC 16 GB Review - An Excellent Choice
- AMD Ryzen 7 9800X3D Review - The Best Gaming Processor
- Upcoming Hardware Launches 2025 (Updated May 2025)
- Chieftec Iceberg 360 Review
TPU on YouTube
Controversial News Posts
- Intel's Core Ultra 7 265K and 265KF CPUs Dip Below $250 (288)
- Some Intel Nova Lake CPUs Rumored to Challenge AMD's 3D V-Cache in Desktop Gaming (140)
- AMD Radeon RX 9070 XT Gains 9% Performance at 1440p with Latest Driver, Beats RTX 5070 Ti (131)
- NVIDIA Launches GeForce RTX 5050 for Desktops and Laptops, Starts at $249 (119)
- NVIDIA GeForce RTX 5080 SUPER Could Feature 24 GB Memory, Increased Power Limits (115)
- Microsoft Partners with AMD for Next-gen Xbox Hardware (105)
- Intel "Nova Lake‑S" Series: Seven SKUs, Up to 52 Cores and 150 W TDP (100)
- NVIDIA DLSS Transformer Cuts VRAM Usage by 20% (97)