 21
21
Cooler Master MasterCase SL600M Review
Value & Conclusion »Test System
| System Parts for Case Reviews | |
|---|---|
| Processor: | Intel Core i7-8600K |
| Motherboards: | ATX: MSI Z370 GAMING PRO CARBON AC MATX: Z370M GAMING PRO CARBON Mini-ITX: MSI Z370i GAMING PRO CARBON Provided by: MSI |
| Graphics Card: | Long: ASUS Radeon RX580 Short: HIS Radeon 5350 HD |
| Memory: | 16 GB XPG Dazzle DDR4 2800 MHz CL17-17-17 1.25 V 32 GB GB XPG SPECTRIX D40 3000 MHz. CL16-18-18 1.35 V 16 GB XPG GAMMIX D10 DDR4 2400 MHz CL16-16-16 1.20 V Provided by: ADATA |
| HDD: | Western Digital 320 GB 7200 RPM |
| SSD: | ADATA XPG SX850 256 GB ADATA Ultimate SU800 3D 256 GB ADATA Ultimate SU700 240 GB Provided by: ADATA |
| Power Supply: | Antec HCG High Currency Gamer 850 W Provided by: Antec |
| Cooling: | be quiet! Dark Rock 4 be quiet! Pure Slim be quiet! Shadow Rock 2 be quiet! Shadow Rock LP Provided by: be quiet! |
Assembly

Installing a motherboard is done by traditional means. There is loads of space within the SL600M, which means you should run into no issues with even large CPU coolers. Longer graphics cards should also fit, but the unique layout limits you to 318 mm, which could be an issue for some of the largest choices out there.
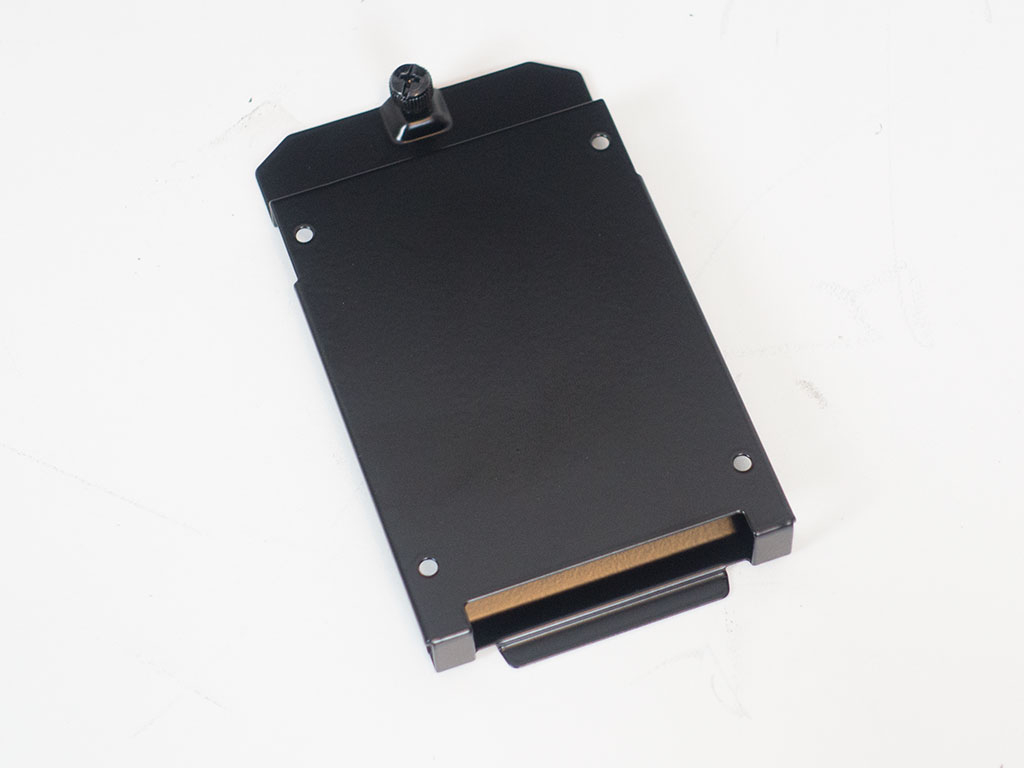
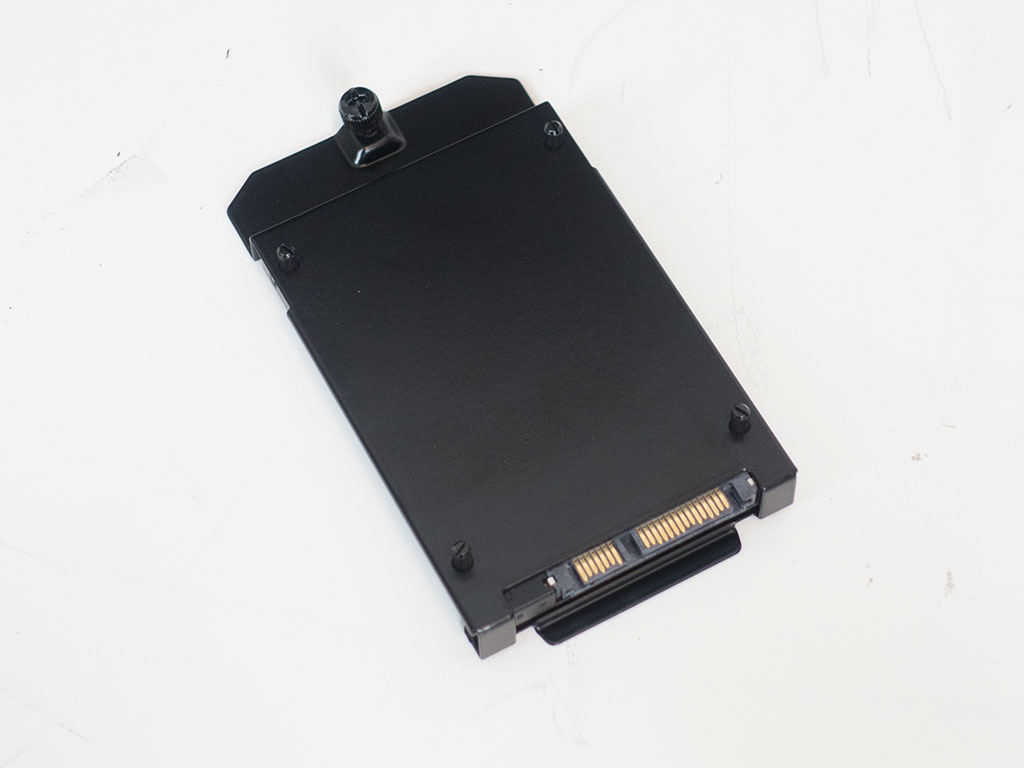
Cooler Master employs various methods of installing SSDs. Interestingly enough, our sample did not feature any traditional screws to mount the unit inside one of the metal trays, so I just used the thin screws that are meant to enable you to pop such drives into the rubber-ringed holes found on the display plate within the case.
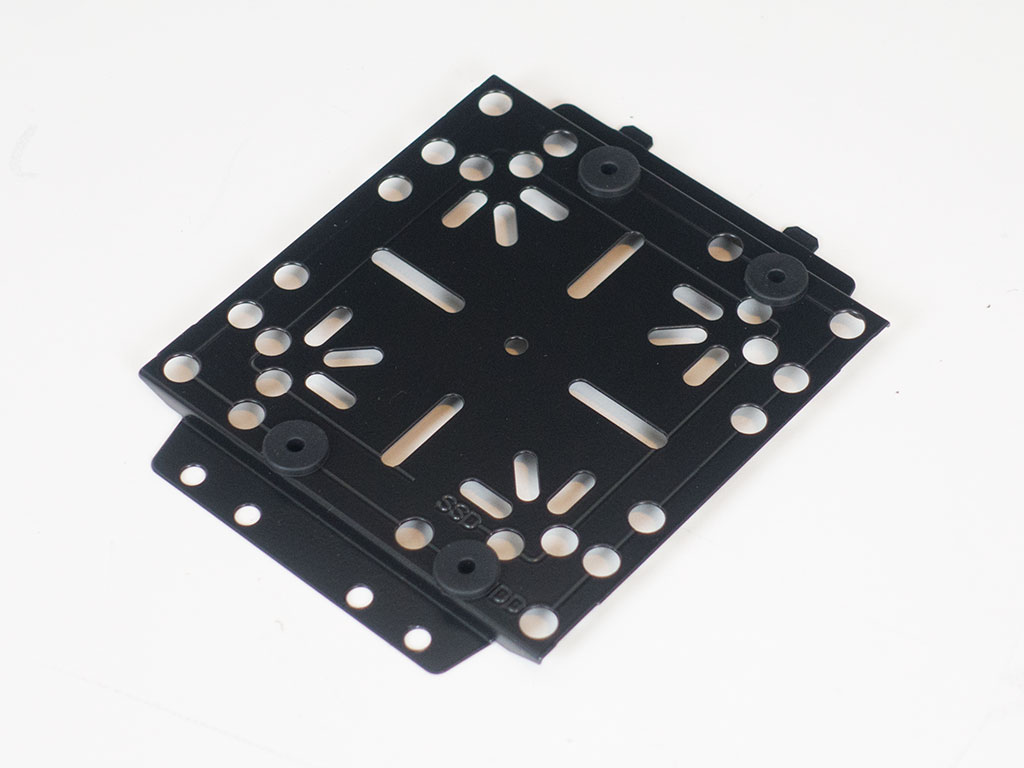
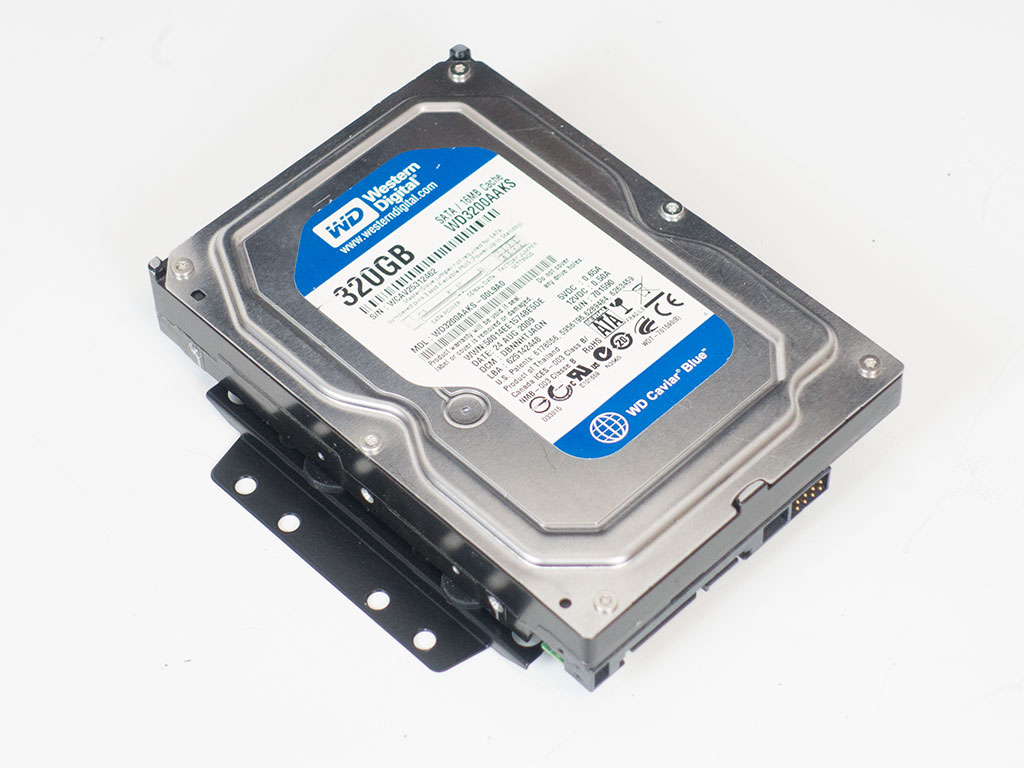
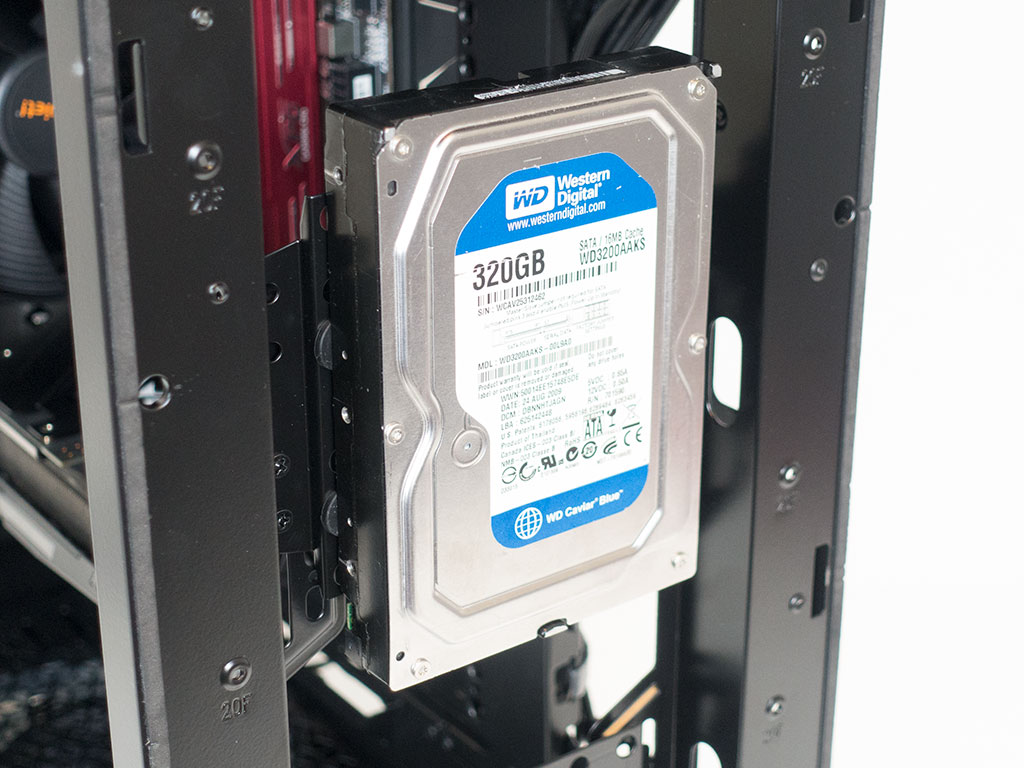
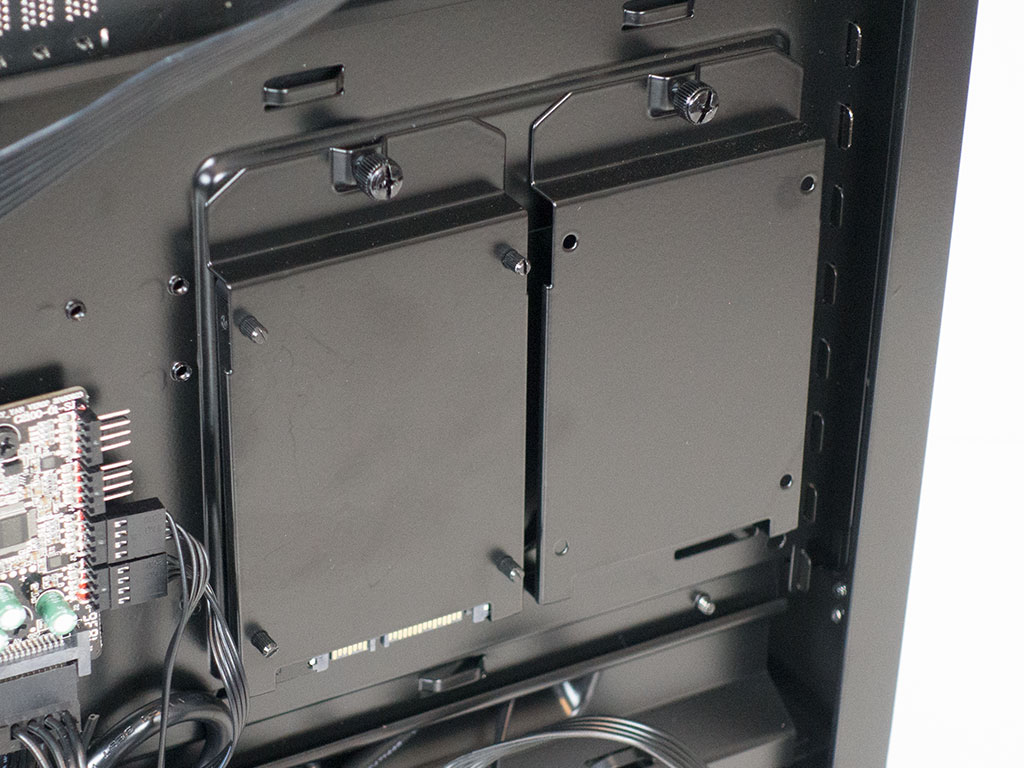
3.5" drives may be mounted to any of the three metal plates with traditional screws. Once again, this is pretty weird as Cooler Master does include long special screws for which I found no use initially.
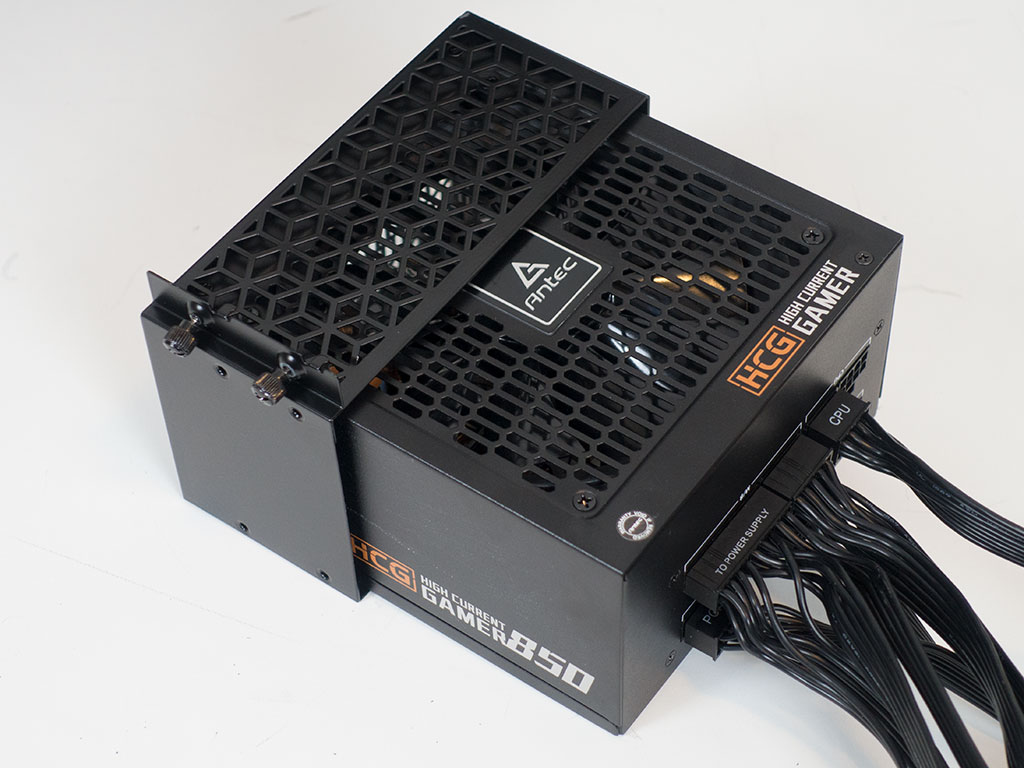

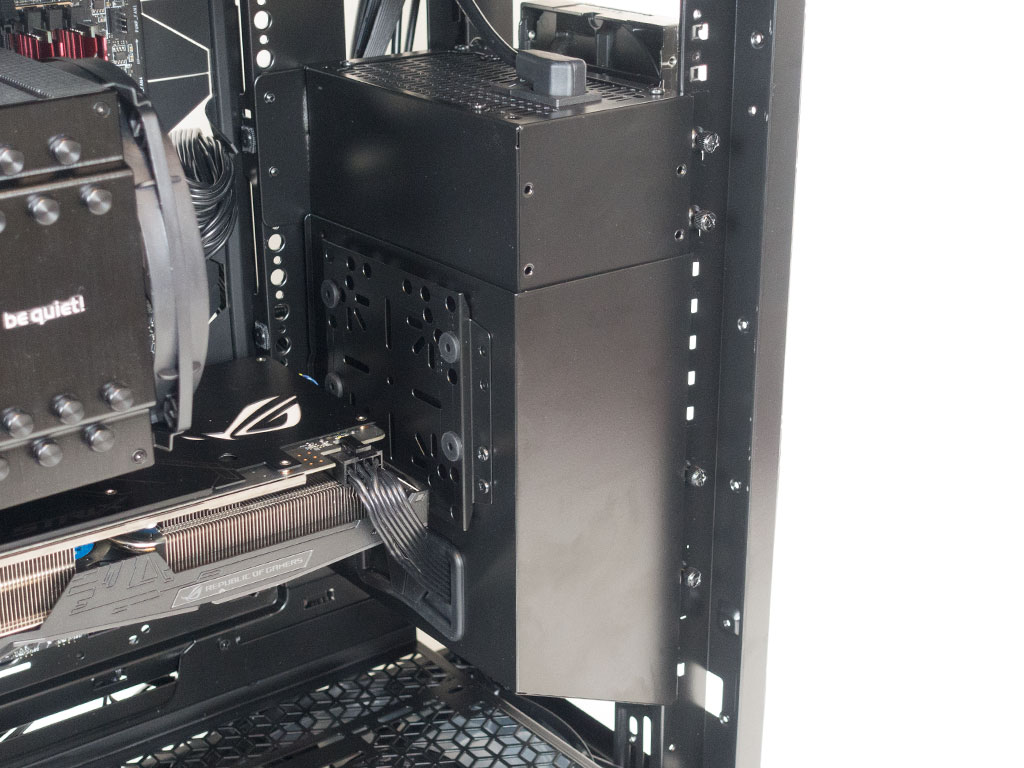
Adding a PSU is easily done outside of the chassis, but you should makes sure to connect all the wires to any hard drives in the front of the chassis first as routing such leads could become tricky with the PSU in place. Once the top piece of the PSU cover is secured, you may align the bottom piece in a way that will hide as much of it and its cables as possible.
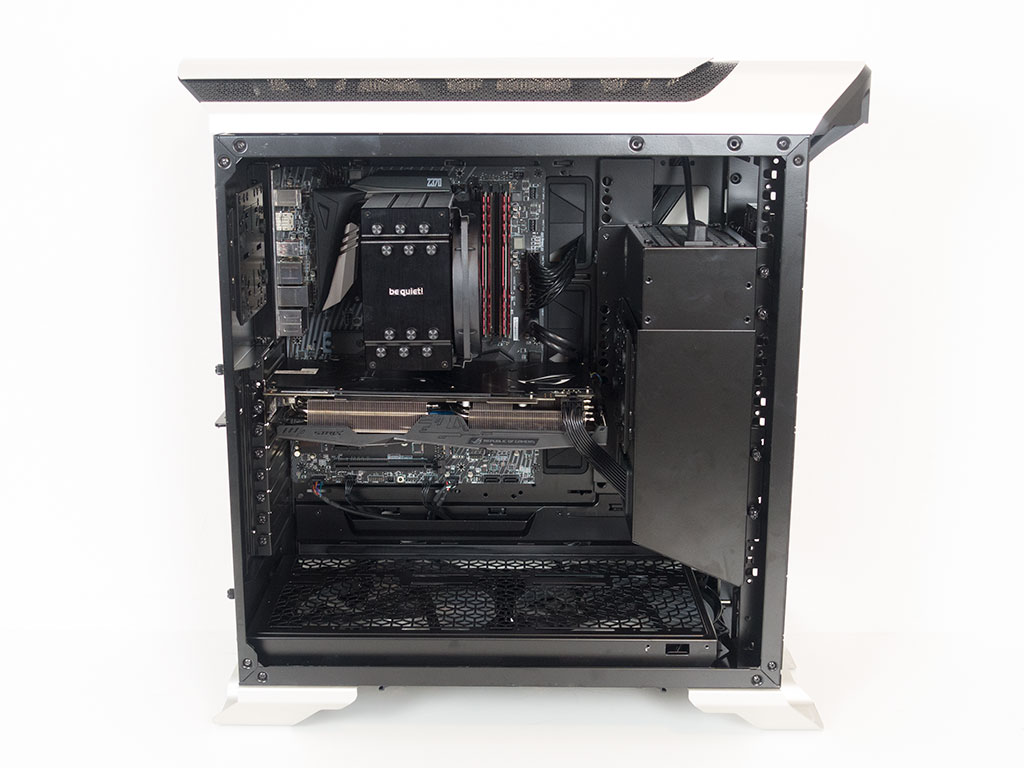
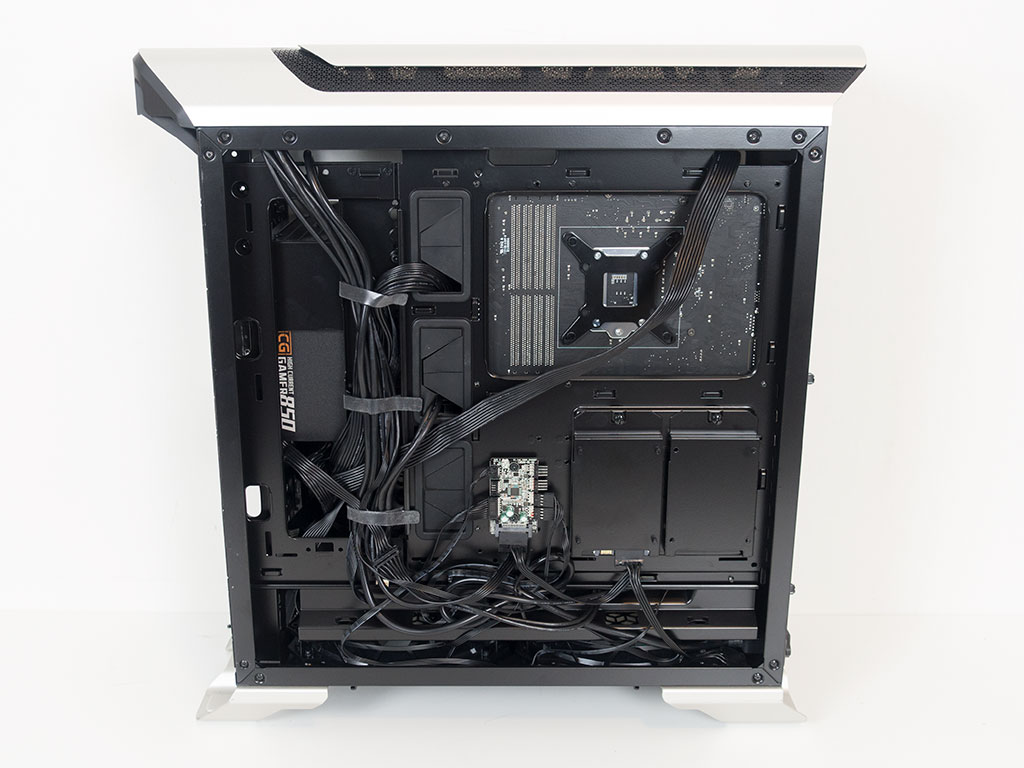
With everything installed, the Cooler Master SL600M's interior looks extremely clean even before putting the metal plate in the front back into the chassis. The rear also looks good even though I must have spent no more than two minutes to bunch up the cables behind the pre-installed Velcro strips. Sure, the bottom looks a bit messy, but that is simply how the case was shipped, and there is really no reason to put any effort into things here as this part is completely hidden anyway.
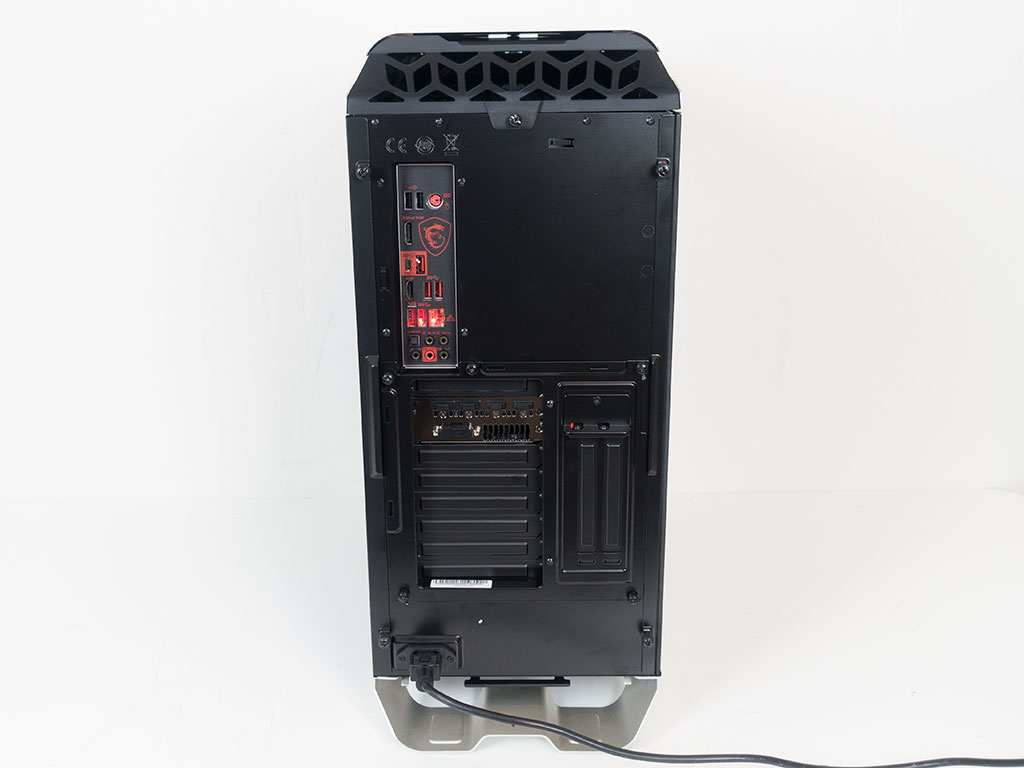
Finished Looks

Once turned on, you will hear a gentle hum from the two fans, but you may turn them up all the way as well thanks to the built-in fan controller. While things are certainly audible with them running at full tilt, the lowest setting is nice and quiet. Thanks to the 200 mm fans, you can rest assured a good amount of cool air is pushed up and across your components.
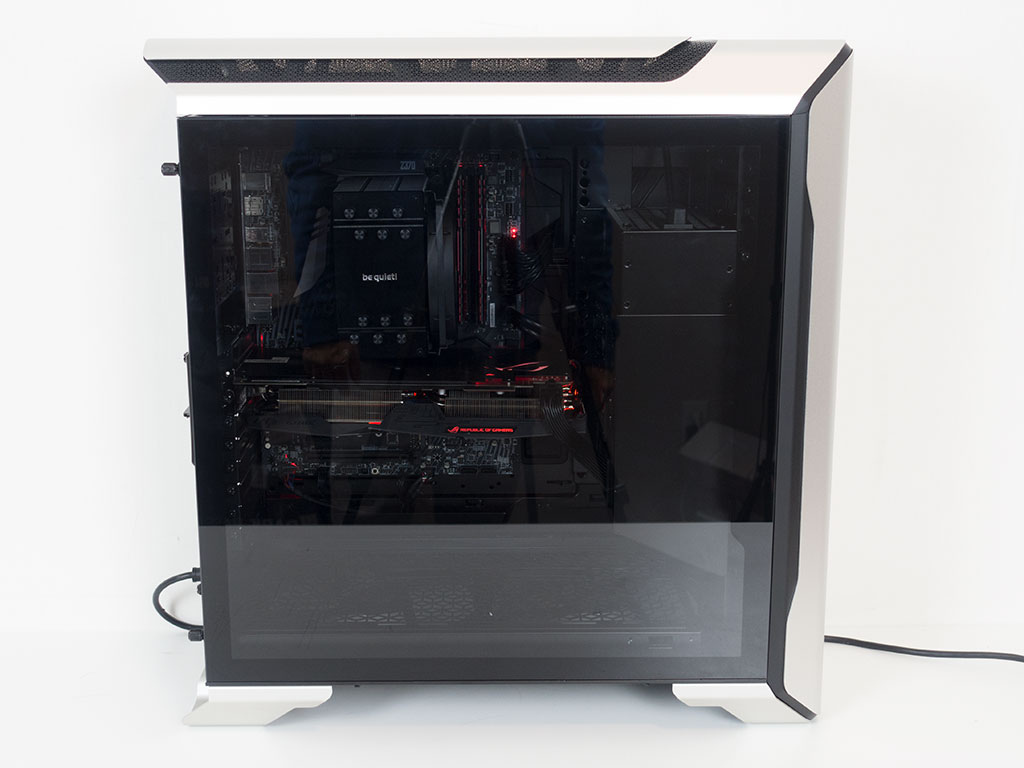
You may take a good look at all the components through the glass side panel since it isn't tinted. As mentioned previously, the USB ports actually light up white so that you may easily find them in the dark. They only turn on if something in front of them moves, which is a pretty cool feature.
Jul 14th, 2025 19:03 CDT
change timezone
Latest GPU Drivers
New Forum Posts
- AMD 7Ghz? This keeps popping up on my feeds! (24)
- No offense, here are some things that bother me about your understanding of fans. (119)
- Cryptocoin Value and Market Trend Discussion (1657)
- System stutters with Ryzen 7 9800X3D. (1)
- Dual GPU Motherboard for home VFX (1)
- i7 2860QM how to raise power limit? (24)
- Large Format Plotter WiFi / LAN issue on Laptop (2)
- Is there a WIFI chip I should get? (3)
- How about AMD instead of Intel? (40)
- AI Job Losses: let's count the losses up, total losses to AI so far 94,000 and counting (7)
Popular Reviews
- Lexar NM1090 Pro 4 TB Review
- MSI GeForce RTX 5060 Gaming OC Review
- Our Visit to the Hunter Super Computer
- Fractal Design Epoch RGB TG Review
- NVIDIA GeForce RTX 5050 8 GB Review
- Corsair FRAME 5000D RS Review
- Sapphire Radeon RX 9060 XT Pulse OC 16 GB Review - An Excellent Choice
- Chieftec Iceberg 360 Review
- AMD Ryzen 7 9800X3D Review - The Best Gaming Processor
- Upcoming Hardware Launches 2025 (Updated May 2025)
TPU on YouTube
Controversial News Posts
- Intel's Core Ultra 7 265K and 265KF CPUs Dip Below $250 (288)
- Some Intel Nova Lake CPUs Rumored to Challenge AMD's 3D V-Cache in Desktop Gaming (140)
- AMD Radeon RX 9070 XT Gains 9% Performance at 1440p with Latest Driver, Beats RTX 5070 Ti (131)
- NVIDIA Launches GeForce RTX 5050 for Desktops and Laptops, Starts at $249 (122)
- NVIDIA GeForce RTX 5080 SUPER Could Feature 24 GB Memory, Increased Power Limits (115)
- Microsoft Partners with AMD for Next-gen Xbox Hardware (105)
- Intel "Nova Lake‑S" Series: Seven SKUs, Up to 52 Cores and 150 W TDP (100)
- NVIDIA DLSS Transformer Cuts VRAM Usage by 20% (97)