Apr 3rd, 2025 05:09 EDT
change timezone
Latest GPU Drivers
New Forum Posts
- Since all gpu's models perform the same, why review dozen of different models? (11)
- RX 9000 series GPU Owners Club (120)
- Help with System Recommendations (9)
- A slightly strange problem with a GPU (11)
- NZXT N9 X870E is out (despite their website still saying: coming soon) (9)
- Mllse 6600s that are locked at 500 mhz. (1)
- Is RX 9070 VRAM temperature regular value or hotspot? (298)
- TechPowerUp Screenshot Thread (MASSIVE 56K WARNING) (4266)
- Windows 11 General Discussion (5917)
- Montech KING 95 - your opinions? (14)
Popular Reviews
- DDR5 CUDIMM Explained & Benched - The New Memory Standard
- Sapphire Radeon RX 9070 XT Pulse Review
- SilverStone Lucid 04 Review
- PowerColor Radeon RX 9070 Hellhound Review
- Sapphire Radeon RX 9070 XT Nitro+ Review - Beating NVIDIA
- Palit GeForce RTX 5070 GamingPro OC Review
- ASRock Phantom Gaming B850 Riptide Wi-Fi Review - Amazing Price/Performance
- Pwnage Trinity CF Review
- AMD Ryzen 7 9800X3D Review - The Best Gaming Processor
- Samsung 9100 Pro 2 TB Review - The Best Gen 5 SSD
Controversial News Posts
- MSI Doesn't Plan Radeon RX 9000 Series GPUs, Skips AMD RDNA 4 Generation Entirely (146)
- Microsoft Introduces Copilot for Gaming (124)
- AMD Radeon RX 9070 XT Reportedly Outperforms RTX 5080 Through Undervolting (119)
- NVIDIA Reportedly Prepares GeForce RTX 5060 and RTX 5060 Ti Unveil Tomorrow (115)
- Over 200,000 Sold Radeon RX 9070 and RX 9070 XT GPUs? AMD Says No Number was Given (100)
- NVIDIA GeForce RTX 5050, RTX 5060, and RTX 5060 Ti Specifications Leak (96)
- Retailers Anticipate Increased Radeon RX 9070 Series Prices, After Initial Shipments of "MSRP" Models (90)
- China Develops Domestic EUV Tool, ASML Monopoly in Trouble (88)
 9
9
Cooltek UMX2 Review
Assembly & Finished Looks »A Closer Look - Inside
Simply pull each panel off the frame to access the interior. As these are held in place by plastic pins that snap into place when pushed against the frame, you will not need any tools to get inside. Fine for private use, it may cause issues if the system is sitting out in the open or you decide to take the UMX2 to a LAN Party for some strange reason.
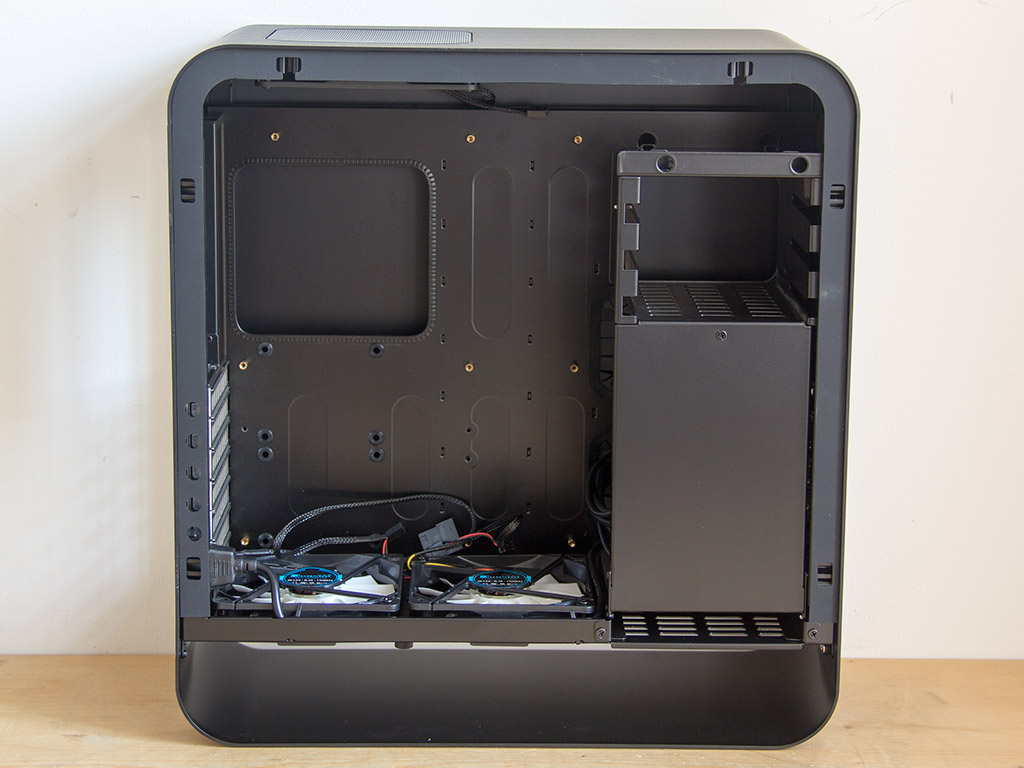
As expected, the interior of the Cooltek UMX2 does not quite adhere to the standard as the PSU bay has essentially been moved from the rear to the front, which is necessary because the chassis' round corners can't hold a PSU properly without its corners protruding out the back. The only other option would be to make the chassis much larger.
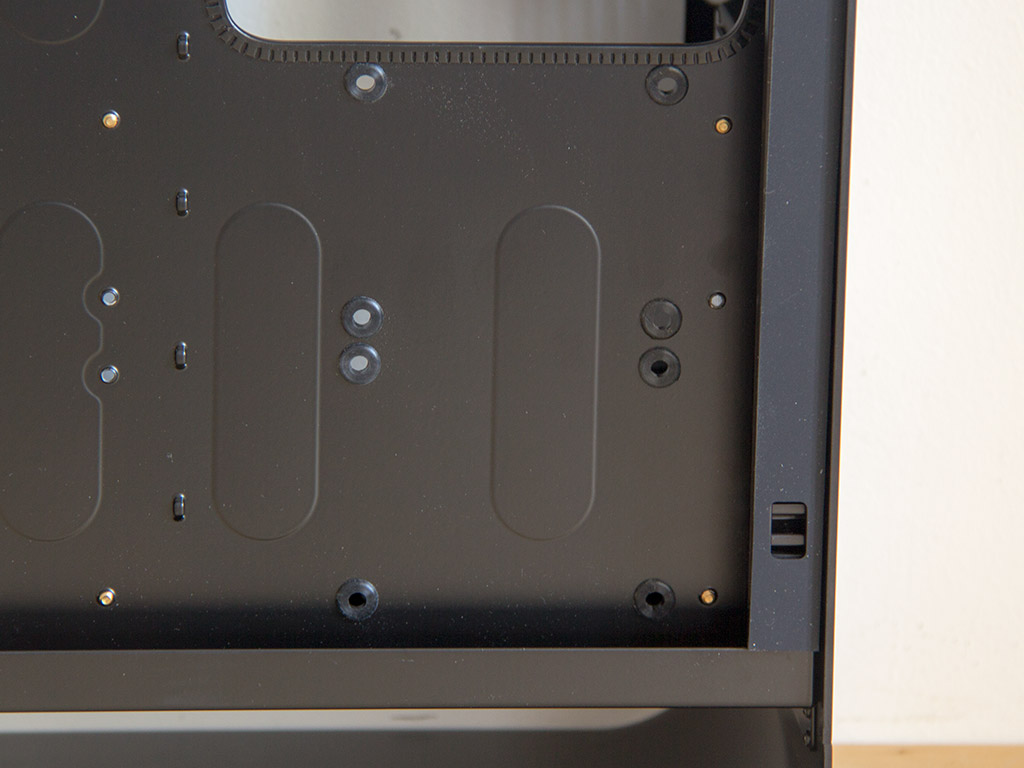
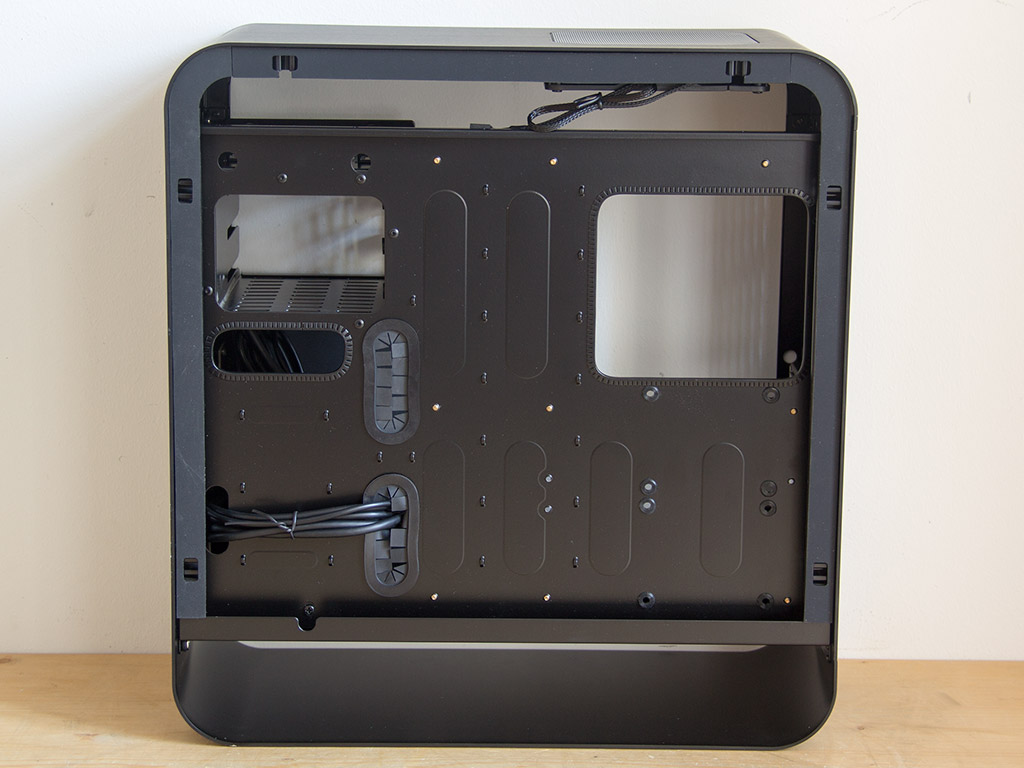
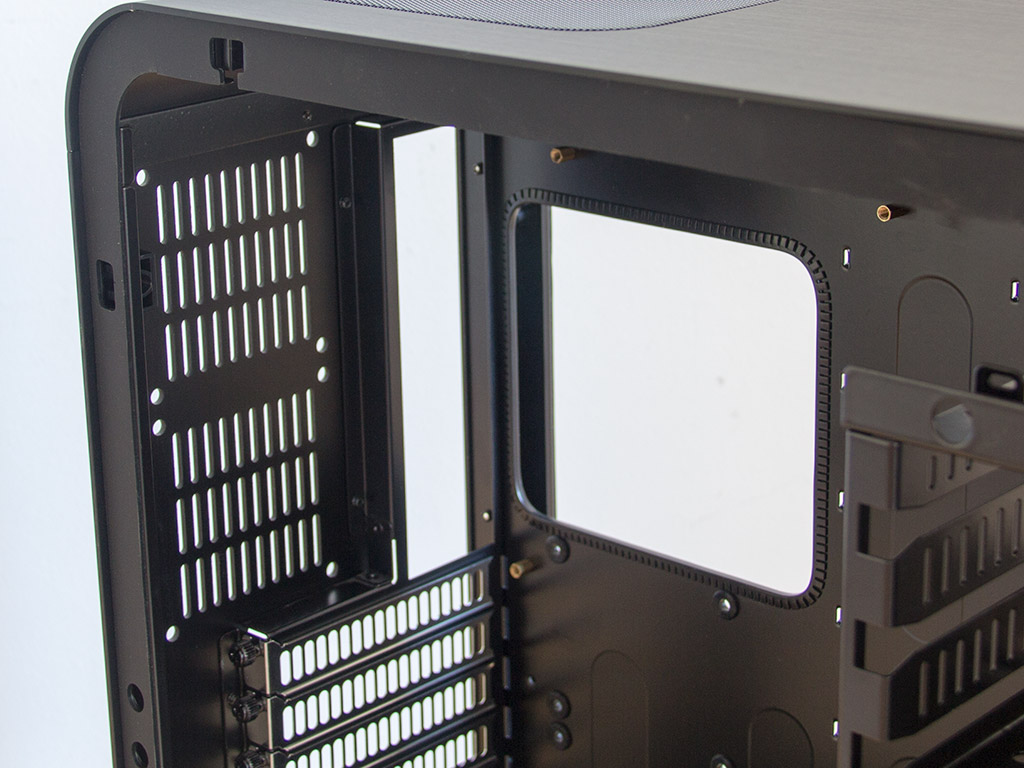
There is 25 mm of space between the side panel and the motherboard tray, which is more than enough to hide and route cables. Due to the PSU's placement, the space is actually rather essential as we will see later on. Cooltek has also drilled eight holes into the motherboard tray, which makes installing two 2.5" drives to the motherboard tray's backside a possibility. As you will not be able to access these screw holes after installing your motherboard, you will need to install drives there before putting in any other components.
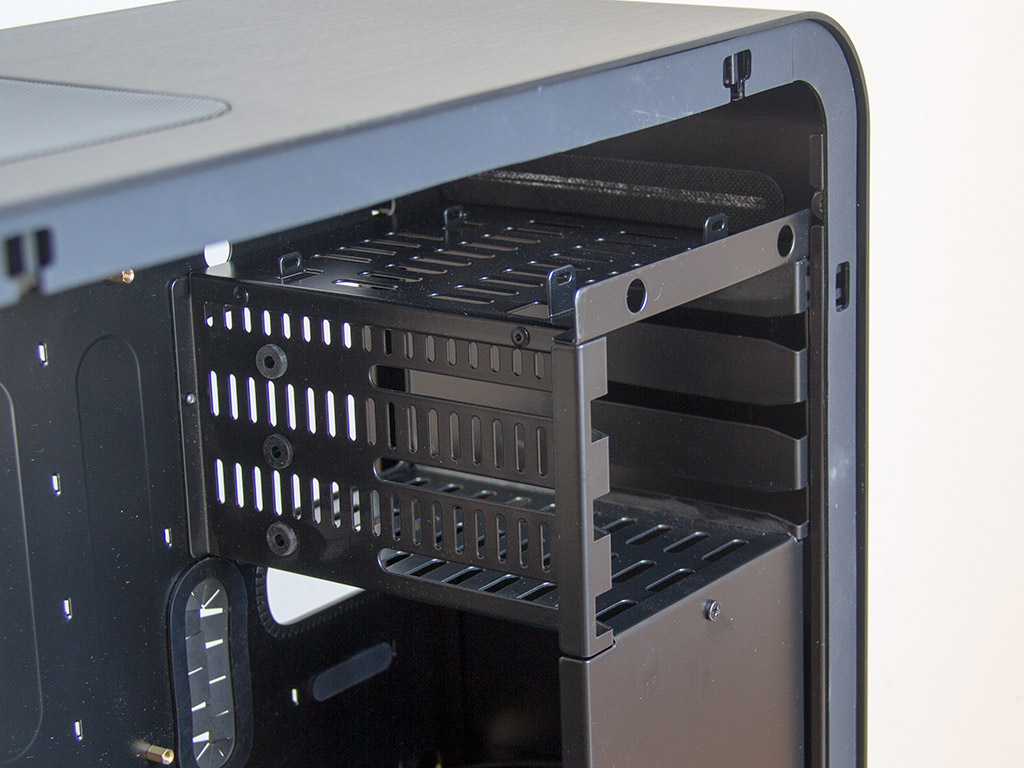
Taking a closer look at the unique front, its lower half can hold up to a standard-sized ATX PSU. You will not be able to fit a very large variant into the chassis as there is simply not enough room, but a midrange unit of high-quality should fit. Above the PSU bay are the three 3.5" drive- and slimline optical drive bay. The chassis' round edges are cause for a ton of unoccupied space above the ODD bay - enough to actually install a 240 mm or, possibly, 280 mm liquid-cooling unit into the ceiling if Cooltek were to include the necessary cut-outs and mounting holes.
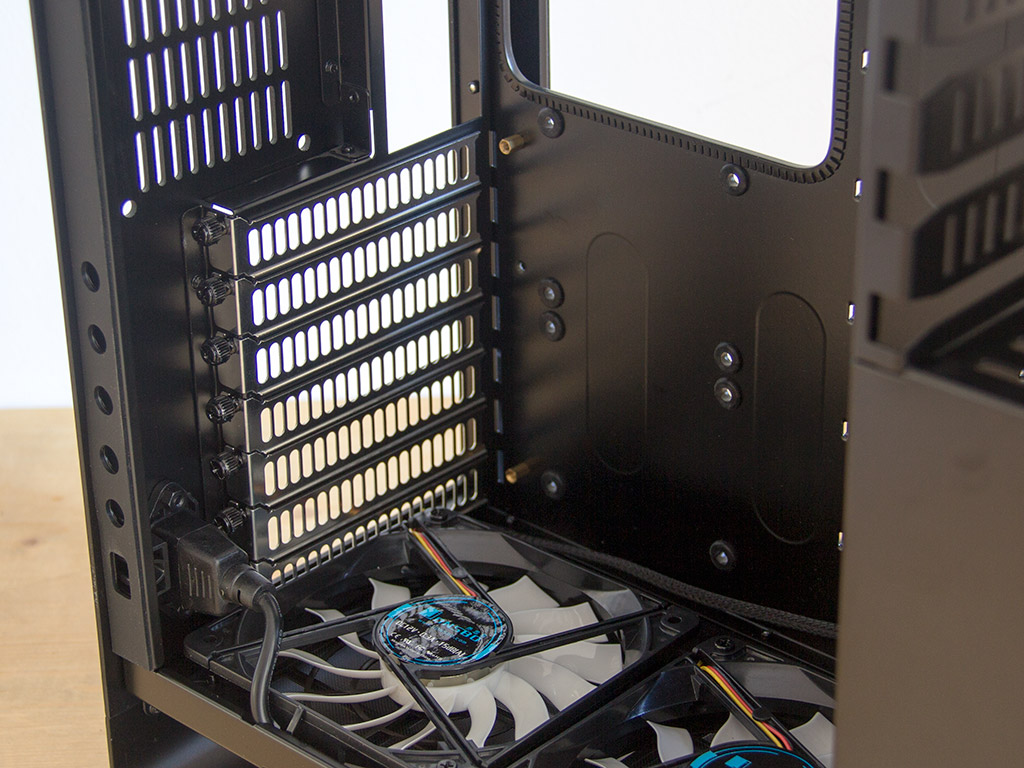
The bottom half of the rear comes with the aforementioned seven motherboard expansion slots. Each of these is protected by individual covers that are held in place by a black thumbscrew. Cooltek chose to go with silver covers even though everything else inside the chassis is black, so black variants of these would have been nice as well.
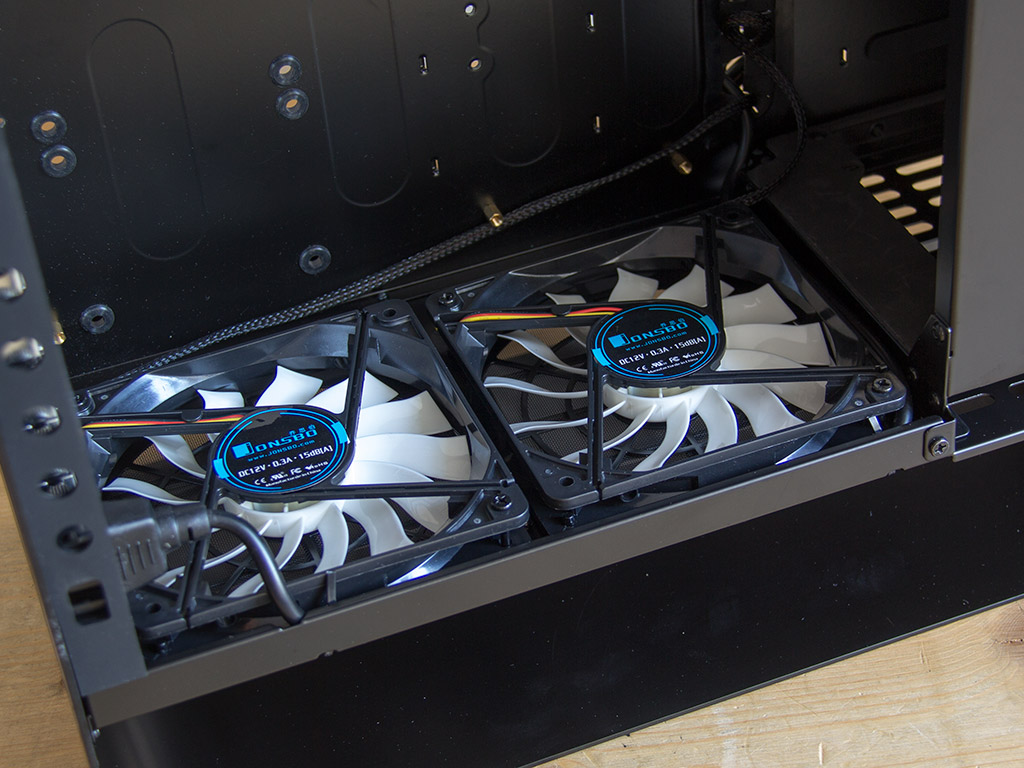
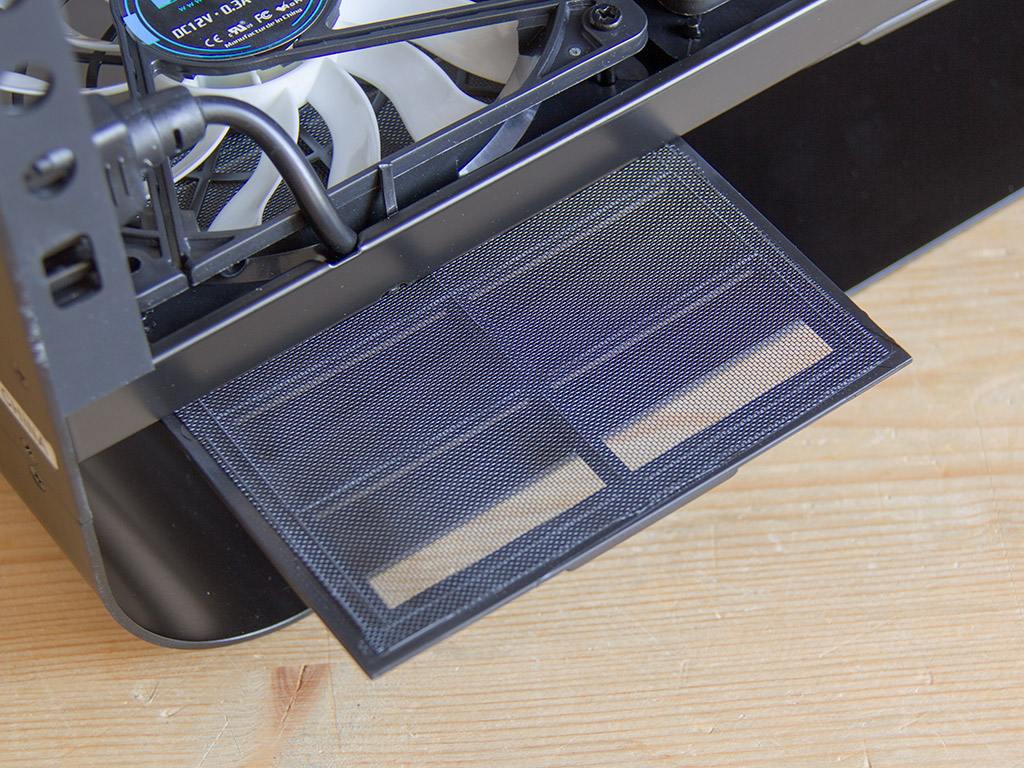
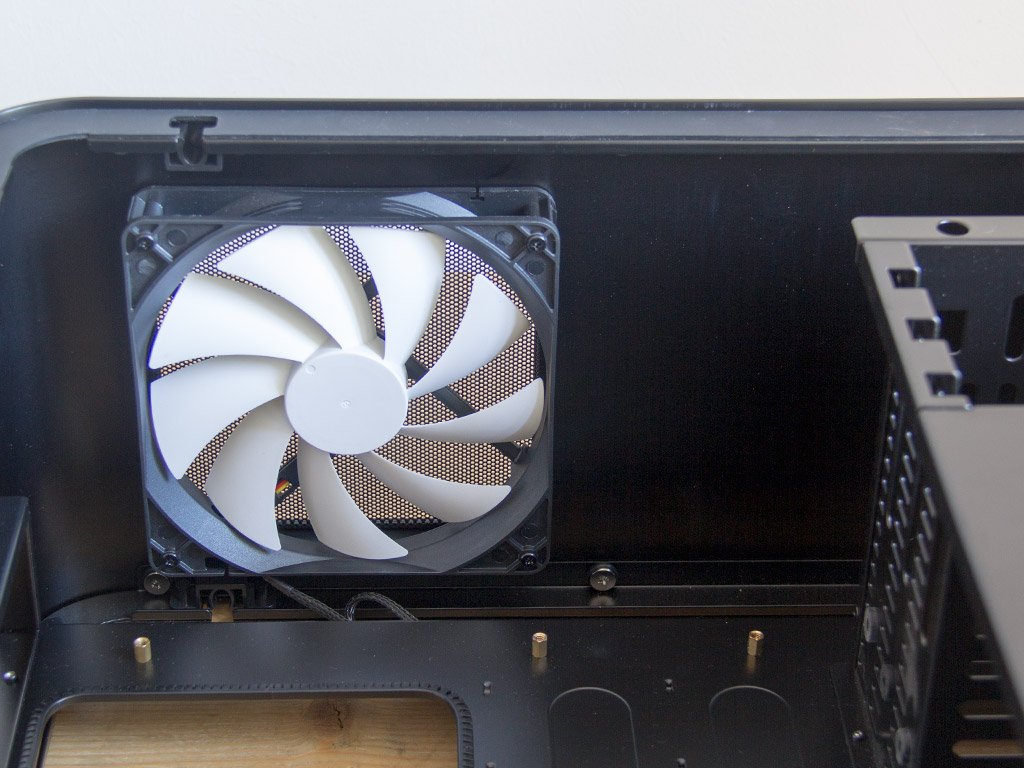
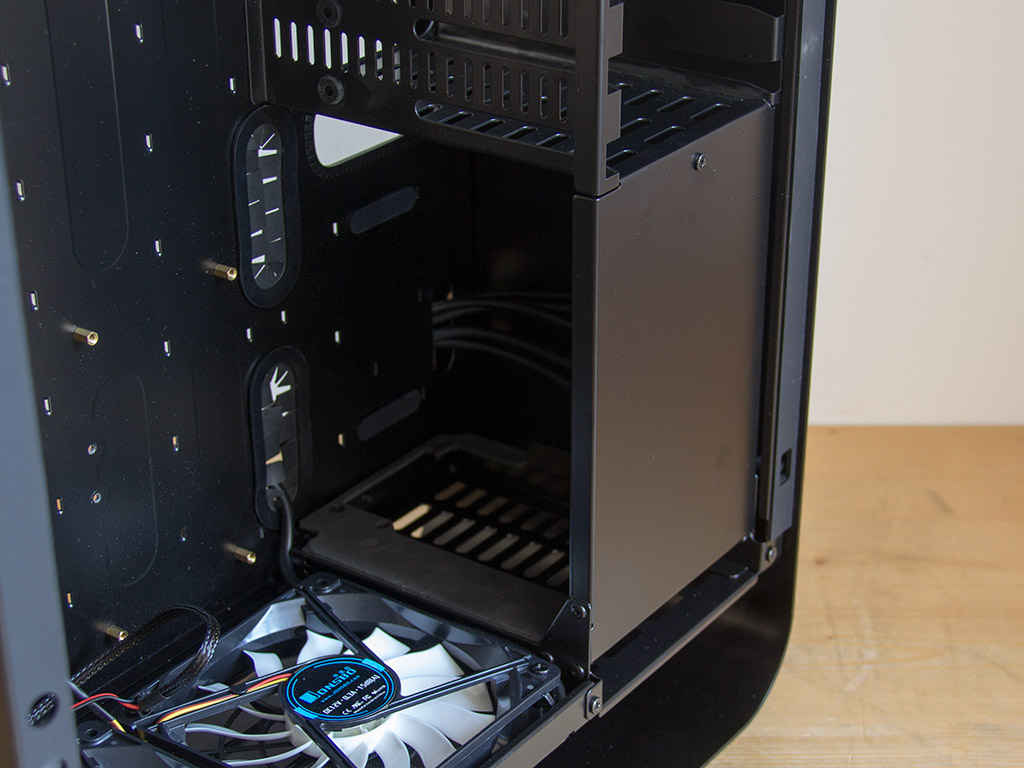
You will find two dust-filter-equipped 120 mm fans on the floor of the chassis, which would be nice were it not for the fact that they block access to the bottom expansion slot of an ATX motherboard and any headers along the bottom of a fully sized board. There would be absolutely nothing to fault if this were only a mATX chassis as it would instantly make the fans add value while even allowing for the installation of liquid-cooling components on the UMX2's floor. As it stands right now, those who want to install a fully sized ATX board will have to remove both fans, which is a shame. The 140 mm unit in the ceiling and right above the CPU area is in a good spot as it should not get in the way of anything with even a large cooling unit installed.
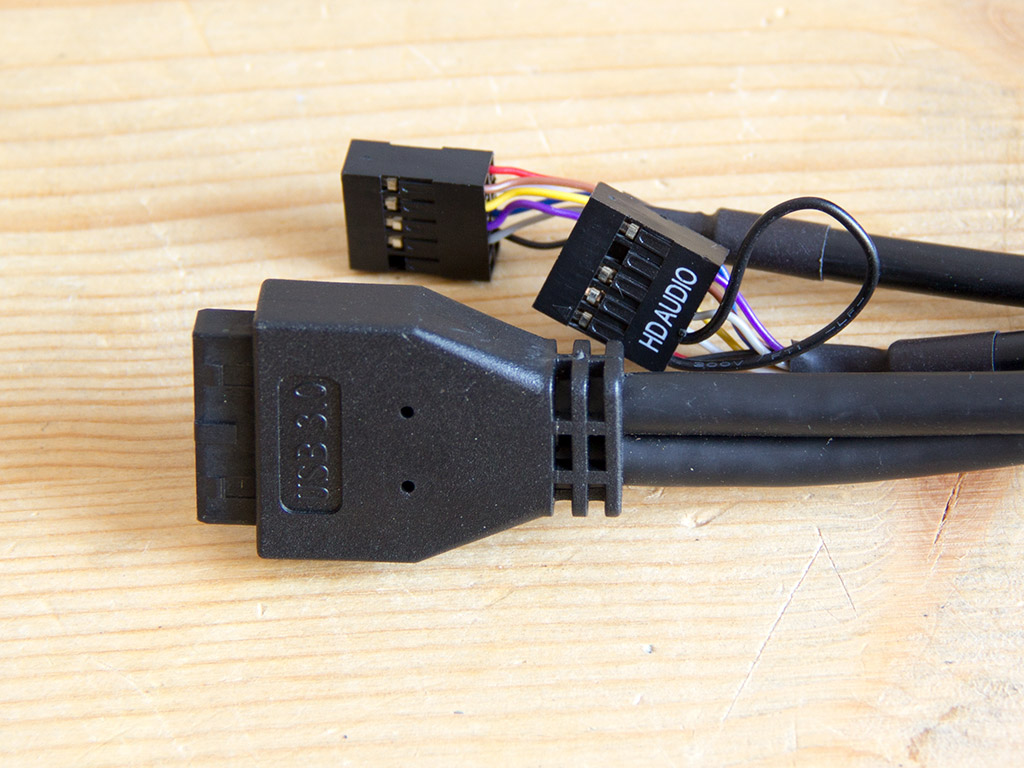
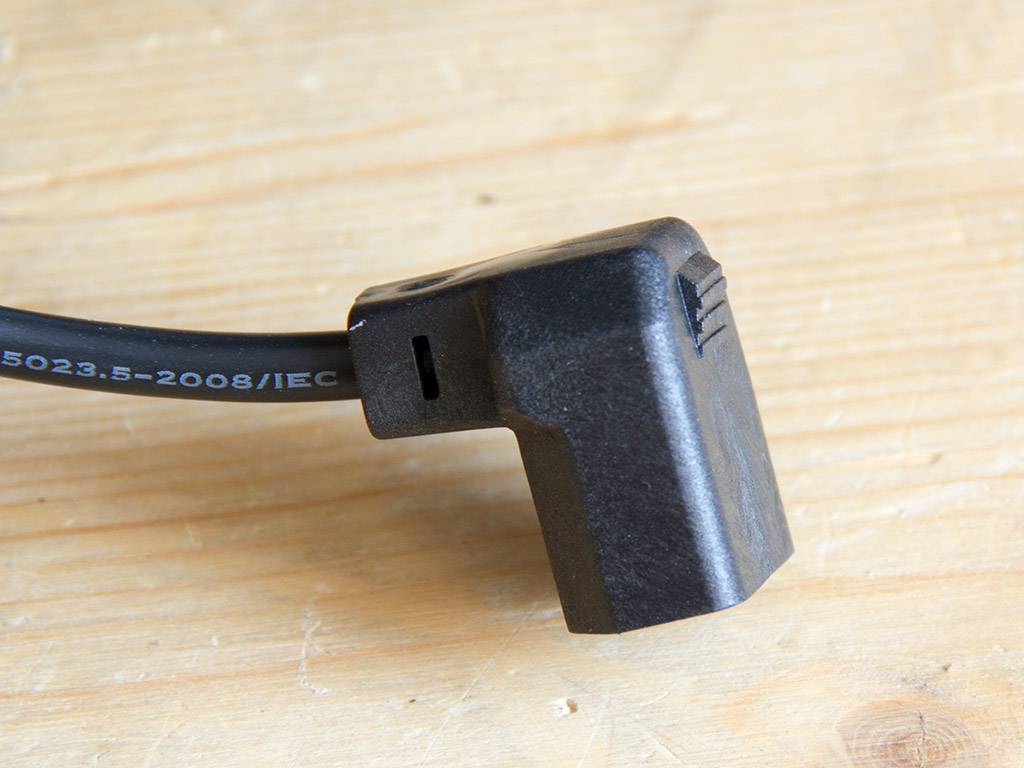
Nearly every cable inside the UMX2 is of the default variety and come with black sleeving. The only exception is the PSU cable as it comes equipped with a 90° plug because it has to make do with fairly compact dimensions. This is due to the fact that you will not have any space for it otherwise.
Apr 3rd, 2025 05:09 EDT
change timezone
Latest GPU Drivers
New Forum Posts
- Since all gpu's models perform the same, why review dozen of different models? (11)
- RX 9000 series GPU Owners Club (120)
- Help with System Recommendations (9)
- A slightly strange problem with a GPU (11)
- NZXT N9 X870E is out (despite their website still saying: coming soon) (9)
- Mllse 6600s that are locked at 500 mhz. (1)
- Is RX 9070 VRAM temperature regular value or hotspot? (298)
- TechPowerUp Screenshot Thread (MASSIVE 56K WARNING) (4266)
- Windows 11 General Discussion (5917)
- Montech KING 95 - your opinions? (14)
Popular Reviews
- DDR5 CUDIMM Explained & Benched - The New Memory Standard
- Sapphire Radeon RX 9070 XT Pulse Review
- SilverStone Lucid 04 Review
- PowerColor Radeon RX 9070 Hellhound Review
- Sapphire Radeon RX 9070 XT Nitro+ Review - Beating NVIDIA
- Palit GeForce RTX 5070 GamingPro OC Review
- ASRock Phantom Gaming B850 Riptide Wi-Fi Review - Amazing Price/Performance
- Pwnage Trinity CF Review
- AMD Ryzen 7 9800X3D Review - The Best Gaming Processor
- Samsung 9100 Pro 2 TB Review - The Best Gen 5 SSD
Controversial News Posts
- MSI Doesn't Plan Radeon RX 9000 Series GPUs, Skips AMD RDNA 4 Generation Entirely (146)
- Microsoft Introduces Copilot for Gaming (124)
- AMD Radeon RX 9070 XT Reportedly Outperforms RTX 5080 Through Undervolting (119)
- NVIDIA Reportedly Prepares GeForce RTX 5060 and RTX 5060 Ti Unveil Tomorrow (115)
- Over 200,000 Sold Radeon RX 9070 and RX 9070 XT GPUs? AMD Says No Number was Given (100)
- NVIDIA GeForce RTX 5050, RTX 5060, and RTX 5060 Ti Specifications Leak (96)
- Retailers Anticipate Increased Radeon RX 9070 Series Prices, After Initial Shipments of "MSRP" Models (90)
- China Develops Domestic EUV Tool, ASML Monopoly in Trouble (88)