 7
7
CORSAIR Hydro X Series XD5 Pump/Reservoir Combo Review
Installation & Lighting »Closer Examination


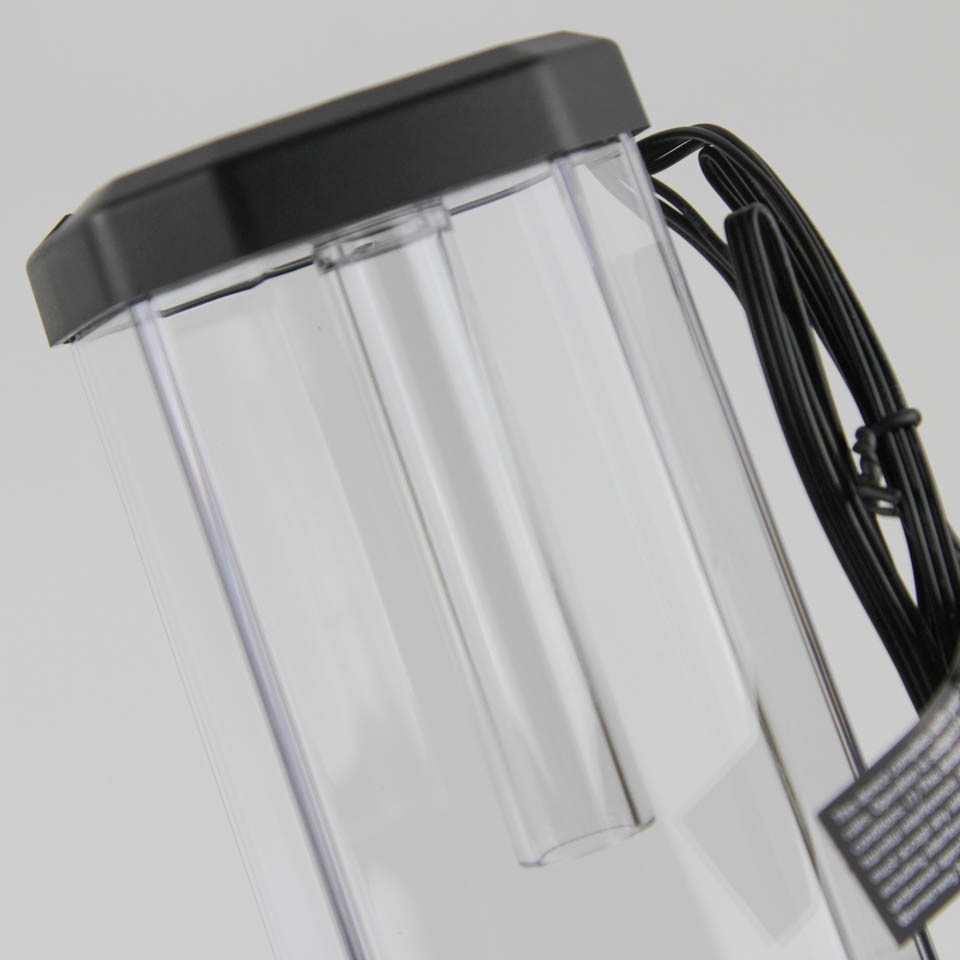
If you have seen a pump/reservoir combo before, you already know what to expect, especially for one that uses the Xylem D5 pump. The CORSAIR Hydro XD5 is visibly not very different from alternatives on the market, especially those from Swiftech and Watercool (and a few others coming up) using a rectangular cuboid design for the reservoir that is in turn above the pump to allow the coolant to be gravity-fed. But somehow CORSAIR has yet again managed to add their own small touches here and there to make this a cohesive part of their Hydro X system of watercooling products. Take the top of the reservoir where the ports are designed to look like the CPU blocks we saw before. There are two ports threaded into an acetal top, and a circular cutout in the middle creates a see-through window. The ports, as with those below, are BSP G1/4" threaded, with one port having a dedicated inline entry that allows the coolant to pass through under the coolant level inside the reservoir to minimize turbulence and air bubbles in the loop.
The reservoir is made out of polished nylon, which works well for the intended applications and then some. It is lighter than borosilicate glass, which may be a deal breaker for some who absolutely want thick glass for reasons of their own. For just about everyone else, this is going to be just fine, and the level of transparency is good for colored coolants and/or RGB lighting customization. Indeed, there are ten integrated digital RGB LEDs underneath the top and shining downward to allow for a light show here as well, which is why there are two cables off the side at the top. One connects to a compatible CORSAIR Commander PRO or Lighting Node PRO and the other is the pass-through cable powering a single LED header for more than just this pump/reservoir combo.
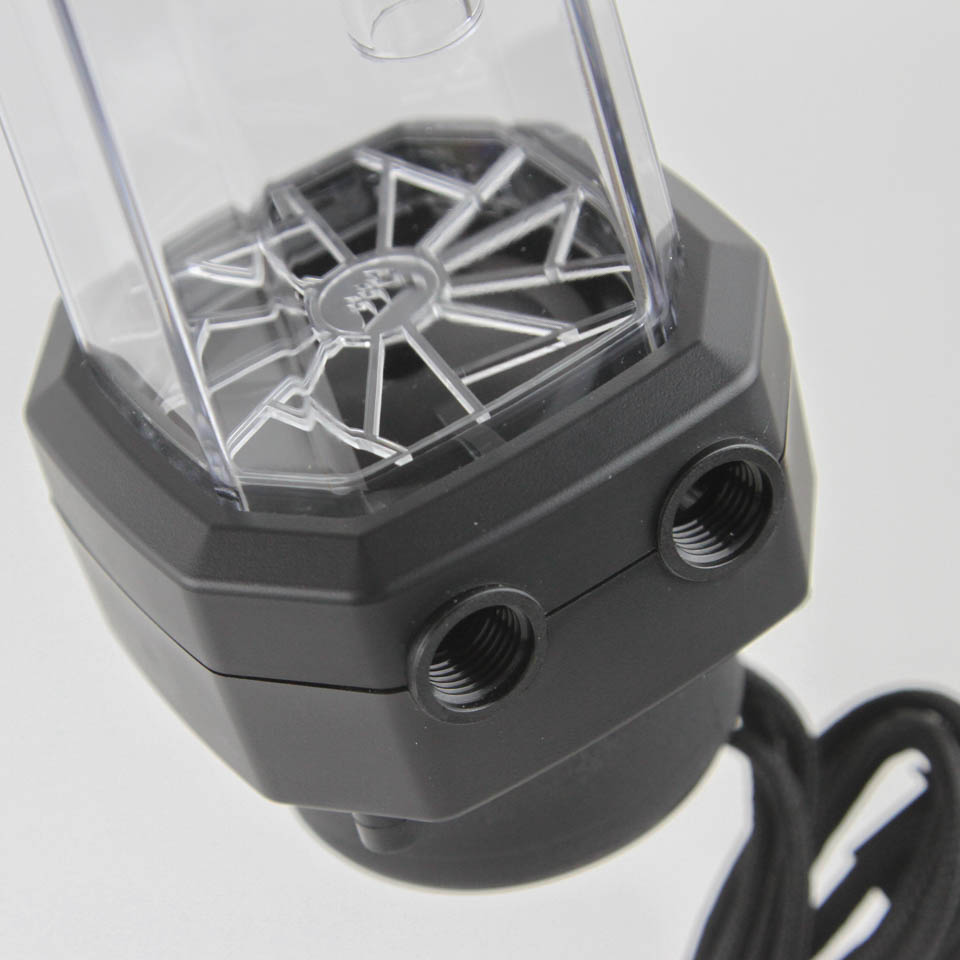

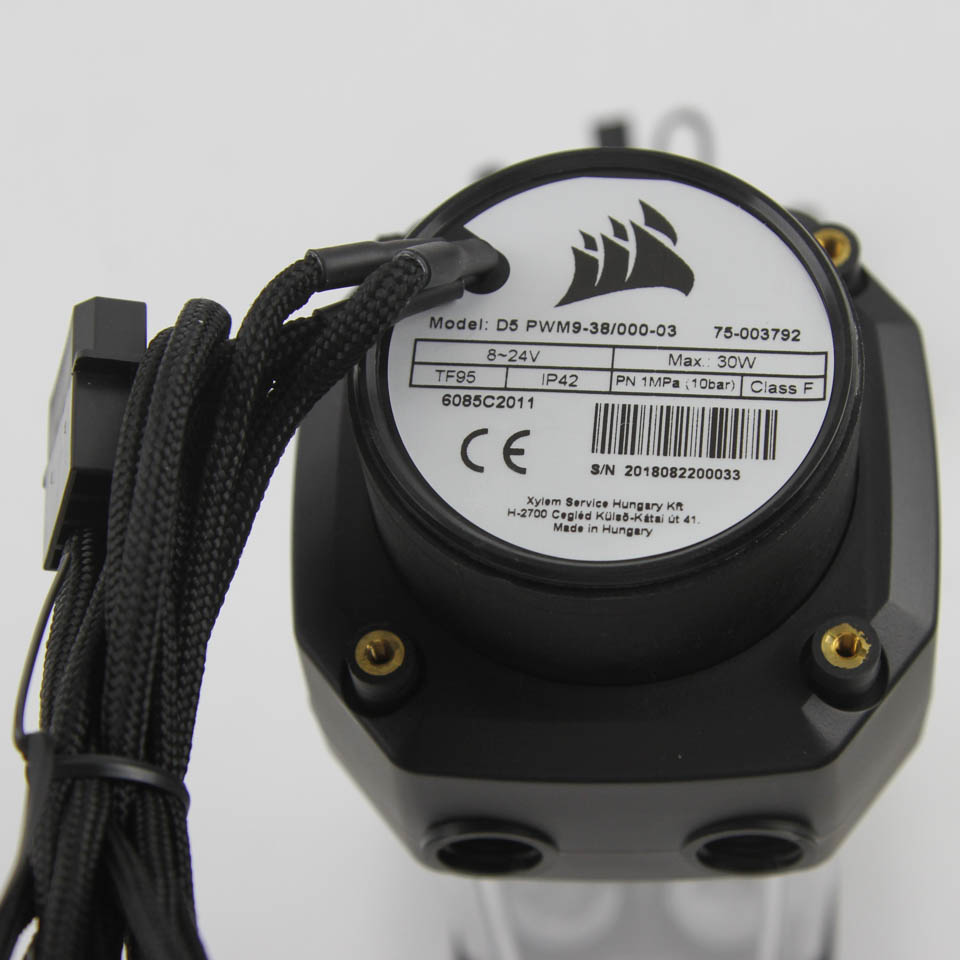
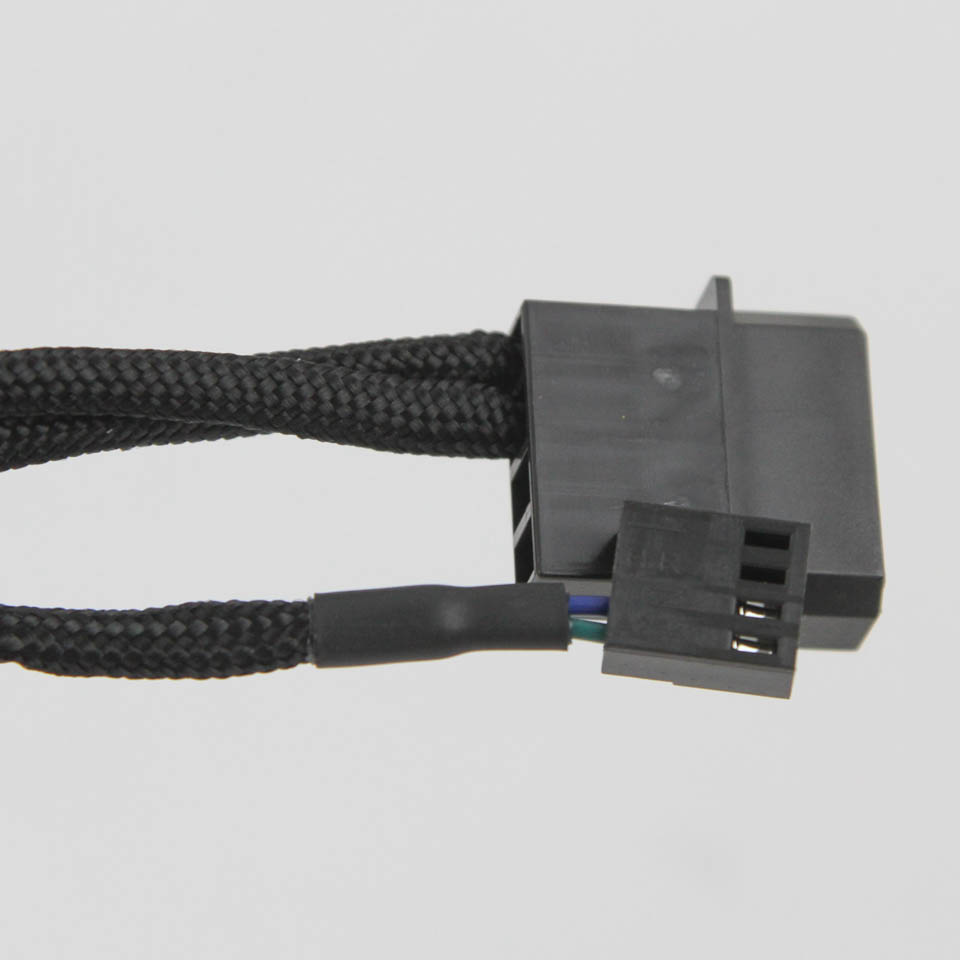
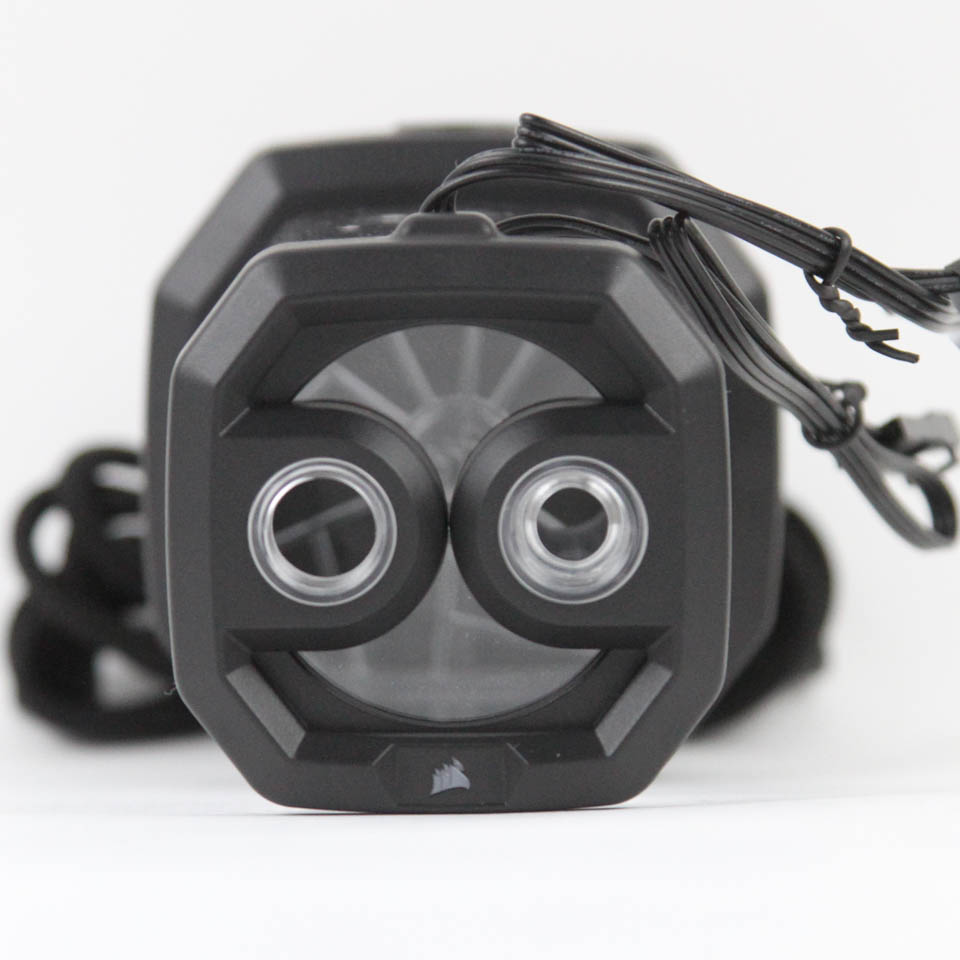
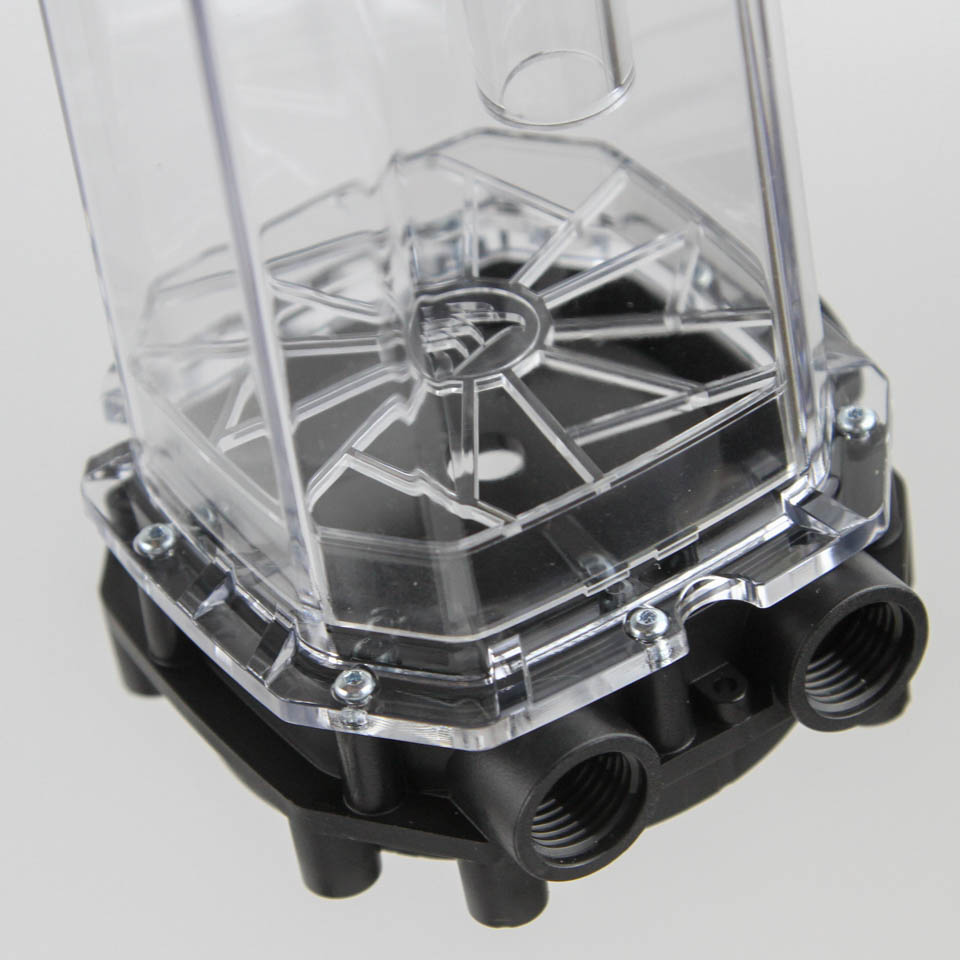
Heading down to where the reservoir meets the pump, we see an inlay to further minimize air bubbles being fed to the pump and another CORSAIR logo. Moving on to the acetal top and body for the D5 pump itself, four G1/4" ports are split across three sides with a total of six ports here. As such, with two ports used for the return and exit lines from the pump/reservoir combo and another at the bottom for the temperature sensor stop plug, the other three ports are for the three standard stop plugs. The pump is a Xylem D5 pump with PWM control, just how I like it, and coming off it are two individually sleeved 45 cm long cables using paracord for the sleeving as opposed to the flat, ribbon-style cables for the LEDs at the top. One cable terminates in a full-size MOLEX connector for power, and the other is for a 4-pin PWM header on your motherboard or a compatible controller for PWM control. There are also four rubber-lined screw feet at the bottom to dampen vibrations from and to the case.
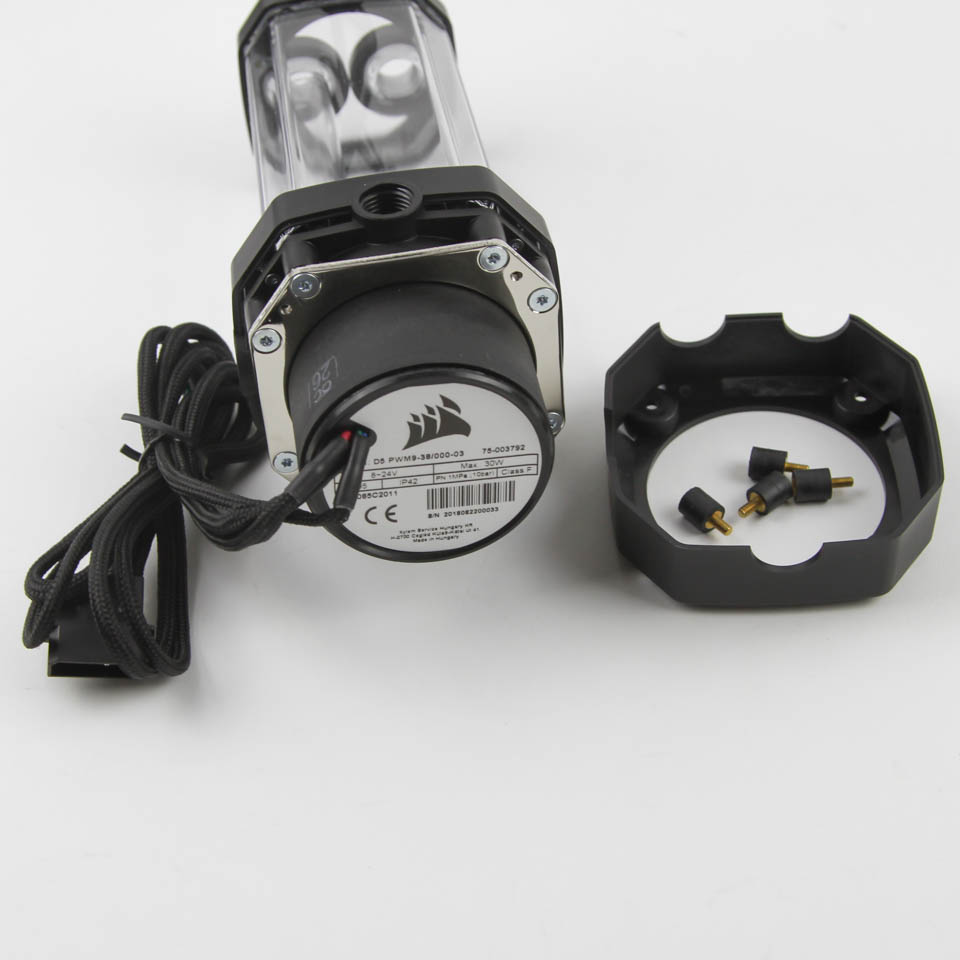

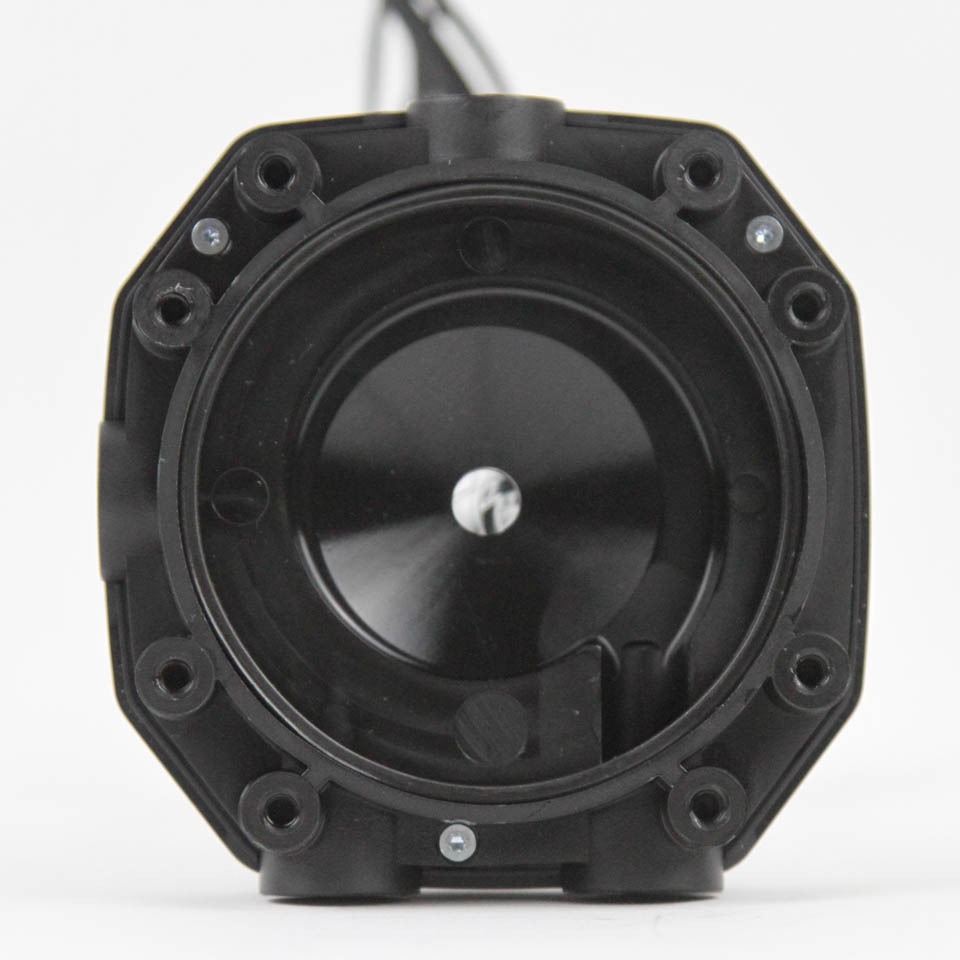
Disassembly was done after some of the testing was complete, although testing the pump by itself did mean having to take the combo unit apart after it had been tested. There is really nothing to gain from taking it apart unless you have to clean it up past a simple flush. This has to be done in stages, beginning at the bottom with the removal of four screw feet, which then exposes Torx T10 screws and allows for the removal of the bottom of the acetal "top", if you will. This is in fact just a cover to keep things tidy and does not serve a functional purpose. Removing the eight T10 screws helps separate the pump and metal liner from the reservoir, the latter of which still has the pump top built in.
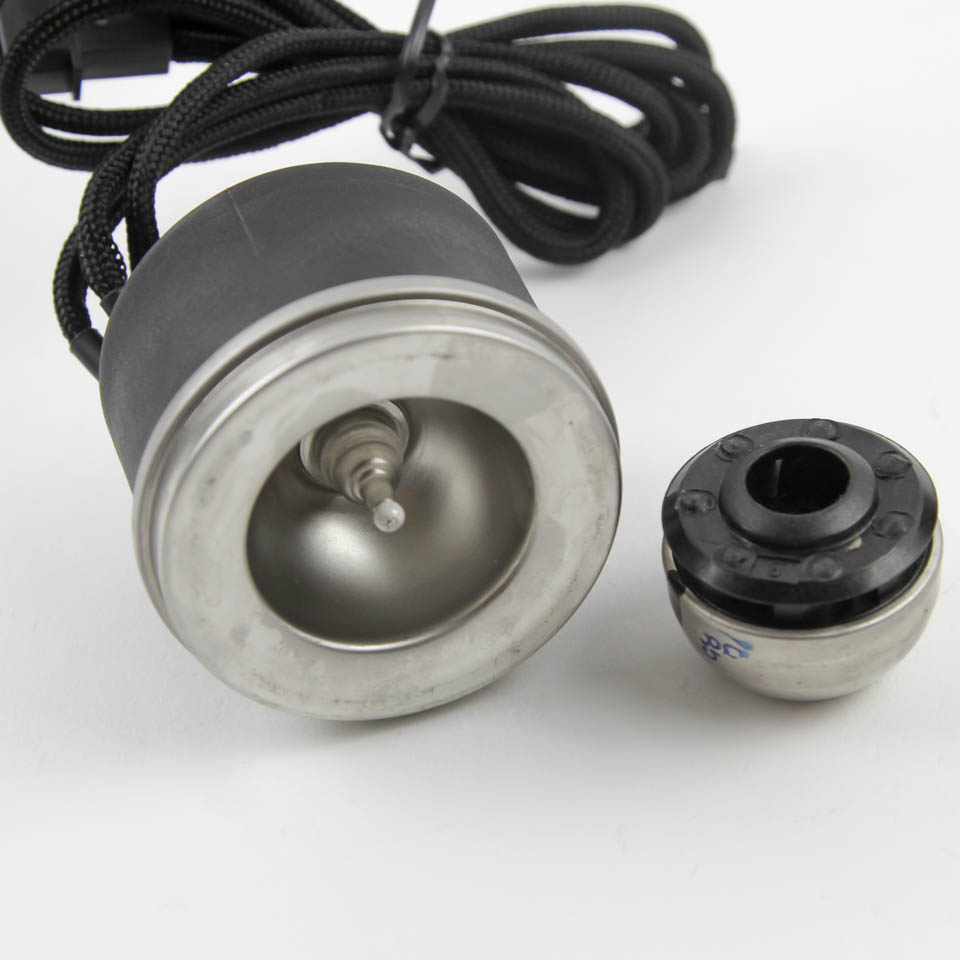
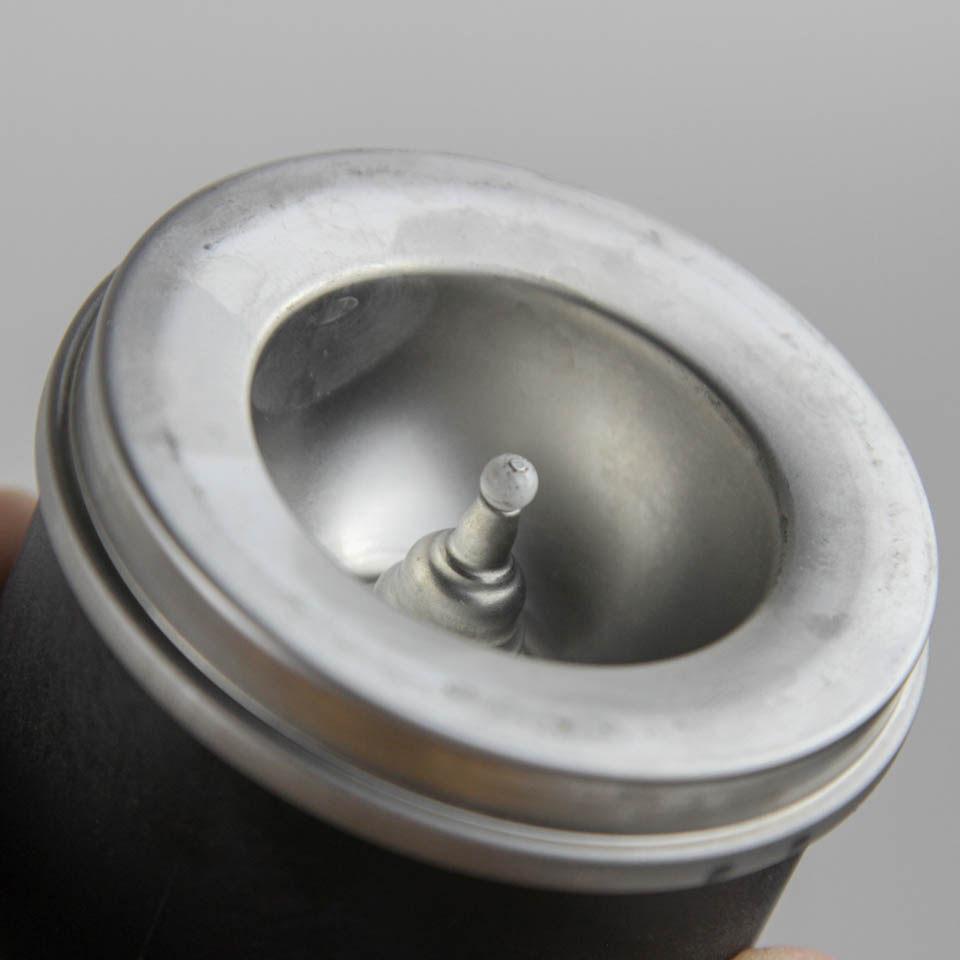
The pump is no different from any other Xylem D5, which is a good thing. Decades of design and testing have led to the sale of this popular pump used in many industries, including PC watercooling, and we can see the familiar ceramic bearing with the magnetic impeller in more detail above. The volute in the pump top is well designed, but this is an area designers know more of than I, and it is not fair for me to critique it. I can only test overall performance, which is coming up soon, to see how it all fares as a whole. There are a few more screws here which keep the pump top and reservoir body together. I did not bother going past this point as there is nothing else to see, knowing that CORSAIR has used the same RGB LEDs as with their Hydro XC9 and XG7 water blocks. For those interested, budget for ~330 mL of coolant for the combo unit if filled to the brim.
Jul 15th, 2025 19:48 CDT
change timezone
Latest GPU Drivers
New Forum Posts
- Is this dual channel or async? (1)
- TPU's Nostalgic Hardware Club (20514)
- What's your latest tech purchase? (24279)
- No offense, here are some things that bother me about your understanding of fans. (147)
- Stupid things one has done with hardware (68)
- Game Informer magazine is back! (5)
- monitor stand became loose after making changes to setup (0)
- What is the latest game you finished or 100% (53)
- How about AMD instead of Intel? (43)
- Adding distilled water to ups batteries really work ? (15)
Popular Reviews
- MSI GeForce RTX 5060 Gaming OC Review
- Our Visit to the Hunter Super Computer
- SilverStone SETA H2 Review
- Lexar NM1090 Pro 4 TB Review
- NVIDIA GeForce RTX 5050 8 GB Review
- Fractal Design Epoch RGB TG Review
- Sapphire Radeon RX 9060 XT Pulse OC 16 GB Review - An Excellent Choice
- AMD Ryzen 7 9800X3D Review - The Best Gaming Processor
- Upcoming Hardware Launches 2025 (Updated May 2025)
- Corsair FRAME 5000D RS Review
TPU on YouTube
Controversial News Posts
- Intel's Core Ultra 7 265K and 265KF CPUs Dip Below $250 (288)
- Some Intel Nova Lake CPUs Rumored to Challenge AMD's 3D V-Cache in Desktop Gaming (140)
- AMD Radeon RX 9070 XT Gains 9% Performance at 1440p with Latest Driver, Beats RTX 5070 Ti (131)
- NVIDIA Launches GeForce RTX 5050 for Desktops and Laptops, Starts at $249 (122)
- NVIDIA GeForce RTX 5080 SUPER Could Feature 24 GB Memory, Increased Power Limits (115)
- Microsoft Partners with AMD for Next-gen Xbox Hardware (105)
- Intel "Nova Lake‑S" Series: Seven SKUs, Up to 52 Cores and 150 W TDP (100)
- NVIDIA DLSS Transformer Cuts VRAM Usage by 20% (99)