 9
9
CORSAIR K83 Wireless Keyboard Review
Driver »Disassembly

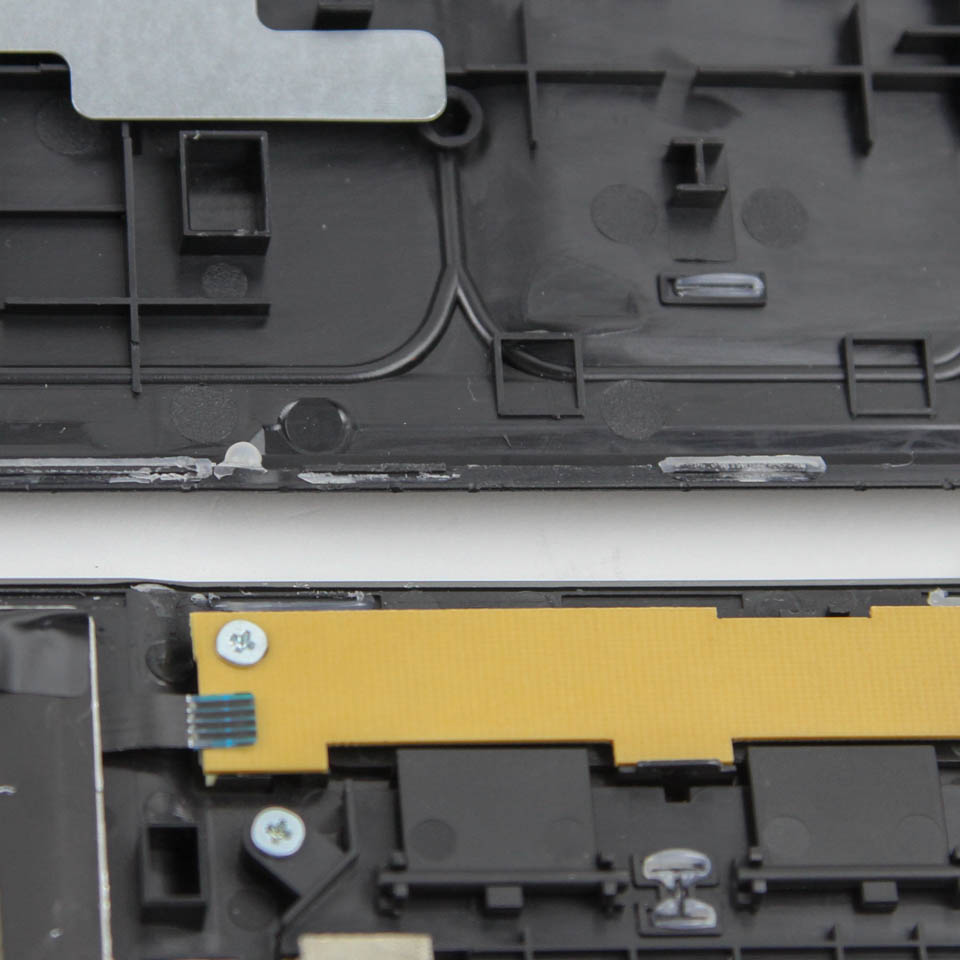
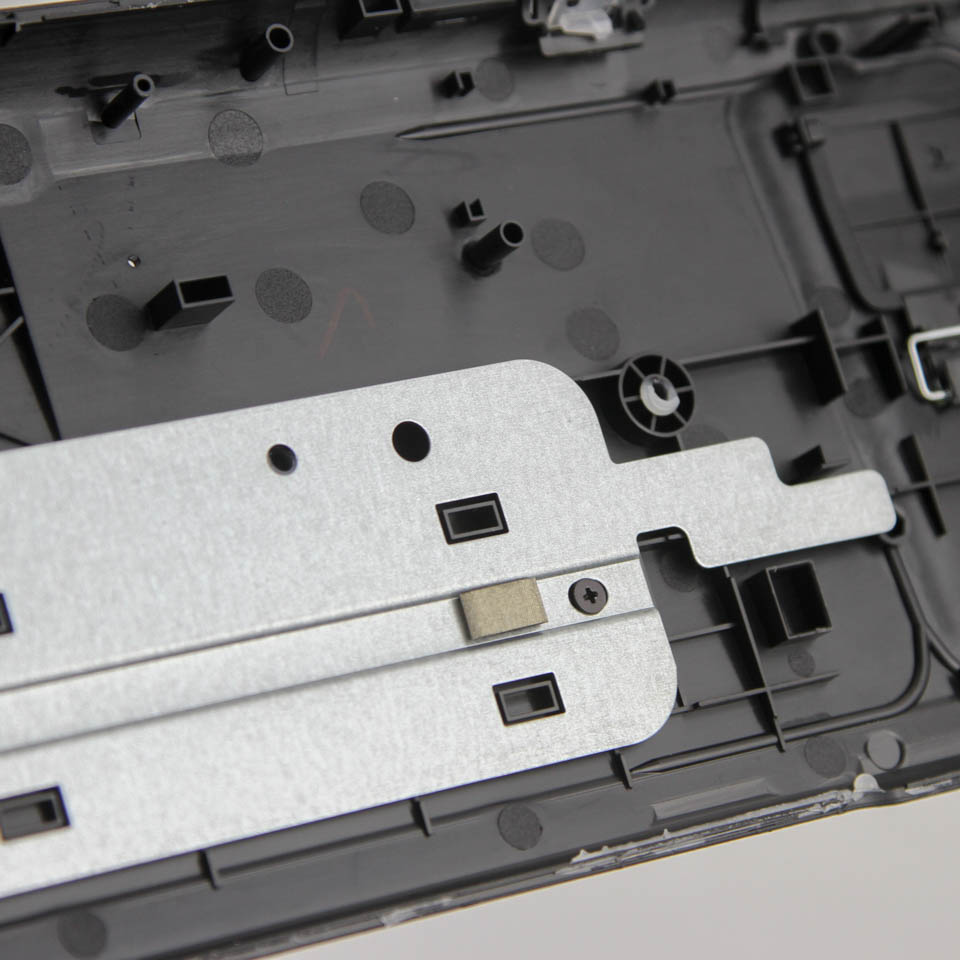
This is one keyboard I heavily encourage no one ever disassemble. Indeed, it is built such that I doubt even CORSAIR would bother repairing it instead of just replacing it. For one, you will need a thin, flat object to carefully pry apart the aluminium frame and plastic case, but doing so will leave marks galore in the plastic. Secondly, the two pieces are held tightly together via glue, so you have to apply a lot of pressure. There are small interlocking tabs as well, but when you think you have it done, you are greeted to taped pieces inside the middle and three metal stubs that are also glued in place. These tabs jut out and keep the two pieces together, so fully separating them is not trivial. The bottom case panel ends up having a fairly large steel piece for added structural integrity and to balance the mass relative to the right of the keyboard that houses more components.
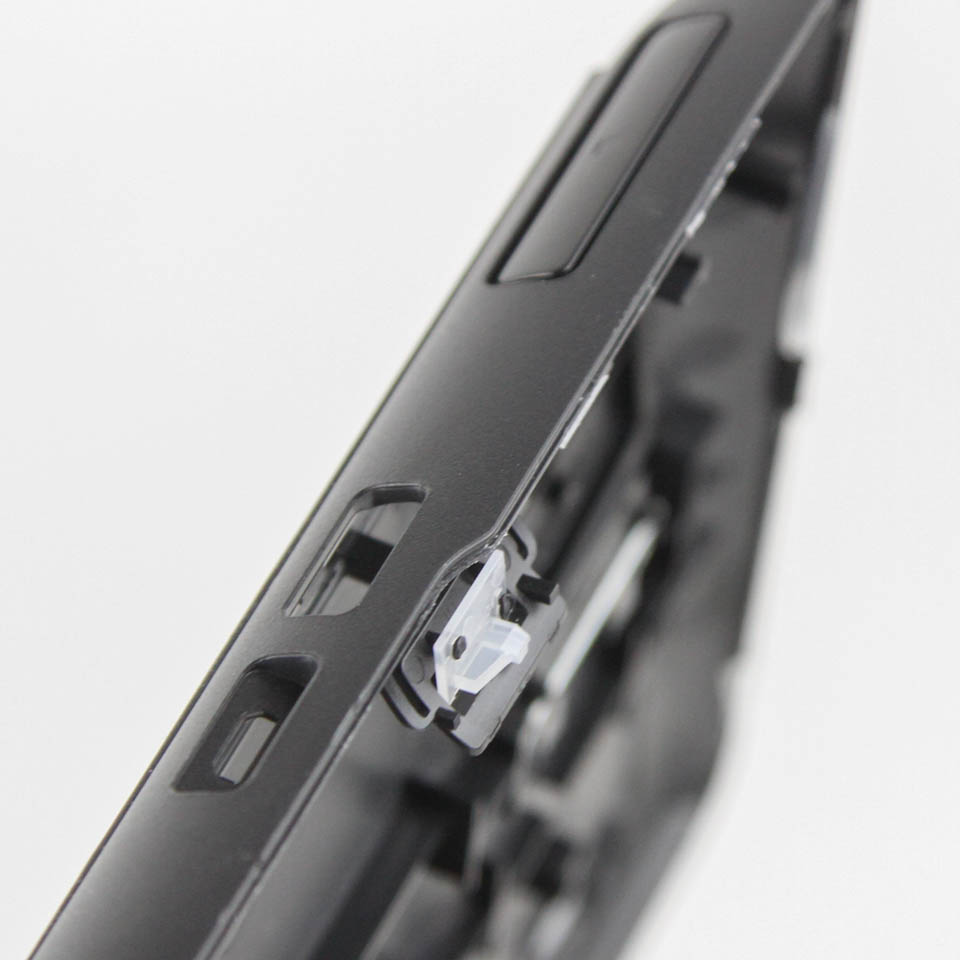
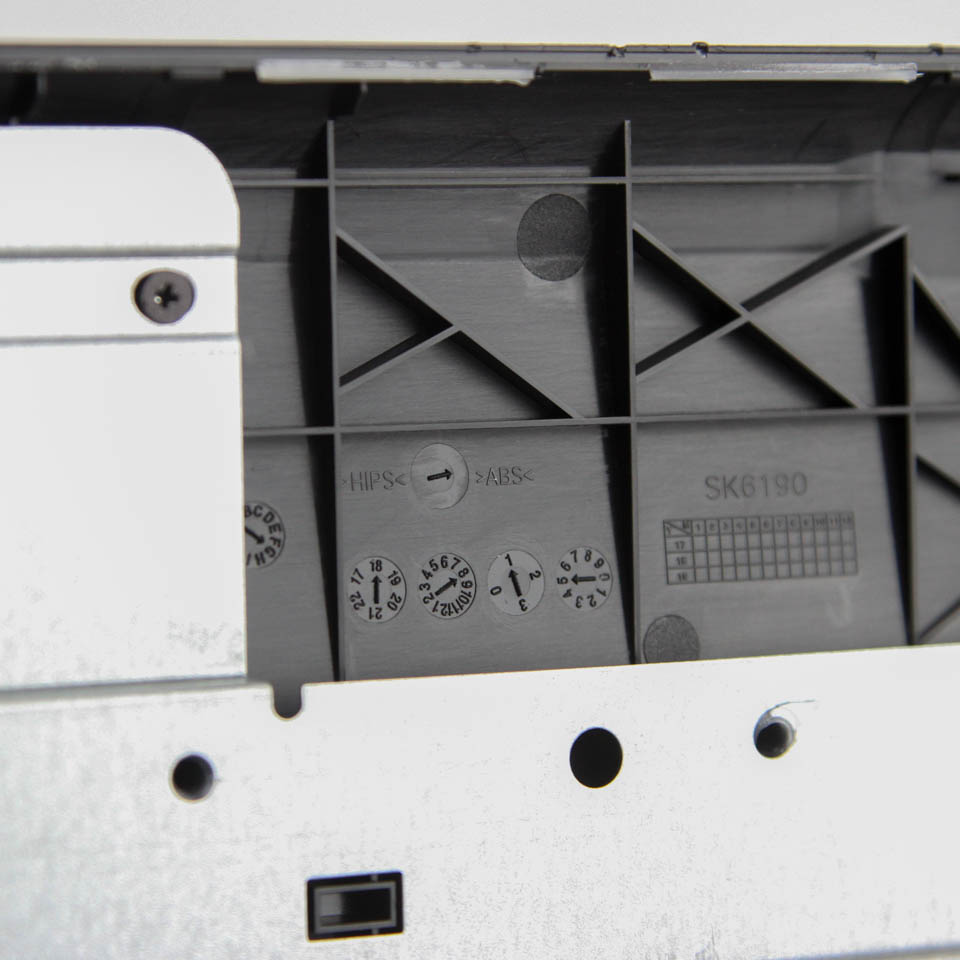
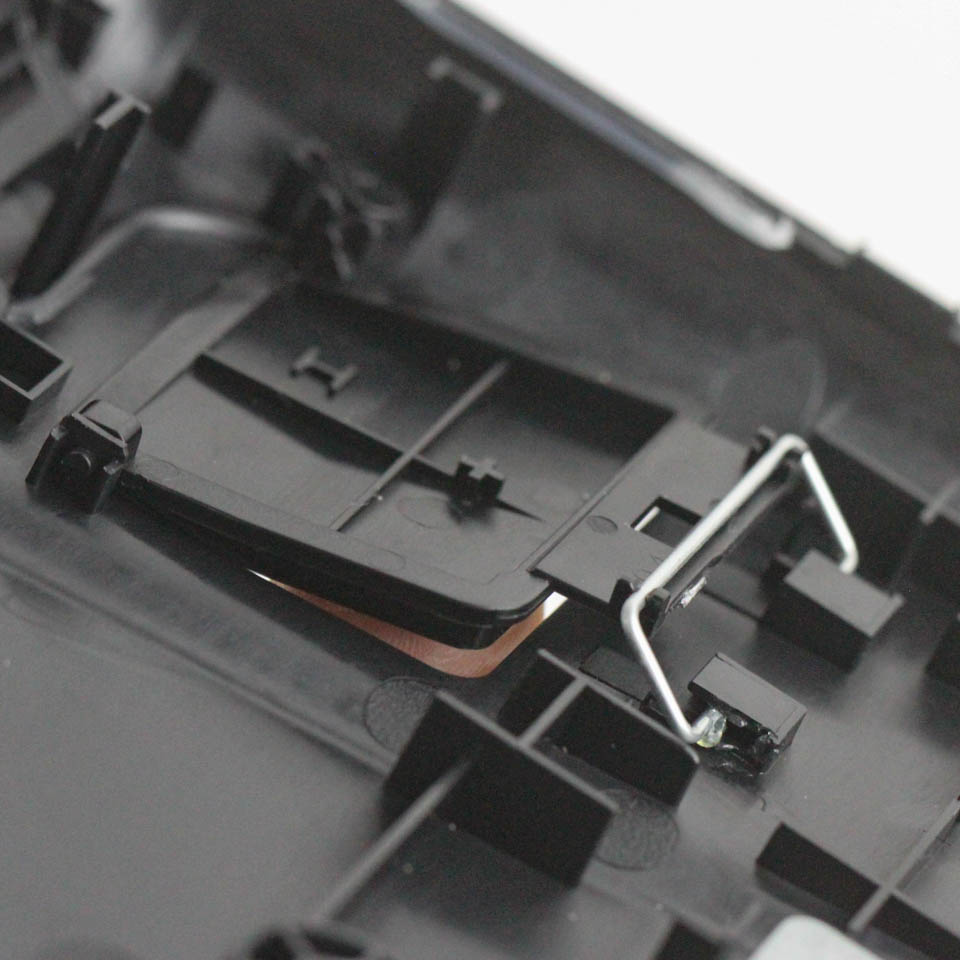
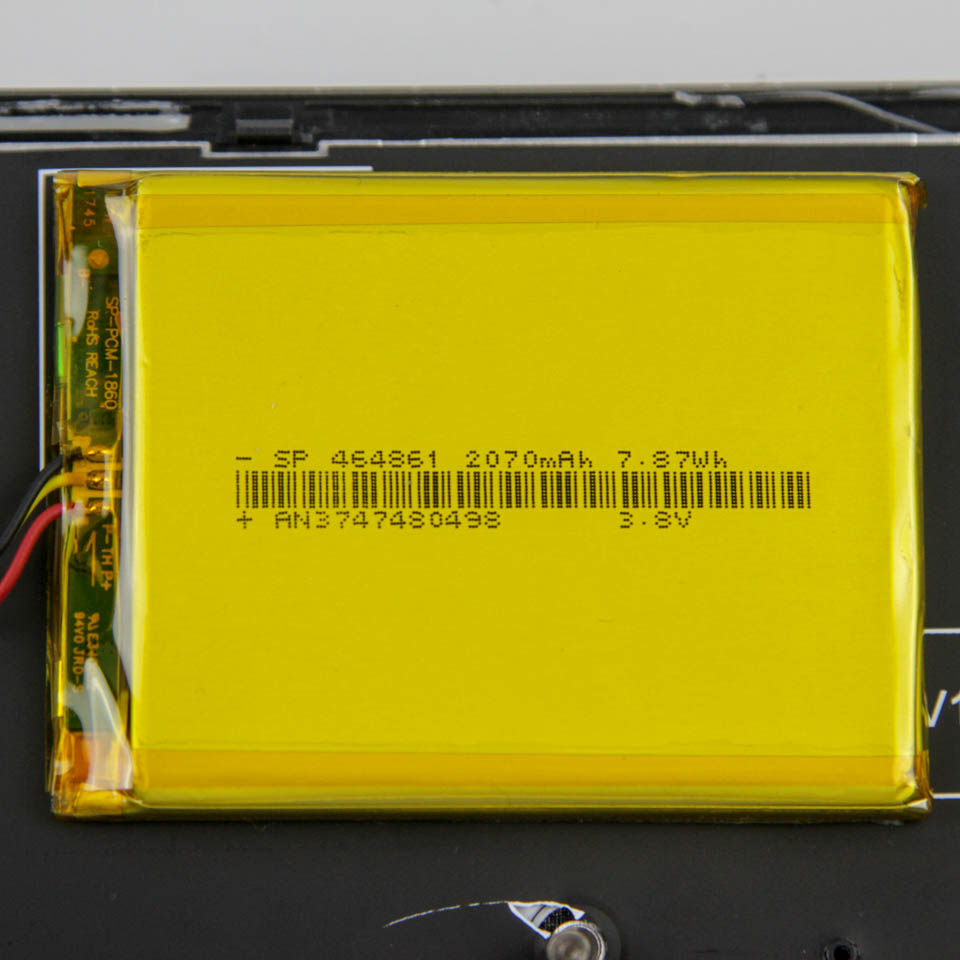
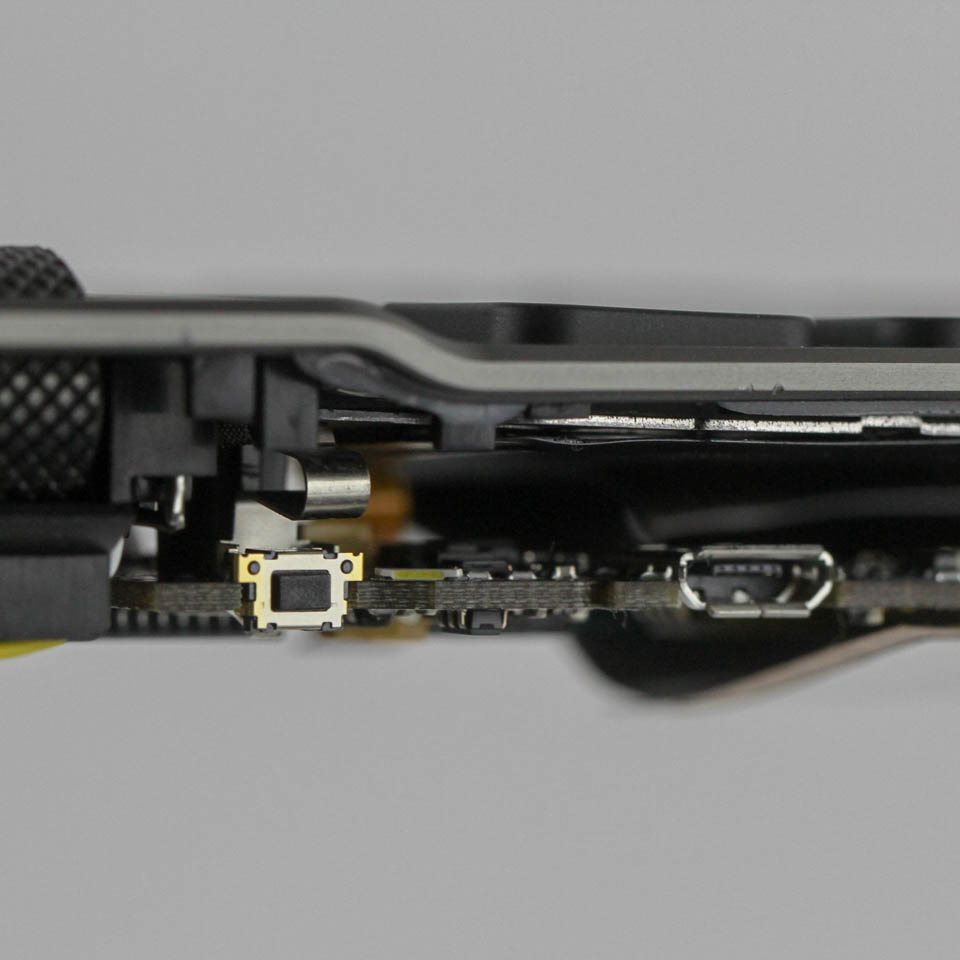
The power button on the case is effectively a shell that presses inward to make contact with the actual button, presumably on a PCB. Markings on the case confirm it is made out of ABS plastic, and we can also see how the "R" button on the back works in a similar manner as larger keycaps using wire stabilizers. We can also get a good look at the internal battery rated at 2070 mAh and 7.87 Wh, although battery life depends on more things than battery size alone.

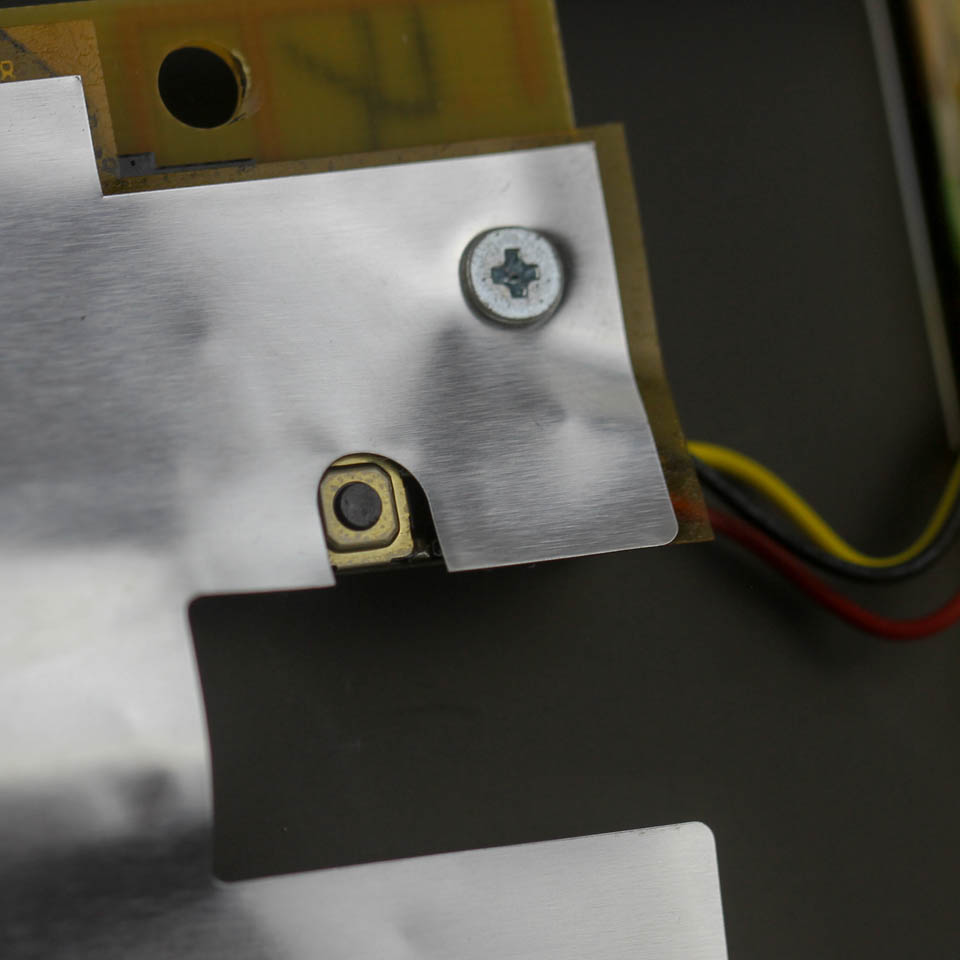
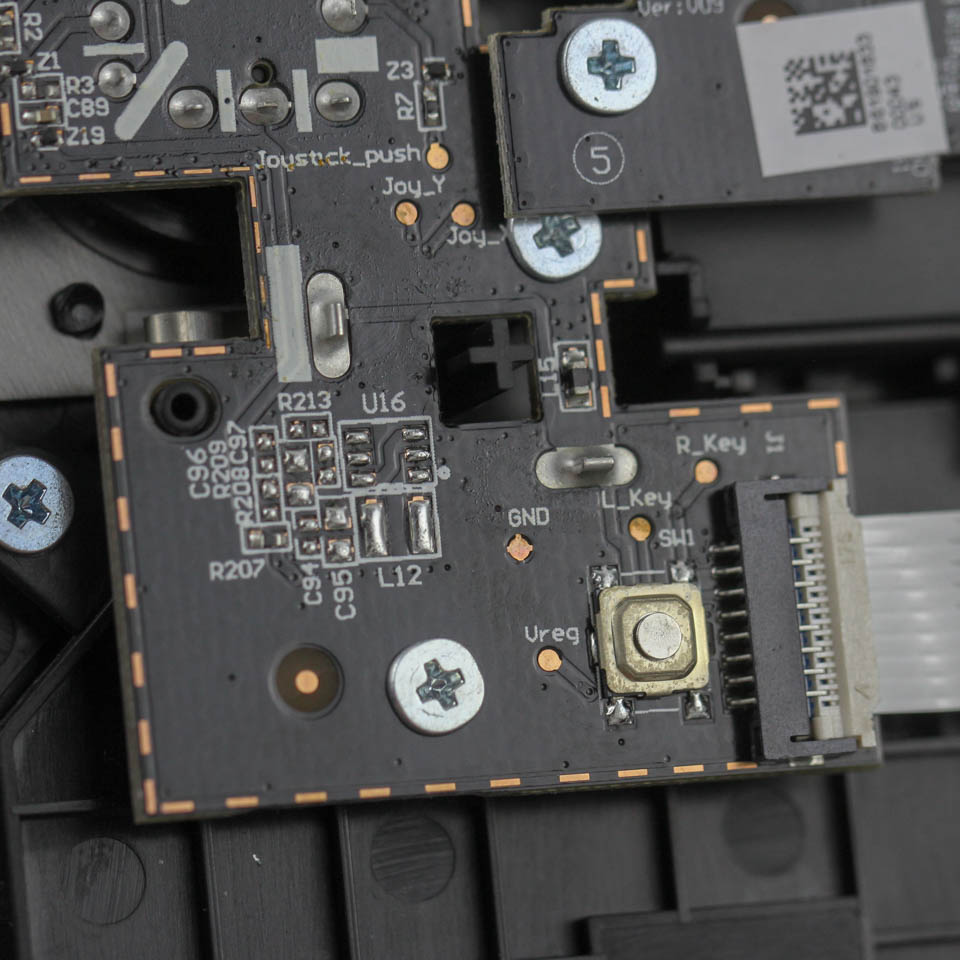
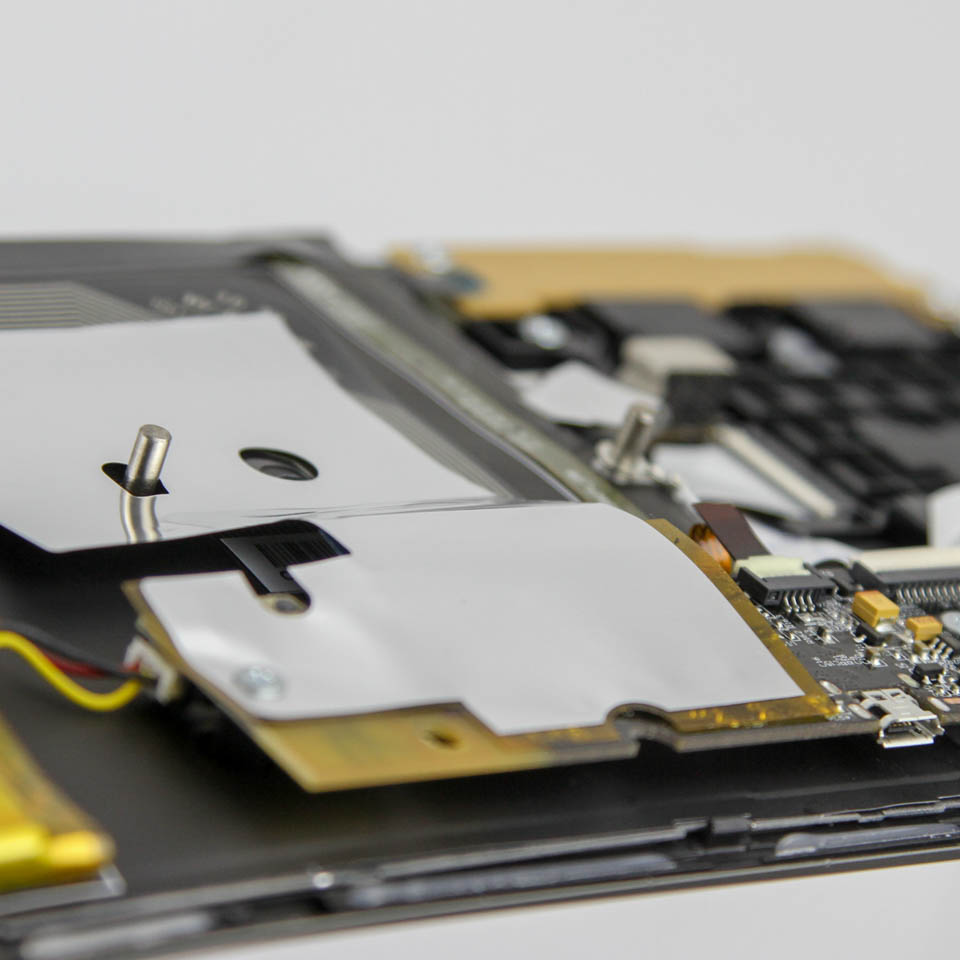
The battery is connected to the primary PCB, which in turn is connected to membranes given the scissor switches used here actuate similar to membrane switches. Bottoming out the switches is a must for actuation since this completes the circuit that lets the keyboard controller know that it now has to send over the corresponding actuation as a keystroke output. There are sections shielded from each other, and we also see some of the buttons onboard, including the reset and power buttons. Solder quality is generally excellent, although there are daughter PCBs connected via ribbon cables, and there are not as many components to solder here relative to an average backlit mechanical keyboard.
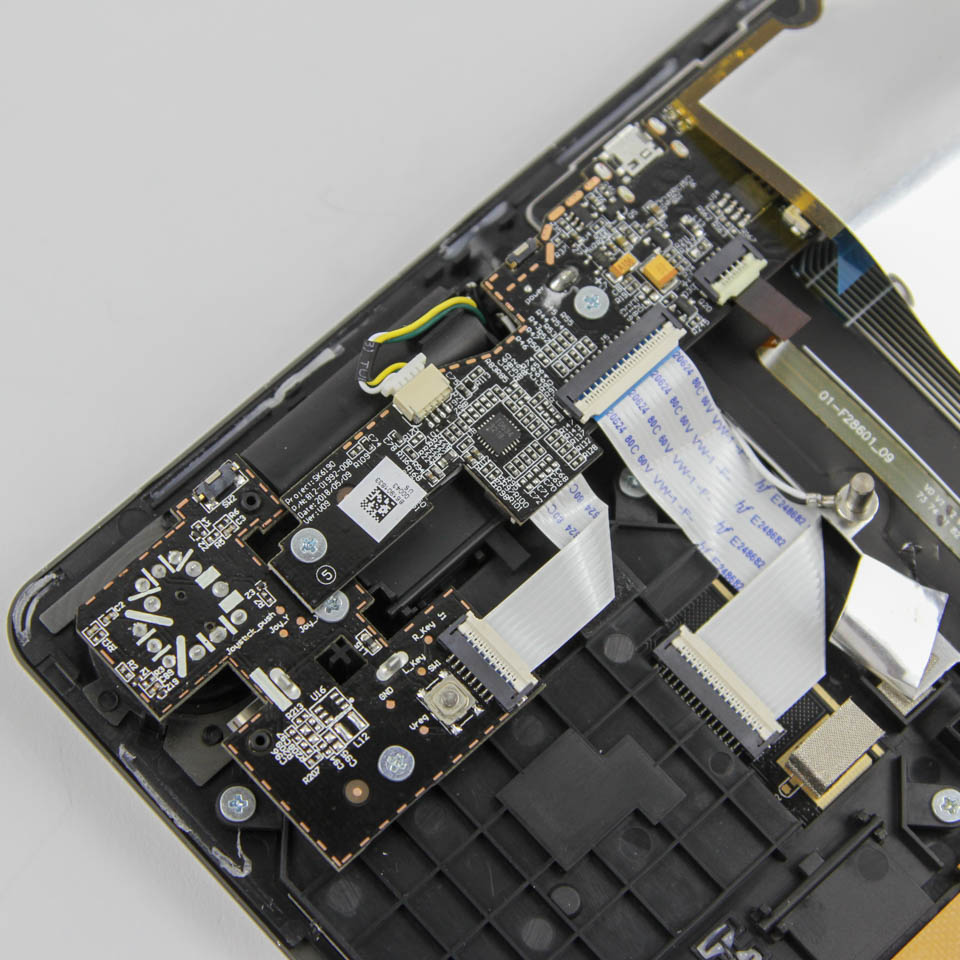
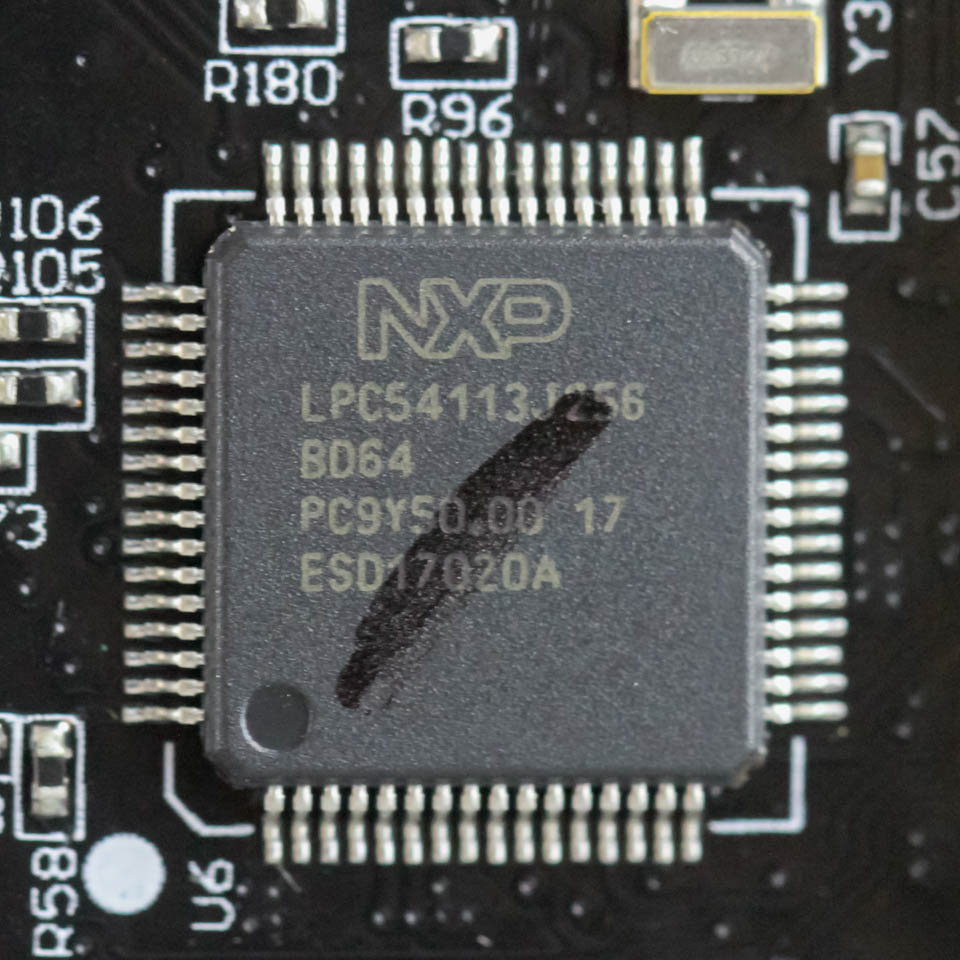
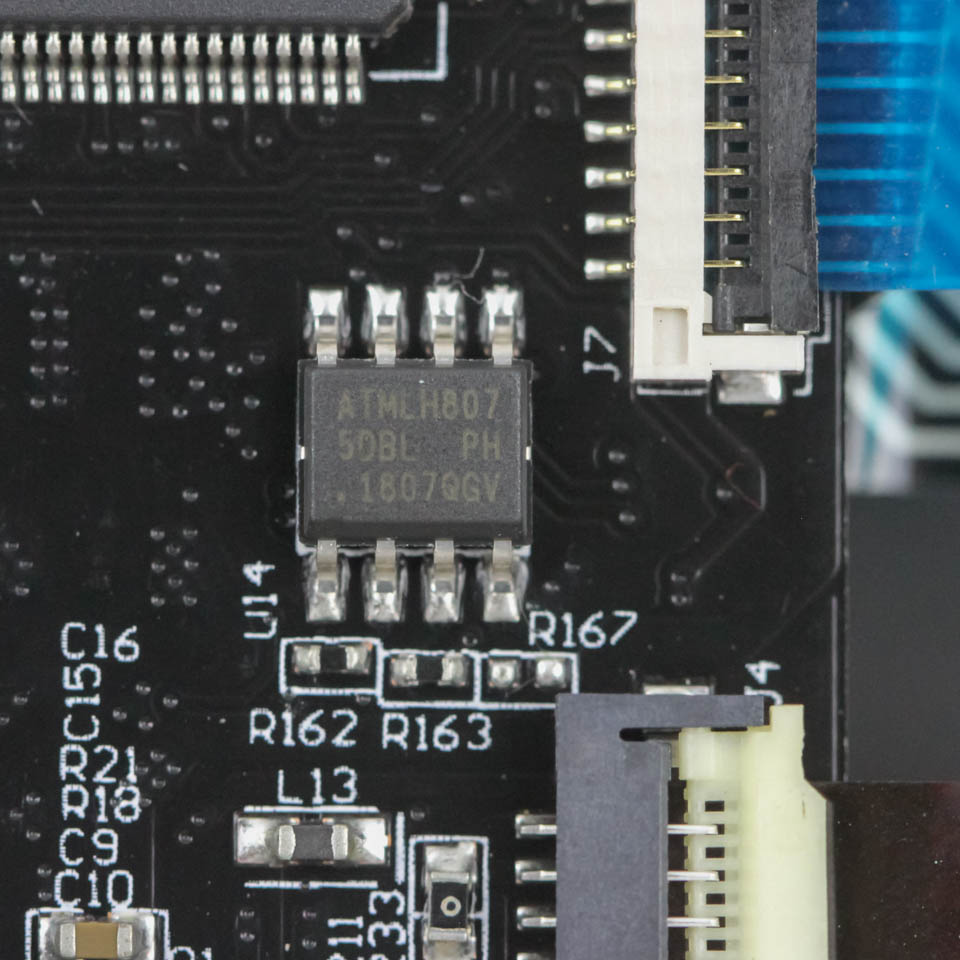
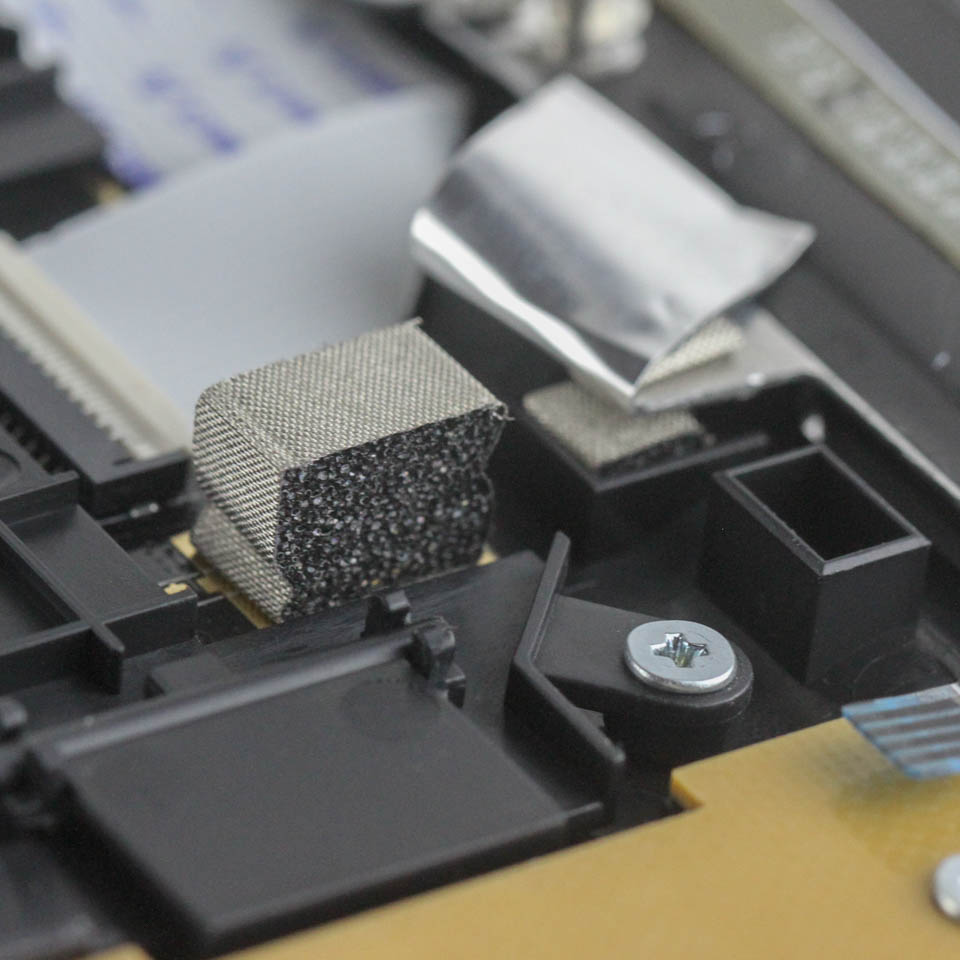
The non-keyboard section of the K83 Wireless (dedicated controls, joystick, buttons, and touch pad) is all powered via daughter PCBs as seen above. There is an NXP LPC54113J2 low Power 32-bit microcontroller based on ARM Cortex-M4 cores, designed with power efficiency in mind. This is a good choice because the K83 Wireless is not intended to be a performance keyboard. There is an onboard SMD memory module to help store pre-programmed functions on board, and more electrical isolation to prevent shorting because of the aluminium frame above. All the components, including the LEDs, are soldered to a multi-layered PCB.
Before we move on, be advised that disassembly may void the warranty and that TechPowerUp is not liable for any damages incurred if you decide to go ahead and do so anyway.
Apr 1st, 2025 14:01 EDT
change timezone
Latest GPU Drivers
New Forum Posts
- Is the futureproof gaming solution a four drive system? (29)
- What's your latest tech purchase? (23441)
- lowering the voltage but performance decreased a lot. (1)
- Rtx 3060 laptop no longer working after wrong vbios flash (19)
- Opened Thaiphoon then crash! (1)
- WCG Daily Numbers (12823)
- Can you guess Which game it is? (53)
- AIO - 120mm cpu cooler? (42)
- Msi Vector 16HX Undervolt (9)
- Rare GPUs / Unreleased GPUs (2049)
Popular Reviews
- DDR5 CUDIMM Explained & Benched - The New Memory Standard
- Sapphire Radeon RX 9070 XT Pulse Review
- ASRock Phantom Gaming B850 Riptide Wi-Fi Review - Amazing Price/Performance
- SilverStone Lucid 04 Review
- Palit GeForce RTX 5070 GamingPro OC Review
- Samsung 9100 Pro 2 TB Review - The Best Gen 5 SSD
- Sapphire Radeon RX 9070 XT Nitro+ Review - Beating NVIDIA
- Enermax REVOLUTION D.F. 12 850 W Review
- Assassin's Creed Shadows Performance Benchmark Review - 30 GPUs Compared
- AMD Ryzen 7 9800X3D Review - The Best Gaming Processor
Controversial News Posts
- MSI Doesn't Plan Radeon RX 9000 Series GPUs, Skips AMD RDNA 4 Generation Entirely (144)
- Microsoft Introduces Copilot for Gaming (124)
- AMD Radeon RX 9070 XT Reportedly Outperforms RTX 5080 Through Undervolting (119)
- NVIDIA Reportedly Prepares GeForce RTX 5060 and RTX 5060 Ti Unveil Tomorrow (115)
- Over 200,000 Sold Radeon RX 9070 and RX 9070 XT GPUs? AMD Says No Number was Given (100)
- NVIDIA GeForce RTX 5050, RTX 5060, and RTX 5060 Ti Specifications Leak (96)
- Retailers Anticipate Increased Radeon RX 9070 Series Prices, After Initial Shipments of "MSRP" Models (90)
- China Develops Domestic EUV Tool, ASML Monopoly in Trouble (88)