 6
6
Cubitek Tattoo Fire Review
A Closer Look - Inside »A Closer Look - Outside
The Tattoo series is available in three variants. The Beta - an entry level version without a window, LED fans or black interior, the Pro, with black interior LED fans and a windowed side panel and the Fire which features a red interior paint job on top of what the Pro version offers. We have this version for review today. It makes a good impression as far as quality is concerned. Cubitek has chosen not to go all out on the design of the chassis, but has concentrated their efforts to offer good functionality with classic lines and curves. The paint job of the chassis is excellent and should be able to withstand some abuse without taking any permanent damage.
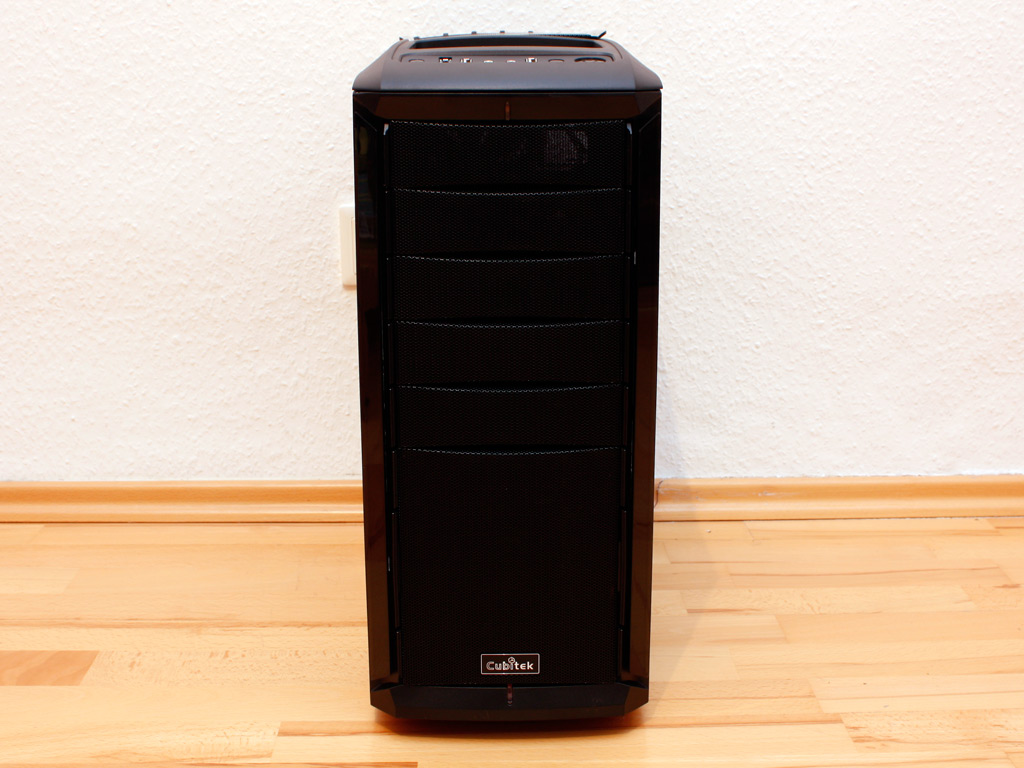
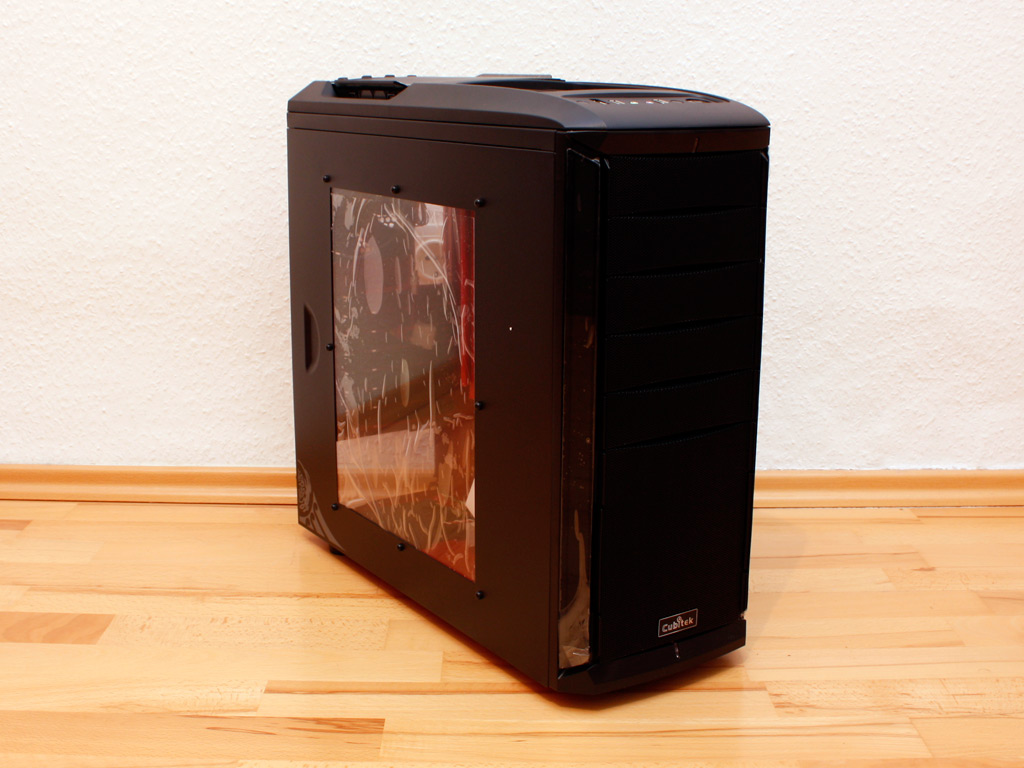
Cubitek has constructed the front with a lot of metal mesh. A little Cubitek logo has been placed on the bottom of the chassis. A power LED can be found on the top edge and the hard drive one on the very bottom. Turning the chassis around, you can see that the red paint job is excellent as well. As is the case with most modern enclosures, the power supply bay has been placed on the very bottom of the Tattoo.
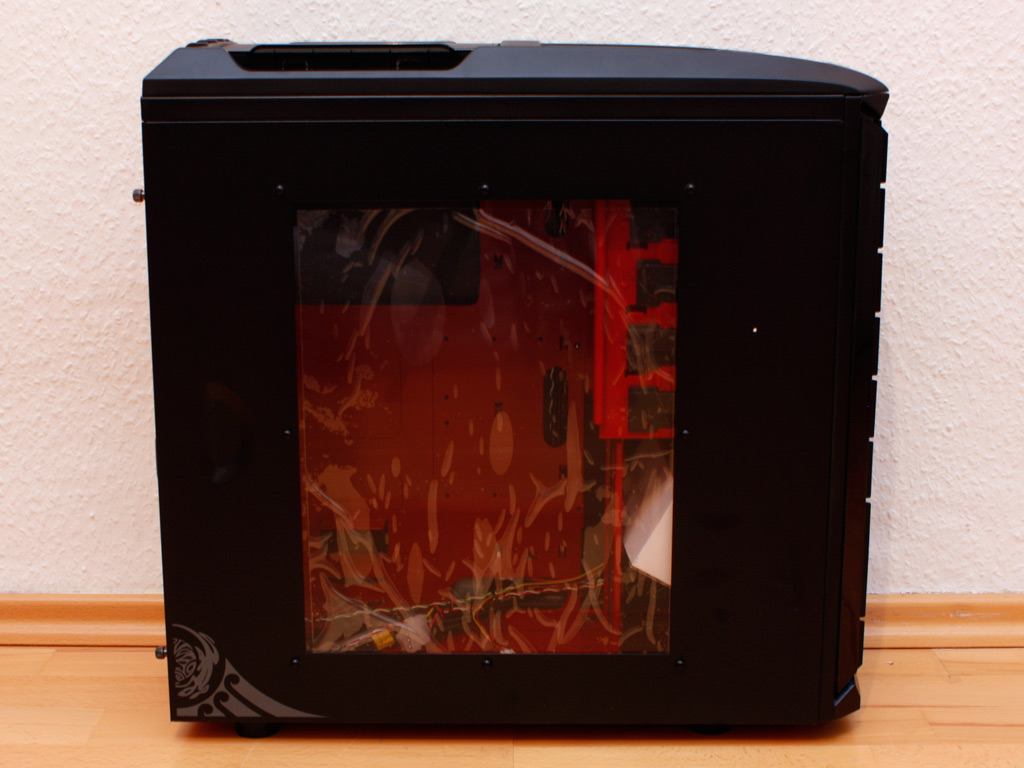
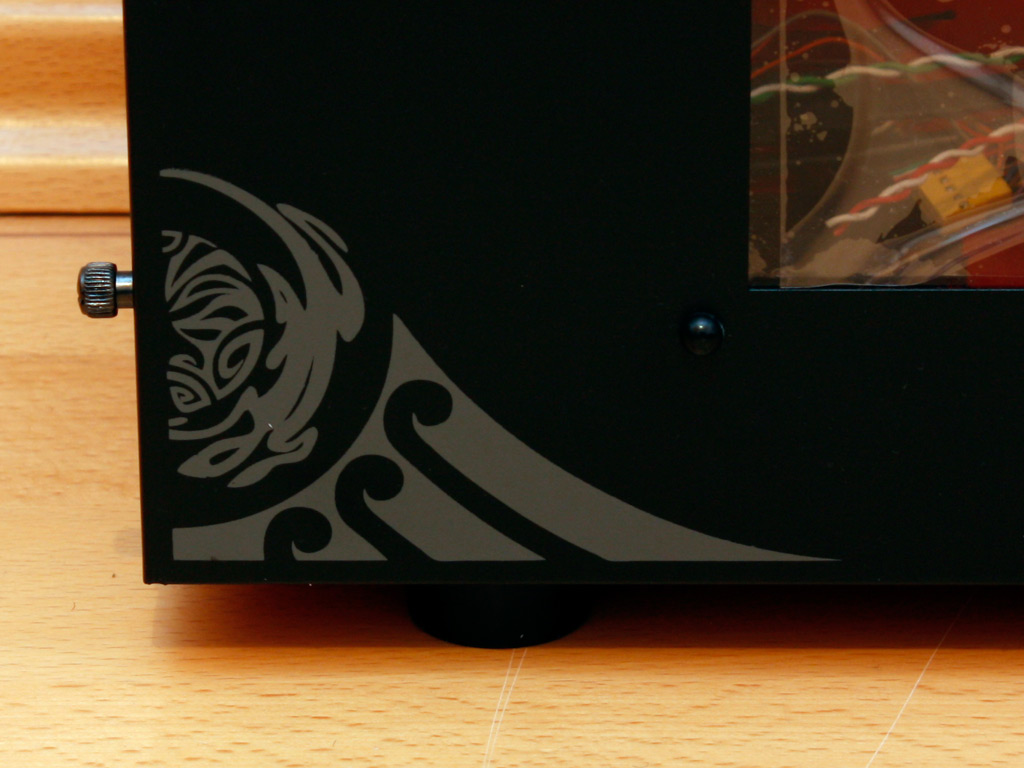
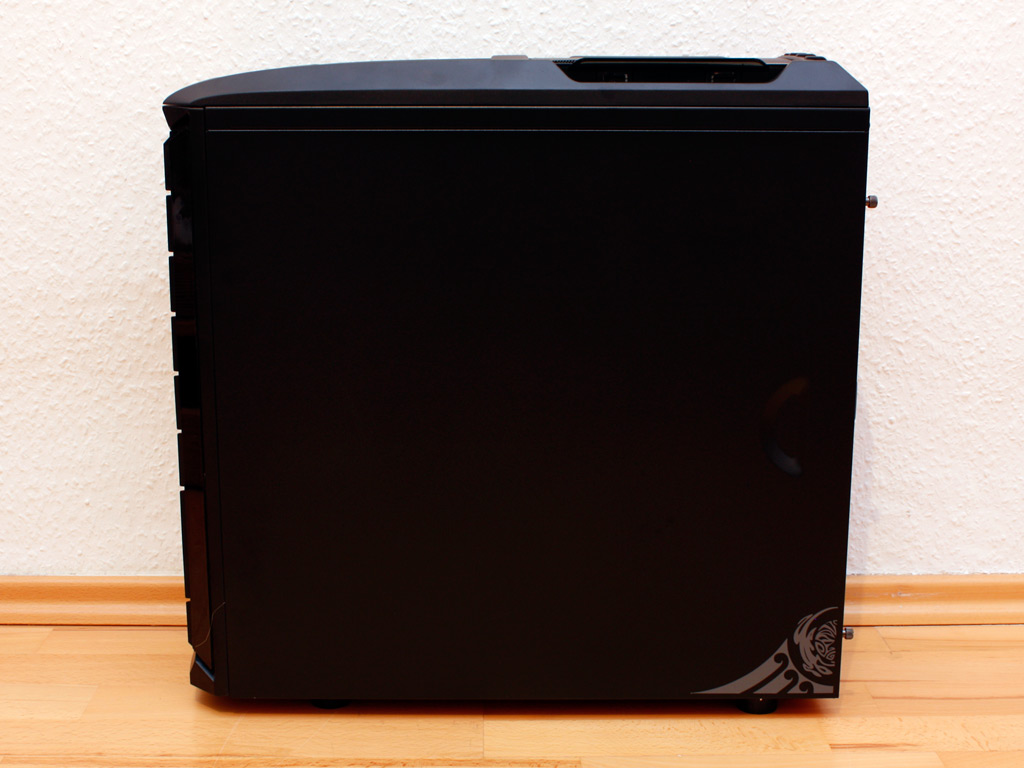
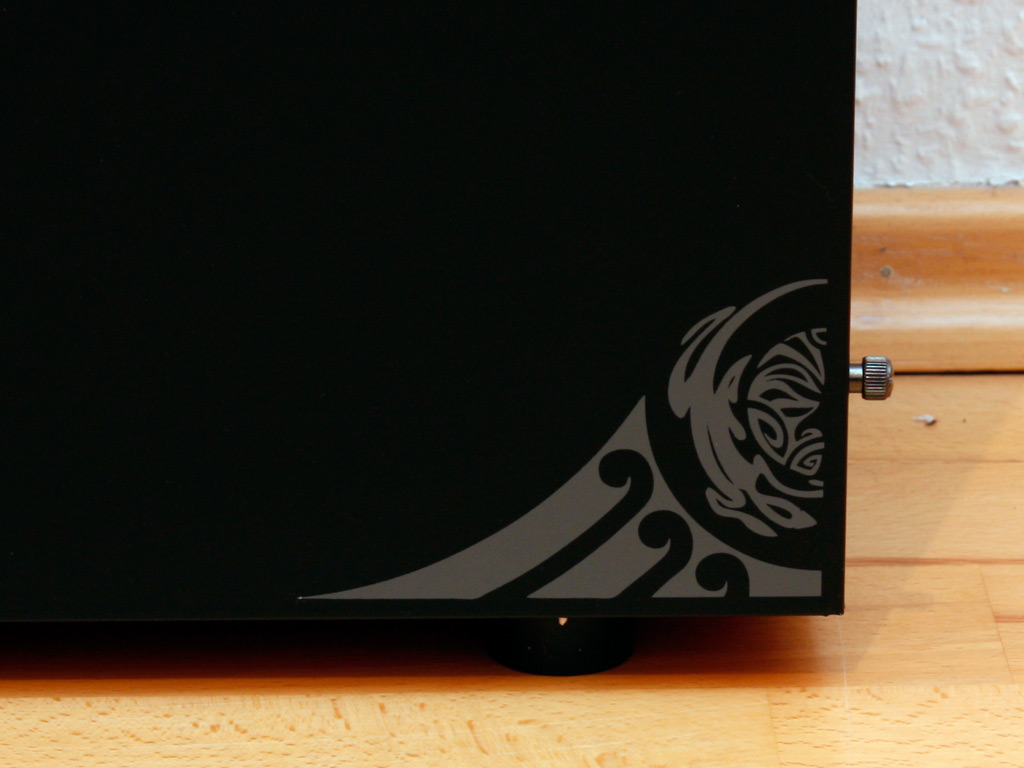
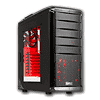
The side window is nothing out of the ordinary as it is just a simple square cut out of the side panel. While this seems a bit boring, it serves its purpose well. There is also a little Tattoo printed on the lower rear corner of this side panel. Turning the chassis around, we have a solid panel along with an identical tattoo on the lower rear corner.
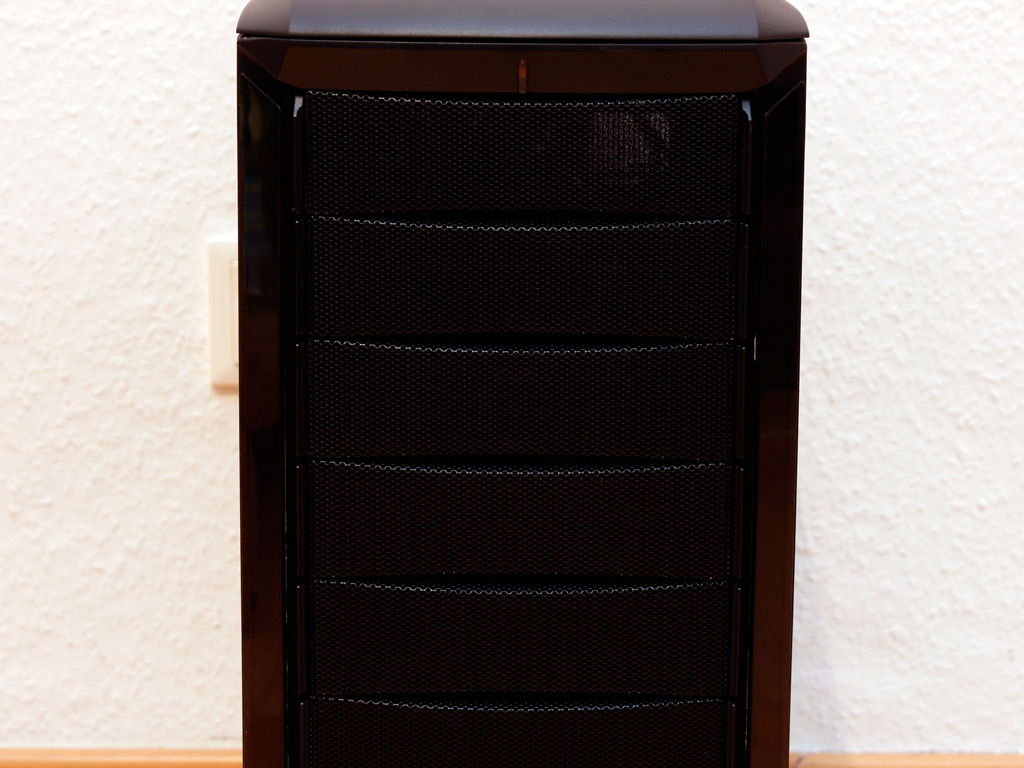
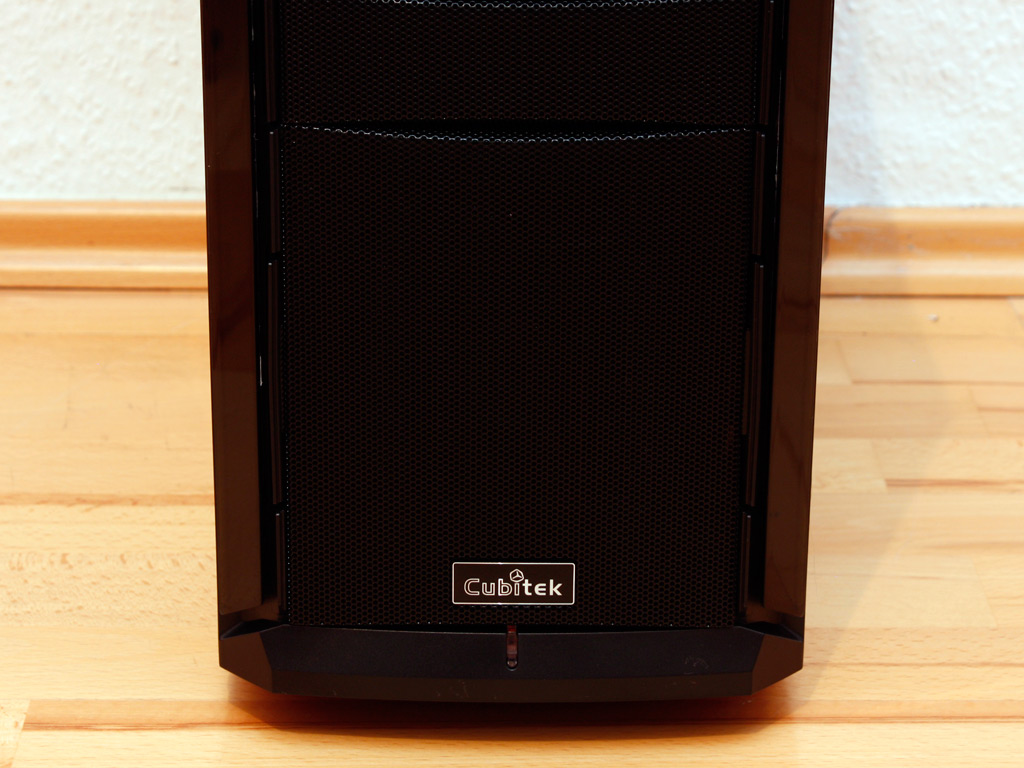
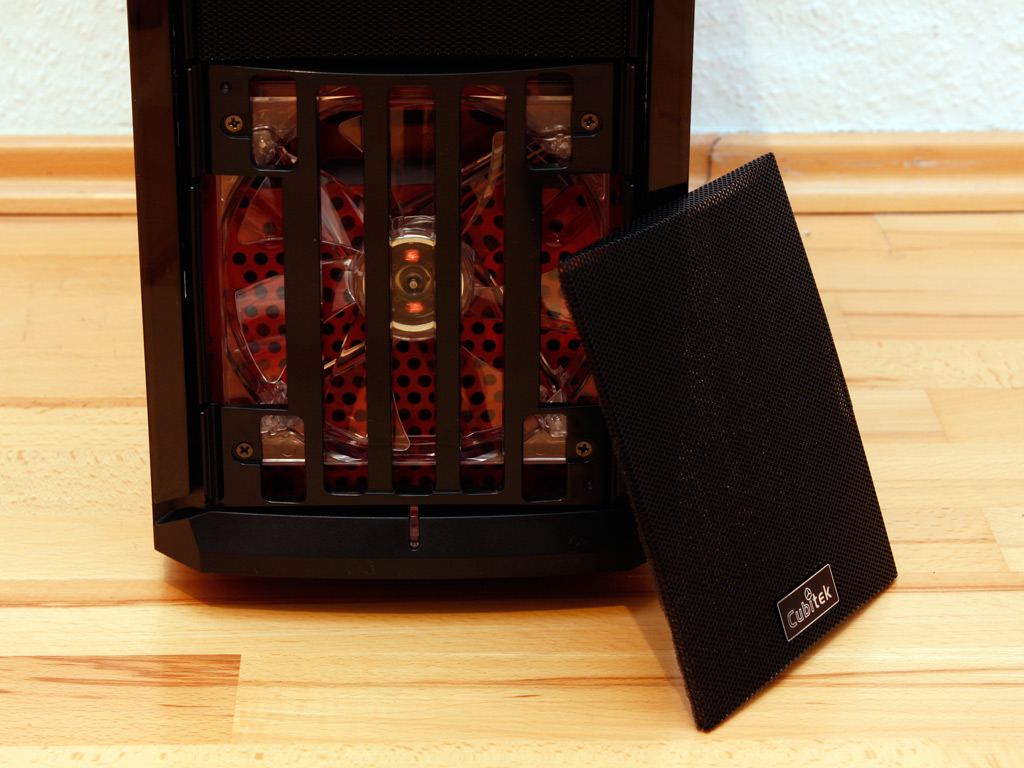
Taking a closer look at the front, it is divided into two areas. The bottom metal mesh covers the front fan. This part can easily be taken off by spreading the plastic lips holding it in place on both sides. Once removed, the 120 mm clear fan with red LEDs can be seen. Cubitek has placed a simple dust filter behind each of the metal mesh parts, so that you should not have to worry about any dirt clogging up the fans in the long run. Above that are the five 5.25 inch drive bays. These can also be easily removed the same way by spreading the plastic clips apart on both sides.
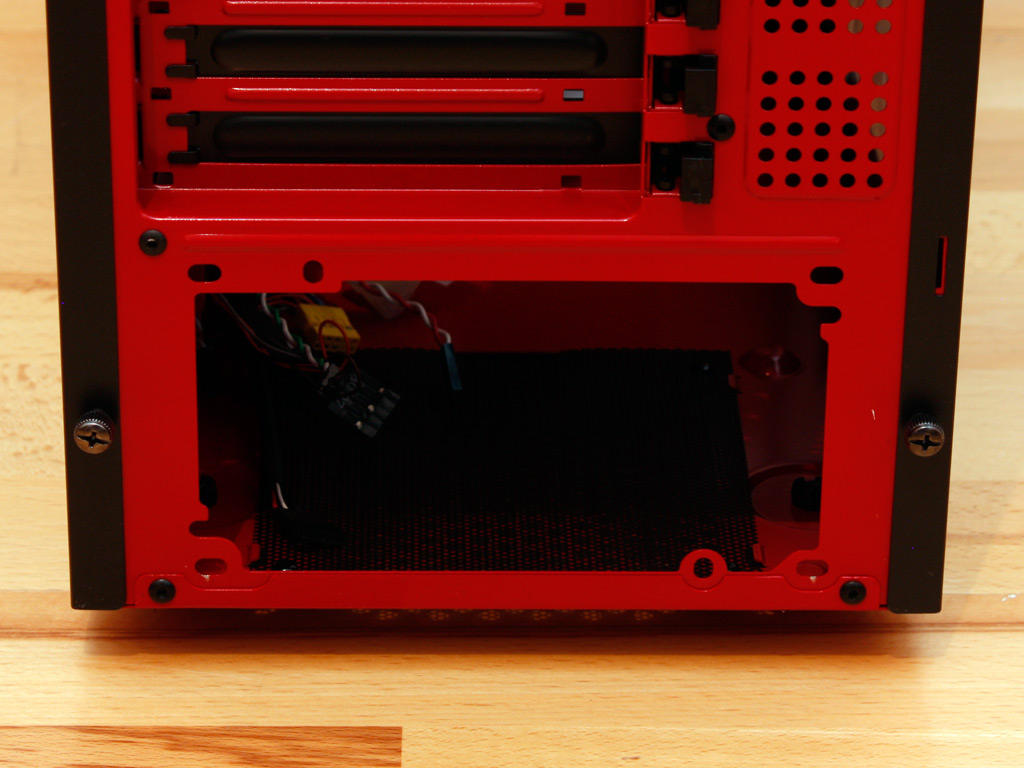
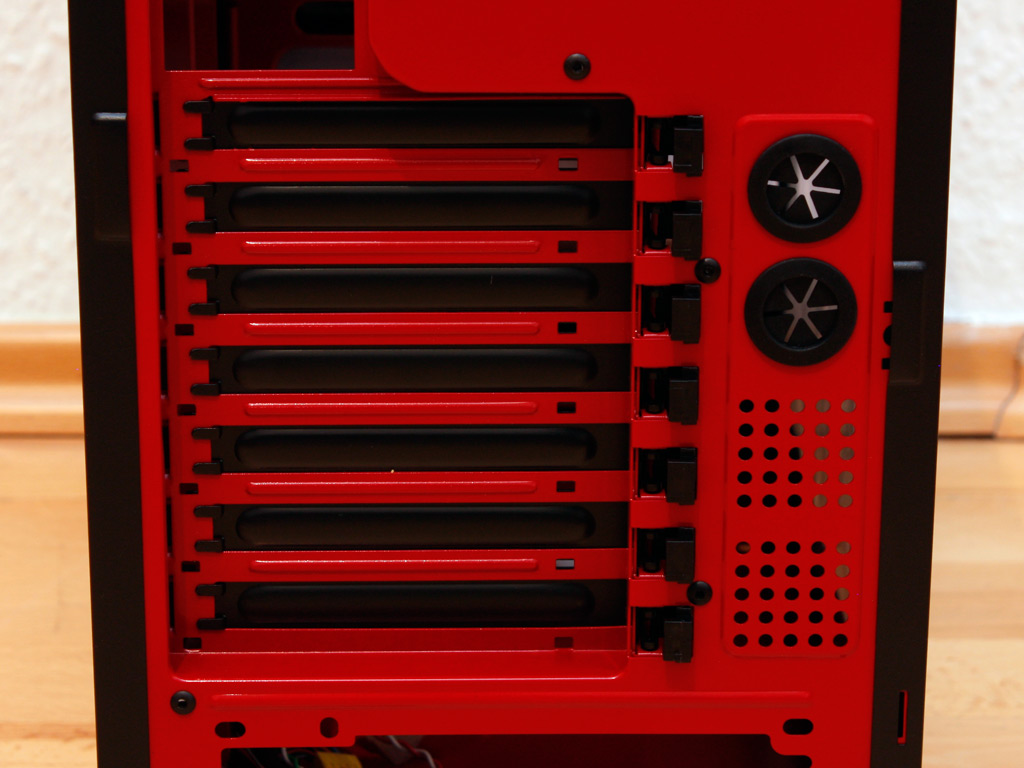
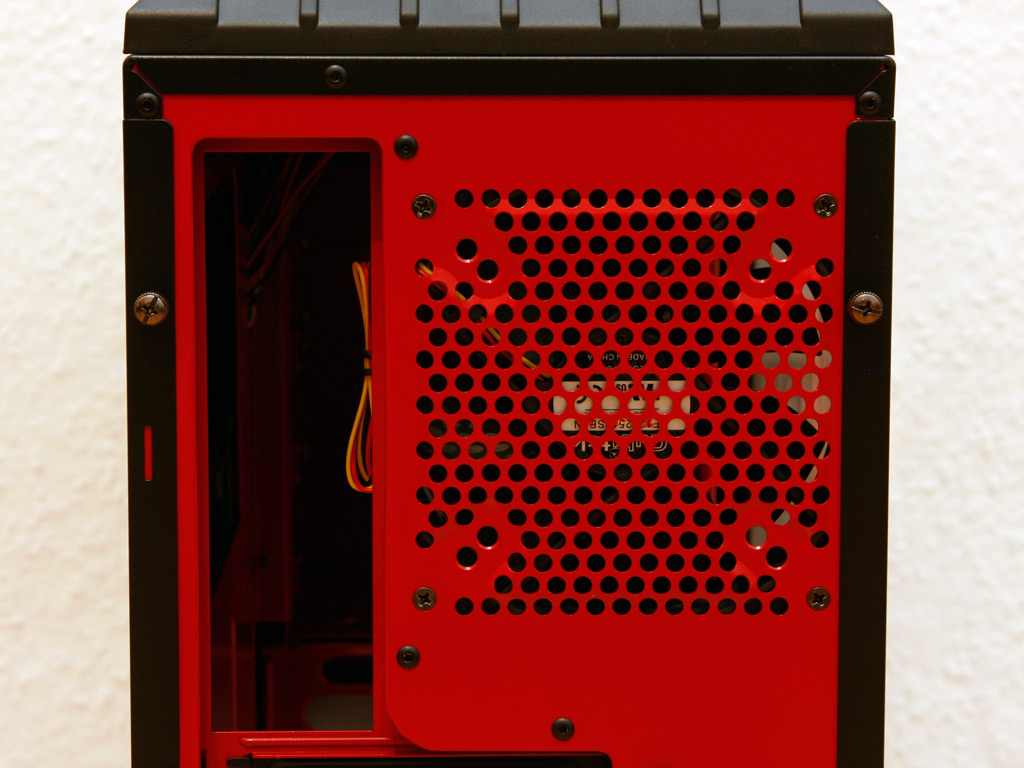
In the rear, starting at the bottom you have the PSU bay which allows you to install the power supply with the fan facing downward or upward. Above that are the seven mainboard expansion slots, each covered by a black metal mesh piece. Next to that are two openings to route water cooling tubes through in case you have an external radiator. On the very top you have another 120 mm fan, but this one does not have any LEDs as we will see later on.
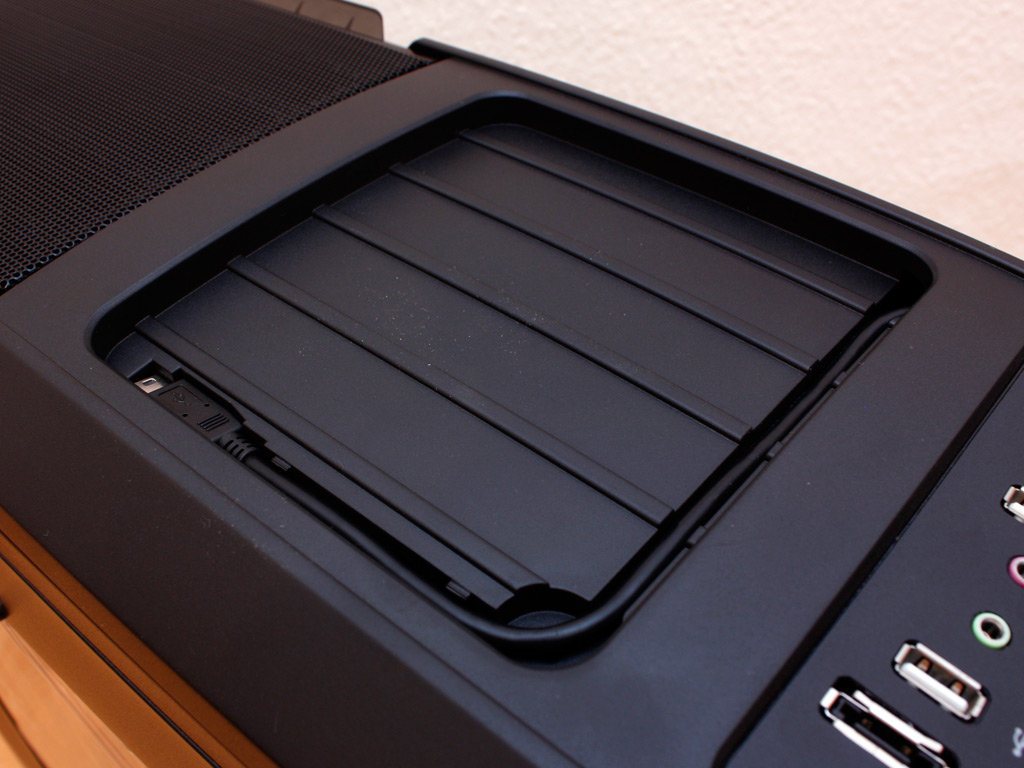
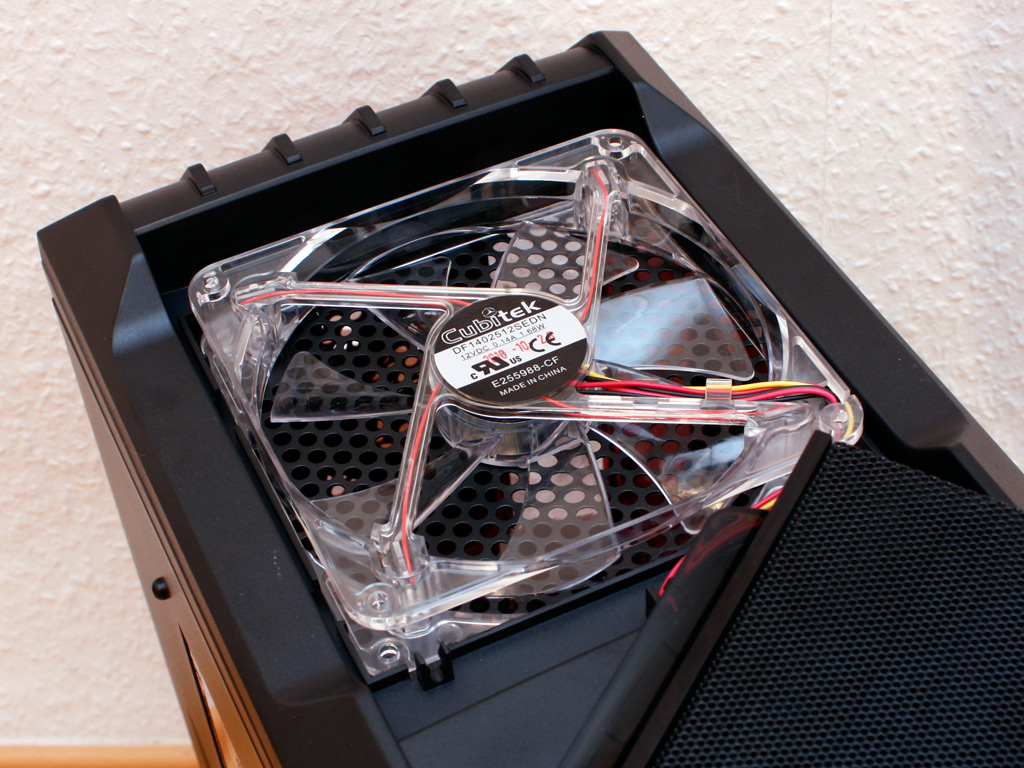
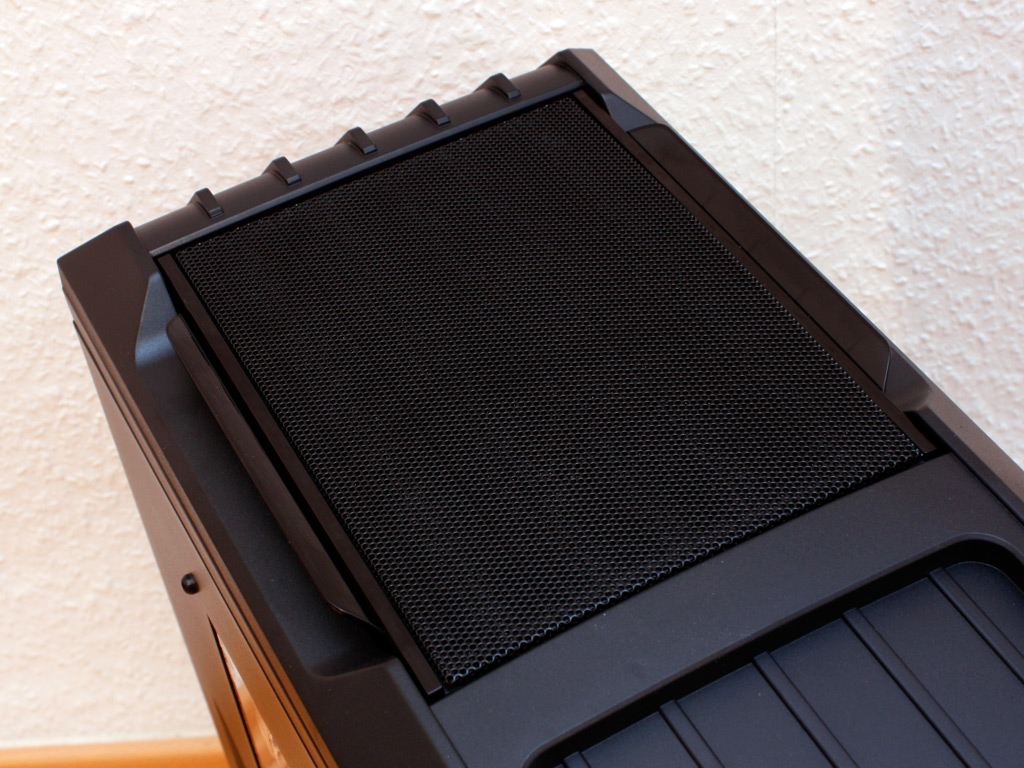
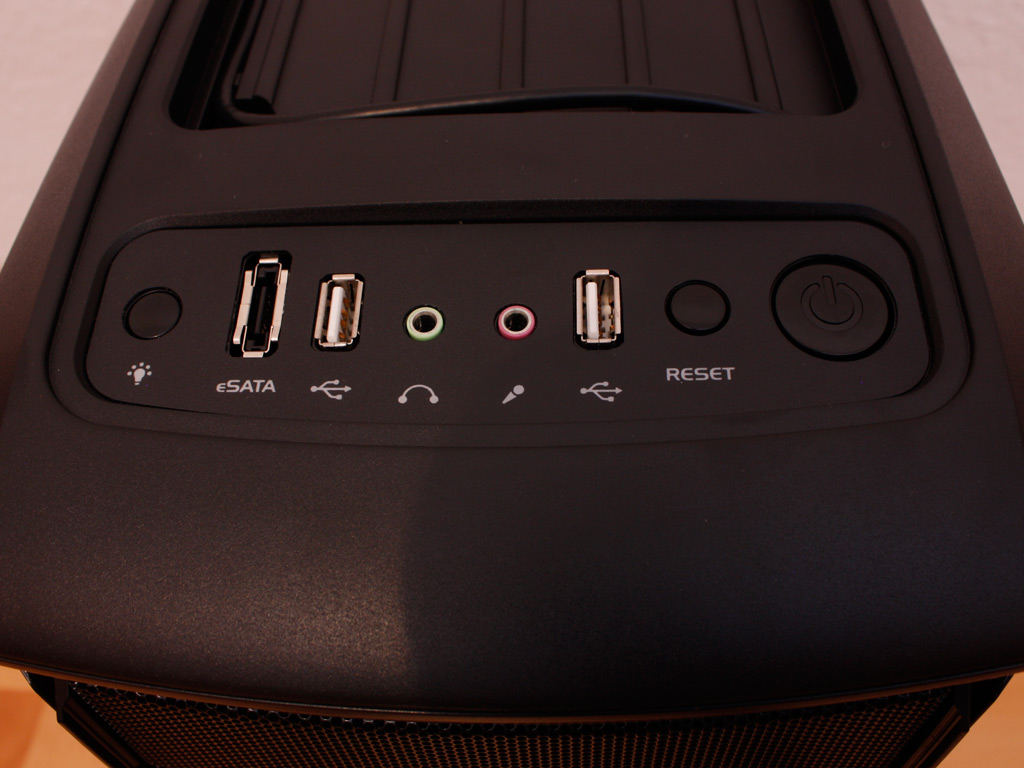
Before we dive into the interior, let us take a look at the top of the chassis. You have the power and reset buttons along with a pair of USB 2.0, one eSATA and the usual audio connectivity in the front area. Behind that is a little tray embedded into the top. Cubitek has actually routed a USB cable here as well with a miniUSB port. So you can easily connect your 2.5 inch hard drive to the PC or even use the miniUSB to microUSB adapter to charge your cell phone easily. In the very rear is another mesh cover on the top fan. It also comes equipped with red LEDs and you are able to pry off that cover to gain access to that cooling device. Interestingly enough, there are no screws holding it in place, as the plastic contraption seems to do the job just fine and I had no issues with vibration once the system was turned on as we will see later on.
Jul 12th, 2025 01:16 CDT
change timezone
Latest GPU Drivers
New Forum Posts
- Will you buy a RTX 5090? (642)
- 'NVIDIA App' not usable offline? (8)
- Can you guess Which game it is? (222)
- What are you playing? (23920)
- RX 9070 XT freezing/locking up only on desktop, anyone else? (43)
- NVIDIA RTX PRO 6000 Workstation Runs Much Hotter Than 5090 FE (22)
- Quick charging your USB devicesUSB 3.2 Gen 2x2 Type-C® front-panel. (1)
- GTX 1050 GPU Owners Club (12)
- ASUS ProArt GeForce RTX 4060 Ti OC Edition 16GB GDDR6 Gaming - nvflash64 VBIOS mismatch (2)
- No offense, here are some things that bother me about your understanding of fans. (33)
Popular Reviews
- Fractal Design Epoch RGB TG Review
- Corsair FRAME 5000D RS Review
- Lexar NM1090 Pro 4 TB Review
- NVIDIA GeForce RTX 5050 8 GB Review
- NZXT N9 X870E Review
- Sapphire Radeon RX 9060 XT Pulse OC 16 GB Review - An Excellent Choice
- AMD Ryzen 7 9800X3D Review - The Best Gaming Processor
- Upcoming Hardware Launches 2025 (Updated May 2025)
- Our Visit to the Hunter Super Computer
- Chieftec Iceberg 360 Review
TPU on YouTube
Controversial News Posts
- Intel's Core Ultra 7 265K and 265KF CPUs Dip Below $250 (288)
- Some Intel Nova Lake CPUs Rumored to Challenge AMD's 3D V-Cache in Desktop Gaming (140)
- AMD Radeon RX 9070 XT Gains 9% Performance at 1440p with Latest Driver, Beats RTX 5070 Ti (131)
- NVIDIA Launches GeForce RTX 5050 for Desktops and Laptops, Starts at $249 (119)
- NVIDIA GeForce RTX 5080 SUPER Could Feature 24 GB Memory, Increased Power Limits (115)
- Microsoft Partners with AMD for Next-gen Xbox Hardware (105)
- Intel "Nova Lake‑S" Series: Seven SKUs, Up to 52 Cores and 150 W TDP (100)
- NVIDIA DLSS Transformer Cuts VRAM Usage by 20% (97)