 30
30
GIGABYTE GA-Z87X-OC (Intel LGA 1150) Review
BIOS Walkthrough »Test System
| Test System | |
|---|---|
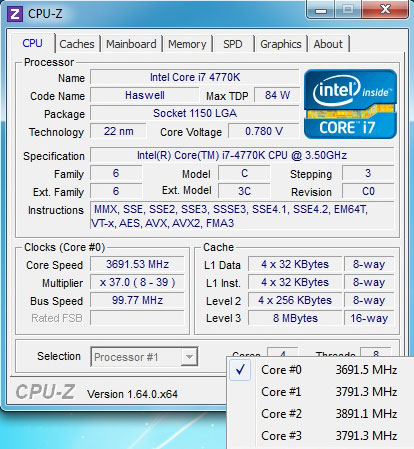
| CPU: | Intel 4770K 3.5 GHz, 8 MB Cache |
| Memory: | 16 GB DDR3 (4x 4 GB) GSkill TridentX F3-2666C11Q-16GTXD |
| Cooling: | CoolerMaster TPC 812 |
| Motherboard: | Gigabyte GA-Z87X-OC Intel Z77 Express, BIOS 3009 |
| Video Card: | 2x MSI GTX670 Power Edition OC 2 GB |
| Harddisk: | Corsair ForceGT 60 GB SATA 6 Gb/s SSD (OS) Corsair F60 60 GB SATA 3 Gb/s SSD (USB 3.0) Western Digital Caviar SE 16 WD5000AAKS 500GB SATA2 |
| Power Supply: | Seasonic SS-860XP2 |
| Case: | Lian Li T60 Test Bench |
| Software: | Windows 7 64-bit SP1, Nvidia 320.18 WHQL |
Initial Setup

Initial boot-up with the Gigabyte GA-Z87X-OC was quick and simple, and installing device drivers off the CD was quick and painless. There's not a lot for me to say here because everything worked exactly as expected.
Some boards have custom Turbo profiles that boost performance at "stock" settings, giving the appearance of having more performance than they really should. Gigabyte has told me that they don't condone such custom profiles without informing the user but do understand that some users want this function to be available. A boosted Turbo profile becomes available when XMP is enabled, but it can simply be disabled via an option in the BIOS. I personally feel that a coupon for Intel's Performance Tuning Protection Plan should be included in the box to protect against CPU failures if boards do this without giving the end user a way to turn it off, or don't explicitly state that they are doing so. For more information on Intel's Performance Tuning Protection Plan, check their site found HERE
The Gigabyte GA-Z87X-OC uses a normal Turbo profile and leaves all customization up to the end user. Voltages and power profiles are moderate, which its power consumption numbers reflect.
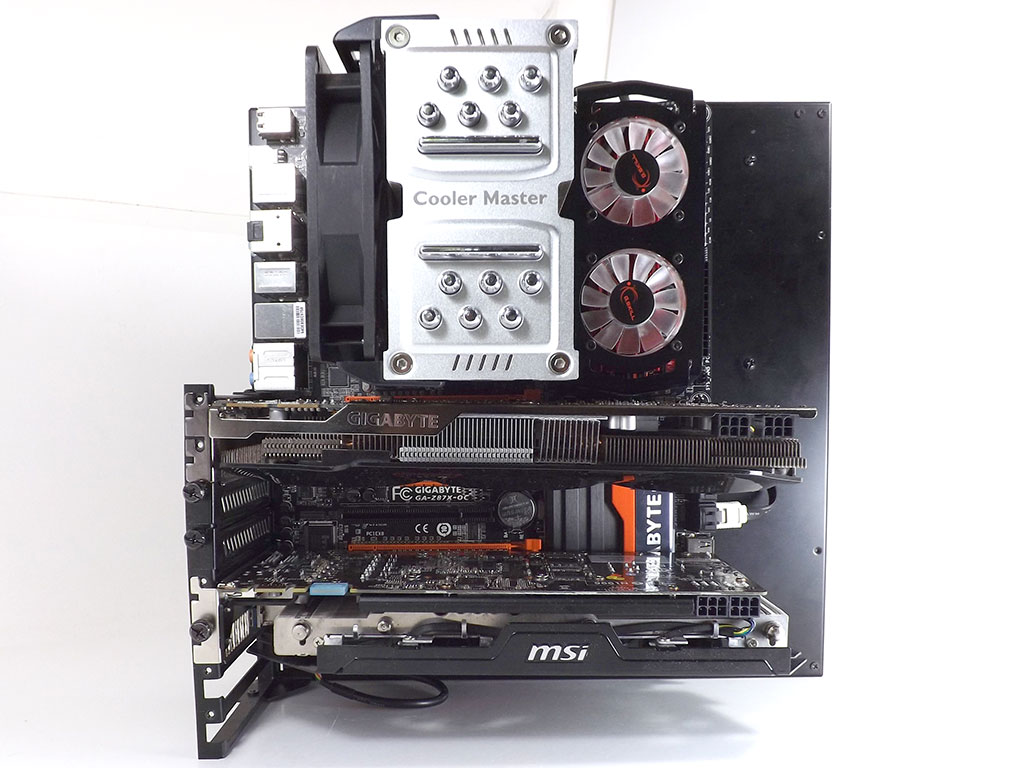
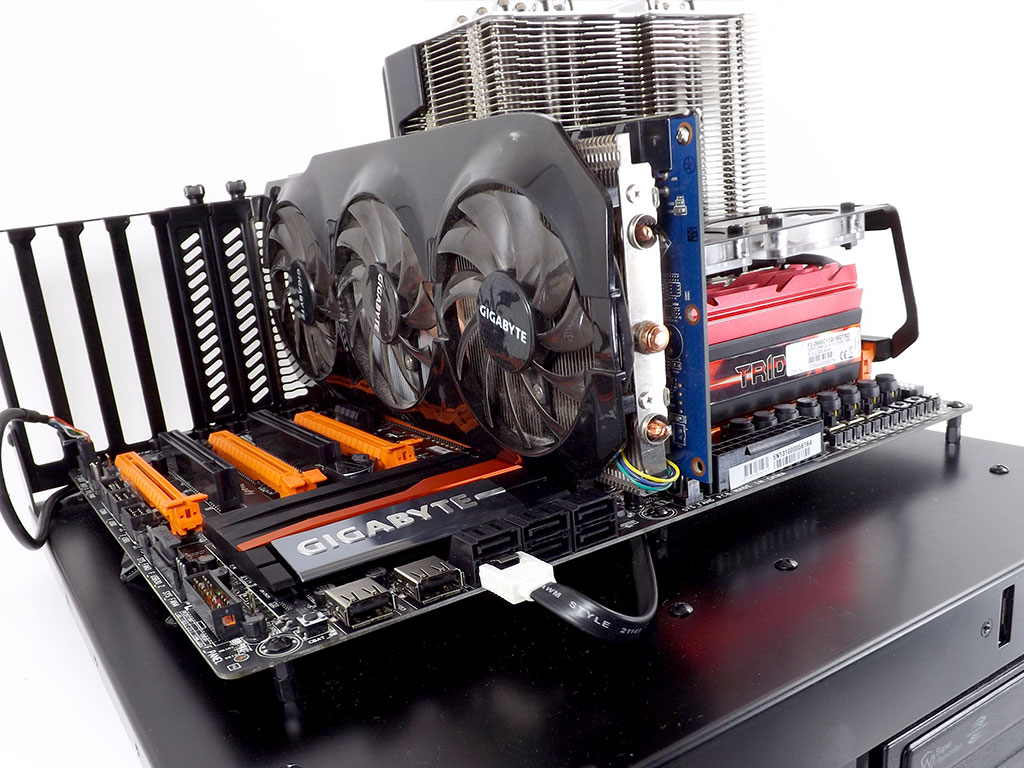
Due to the inclusion of four full PCIe x16 slots for multi-GPU overclocking, slot spacing for normal use is fantastic, with plenty of space all around.
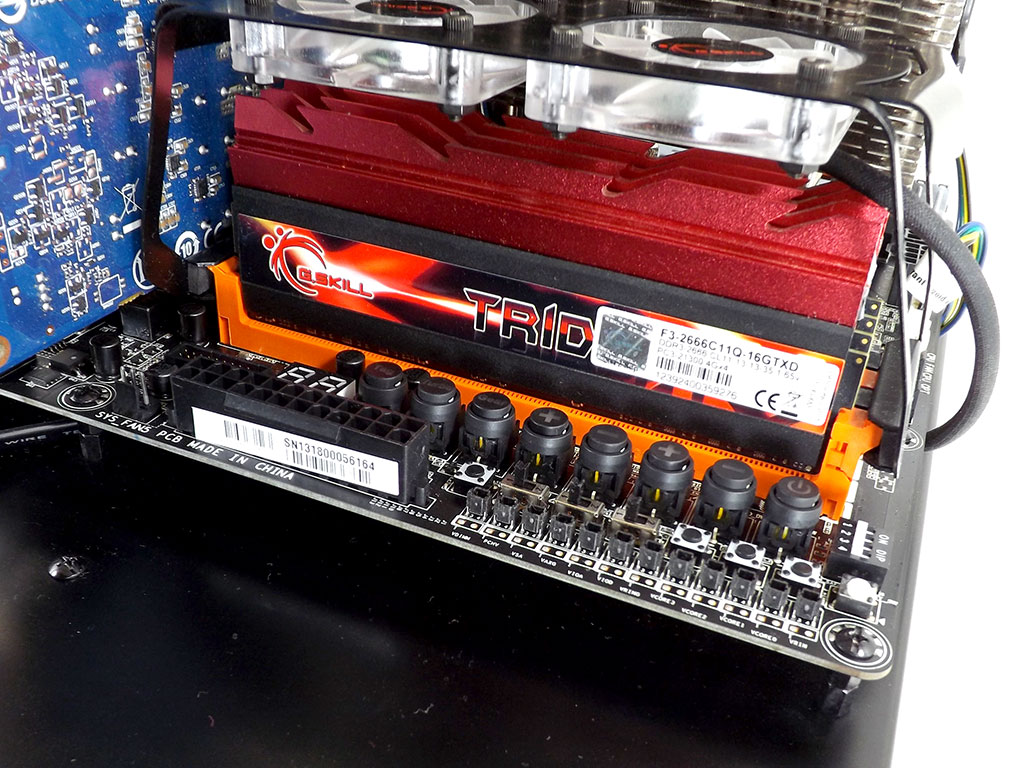
The provided buttons on the board's edge are easy to access. However, the huge number of buttons does make it rather tight and cluttered once fully wired up; but there was still the perfect amount of room left for the DIMM slots to be far enough up the board's surface to make the installation of the fan that came with my G.Skill TridentX memory painless. The ASUS GRYPHON board I looked at last didn't allow for the use of the fan at all.


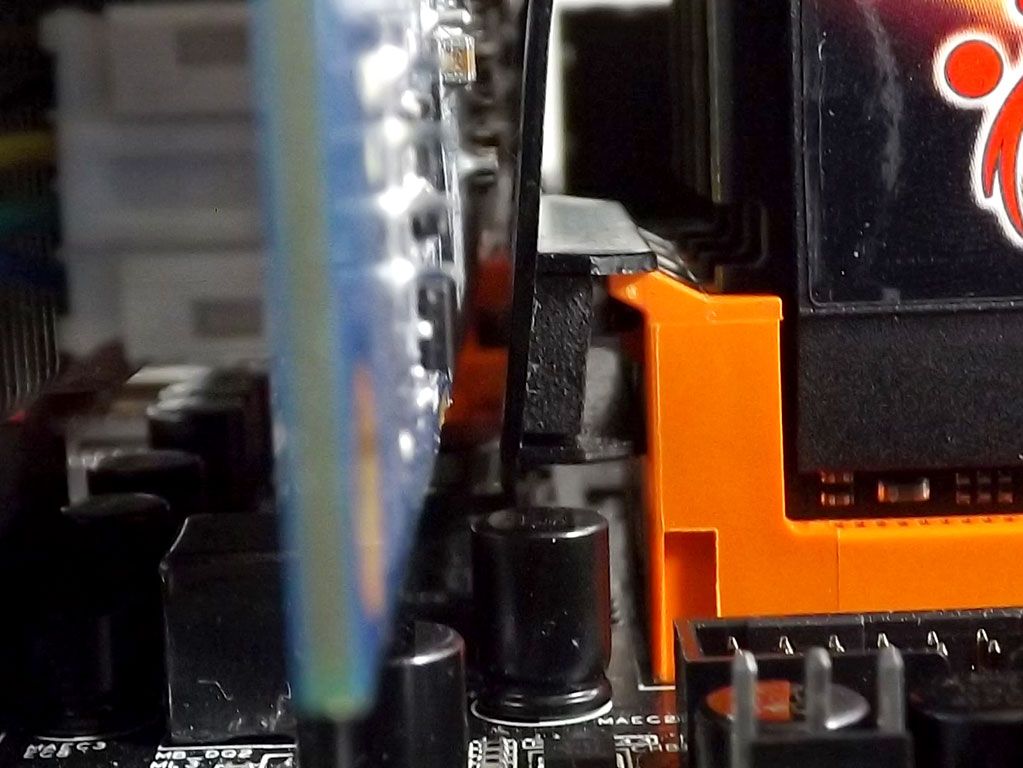
Although the heatsinks are big and beefy, I can not think of a way for them to interfere with any cooler on today's market; even those big dual-fan tower coolers aren't going to have many issues here, although some may foul with the top PCIe slot.

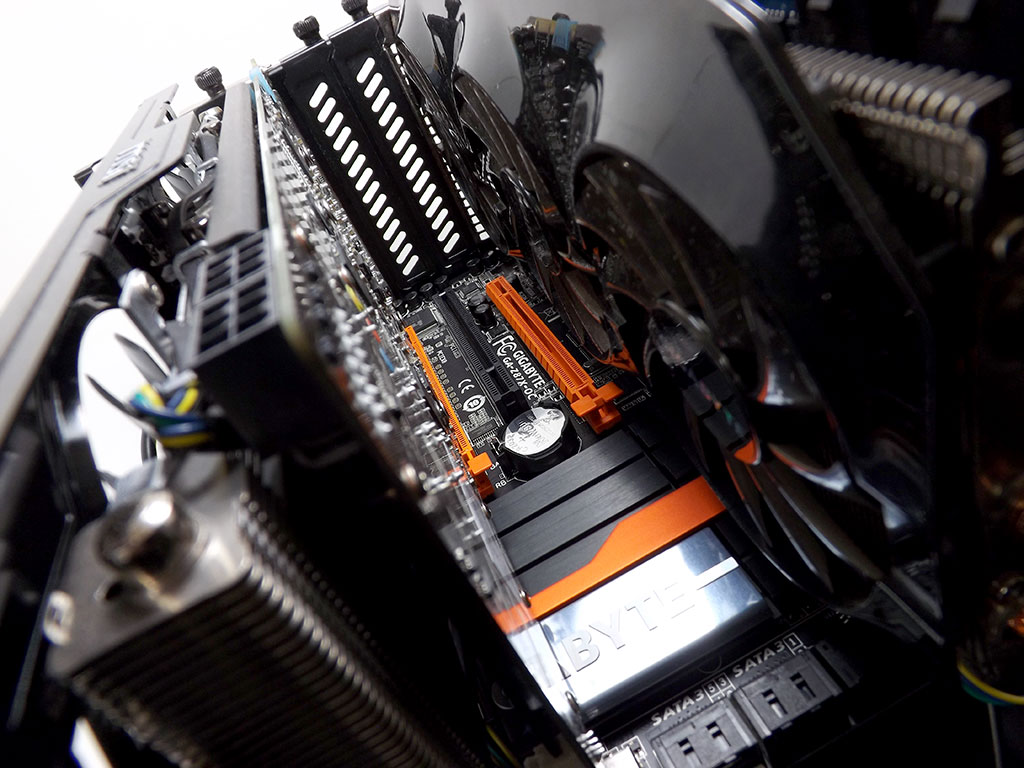
I can really tell that Hicookie thought of just about everyone when it came time for normal use of the Z87X-OC as both PCIe and a PCI slot can still be accessed with dual VGAs installed--many users have asked for both to be possible concurrently.
Power Consumption
We measure CPU power consumption since one of our first tasks is to truly verify system stability. I isolate the power coming through the 8-pin ATX connector using an in-line meter that provides voltage and current readings, and total wattage passed through. While this may not prove to isolate the CPU power draw in all instances, it does serve as a good indicator of board efficiency and effective VRM design. Total system power consumption is no longer reported as this figure can change depending on what VGA is installed. The sole board-only power measurements possible without physically modifying a motherboard are those taken via the 8-pin CPU connector, making it the only figure of value worth reporting. I use wPrime with eight threads selected in the options, since it provides a consistently high workload throughout the full length of the test and runs long enough for the VRM and CPU to produce a fair bit of heat. Most average workloads will draw far less than this, although distributed computing applications are quite similar. This is not supposed to test stability since I use several other applications to do so, but merely to provide repeatable power draw numbers that anyone can replicate. The meter used is an off-the-shelf Zalman unit that has been on the market for some time. It provides quite similar results in my test environment when compared with a FLUKE 337 clamp meter.| Load Condition | CPU Voltage | Ring voltage | Idle Power | Load Power |
|---|---|---|---|---|
| Stock Clocks | 1.042 V | 1.023 V | 4W | 68W |
| Overclocked | 1.285 V | 1.150 V | 11W | 118W |
Power consumption with the Gigabyte GA-Z87X-OC was great at idle and right where I expected it to be at load. Gigabyte's tight VRM management and this board's Turbo profiles go a long way towards curtailing power consumption while keeping performance high. The Intel "Haswell" platform was all about providing great flexibility and customization for the end user where required, and Gigabyte really seems to provide exactly that with initial BIOSes. This meant that power consumption was low, which affected performance numbers too. However, its preformance loss is not a big deal because Gigabyte's also has a new BIOS to go along with the new board, and it's just as customizable as the rest of the platform.
Jul 12th, 2025 00:24 CDT
change timezone
Latest GPU Drivers
New Forum Posts
- Can you guess Which game it is? (220)
- What are you playing? (23920)
- RX 9070 XT freezing/locking up only on desktop, anyone else? (43)
- NVIDIA RTX PRO 6000 Workstation Runs Much Hotter Than 5090 FE (22)
- Quick charging your USB devicesUSB 3.2 Gen 2x2 Type-C® front-panel. (1)
- GTX 1050 GPU Owners Club (12)
- ASUS ProArt GeForce RTX 4060 Ti OC Edition 16GB GDDR6 Gaming - nvflash64 VBIOS mismatch (2)
- Will you buy a RTX 5090? (640)
- No offense, here are some things that bother me about your understanding of fans. (33)
- Best motherboards for XP gaming (102)
Popular Reviews
- Fractal Design Epoch RGB TG Review
- Corsair FRAME 5000D RS Review
- Lexar NM1090 Pro 4 TB Review
- NVIDIA GeForce RTX 5050 8 GB Review
- NZXT N9 X870E Review
- Sapphire Radeon RX 9060 XT Pulse OC 16 GB Review - An Excellent Choice
- AMD Ryzen 7 9800X3D Review - The Best Gaming Processor
- Upcoming Hardware Launches 2025 (Updated May 2025)
- Our Visit to the Hunter Super Computer
- Chieftec Iceberg 360 Review
TPU on YouTube
Controversial News Posts
- Intel's Core Ultra 7 265K and 265KF CPUs Dip Below $250 (288)
- Some Intel Nova Lake CPUs Rumored to Challenge AMD's 3D V-Cache in Desktop Gaming (140)
- AMD Radeon RX 9070 XT Gains 9% Performance at 1440p with Latest Driver, Beats RTX 5070 Ti (131)
- NVIDIA Launches GeForce RTX 5050 for Desktops and Laptops, Starts at $249 (119)
- NVIDIA GeForce RTX 5080 SUPER Could Feature 24 GB Memory, Increased Power Limits (115)
- Microsoft Partners with AMD for Next-gen Xbox Hardware (105)
- Intel "Nova Lake‑S" Series: Seven SKUs, Up to 52 Cores and 150 W TDP (100)
- NVIDIA DLSS Transformer Cuts VRAM Usage by 20% (97)