 5
5
ID-Cooling Auraflow X 240 Review
Finished Looks »Installation
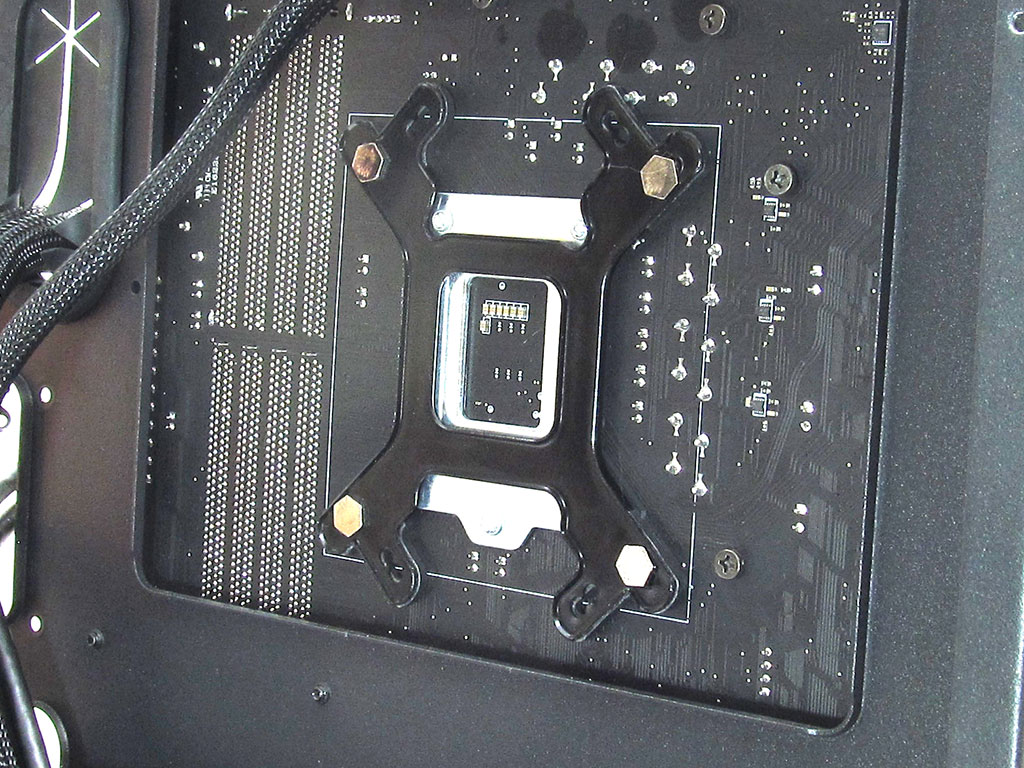


To install the Auraflow X 240, I first secured the backplate to the motherboard using the provided backplate screws and pillars. With the backplate secured, I prepared the pump for mounting by setting and twisting the mounting bracket into place on the pump.
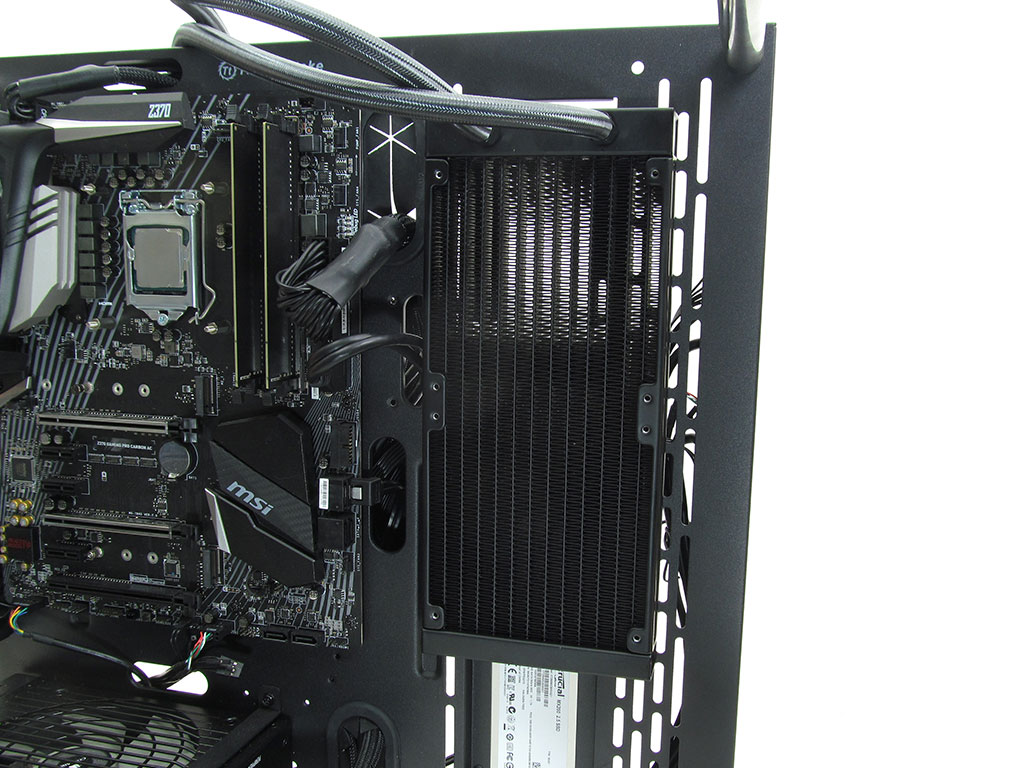
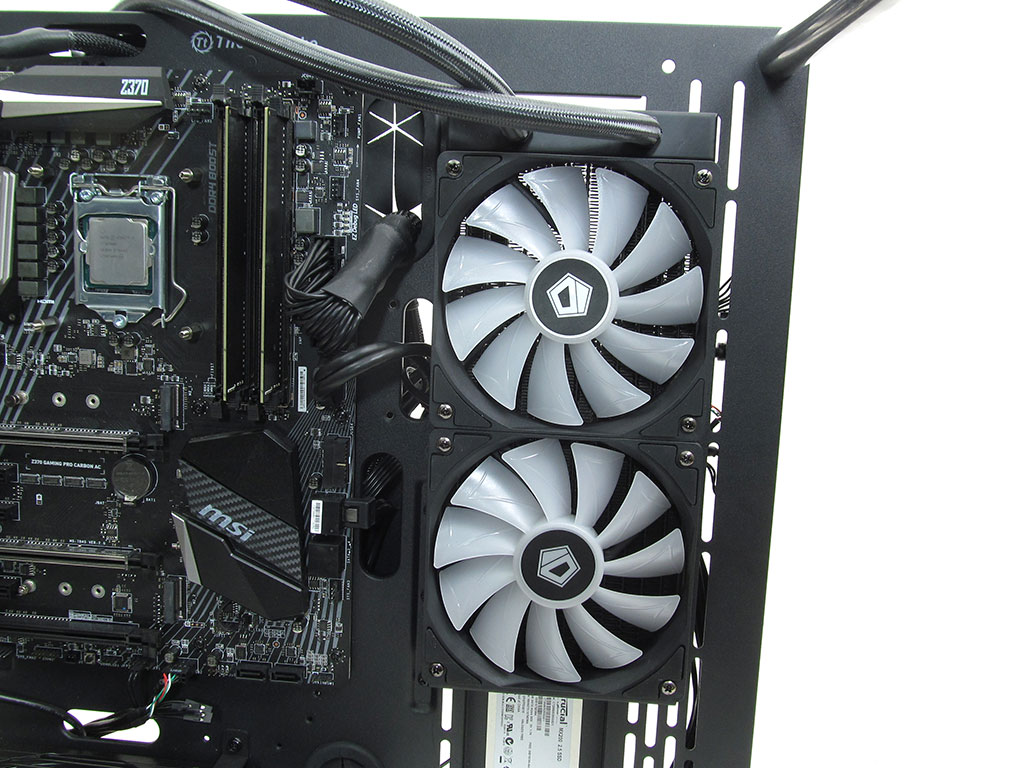
Next, secure the radiator and fans to the chassis. It's a straightforward process, so there is nothing to really worry about at this stage.
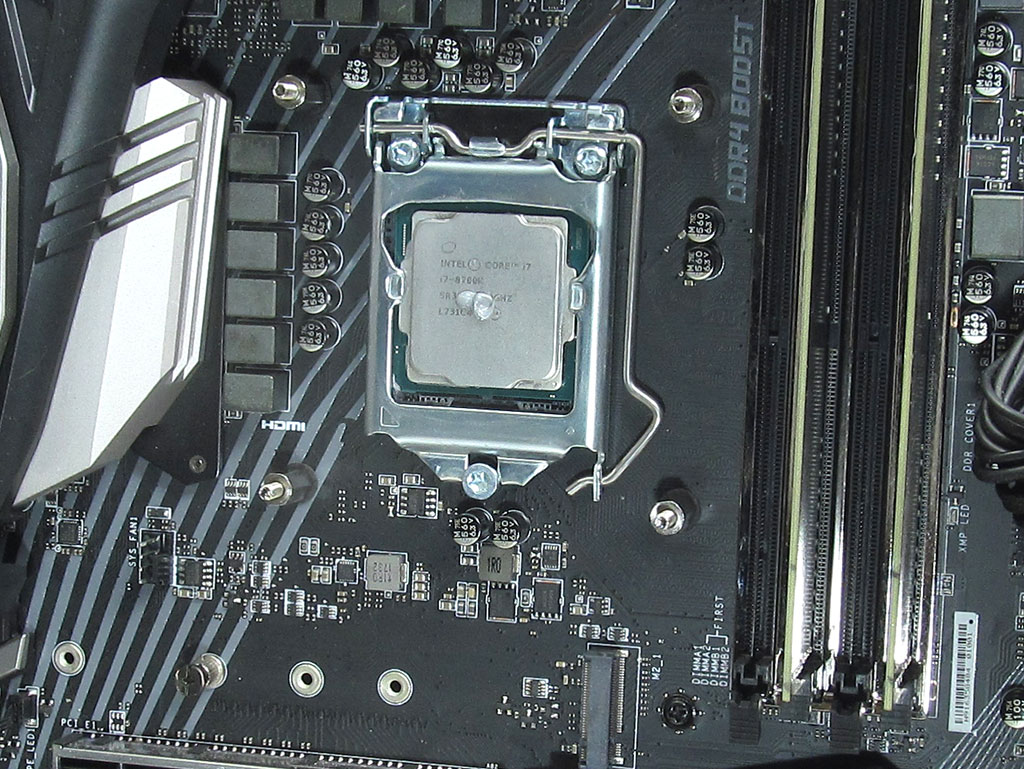

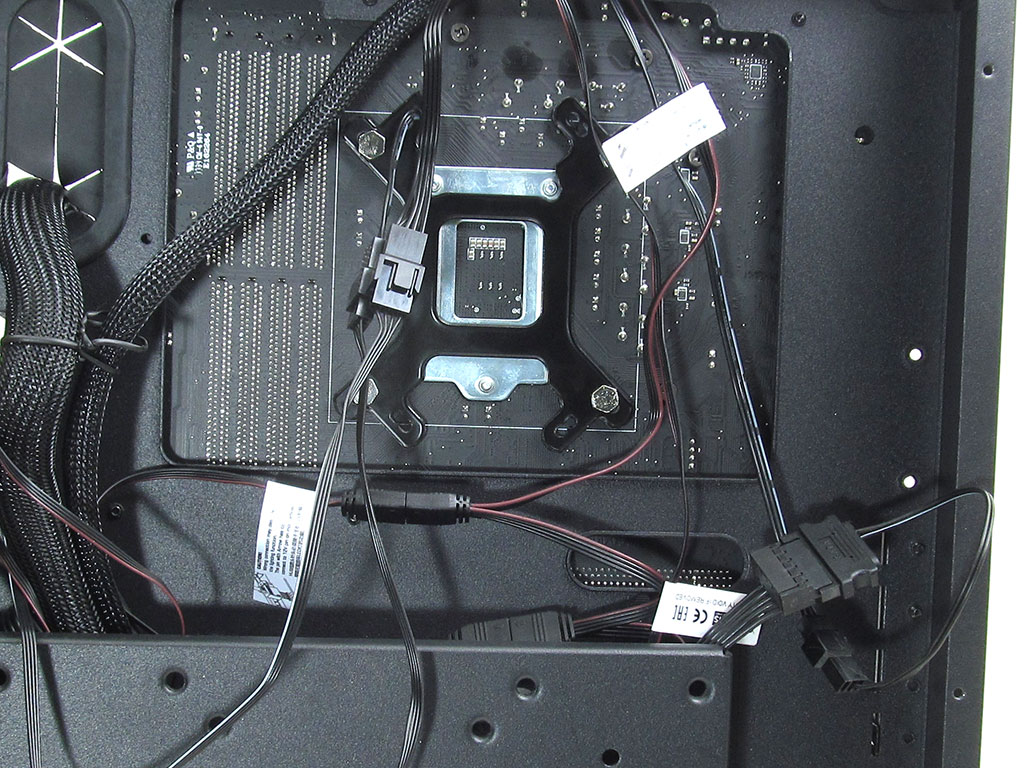
With the backplate secured, the pump ready, and radiator and fans mounted, it's time to secure the pump to the motherboard. First, apply the thermal paste, be it the included stuff or a preferred alternative. With that out of the way, mount the pump and secure it with the "tightening nuts" as labeled by ID-Cooling. Now that everything is secured, just plug in the various wires and you are all set.
ID-Cooling's Auraflow X 240 is relatively easy to install, and I would rate it an 8 on a scale of 1 (hardest) to 10 (easiest) in terms of installation. The process was relatively quick and painless with no issues to speak of.
Jul 12th, 2025 09:29 CDT
change timezone
Latest GPU Drivers
New Forum Posts
- No offense, here are some things that bother me about your understanding of fans. (36)
- Stupid buggy POS Realtek WiFi RTL8852BE (11)
- Swapping existing router w/ a replacement; any issues? (14)
- 'NVIDIA App' not usable offline? (13)
- Chrome has removed uBlock Origin 1.64.0 (remove google search suggestions) (12)
- Share your AIDA 64 cache and memory benchmark here (3097)
- The Official Linux/Unix Desktop Screenshots Megathread (778)
- [GPU-Z Test Build] New Kernel Driver, Everyone: Please Test (90)
- Gigabyte graphic cards - TIM gel SLIPPAGE problem (150)
- NVIDIA App (55)
Popular Reviews
- Fractal Design Epoch RGB TG Review
- Lexar NM1090 Pro 4 TB Review
- Corsair FRAME 5000D RS Review
- NVIDIA GeForce RTX 5050 8 GB Review
- NZXT N9 X870E Review
- Our Visit to the Hunter Super Computer
- Sapphire Radeon RX 9060 XT Pulse OC 16 GB Review - An Excellent Choice
- AMD Ryzen 7 9800X3D Review - The Best Gaming Processor
- Upcoming Hardware Launches 2025 (Updated May 2025)
- Chieftec Iceberg 360 Review
TPU on YouTube
Controversial News Posts
- Intel's Core Ultra 7 265K and 265KF CPUs Dip Below $250 (288)
- Some Intel Nova Lake CPUs Rumored to Challenge AMD's 3D V-Cache in Desktop Gaming (140)
- AMD Radeon RX 9070 XT Gains 9% Performance at 1440p with Latest Driver, Beats RTX 5070 Ti (131)
- NVIDIA Launches GeForce RTX 5050 for Desktops and Laptops, Starts at $249 (119)
- NVIDIA GeForce RTX 5080 SUPER Could Feature 24 GB Memory, Increased Power Limits (115)
- Microsoft Partners with AMD for Next-gen Xbox Hardware (105)
- Intel "Nova Lake‑S" Series: Seven SKUs, Up to 52 Cores and 150 W TDP (100)
- NVIDIA DLSS Transformer Cuts VRAM Usage by 20% (97)