 23
23
In Win Allure Review
Finished Looks »Assembly
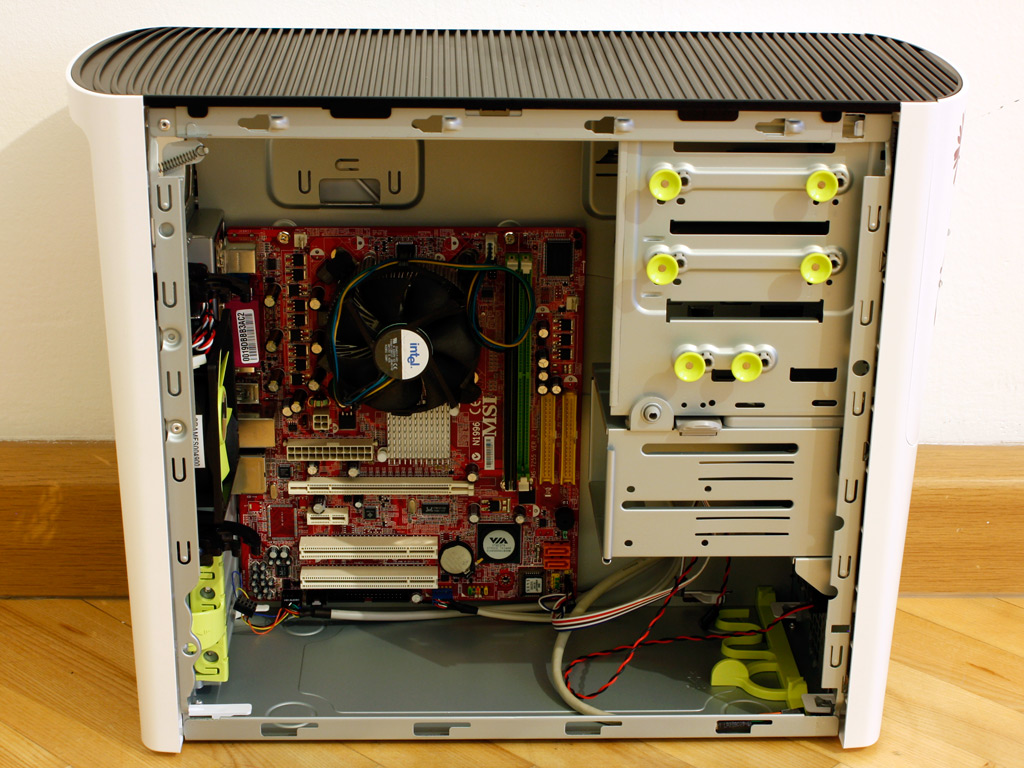
Installing the mainboard is done traditionally. In Win has placed small bumps to screw the board unto. While this saves you the step of having to put in seperate headers, you also run the risk of shorting your board out in some situations. My suggestion for a fix is simple: use normal tape as an insulator and cover them up first, then screw the mainboard down. Once it is in there, it may become apparent that you are working with a fairly compact interior, even though the Allure may look rather bulky on the outside. While a long GPU should fit nicely, as it will go just past the underside of the hard drive bays, it is will be crowded enough even without such a unit filling things up.
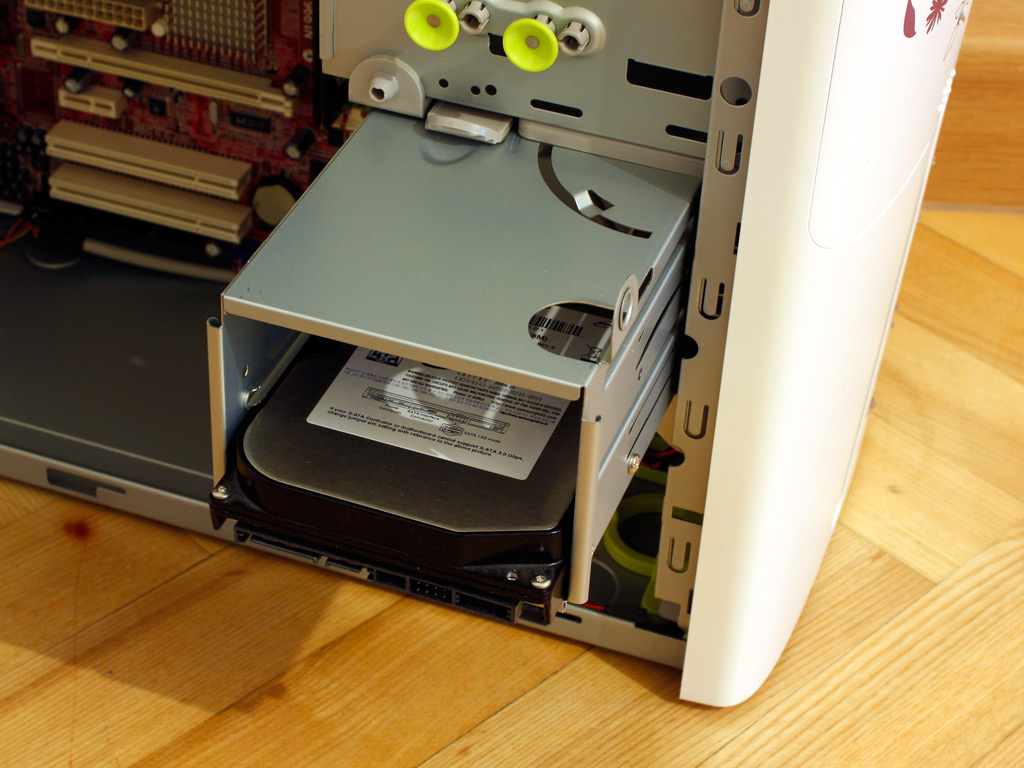
Luckily installing the hard drives is easy no matter what else is inside the Allure. Just flip the cage out, screw the drive into place and swing it back into the chassis until it snaps into place. This is an excellent method for such a small case and I would like to see more manufacturers of mATX enclosures offering such a solution.

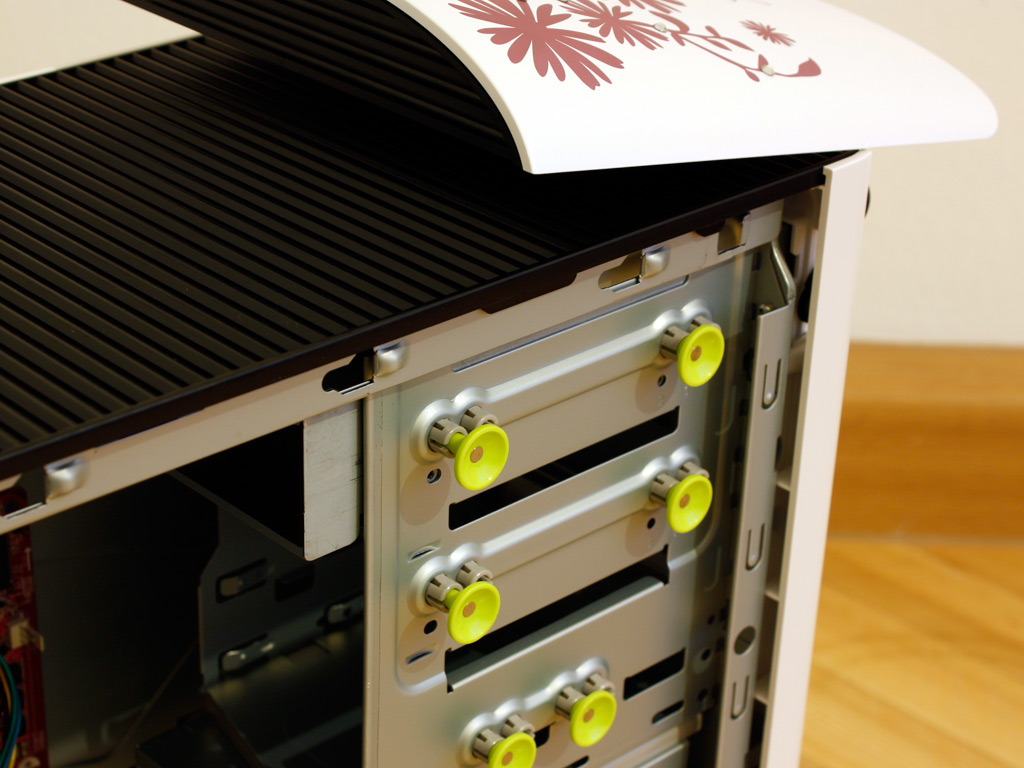
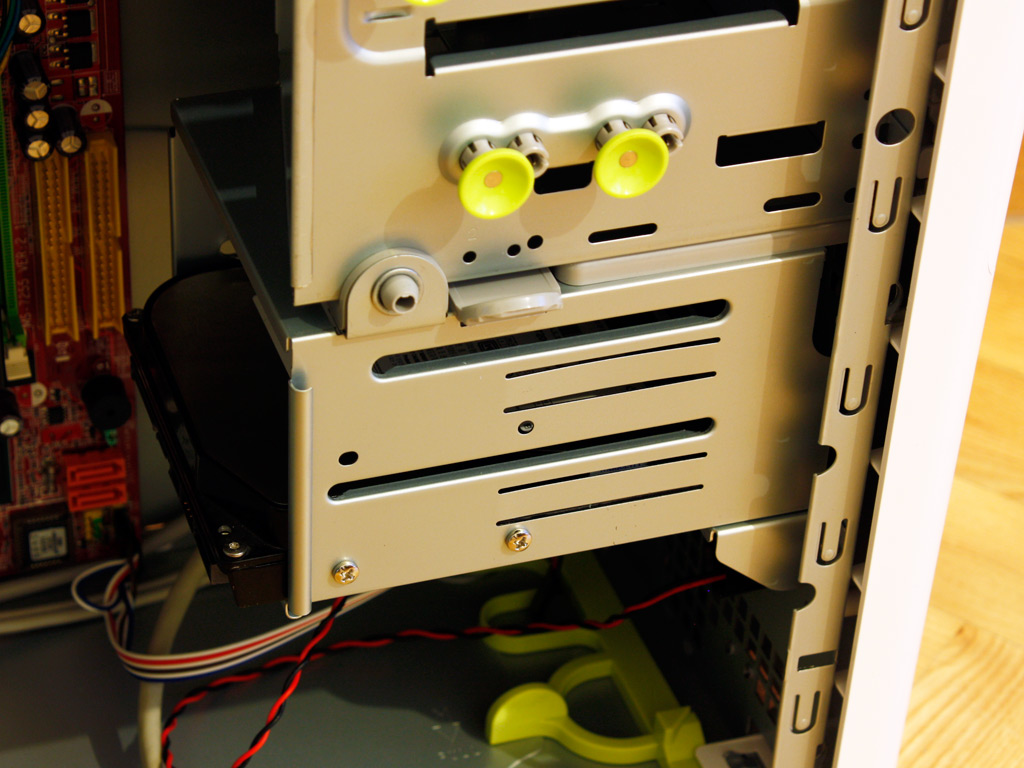
To install the optical drive, you will have to pop off the front cover first, open one of the drive bays up and then slide the device into place. Once it reaches the required depth inside the Allure, just push the the locking "buttons" down. This actually holds the drive rather well, with minimal play. For those who want to take the case on the road, I would still suggest using traditional screws as well.
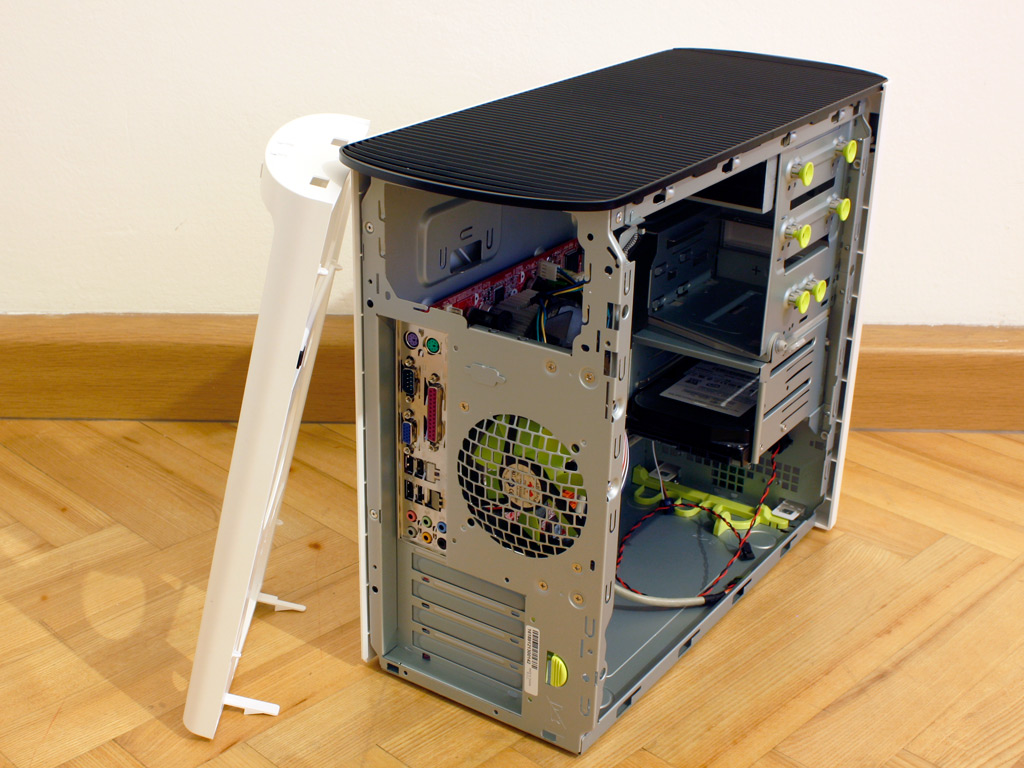

To install a power supply you have to remove the entire rear panel. There is no mechanism to pop this one off, so you have to bend the clips back by yourself. Luckily In Win has made these rather long, thus there is minimal strain and they are easily bendable. Once the rear is taken off, the PSU can be secured with normal case screws.

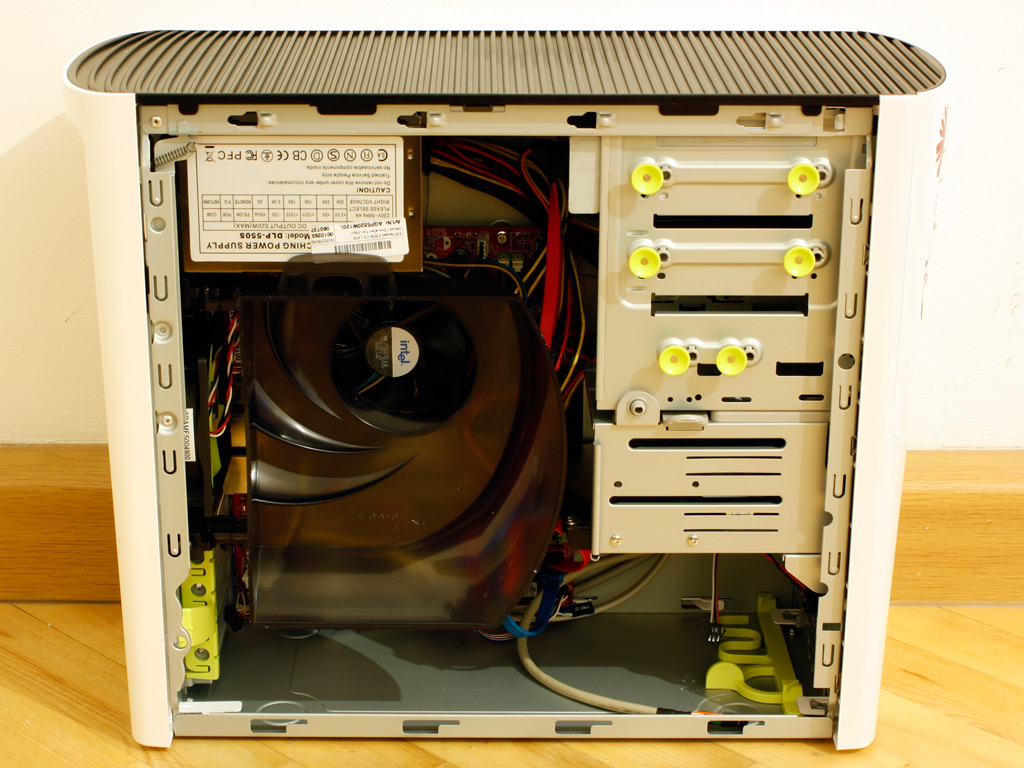
After all the parts are installed and the PSU cables connected it becomes aware how crowded the chassis is. I could use zip ties to group unneeded cables and hide them behind the 3.5 inch bays, but In Win has not included any. So this is what the interior will look like if you do not happen to have some of your own lying around. For a case like this, I would suggest a modular PSU anyways. This should reduce the overall cable mess and has the advantage that most such unit come with sleeved cable as well.
Jul 14th, 2025 19:24 CDT
change timezone
Latest GPU Drivers
New Forum Posts
- No offense, here are some things that bother me about your understanding of fans. (124)
- AMD 7Ghz? This keeps popping up on my feeds! (27)
- Cryptocoin Value and Market Trend Discussion (1657)
- System stutters with Ryzen 7 9800X3D. (1)
- Dual GPU Motherboard for home VFX (1)
- i7 2860QM how to raise power limit? (24)
- Large Format Plotter WiFi / LAN issue on Laptop (2)
- Is there a WIFI chip I should get? (3)
- How about AMD instead of Intel? (40)
- AI Job Losses: let's count the losses up, total losses to AI so far 94,000 and counting (7)
Popular Reviews
- MSI GeForce RTX 5060 Gaming OC Review
- Our Visit to the Hunter Super Computer
- Lexar NM1090 Pro 4 TB Review
- NVIDIA GeForce RTX 5050 8 GB Review
- Fractal Design Epoch RGB TG Review
- Sapphire Radeon RX 9060 XT Pulse OC 16 GB Review - An Excellent Choice
- AMD Ryzen 7 9800X3D Review - The Best Gaming Processor
- Upcoming Hardware Launches 2025 (Updated May 2025)
- Corsair FRAME 5000D RS Review
- Chieftec Iceberg 360 Review
TPU on YouTube
Controversial News Posts
- Intel's Core Ultra 7 265K and 265KF CPUs Dip Below $250 (288)
- Some Intel Nova Lake CPUs Rumored to Challenge AMD's 3D V-Cache in Desktop Gaming (140)
- AMD Radeon RX 9070 XT Gains 9% Performance at 1440p with Latest Driver, Beats RTX 5070 Ti (131)
- NVIDIA Launches GeForce RTX 5050 for Desktops and Laptops, Starts at $249 (122)
- NVIDIA GeForce RTX 5080 SUPER Could Feature 24 GB Memory, Increased Power Limits (115)
- Microsoft Partners with AMD for Next-gen Xbox Hardware (105)
- Intel "Nova Lake‑S" Series: Seven SKUs, Up to 52 Cores and 150 W TDP (100)
- NVIDIA DLSS Transformer Cuts VRAM Usage by 20% (97)