 12
12
InWin 309 Review
A Closer Look - Inside »A Closer Look - Outside
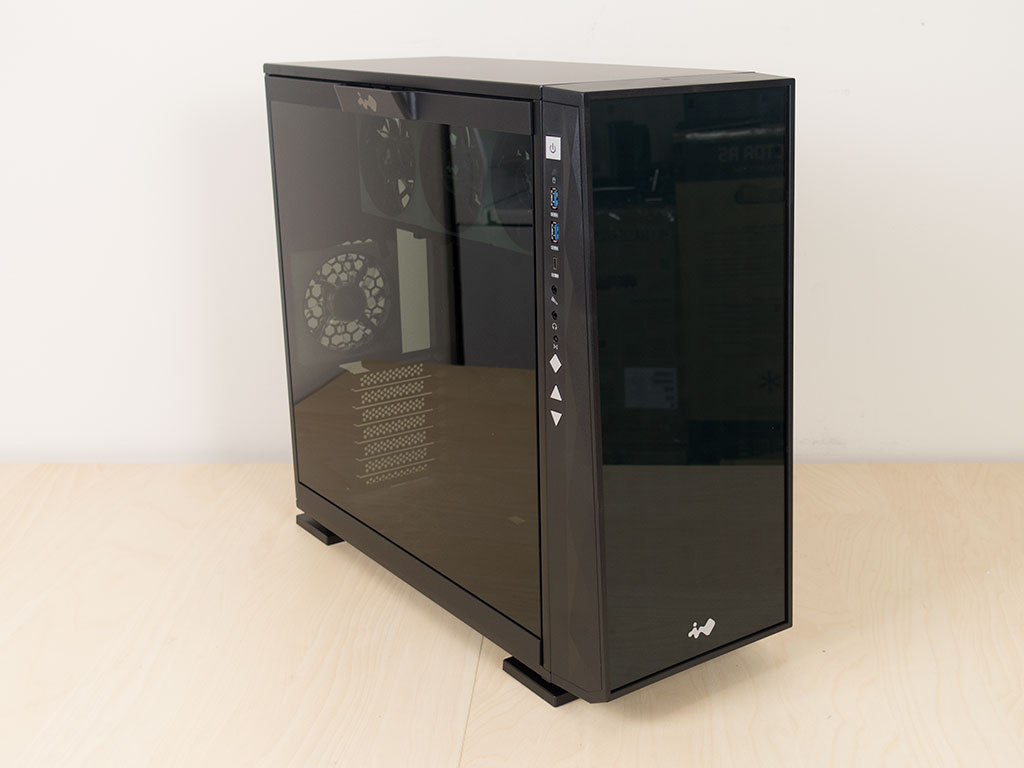
Out of the box, the InWin 309 looks pretty normal at first. The only thing that is somewhat out of the ordinary is the thickness of the front panel. The frame of the front is essentially the only element that has a bit of a uniquely shaped surface to it, besides the fact that the entire front is thicker on the bottom.

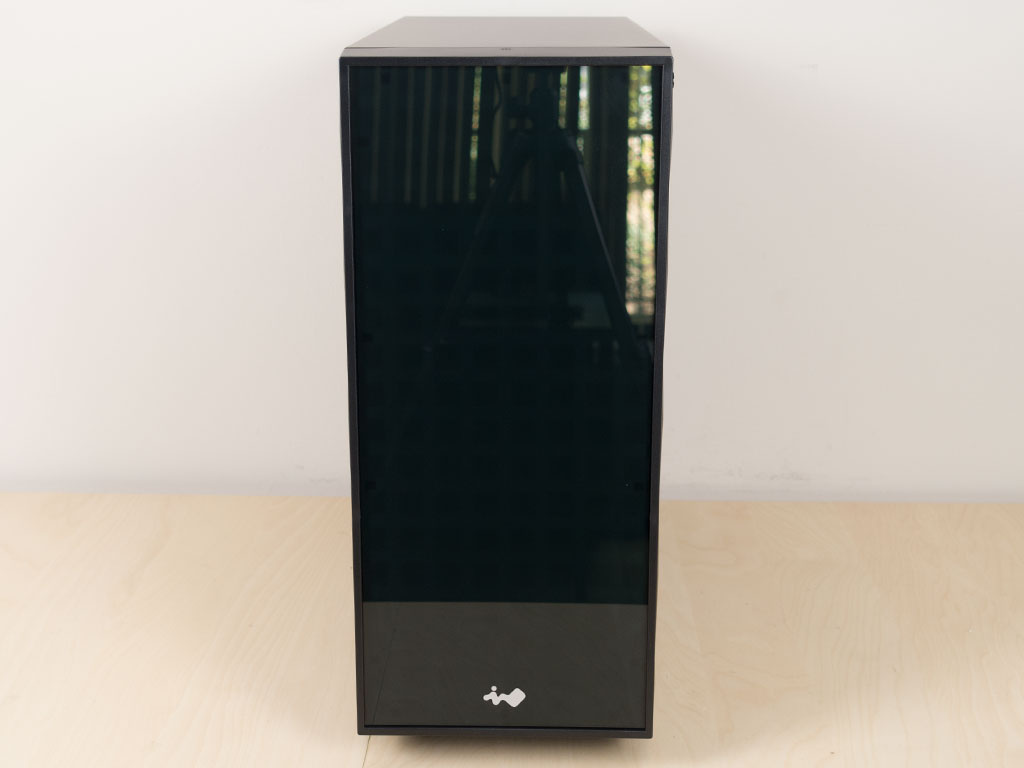
Looking at the main side, there is a fairly heavily tinted panel. InWin has chosen to use two strips and a spring-loaded latching mechanism to hold it in place, resulting in a clean look to this part of the 309. On the opposite side, the solid cover comes with a pretty unique air vent, once again a testament to InWin's unusual approach to case design.
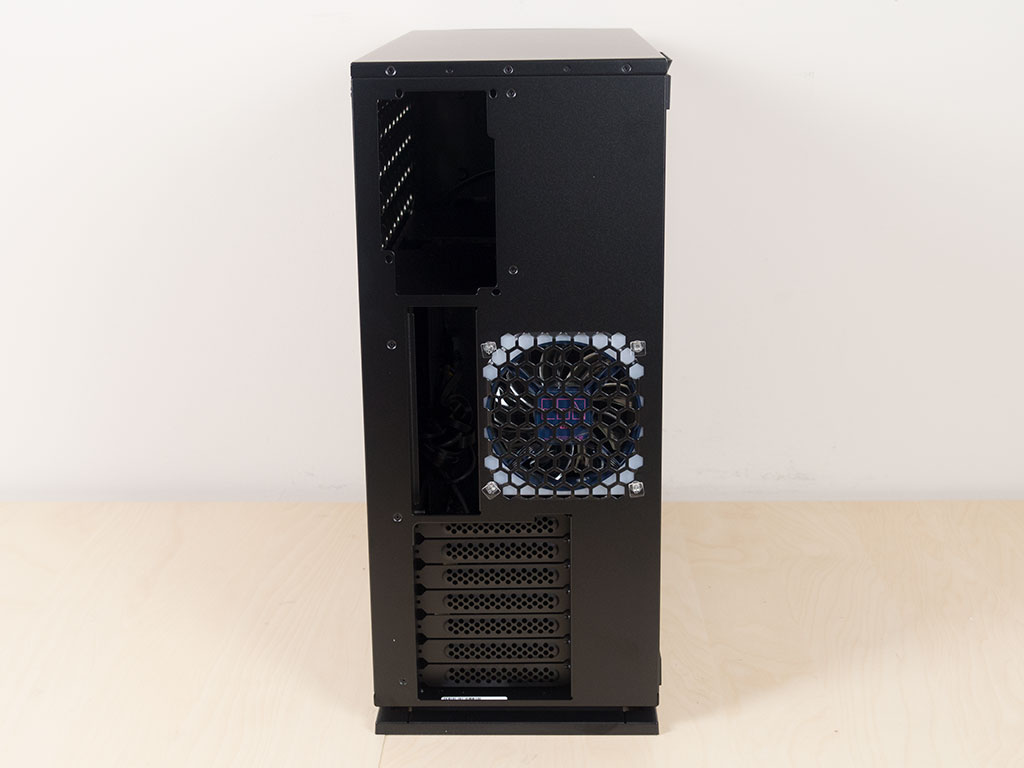
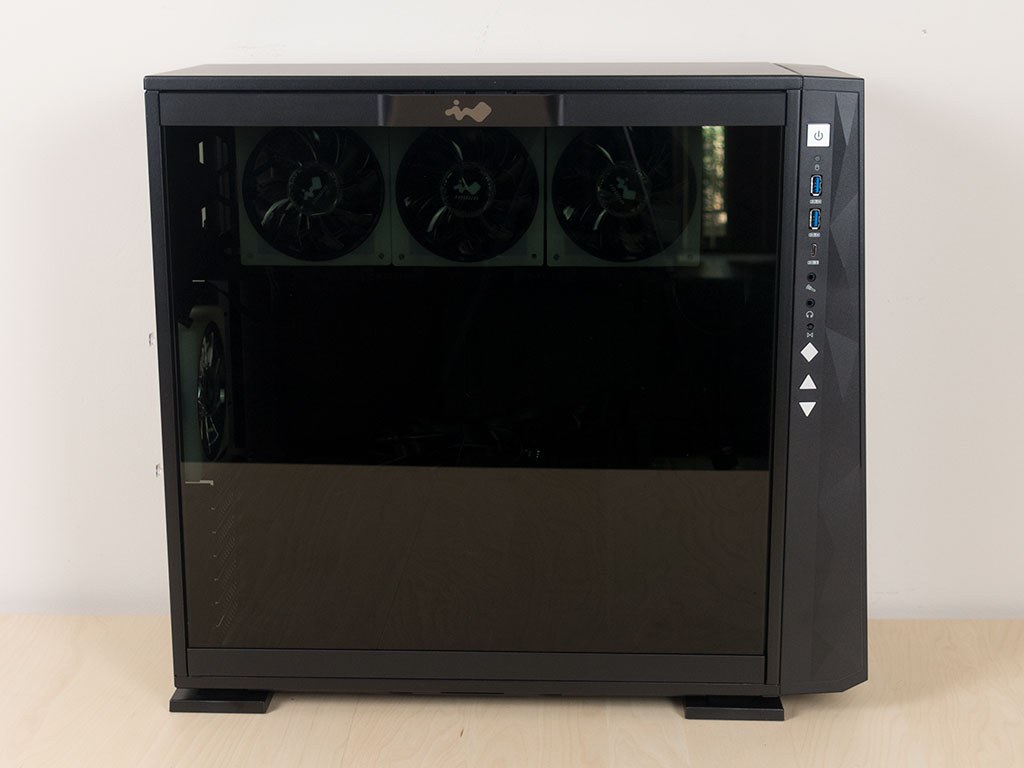
However, once you start looking at the front, you can see the heavily diffused squares where the LEDs are, and from the rear, it becomes apparent that the interior of the 309 is not traditional at all. Interestingly enough though, while sturdy, the overall level of engineering is very simple; that is, next to the layout.
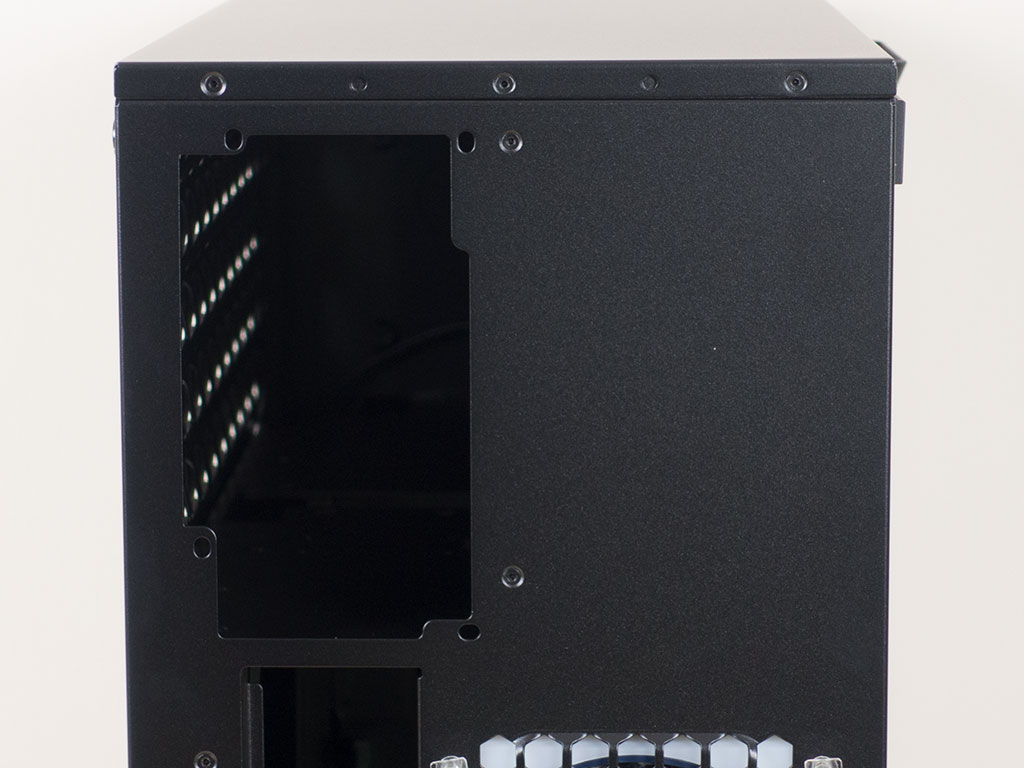
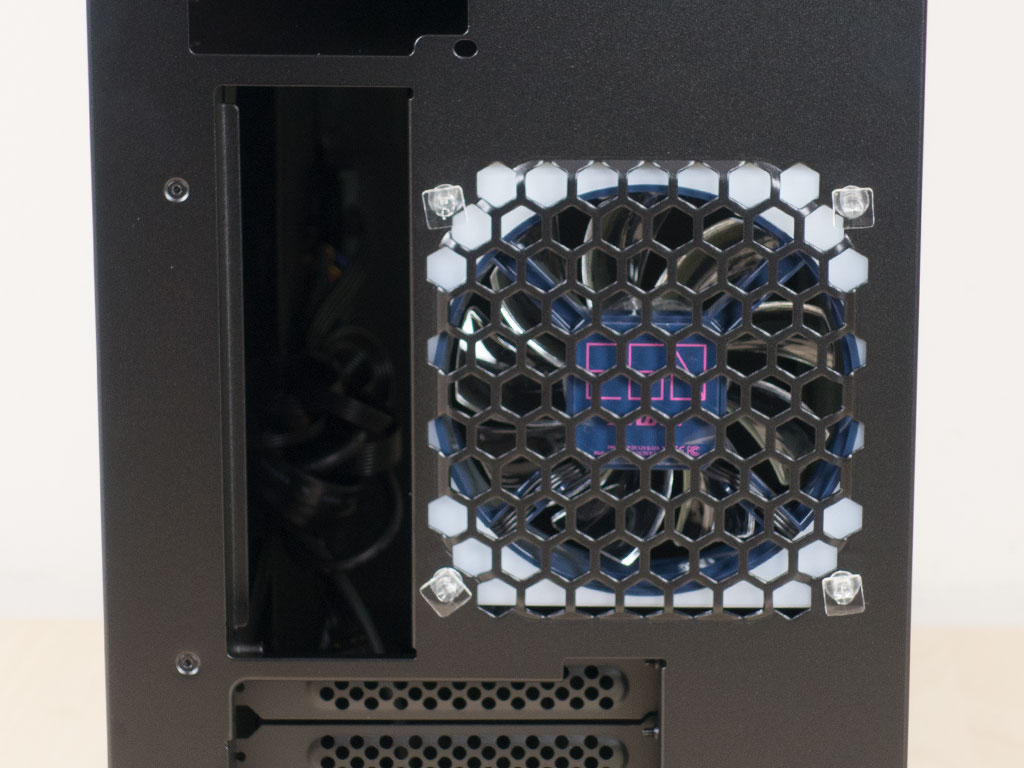
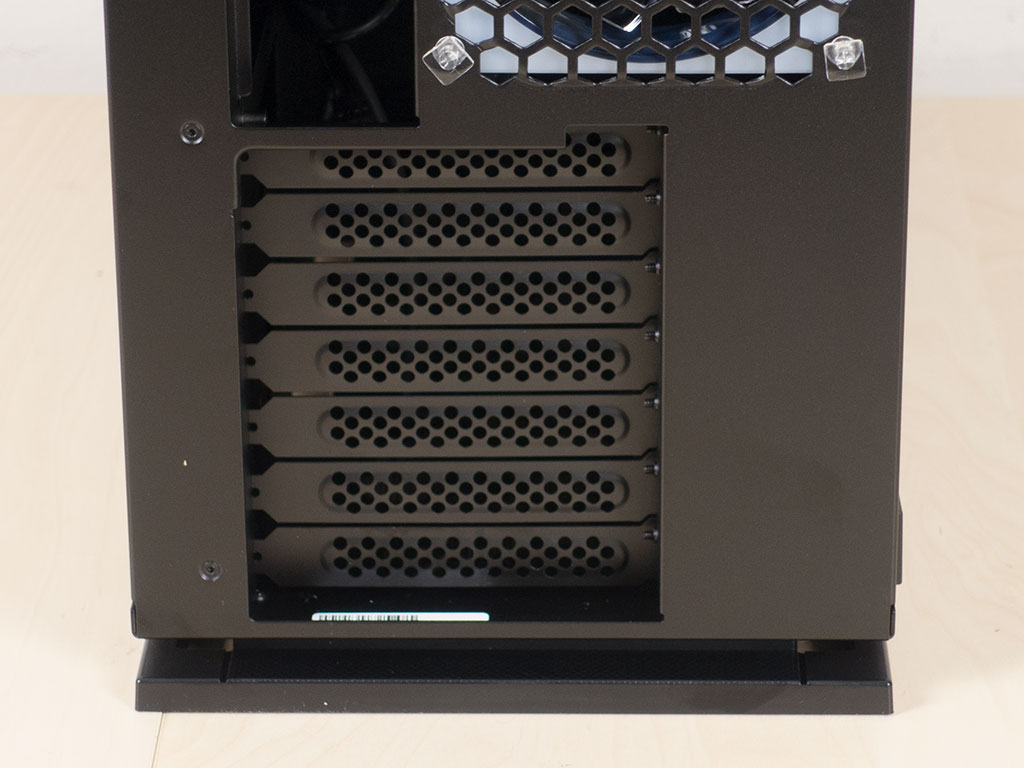
The PSU bay in the very top is on its side and takes up the left half, with the right being completely solid. An opening allows you to route cables down towards the motherboard, but the really cool touch is the opening next to where the PSU will be. InWin has cut a long and slim opening with a larger end here, which allows you to route cables behind the PSU and comes in handy for the CPU power plugs, for example. Below that is a 120 mm exhaust fan. InWin equipped the 309 with four EGO aRGB fans with its unique silicone frame, and also utilized four unique, clear plastic pins to hold each in place. In the very bottom are seven expansion slots with individually reusable pieces that cover a large, single opening.
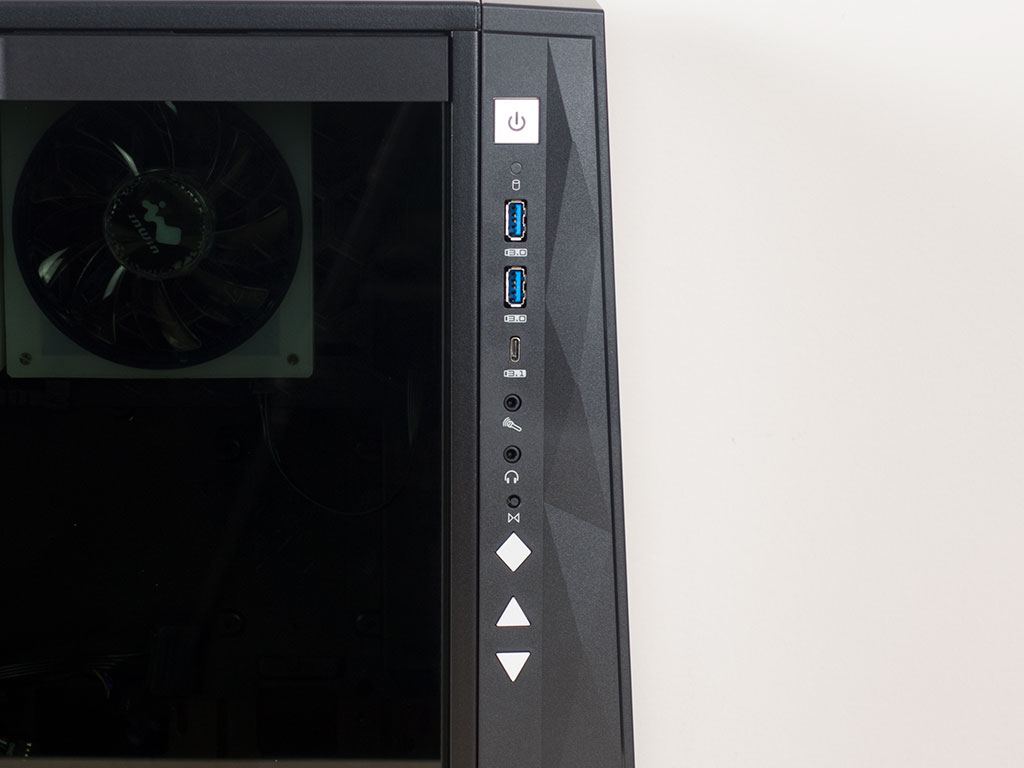
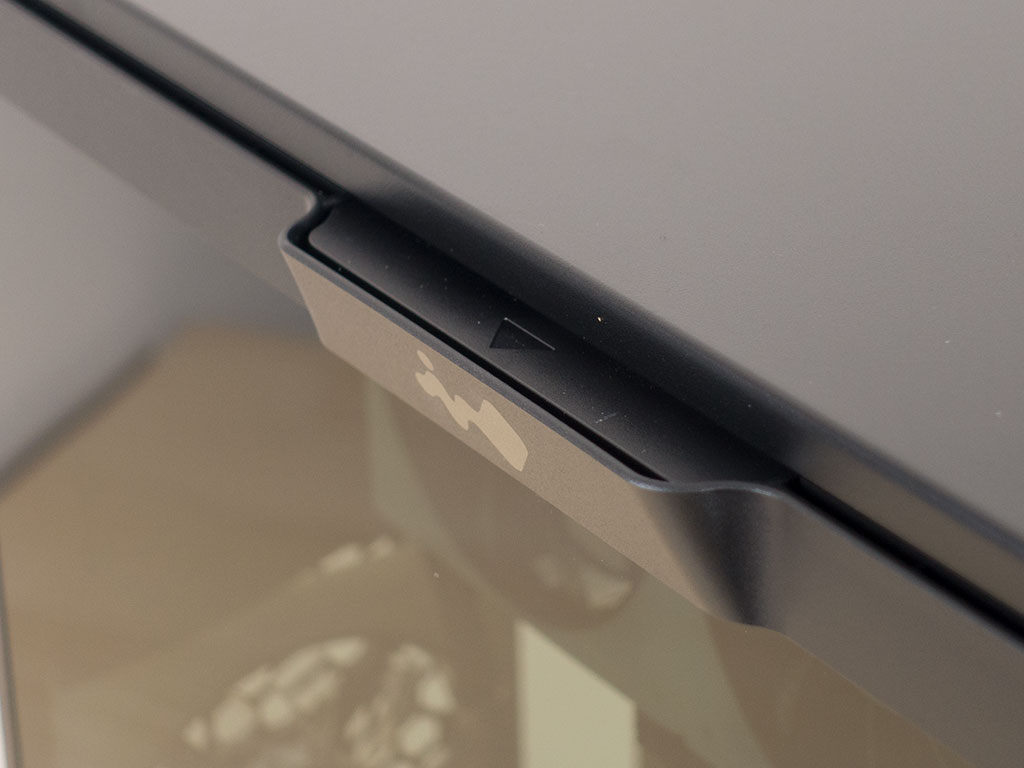
The entire I/O of the 309 can be found embedded into the thick front panel. It consists of the usual audio plugs, a USB 3.1 Gen2 Type-C, and pair of USB 3.0 ports. Interestingly enough, the full-size USB ports come with a metal frame usually found on the female end of external cables. While fully functional, it doesn't look so pretty. Besides the power and reset button, InWin allows you basic control of the front panel with a main toggle and two further buttons to flip through sub-settings.
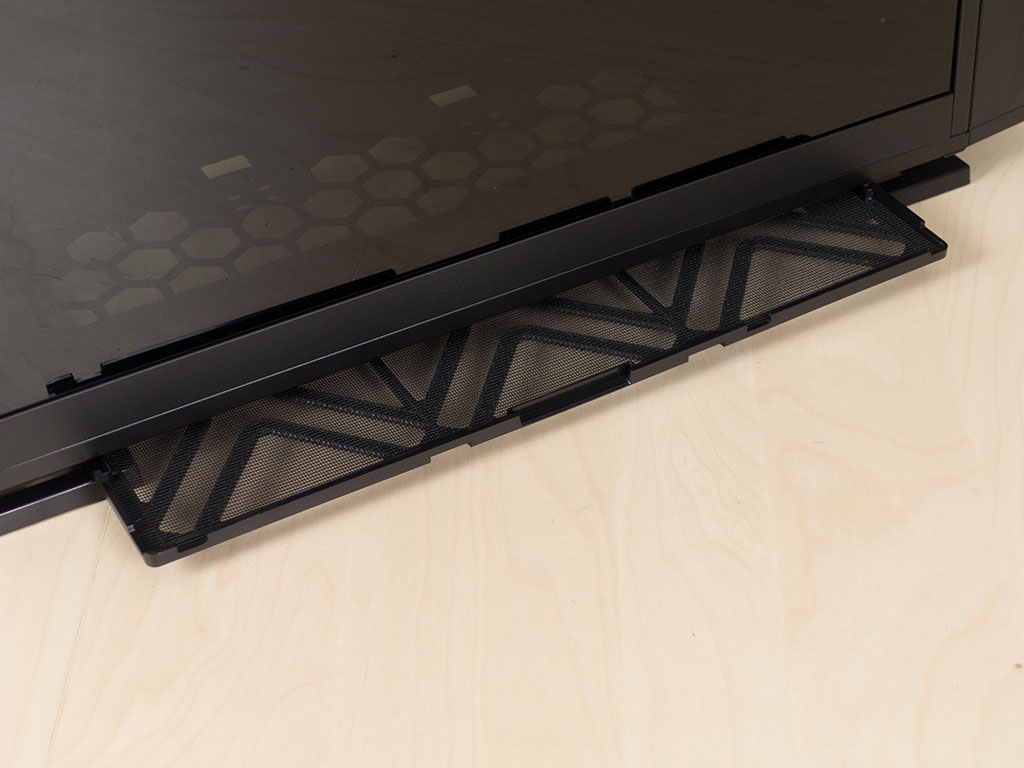

A dust filter underneath the chassis may be pulled out the main side for easy cleaning without tipping over the whole system. Last, but not least are six tiny holes in the top of the front panel. InWin has embedded a microphone here to allow some of the LED settings to change in real time based on your audio landscape.
Jul 15th, 2025 19:58 CDT
change timezone
Latest GPU Drivers
New Forum Posts
- Is this dual channel or async? (1)
- TPU's Nostalgic Hardware Club (20514)
- What's your latest tech purchase? (24279)
- No offense, here are some things that bother me about your understanding of fans. (147)
- Stupid things one has done with hardware (68)
- Game Informer magazine is back! (5)
- monitor stand became loose after making changes to setup (0)
- What is the latest game you finished or 100% (53)
- How about AMD instead of Intel? (43)
- Adding distilled water to ups batteries really work ? (15)
Popular Reviews
- MSI GeForce RTX 5060 Gaming OC Review
- Our Visit to the Hunter Super Computer
- SilverStone SETA H2 Review
- Lexar NM1090 Pro 4 TB Review
- NVIDIA GeForce RTX 5050 8 GB Review
- Fractal Design Epoch RGB TG Review
- Sapphire Radeon RX 9060 XT Pulse OC 16 GB Review - An Excellent Choice
- AMD Ryzen 7 9800X3D Review - The Best Gaming Processor
- Upcoming Hardware Launches 2025 (Updated May 2025)
- Corsair FRAME 5000D RS Review
TPU on YouTube
Controversial News Posts
- Intel's Core Ultra 7 265K and 265KF CPUs Dip Below $250 (288)
- Some Intel Nova Lake CPUs Rumored to Challenge AMD's 3D V-Cache in Desktop Gaming (140)
- AMD Radeon RX 9070 XT Gains 9% Performance at 1440p with Latest Driver, Beats RTX 5070 Ti (131)
- NVIDIA Launches GeForce RTX 5050 for Desktops and Laptops, Starts at $249 (122)
- NVIDIA GeForce RTX 5080 SUPER Could Feature 24 GB Memory, Increased Power Limits (115)
- Microsoft Partners with AMD for Next-gen Xbox Hardware (105)
- Intel "Nova Lake‑S" Series: Seven SKUs, Up to 52 Cores and 150 W TDP (100)
- NVIDIA DLSS Transformer Cuts VRAM Usage by 20% (99)