 28
28
Lian Li DK-02X Review
Finished Looks »Test System
| System Parts for Case Reviews | |
|---|---|
| Processor: | Intel Core i7-4770K @ 4.2 GHz (Haswell, 8192 KB Cache) |
| Motherboards: | ATX: Gigabyte GA-Z97X-Gaming 7 mATX: Gigabyte GA-Q87M-D2H mini-ITX: GA-H97N-WIFI Provided by: Gigabyte |
| Graphic Card: | Long: NVIDIA GeForce GTX 280 OEM Short: HIS Radeon 5350 HD |
| Memory: | Crucial Ballistix Tactical DIMM Kit 8GB @ DDR3-1600, CL8-8-8-24 Provided by: Crucial |
| HDD: | Western Digital 320 GB 7200 RPM |
| SSD: | Crucial MX100 256GB SATA 6Gbps Provided by: Crucial |
| Power Supply: | Fractal Design Edison M 550W Provided by: Fractal Design |
| Cooling: | Fractal Design Kelvin T12 & S24 Provided by: Fractal Design |
Assembly - ITX
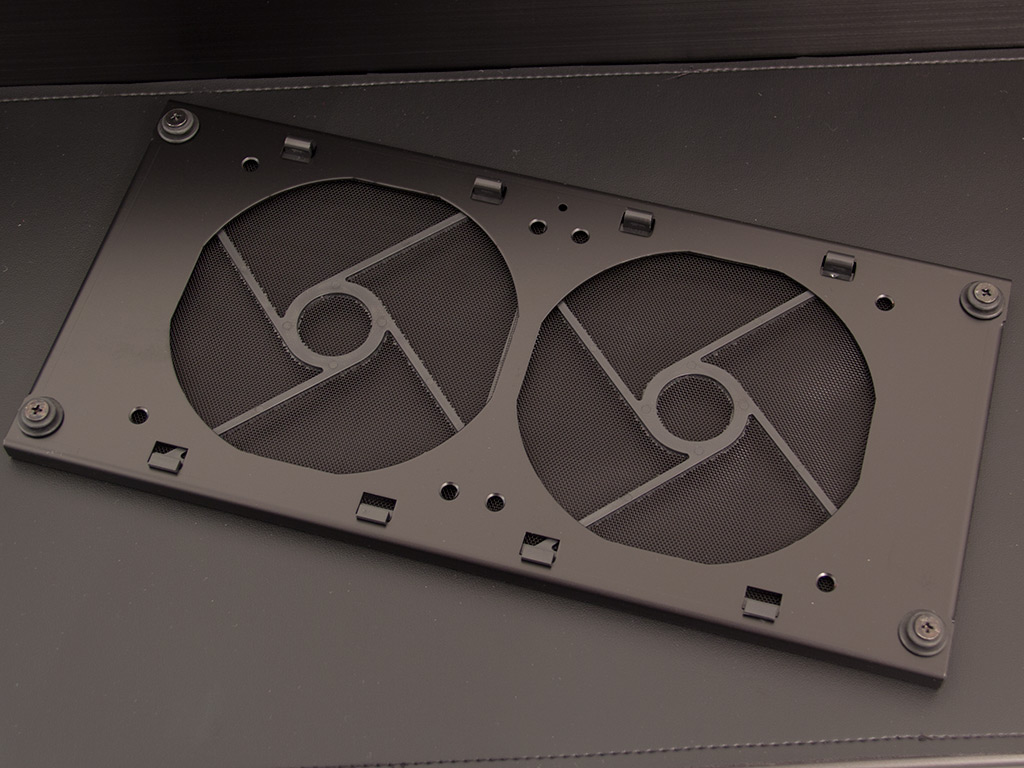
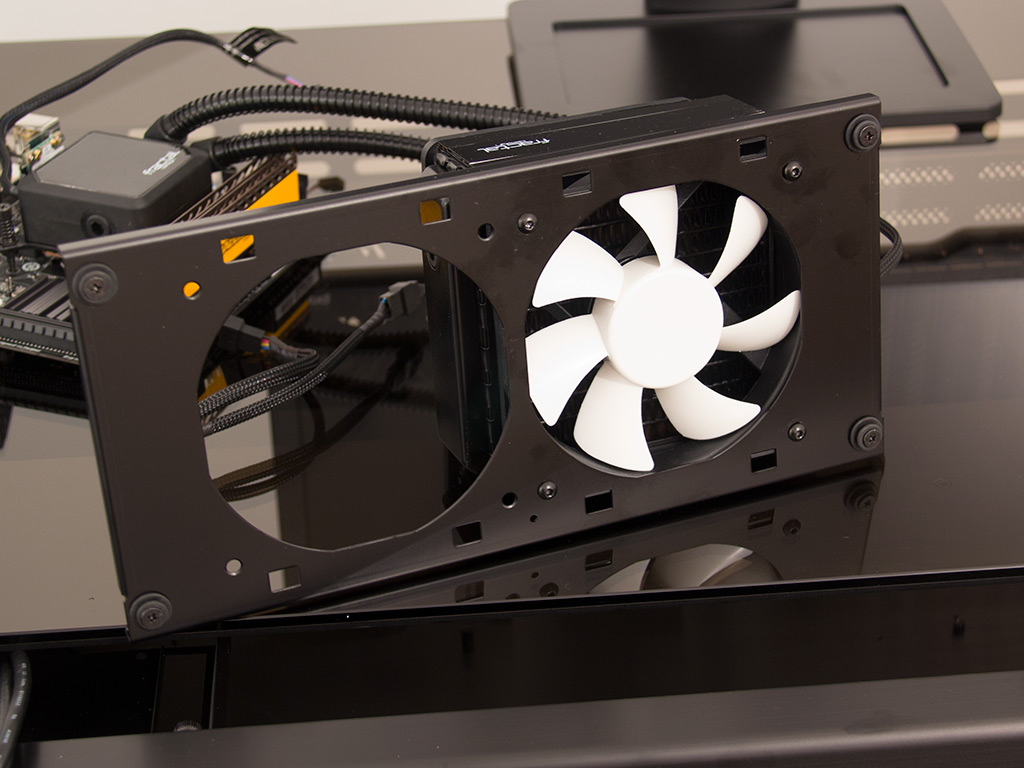
Assembly bears no real surprises as most parts use rather traditional securing methods. As we will be using liquid-cooling in this review, the first step requires you to remove the dust filter of the front's frame to attach the radiator to it. Once attached, simply slide the frame back into the drawer's front to install the whole contraption. There is, as you can see, loads of space around the motherboard, which allows you to reach everything easily.
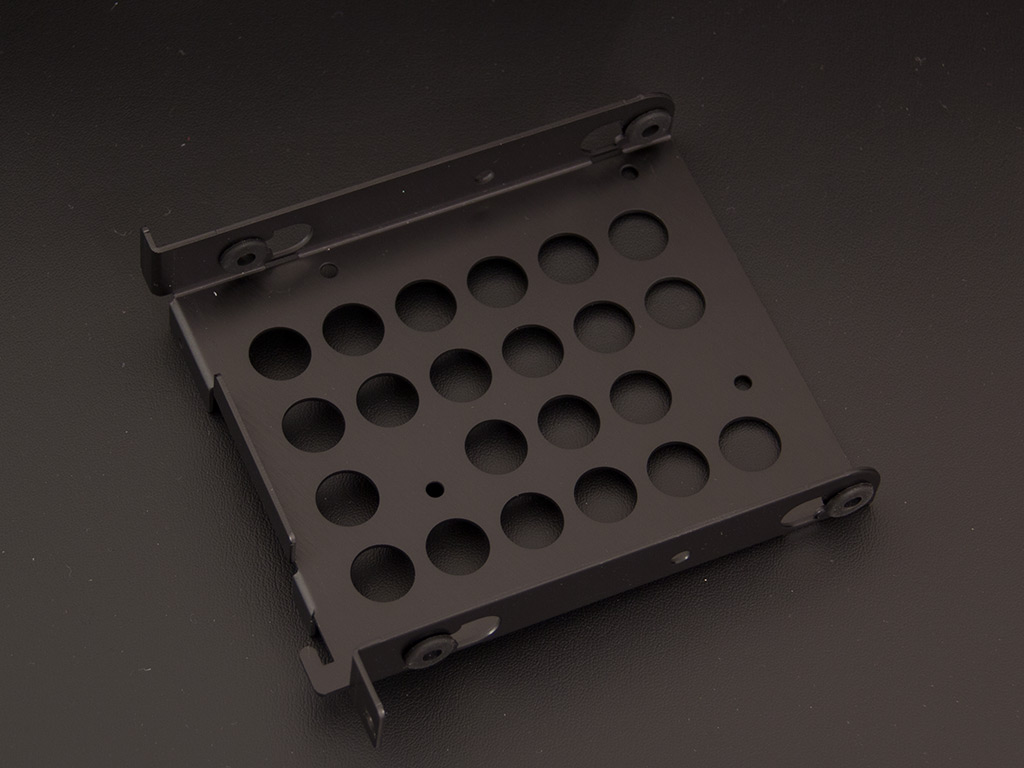
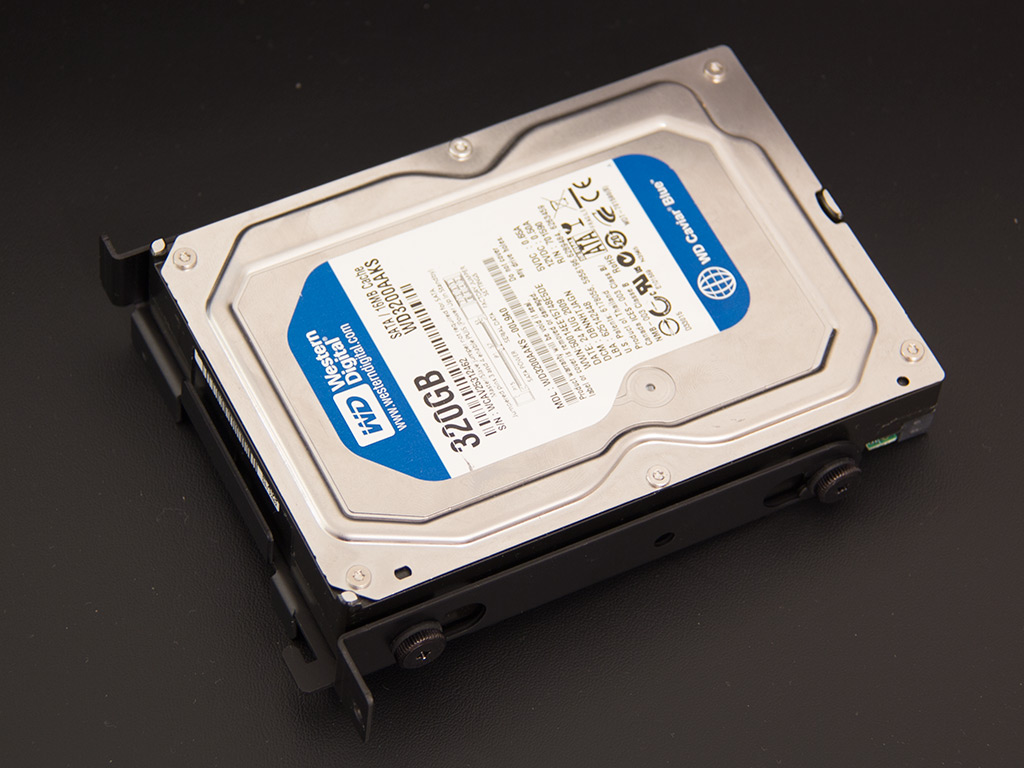
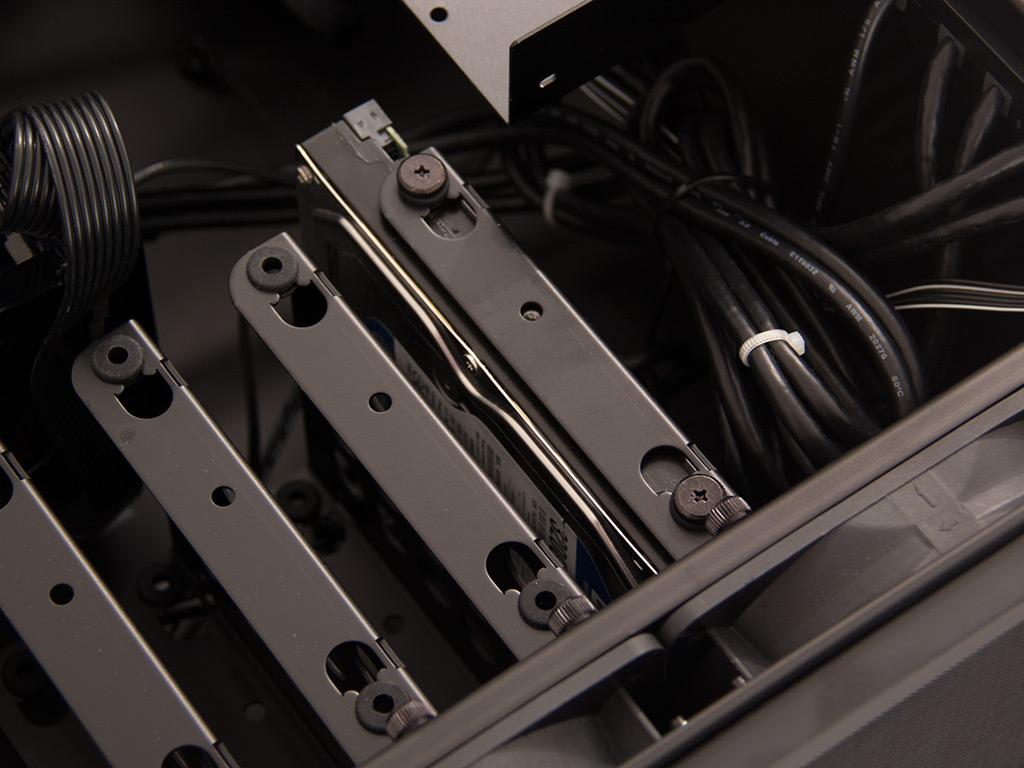
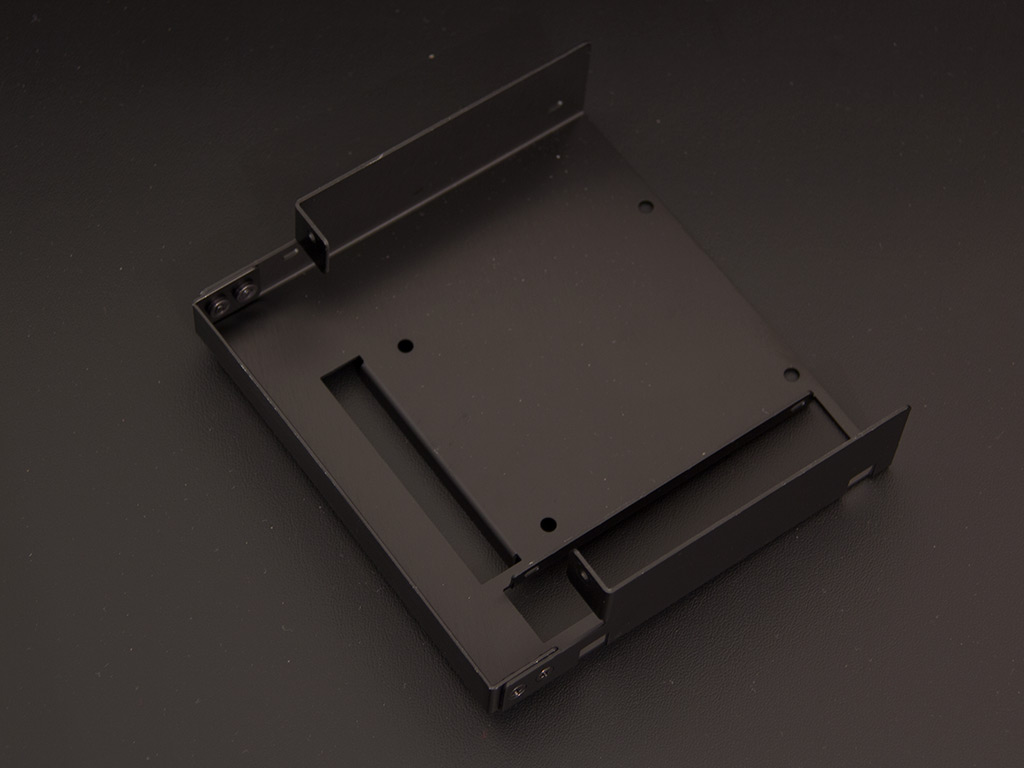
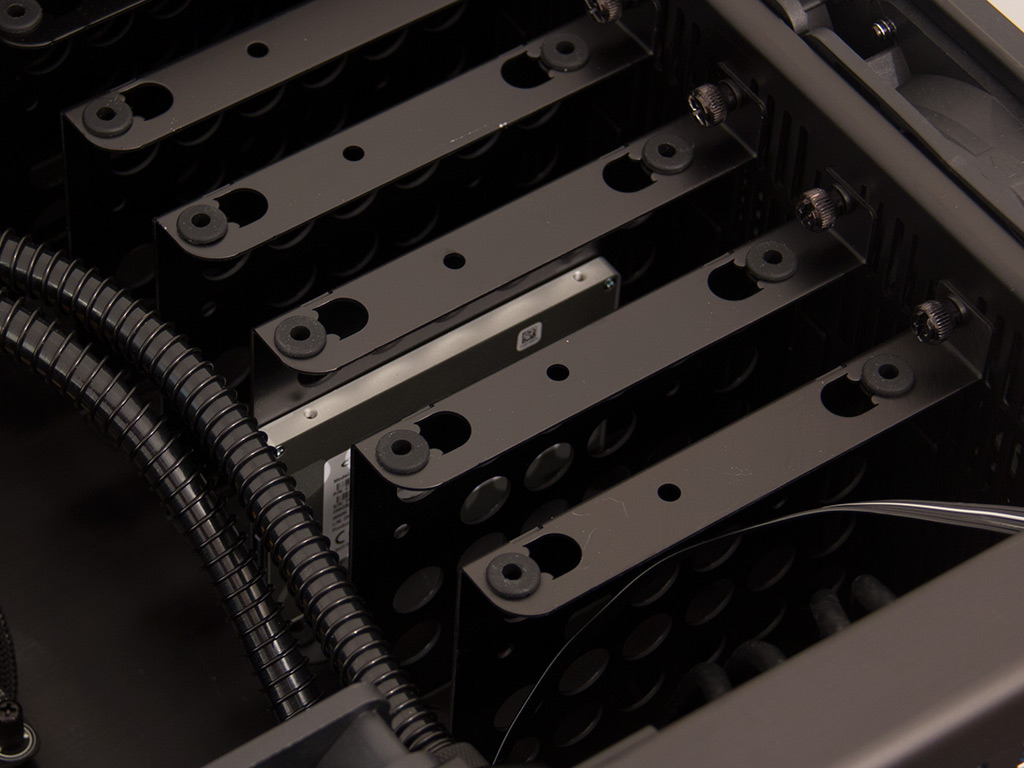
Installing a 3.5" hard drive requires you to detach the tray of your choice so that you may place the unit onto it. Lian Li supplies you with long screws to allow for the use of the rubber rings as an anti-vibration measure. Once the drive is in place, put the filled tray into the spot of your choice and use the thumbscrew to pin it down.

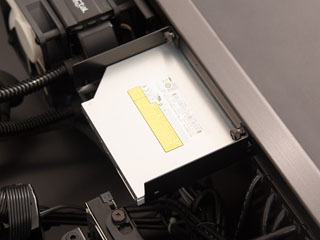
As the ITX system is also the closest to the slimline ODD bay, we will take this opportunity to install such a device instead of an SSD unto the tray. The optical drive is held in place by four tiny screws, which are also a part of the DK-02X's accessories. Thumbscrews hold the tray in place, so you should easily be able to detach it again if need be.
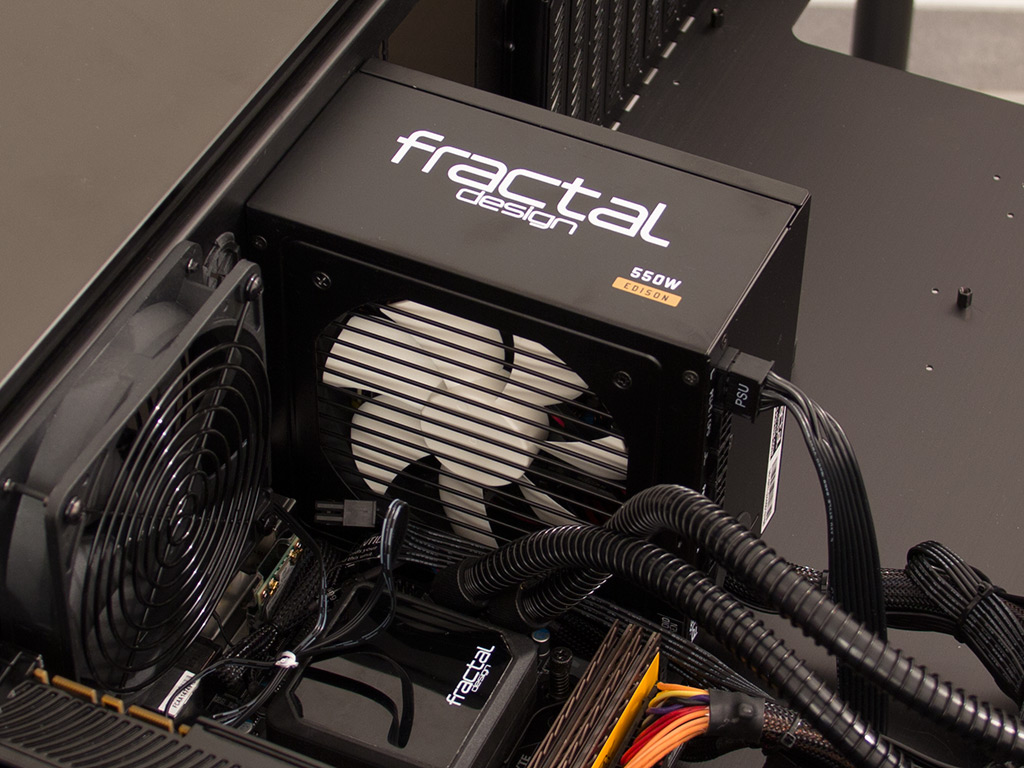
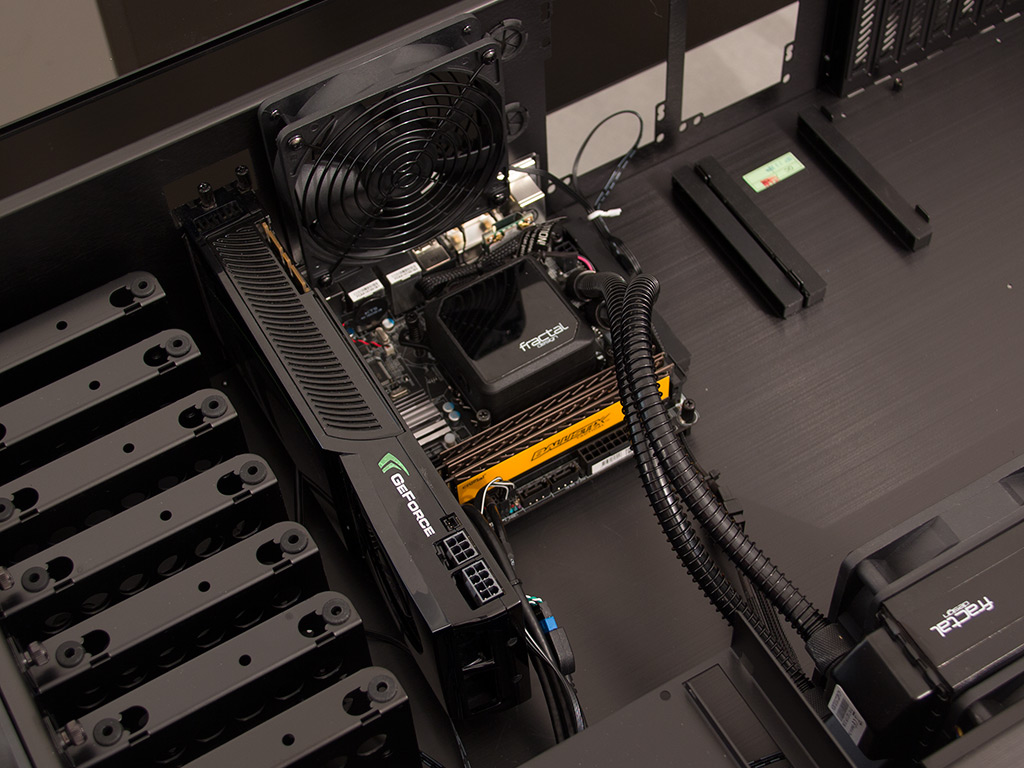
Last but not least, the PSU is installed with the fan facing toward the board. You will have to reach behind the drawer through the back of the chassis to secure it properly. Lian Li also placed three large openings onto the back of the DK-02X so you can route cables through, which makes reaching the PSUs possible if you know what to feel for.
Assembly - ATX
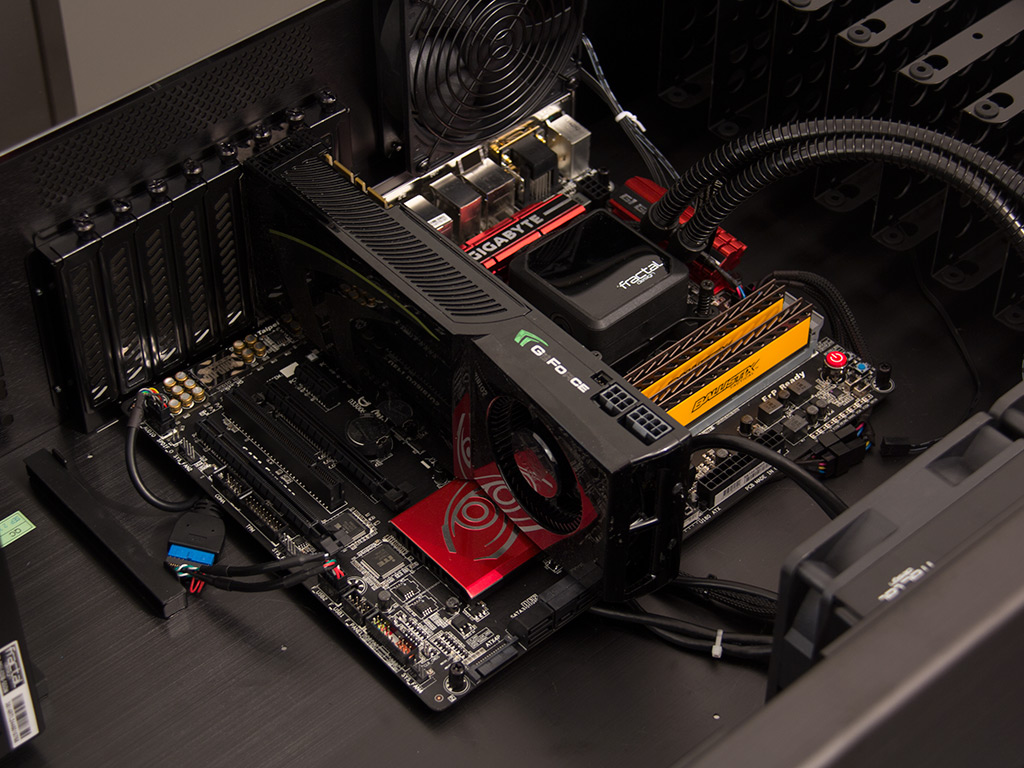
The ATX system is assembled in a similar fashion, with the liquid-cooling solution in the drawer's front. There is, once again, plenty of room to attach any cables, but you do want to route the cables nicely during each step of the assembly process as curious onlookers will see every bit within the drawer once everything has been assembled.
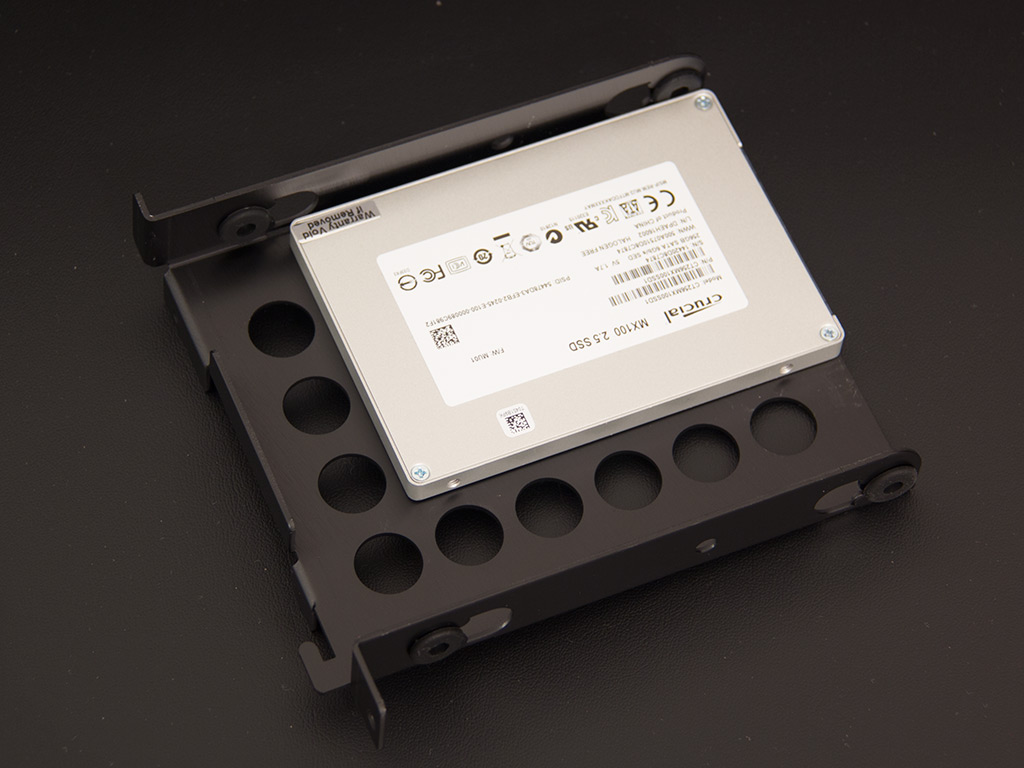
As this is the ATX system, most likely the DK-02X's primary system, it gets a 2.5" SSD we will install onto one of the same trays as for a 3.5" variant. You will need to use the supplied screws to pin the SSD down. Put the filled tray back into its place, and it become apparent that the SSD is as far away from the glass top as possible.

Once again, installing the PSU bears no surprises, but you should really make sure the fan doesn't face toward the backside of the ITX power supply to allow for the best possible cooling.
Jul 19th, 2025 00:47 CDT
change timezone
Latest GPU Drivers
New Forum Posts
- VMware Workstation is now free for personal use (17)
- What's your latest tech purchase? (24312)
- 9060 XT 8GB or 5060 8GB? (35)
- question for everyone about google play games beta (1)
- Gacha Games - Discussions, Pulls, Updates, etc. (0)
- Idle issue since 5060 ti installed (28)
- Windows 11 General Discussion (6151)
- Have you got pie today? (16795)
- Anime Nation (13054)
- Stalker 2 is looking great. (214)
Popular Reviews
- MSI GeForce RTX 5060 Gaming OC Review
- Razer Blade 16 (2025) Review - Thin, Light, Punchy, and Efficient
- Thermal Grizzly WireView Pro Review
- Pulsar X2 Crazylight Review
- SilverStone SETA H2 Review
- AVerMedia Live Gamer Ultra S (GC553Pro) Review
- Upcoming Hardware Launches 2025 (Updated May 2025)
- Sapphire Radeon RX 9060 XT Pulse OC 16 GB Review - An Excellent Choice
- NVIDIA GeForce RTX 5050 8 GB Review
- Our Visit to the Hunter Super Computer
TPU on YouTube
Controversial News Posts
- Intel's Core Ultra 7 265K and 265KF CPUs Dip Below $250 (288)
- Some Intel Nova Lake CPUs Rumored to Challenge AMD's 3D V-Cache in Desktop Gaming (140)
- AMD Radeon RX 9070 XT Gains 9% Performance at 1440p with Latest Driver, Beats RTX 5070 Ti (131)
- NVIDIA Launches GeForce RTX 5050 for Desktops and Laptops, Starts at $249 (124)
- NVIDIA GeForce RTX 5080 SUPER Could Feature 24 GB Memory, Increased Power Limits (115)
- Microsoft Partners with AMD for Next-gen Xbox Hardware (105)
- NVIDIA DLSS Transformer Cuts VRAM Usage by 20% (99)
- AMD Sampling Next-Gen Ryzen Desktop "Medusa Ridge," Sees Incremental IPC Upgrade, New cIOD (97)