 12
12
Lian Li Lancool II Review
Adding Optional Accessories »A Closer Look - Inside
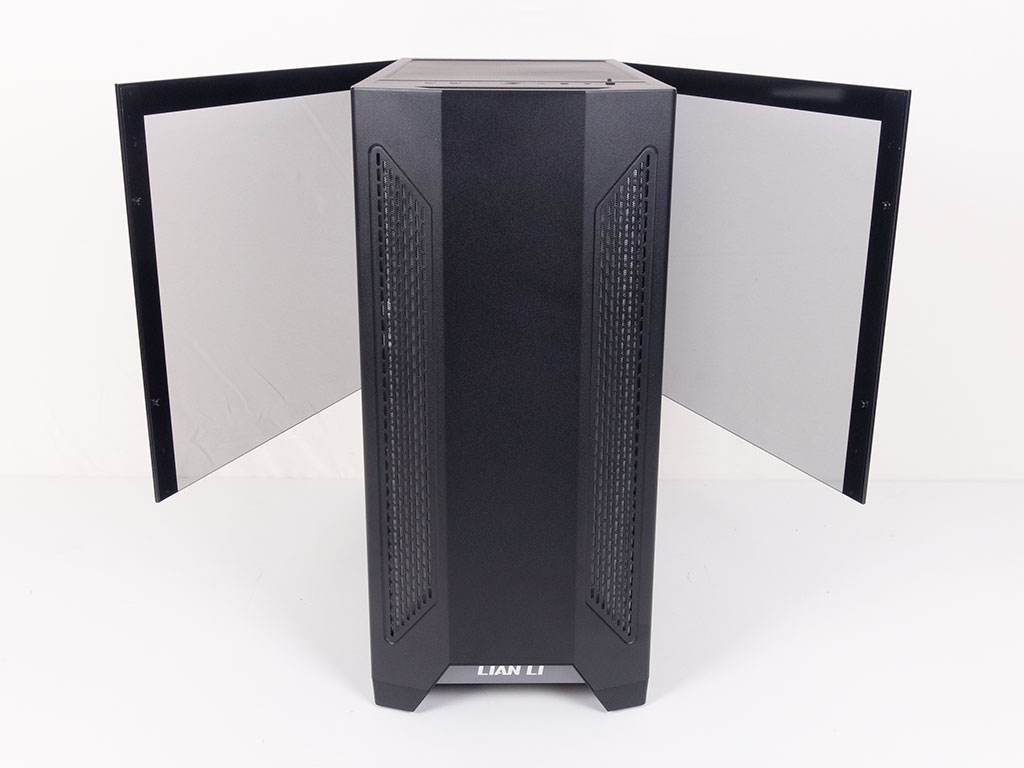
To access the interior of the Lancool 2 simply swing the doors open. You may remove them to keep things simple during assembly.
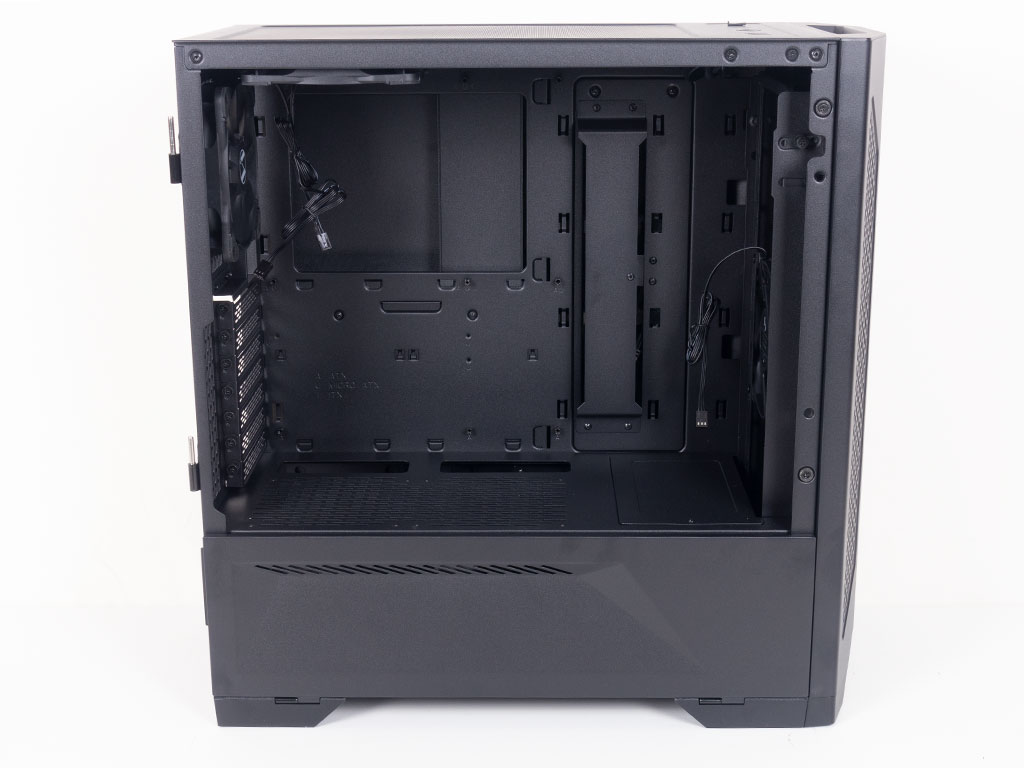

Looking into the chassis interior, things looks pretty traditional with a lack of drive bays in the main compartment. Even looking at the shroud, we see familiar elements, like the two openings for cable routing and the larger cover which may be removed to allow for thick radiators in the front of the Lancool 2. In addition, you may install up to two 120 mm fans here if you like. While doing so will essentially block the bottom edge of your motherboard for easy access, the shroud is actually up high enough to allow for a little airflow due to the vent on the side of the chassis. As soon as you flip down this side, you will notice that this isn't really a shroud, but more of a thermal barrier.
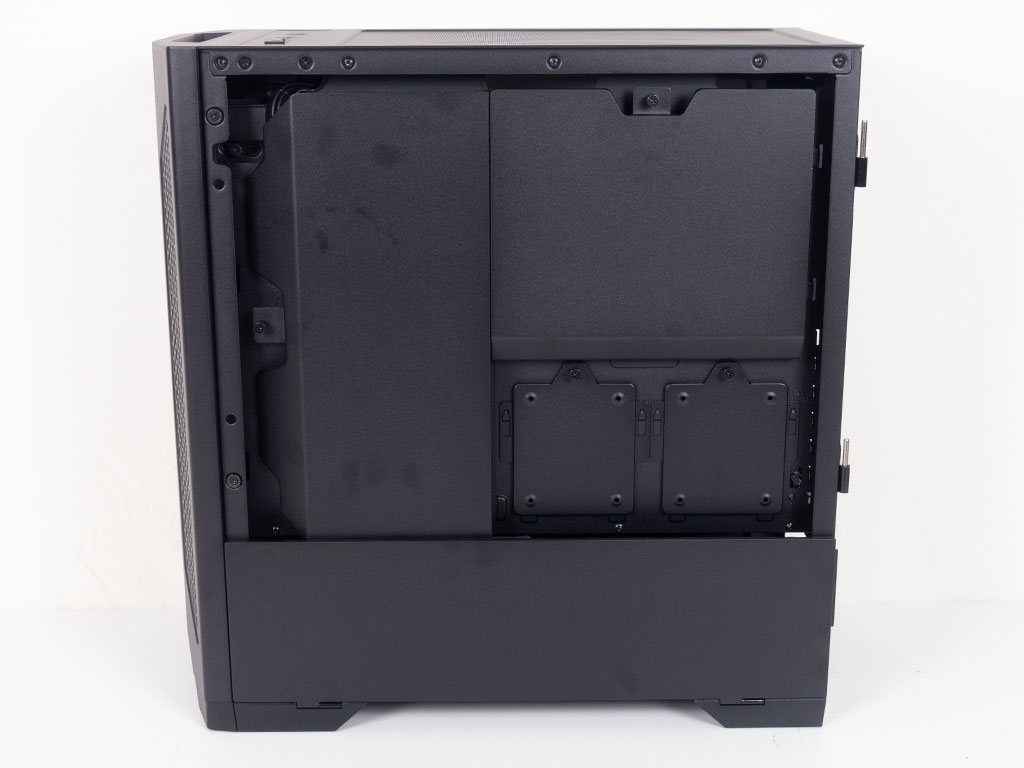
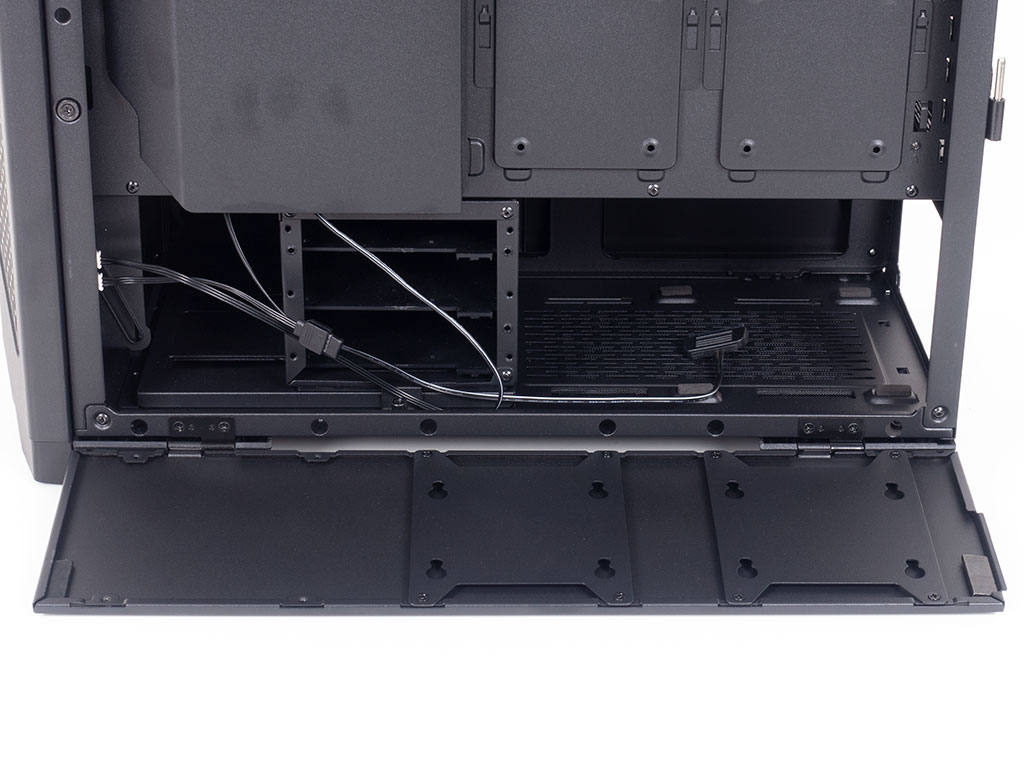
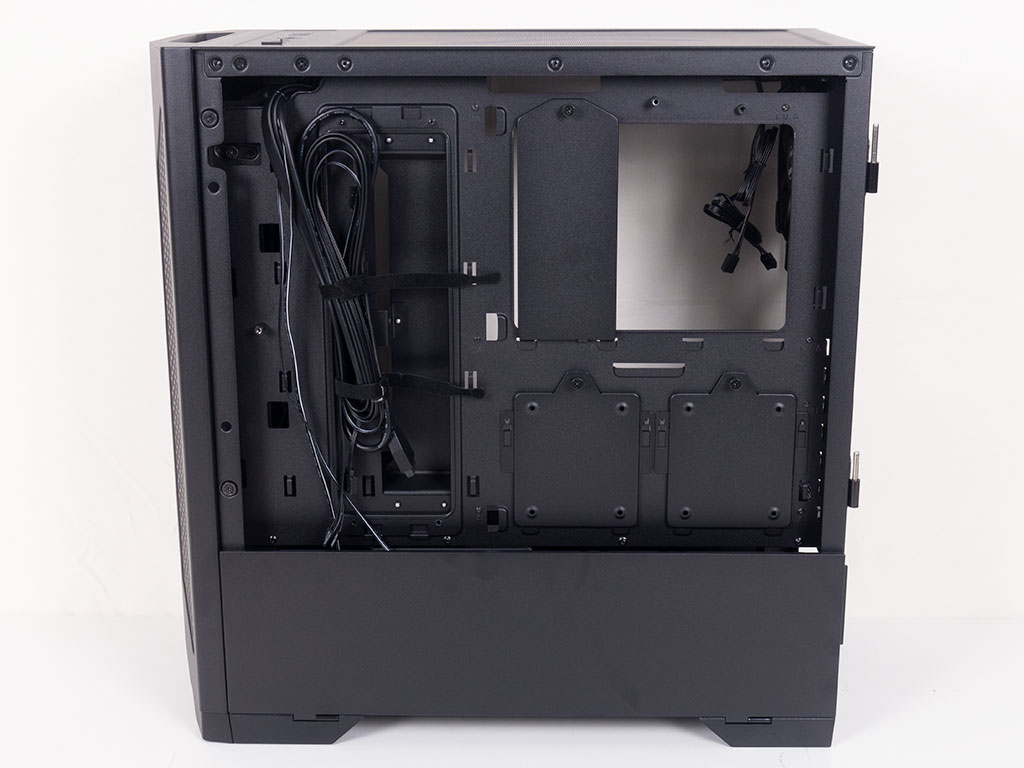
Once you remove the glass panel on the opposite side of the Lian Li Lancool 2, the two separate metal cable covers can clearly be seen. The bigger one towards the front of the enclosure actually extends below the window, so you have to flip the bottom cover down to reveal all of it. Once the two covers are removed, you can clearly see all the traditional elements, like cable routing and opening for the CPU cooler area of the motherboard.


You will find two additional mounting possibilities for SSDs here. These will actually be clearly visible when the system is assembled as there is no tint on the glass panel. Lian Li has also pre-installed two of the four Velcro strips for your convenience.
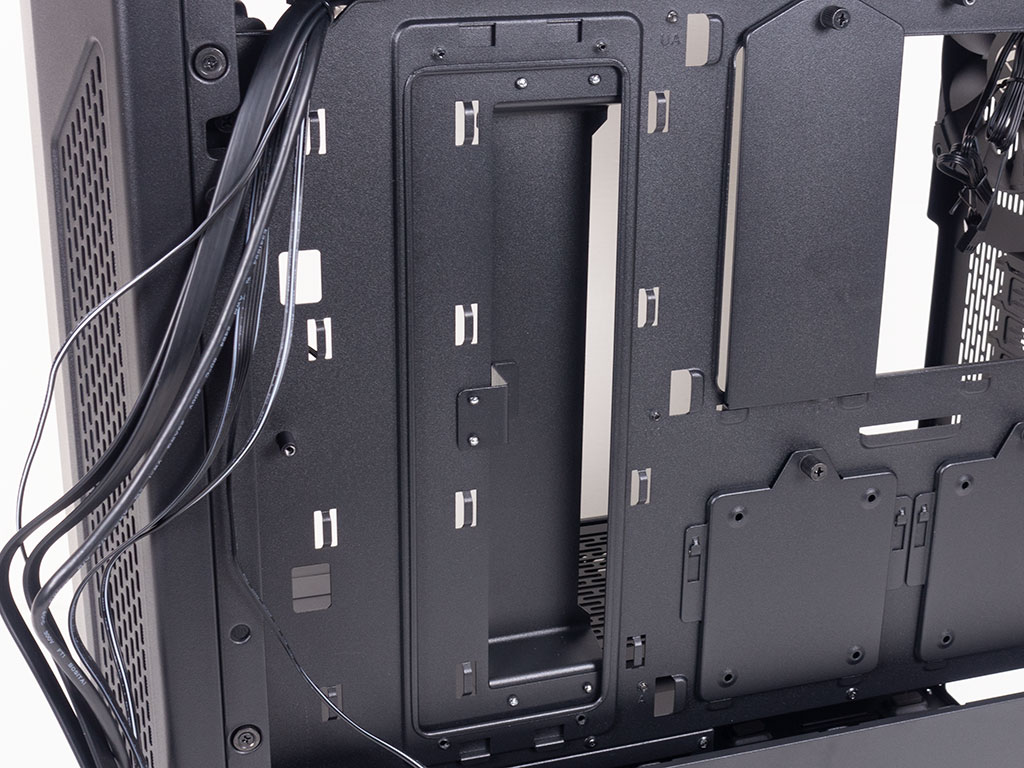
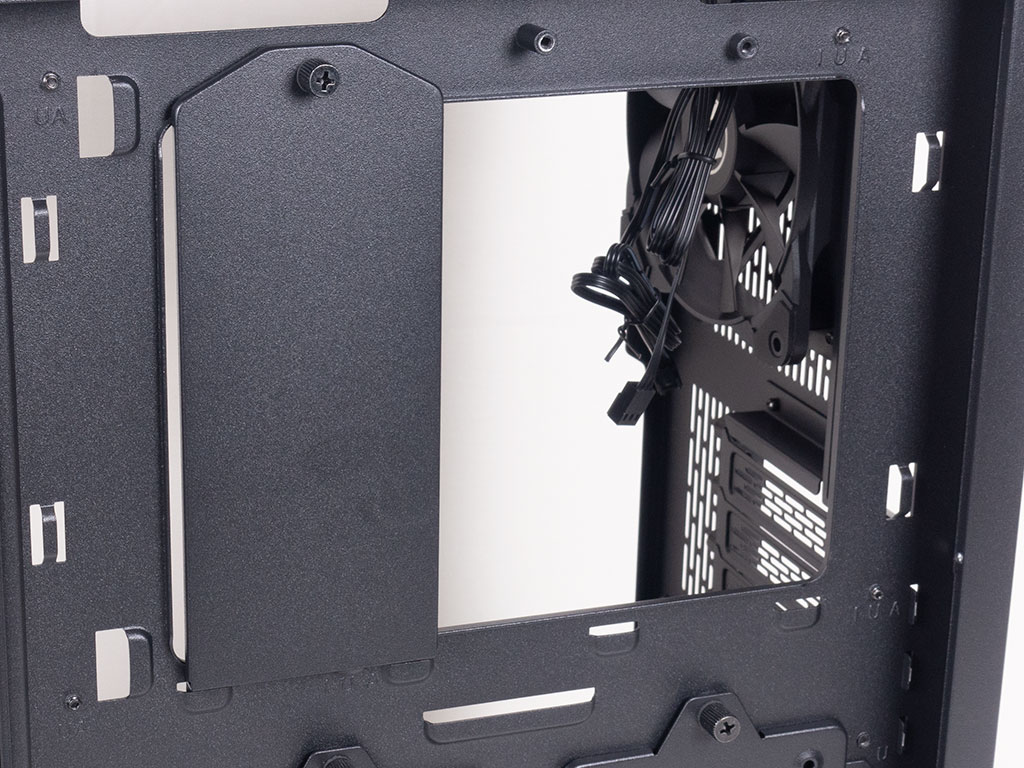
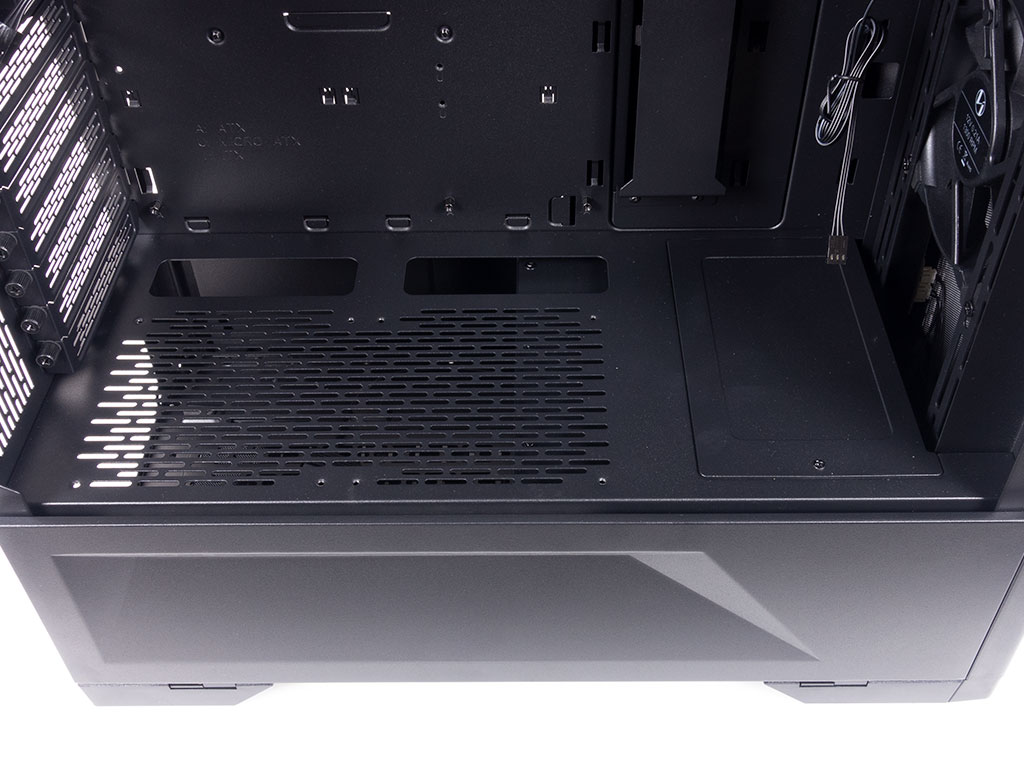
A covered opening acts as a cable-routing duct to ensure the interior of your Lancool 2 build stays nice and clean. You may rotate it 180° if that suits your cable-management better, but in our review, we simply left it as is. You will also find a solid mounting plate across the CPU cooler opening of the motherboard tray. It does not seem to serve any purpose at first, but is in fact there to give you a nice surface to mount any kind of fan or RGB controller on.
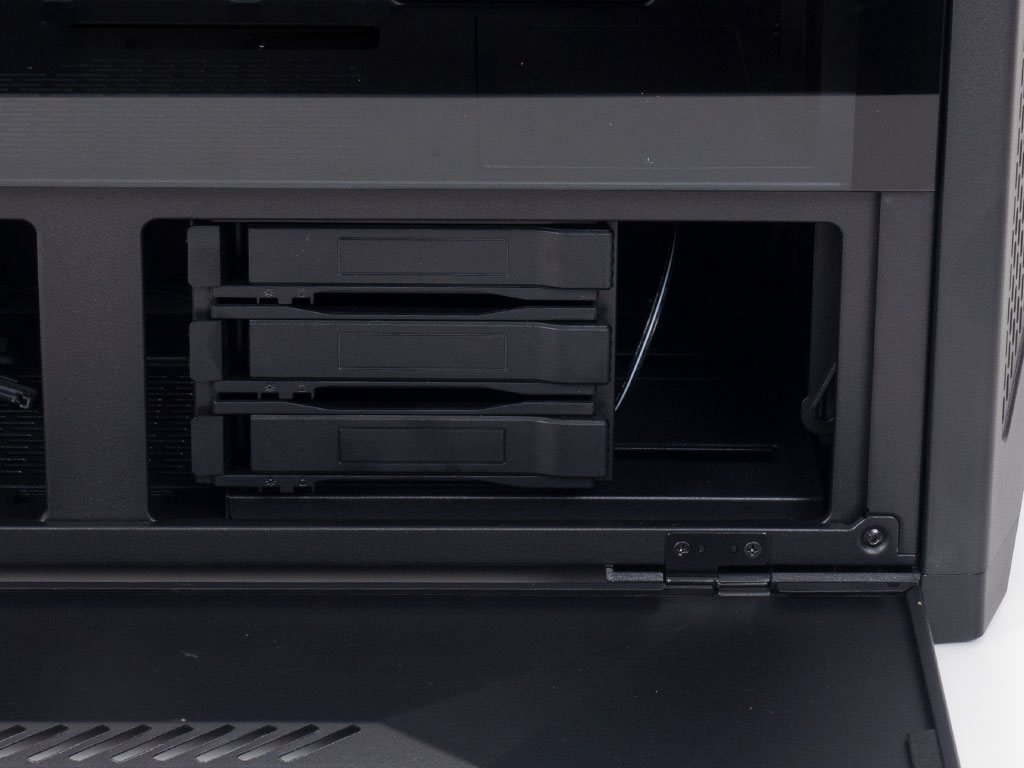
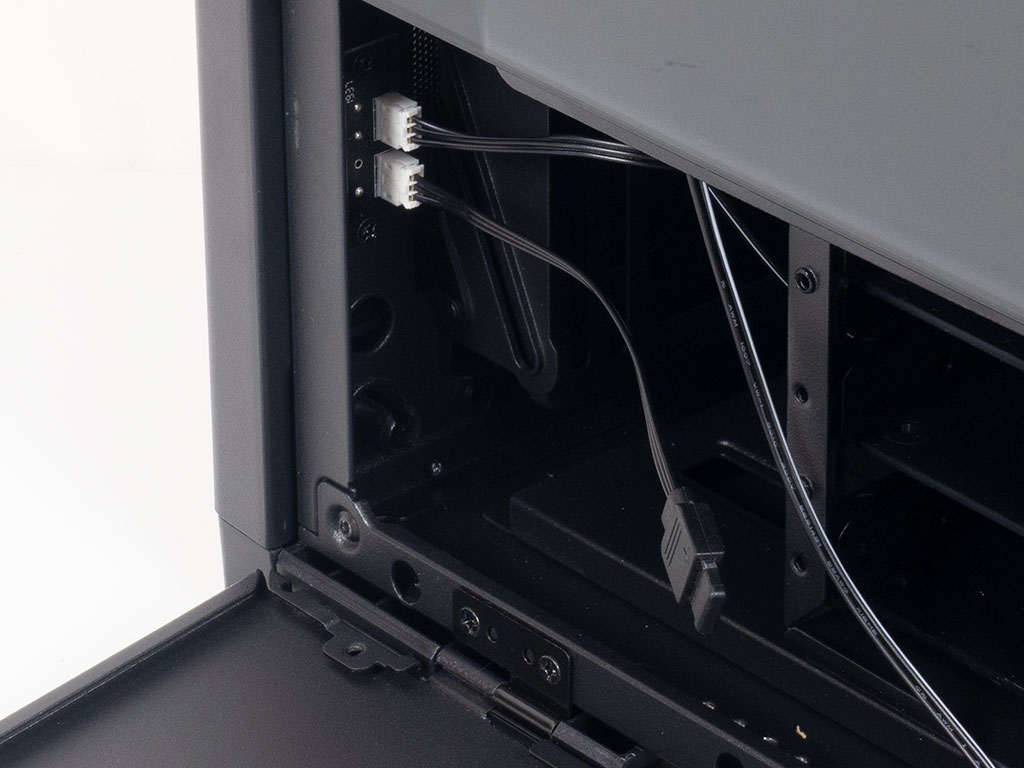
In the front, underneath the shroud, you will find three 3.5" hard-drive cages which may also take 2.5" drives, which results in seven total storage bays within the Lancool 2—more than most of us will ever utilize. Here, you will also find the connector for the front RGB elements alongside another 4-pin RGB connector, so you may extend your lighting easily. This is especially useful with the optional RGB strip Lian Li will sell alongside the chassis for, you guessed it, $12. The area above that is purely meant for cooling, be it in the form of up to three 120 mm fans or a 360 mm radiator.
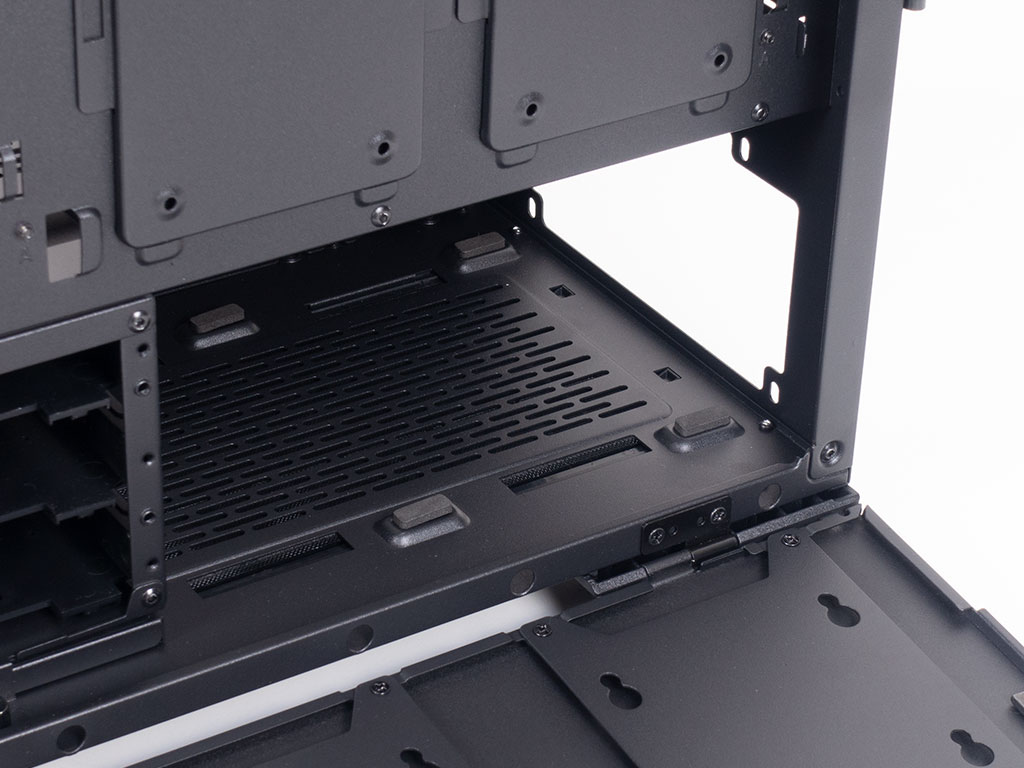

In the rear, the PSU bay is pretty straightforward with four foam-equipped pads as an anti-vibration measure. Above that, the seven expansion slots covers are held in place with thumb screws for easy removal, while the 120 mm exhaust fan is situated in the very top.
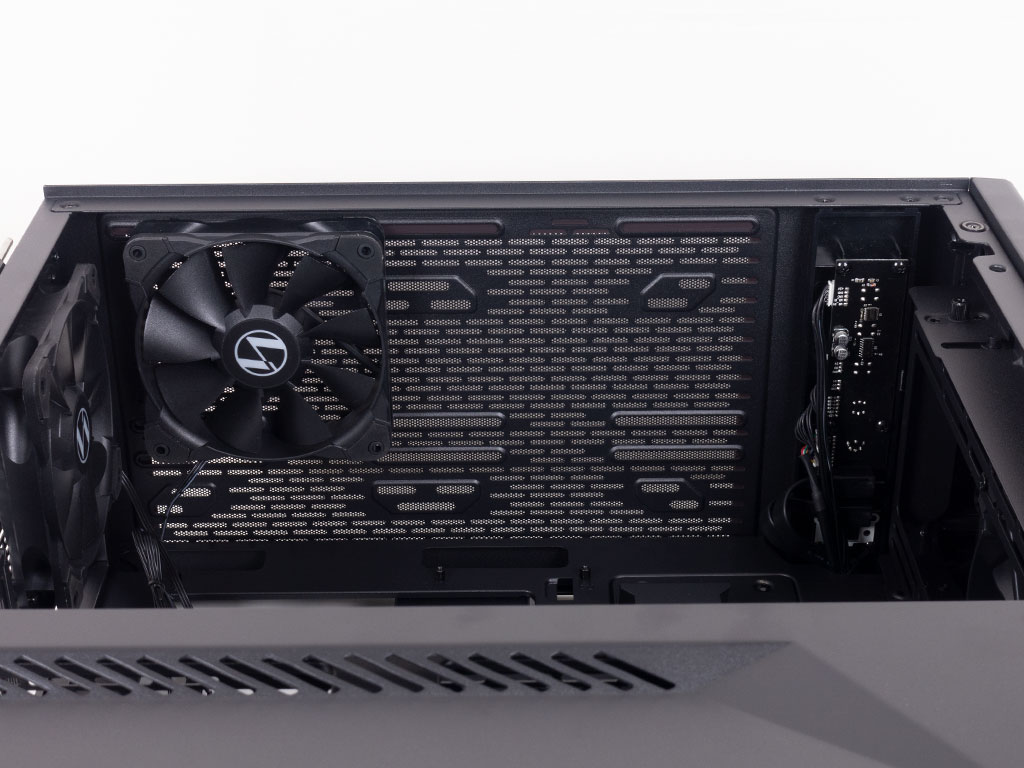
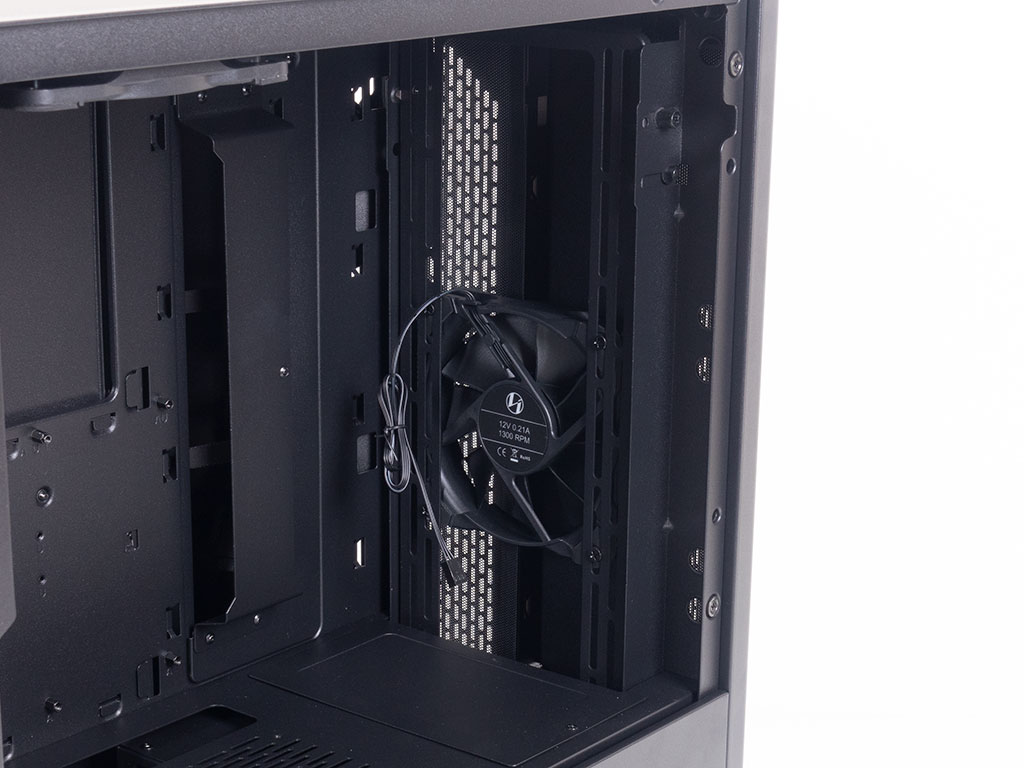
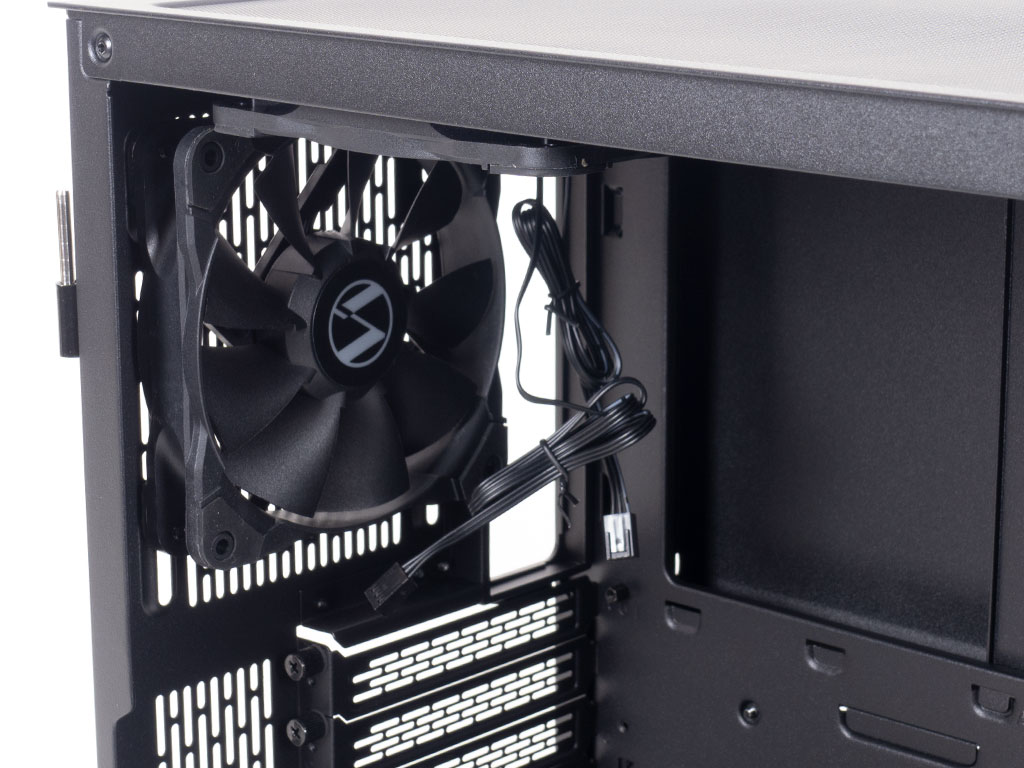
Looking at the ceiling, you will find the third 3-pin fan set to push air out through the ceiling. If you look closely, you will see that Lian Li has included two sets of mounting holes for 120/140 mm units, allowing you to pick if you need to offset your cooling assembly to make room for larger motherboard components that would otherwise collide with center-mounted elements.
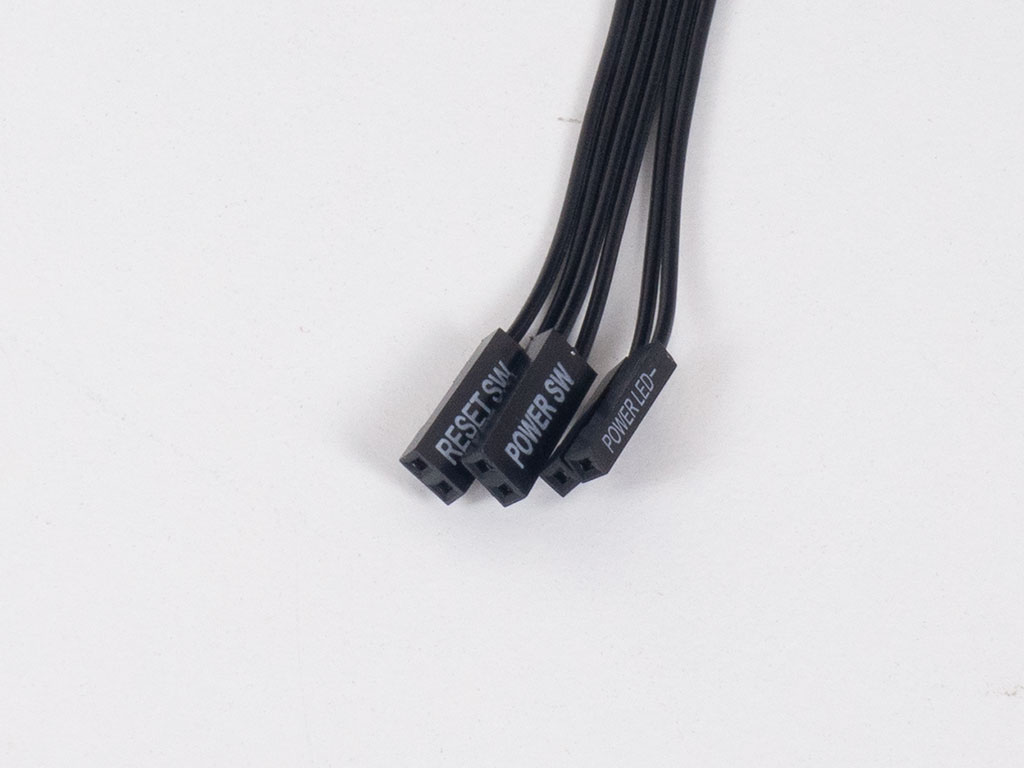


All the cables within the Lian Li Lancool 2 are of the default variety and sleeved black so as to fit the interior of the chassis nicely as well. One downside is the 4-pin RGB header that comes with a blocked pin (thus essentially forming a 3-pin plug). While this is fine, it restricts possibly connecting it to a motherboard as some board brands employ 4-pin headers.
Jul 19th, 2025 00:52 CDT
change timezone
Latest GPU Drivers
New Forum Posts
- VMware Workstation is now free for personal use (17)
- What's your latest tech purchase? (24312)
- 9060 XT 8GB or 5060 8GB? (35)
- question for everyone about google play games beta (1)
- Gacha Games - Discussions, Pulls, Updates, etc. (0)
- Idle issue since 5060 ti installed (28)
- Windows 11 General Discussion (6151)
- Have you got pie today? (16795)
- Anime Nation (13054)
- Stalker 2 is looking great. (214)
Popular Reviews
- MSI GeForce RTX 5060 Gaming OC Review
- Razer Blade 16 (2025) Review - Thin, Light, Punchy, and Efficient
- Thermal Grizzly WireView Pro Review
- Pulsar X2 Crazylight Review
- SilverStone SETA H2 Review
- AVerMedia Live Gamer Ultra S (GC553Pro) Review
- Upcoming Hardware Launches 2025 (Updated May 2025)
- Sapphire Radeon RX 9060 XT Pulse OC 16 GB Review - An Excellent Choice
- NVIDIA GeForce RTX 5050 8 GB Review
- Our Visit to the Hunter Super Computer
TPU on YouTube
Controversial News Posts
- Intel's Core Ultra 7 265K and 265KF CPUs Dip Below $250 (288)
- Some Intel Nova Lake CPUs Rumored to Challenge AMD's 3D V-Cache in Desktop Gaming (140)
- AMD Radeon RX 9070 XT Gains 9% Performance at 1440p with Latest Driver, Beats RTX 5070 Ti (131)
- NVIDIA Launches GeForce RTX 5050 for Desktops and Laptops, Starts at $249 (124)
- NVIDIA GeForce RTX 5080 SUPER Could Feature 24 GB Memory, Increased Power Limits (115)
- Microsoft Partners with AMD for Next-gen Xbox Hardware (105)
- NVIDIA DLSS Transformer Cuts VRAM Usage by 20% (99)
- AMD Sampling Next-Gen Ryzen Desktop "Medusa Ridge," Sees Incremental IPC Upgrade, New cIOD (97)