 1
1
Montech MKey TKL Mechanical Keyboard Review
Software »Disassembly
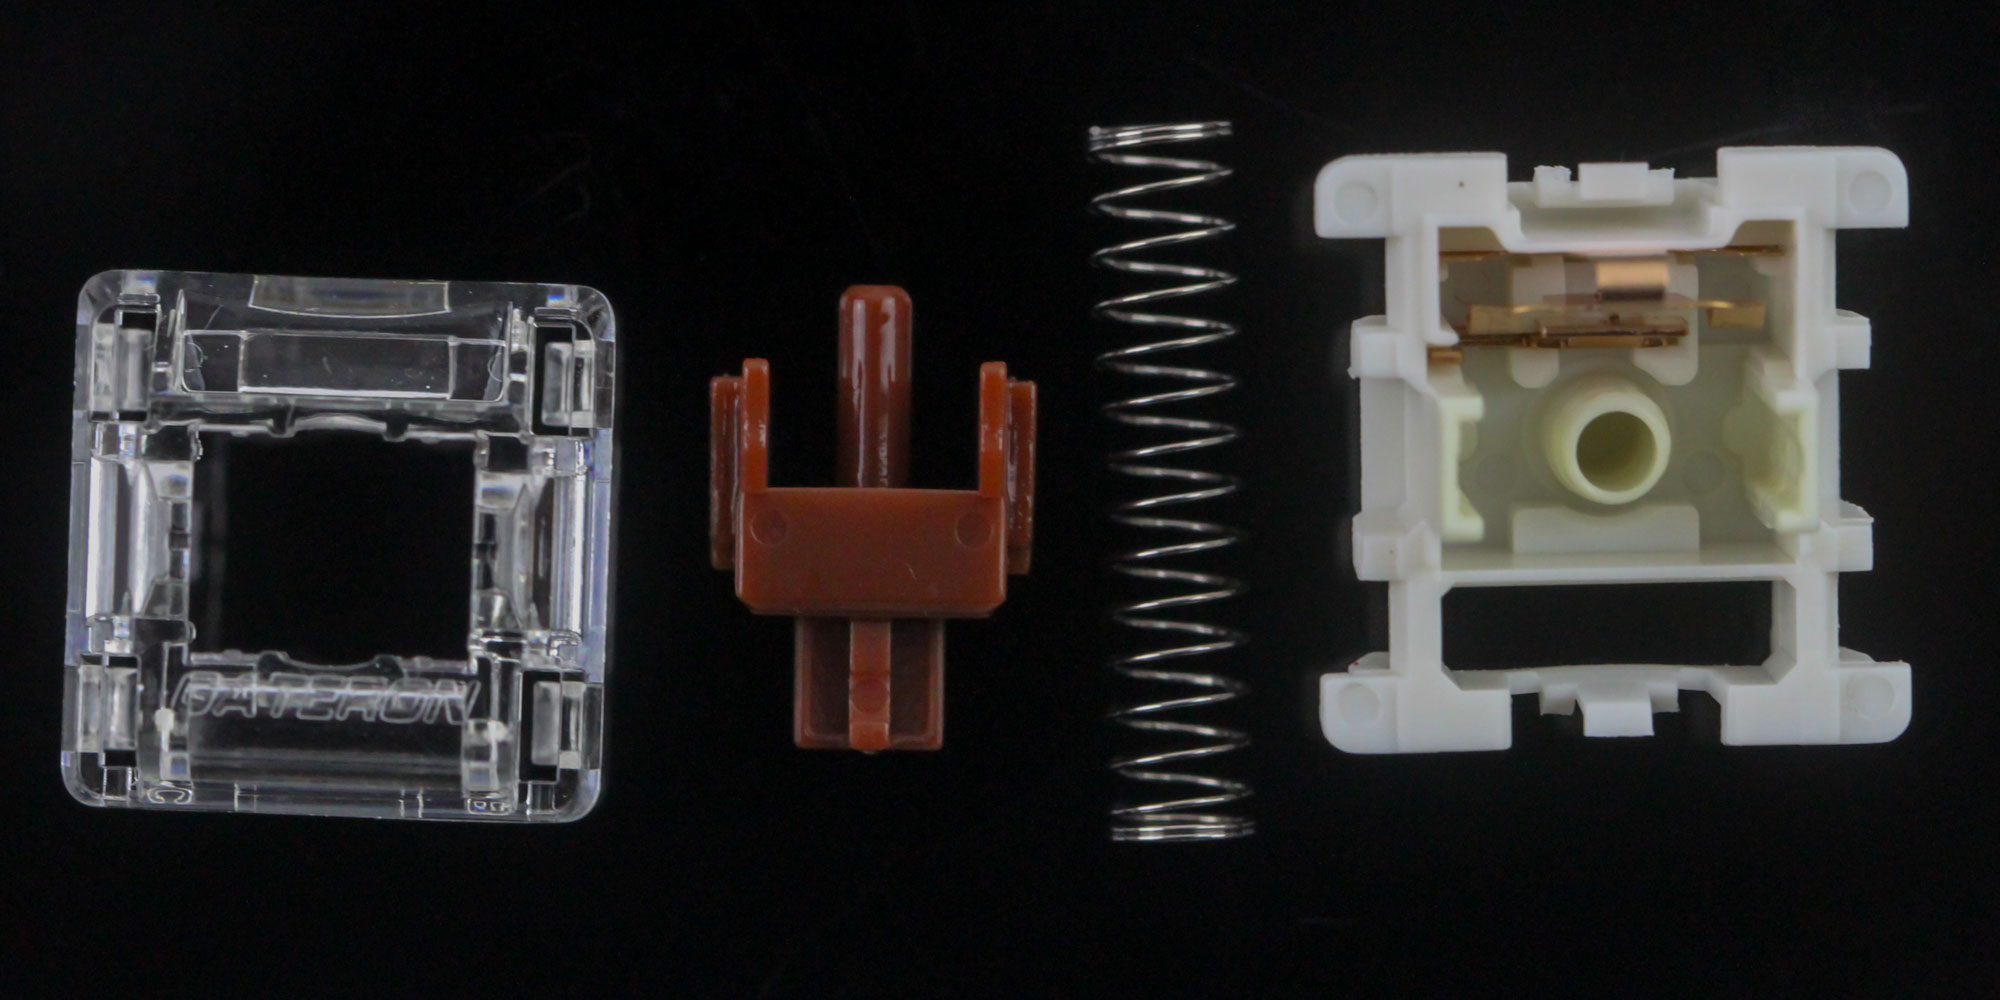
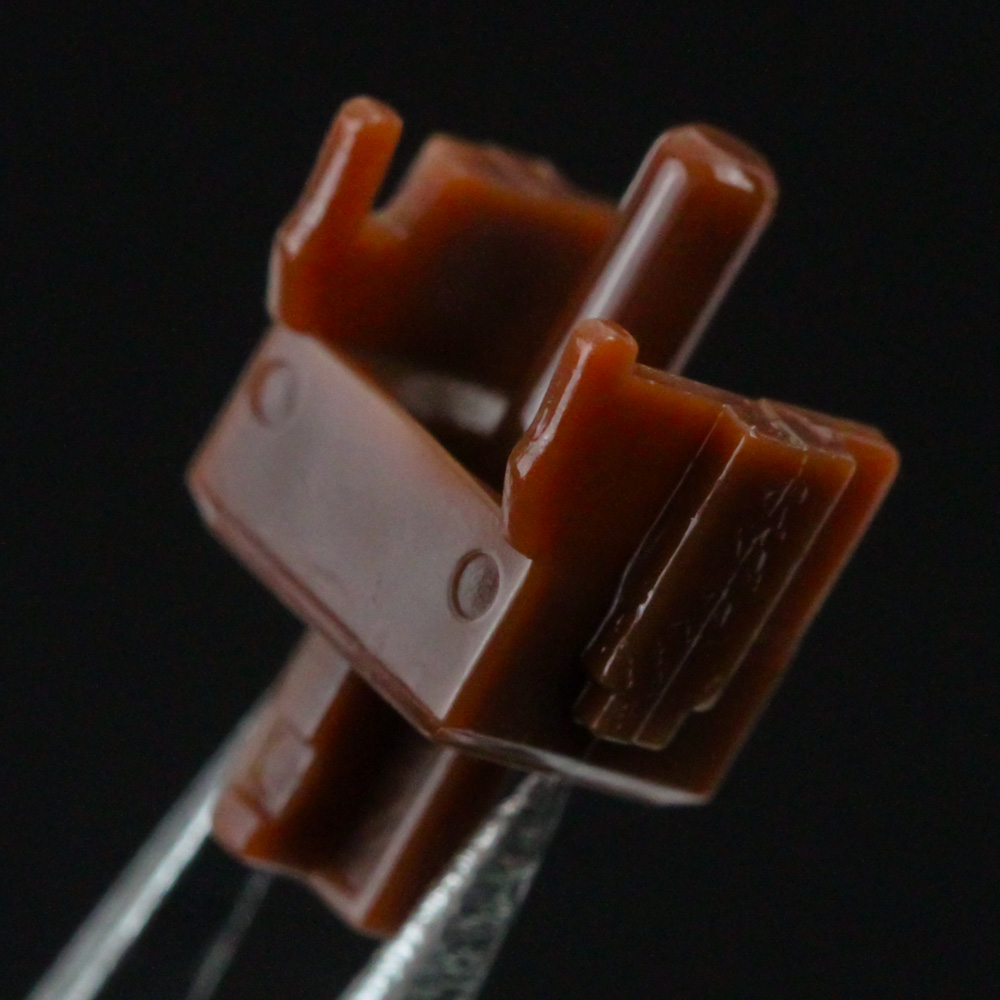
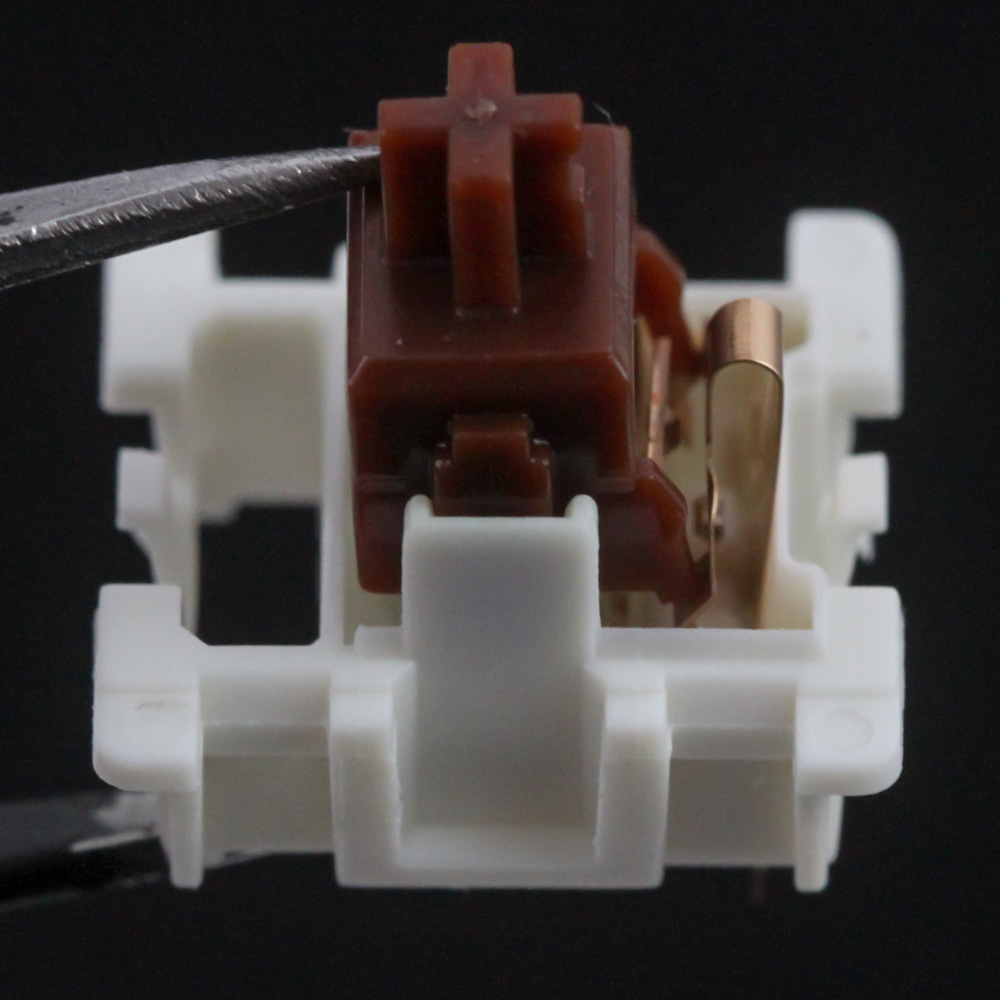
Given the hot-swappable switch feature on the Montech MKey TKL and this being my first time with these Gateron G Pro 2.0 Brown switches, I wanted to begin this section with a look inside one of these switches. We see it's held together with plastic clips on the top and bottom housing as usual. Use a thin flat screwdriver to pry one side off before the other, but not by too much. The top has compatibility with only SMD LEDs, which does seem to be the primary visual difference from the older Gateron Brown switch. The stem comes lightly pre-lubed at the factory and is shorter than usual while being paired with Gateron's longer 2-stage spring. There's also the expected bump in the pathway of the stem for tactile feedback in addition to the section that meets the metal contacts for actuation.
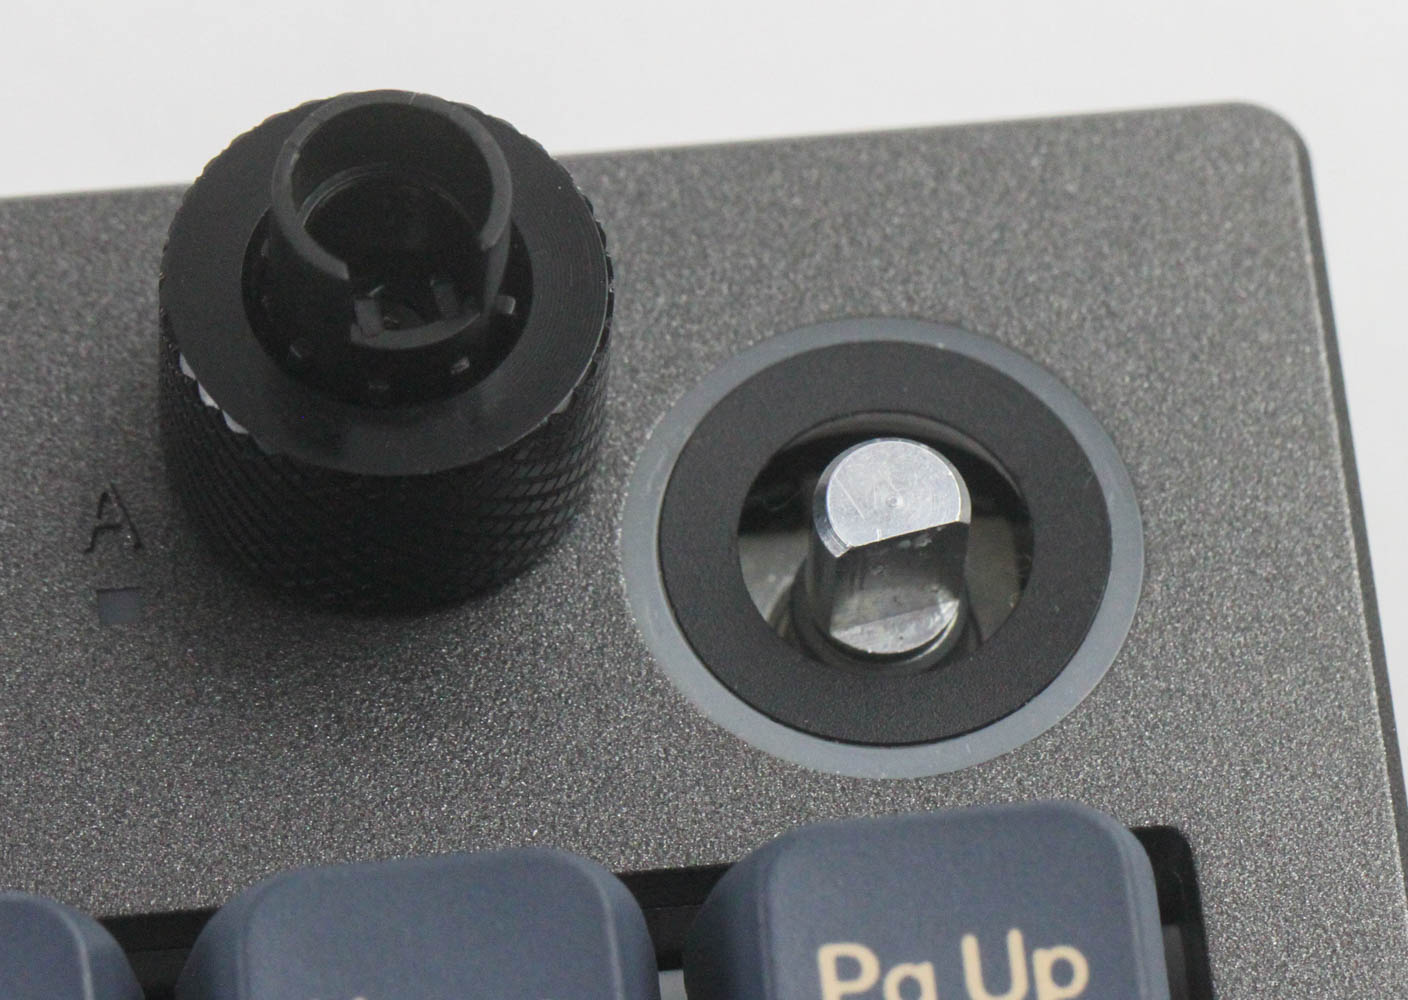
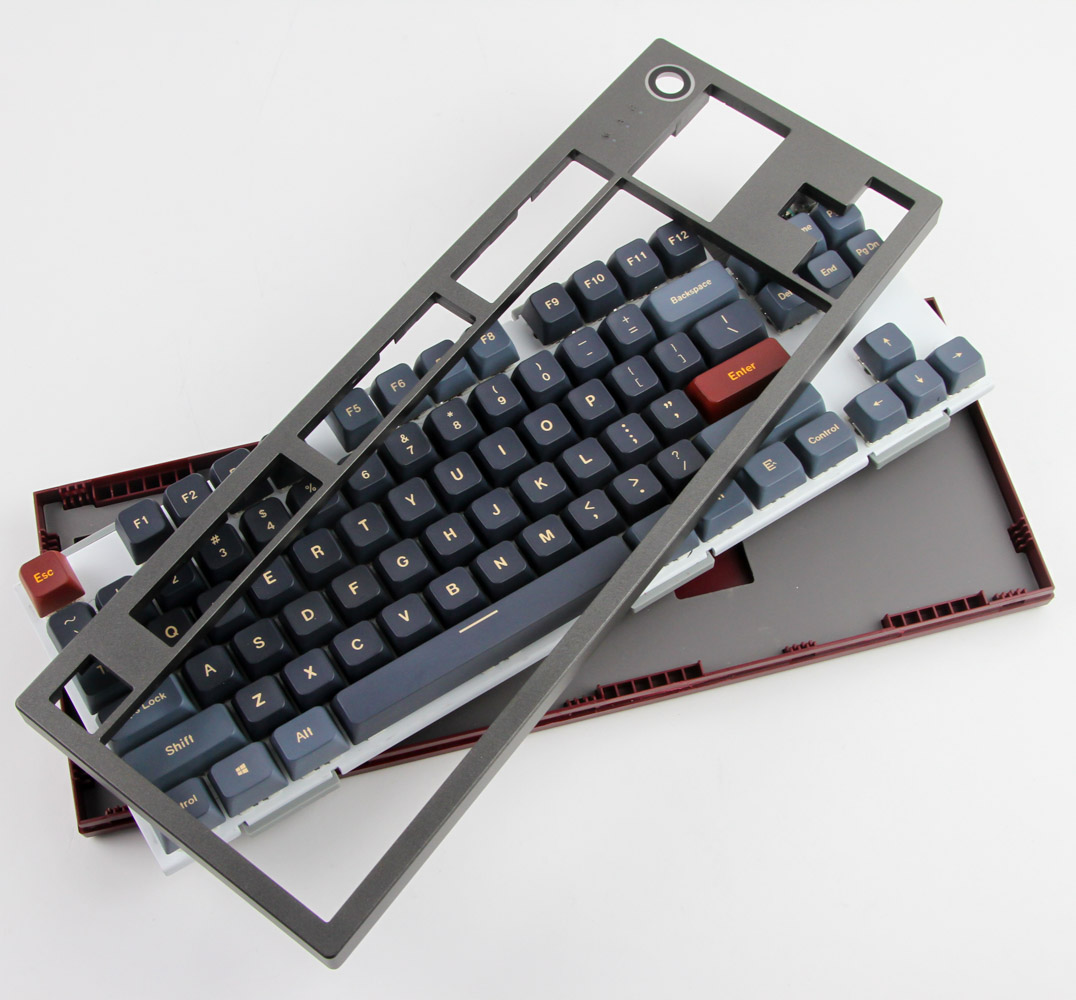
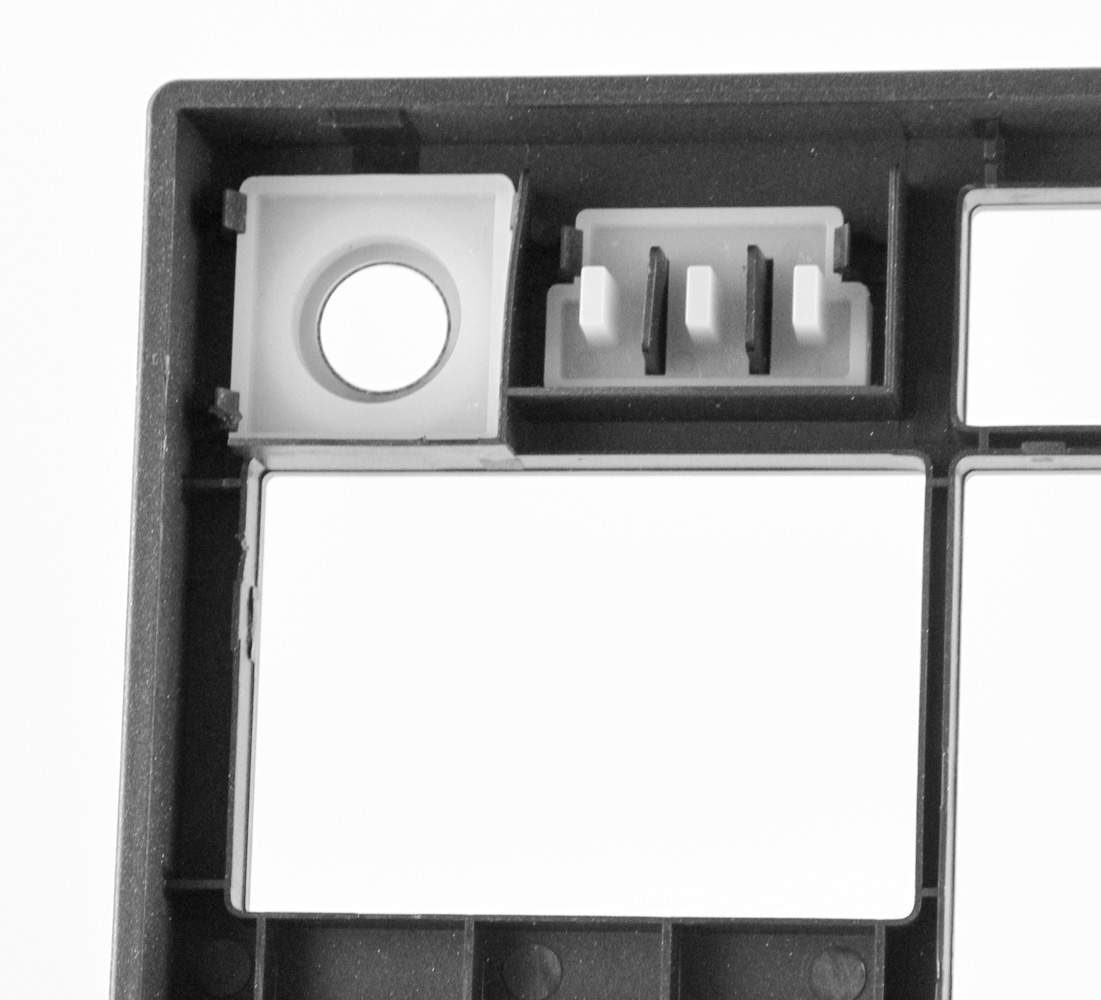
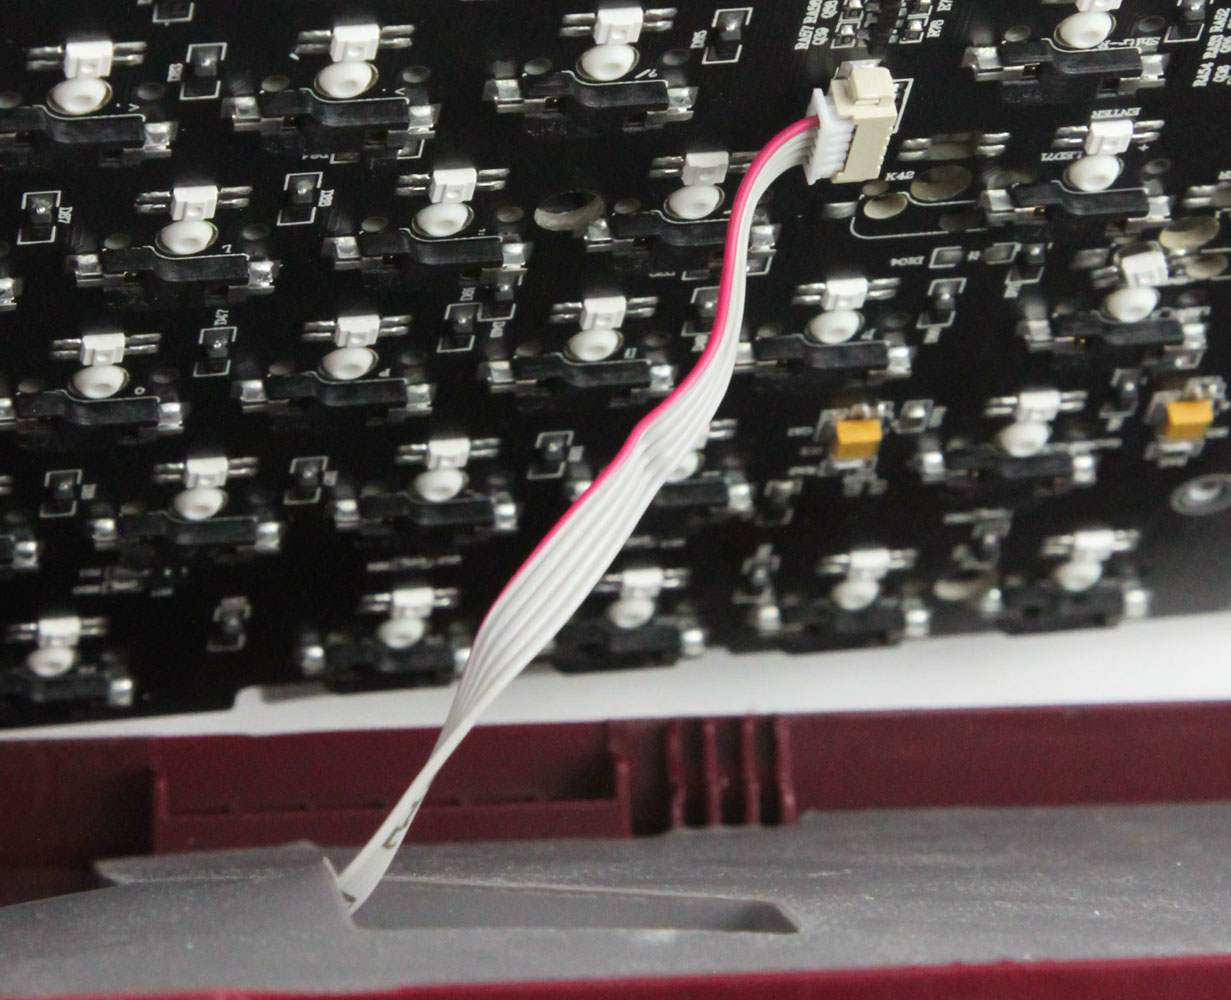
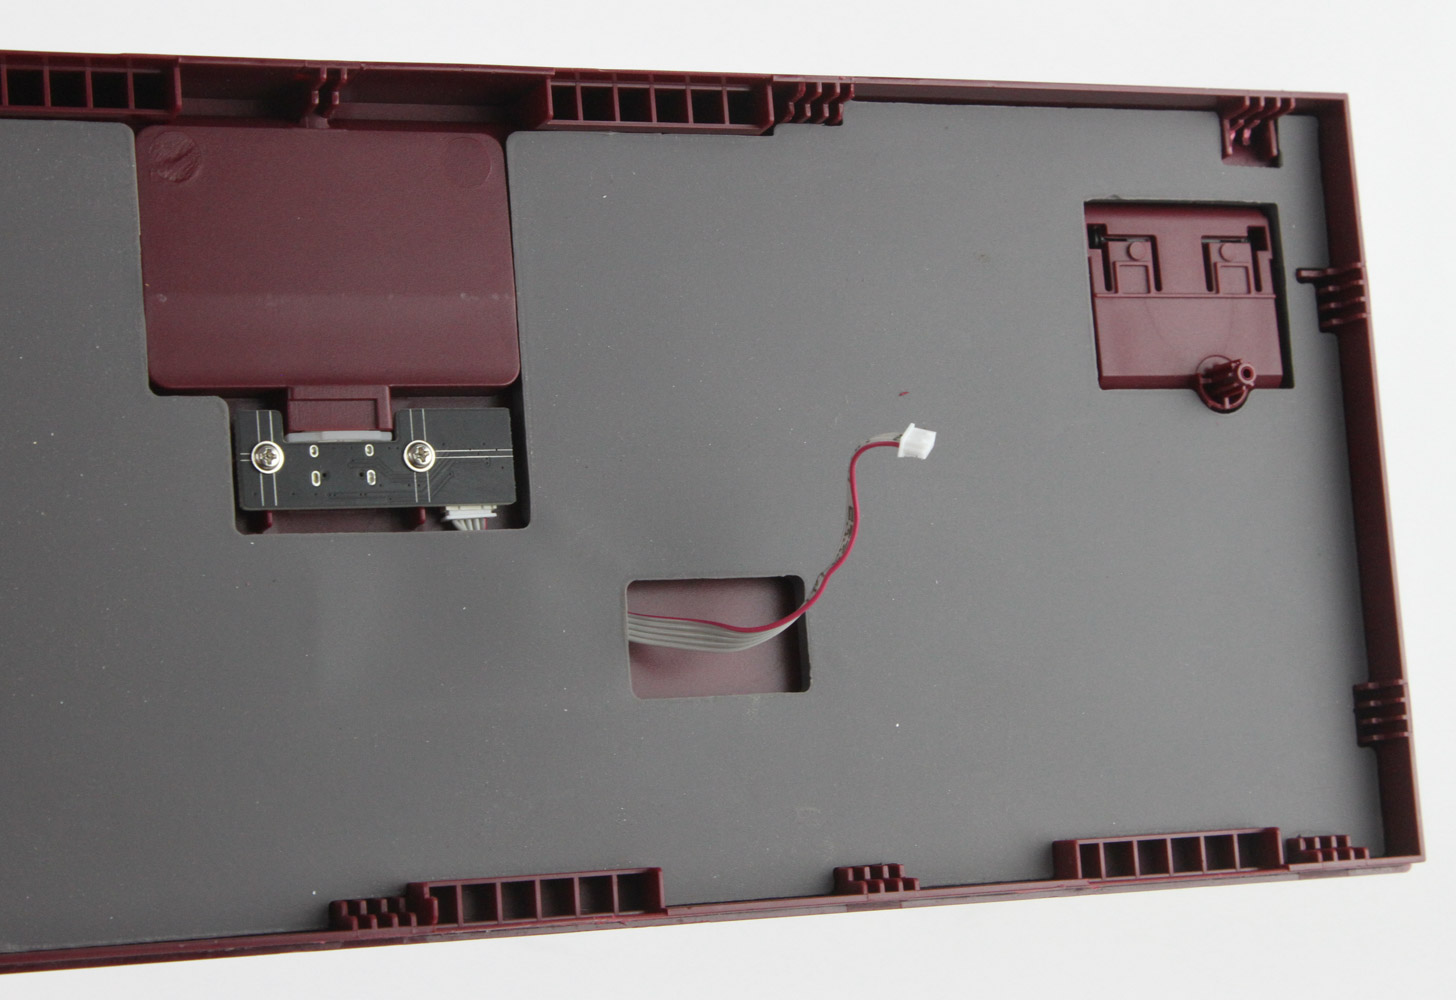
Disassembly of the keyboard itself is best not done at all since the two pieces of the ABS plastic case are put together with an extremely tight tolerance. They have interlocking plastic tabs that I had to separate by digging into the gaps using a thin flat metal prying tool. There are scratches underneath where the top piece wraps over the bottom pieces, to give you an idea. I also had to pull out the knob cover before the keyboard comes apart enough to allow access to the short internal cable going from the Type-C connector on the daughter PCB in the bottom panel to the primary PCB itself. We also see Montech has filled out the space in the bottom panel by incorporating a custom sized silicone sheet to prevent reverberations and further dampen keystrokes in conjunction with the other silicone sheet between the plate and the PCB. There's plenty of room here for a battery in case Montech decides to make a wireless version of the keyboard.

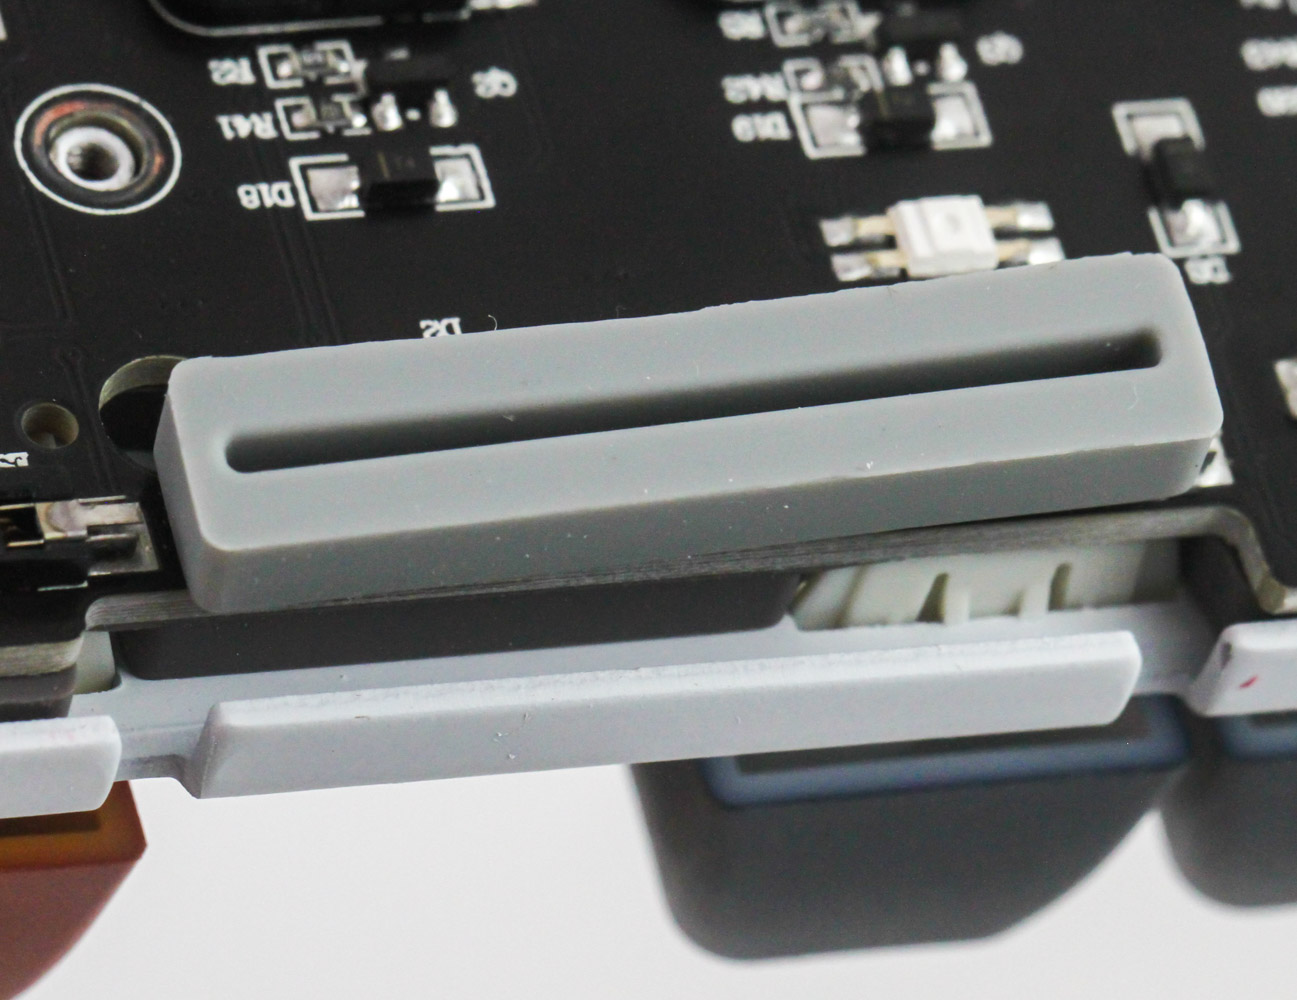
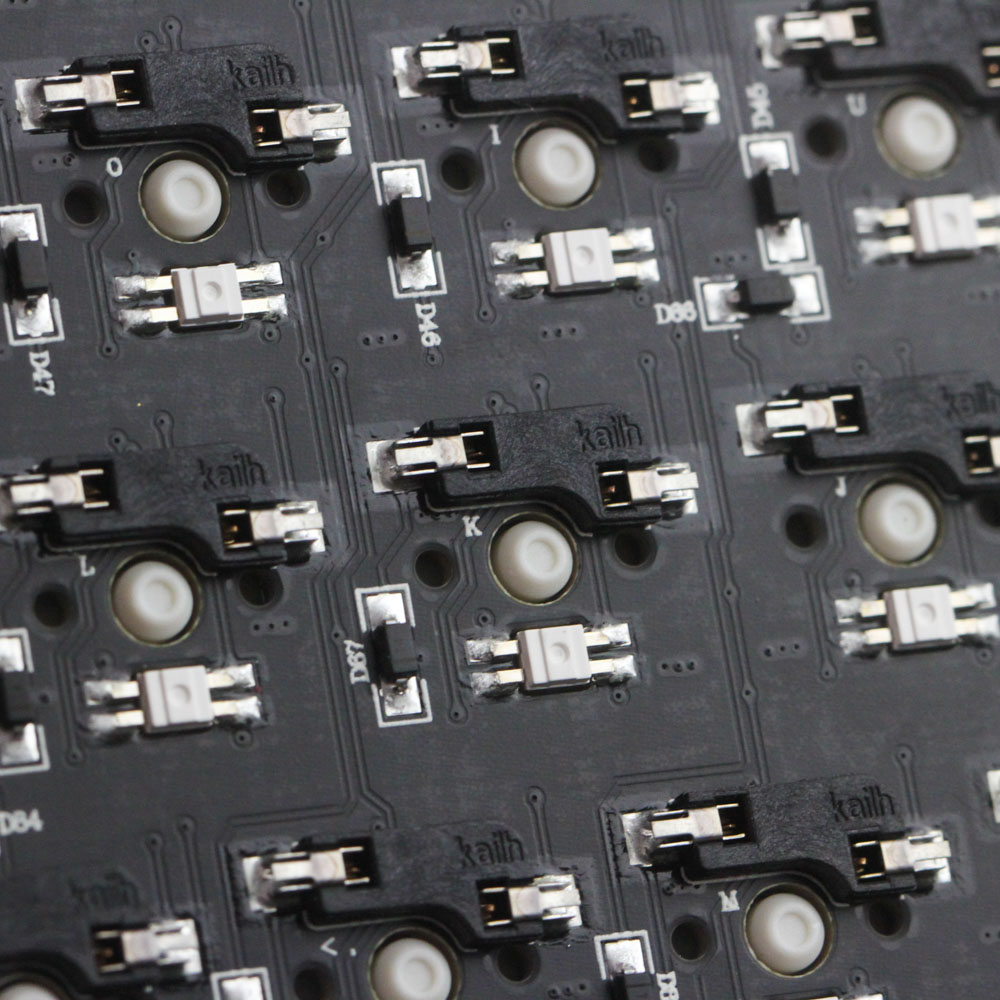
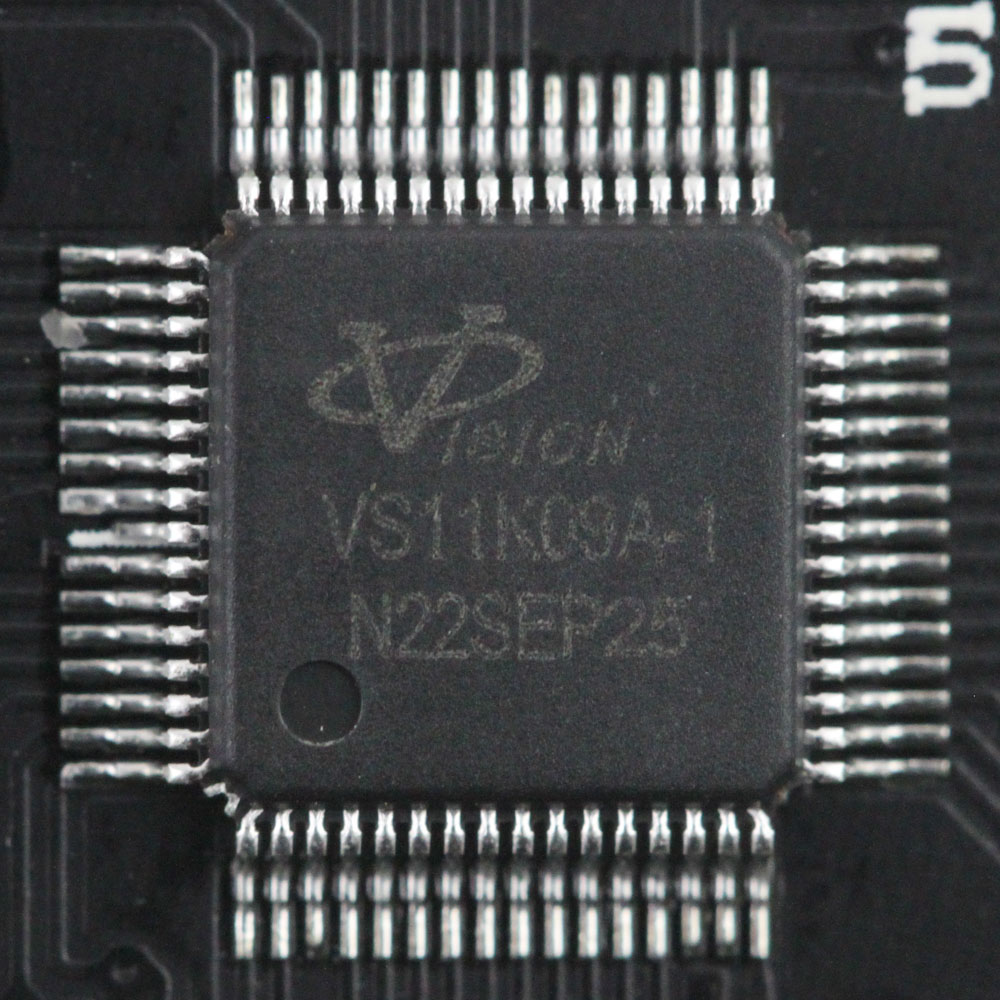
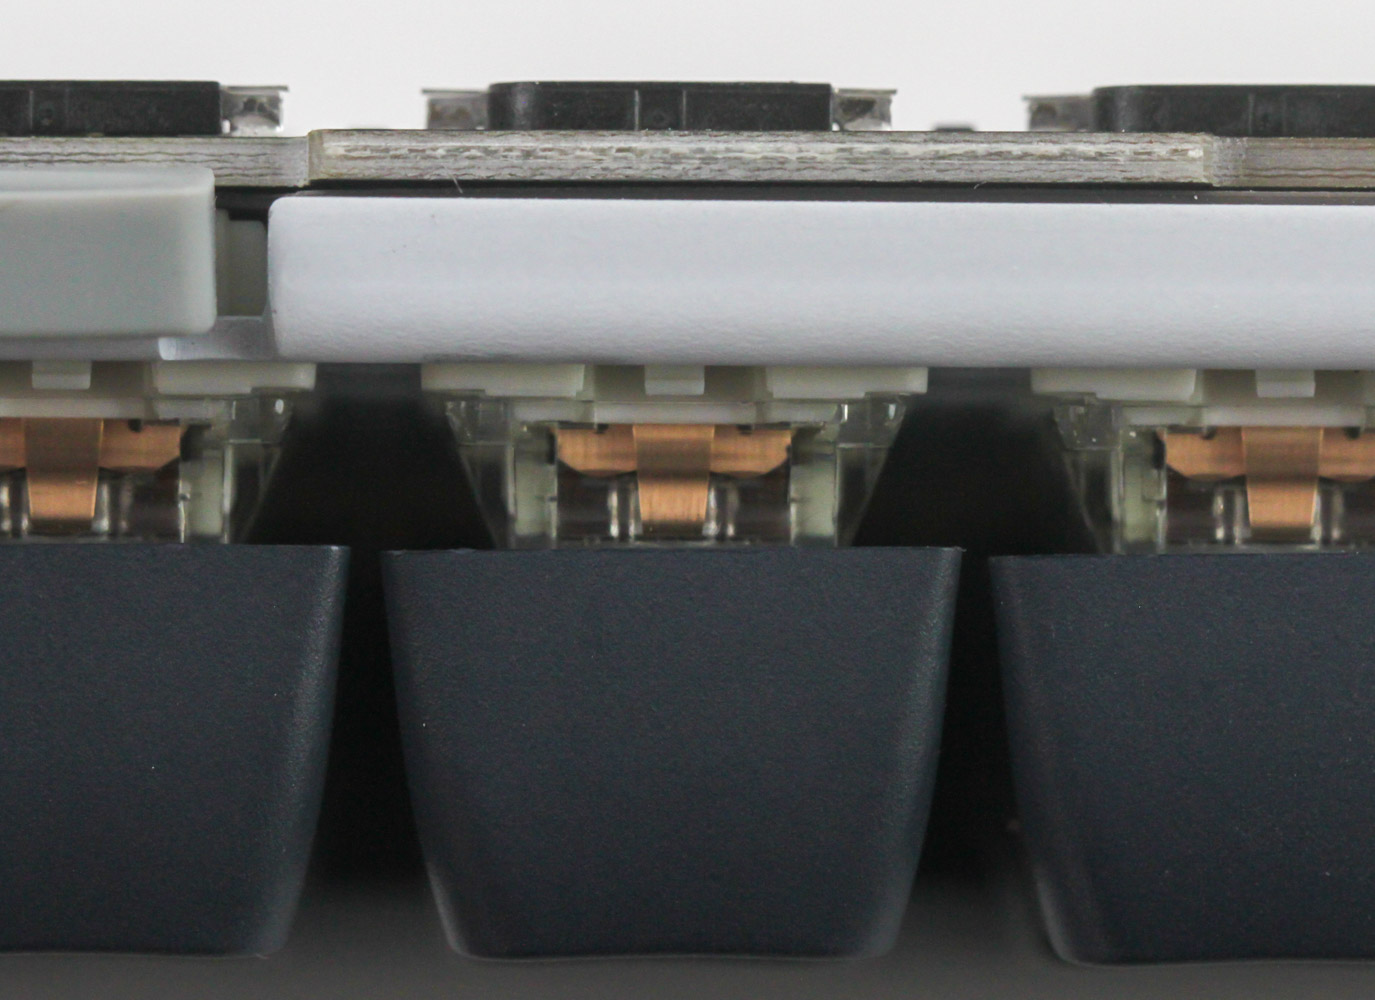
The primary PCB is also black in color as with the daughter PCB and this is also where we see the gasket mount structure on the keyboard with the use of thick silicone gaskets that are single piece, wrap-around style. They go over extensions in the plate itself—three each on the top and bottom, nothing on the sides—and sit in cutouts built into the bottom case panel. The gaskets help decouple the plate/PCB from the case to reduce any vibrations/harshness from typing while also supporting your own typing if you do so with a heavy hand. I'd personally have wanted to see separate pieces that also go around the sides but this wasn't bad in its implementation. Going back to the PCB, we see the use of good quality Kailh hot-swap switch sockets and solder quality is excellent throughout. Powering the keyboard is an EVision VS11K09A 32-bit ARM Cortex-M0 USB microcontroller with 8 KB RAM and 64 KB ROM—it's not the most recent or most powerful keyboard processor I've seen, but should suffice for the functionality of the unit. All the components, including the switch sockets and SMD LEDs, are soldered to a multi-layered PCB.
Before we move on, be advised that disassembly may void the warranty and that TechPowerUp is not liable for any damages incurred if you decide to go ahead and do so anyway.
Jul 4th, 2025 02:33 CDT
change timezone
Latest GPU Drivers
New Forum Posts
- How often do you (re)install your OS? (205)
- What would you buy? (53)
- Need help with X-Fi xtremegamer Fatal1ty card (1)
- What Windows is overall the best to you and why? (271)
- RDNA 4 Fine Wine? (HUB Vid) (57)
- They're b...a....c....k.... (19)
- ASUS Intel ROG Maximus Z890 Hero & ASUS Intel ROG Maximus Z890 Extreme. Cooling. (25)
- Will you buy a RTX 5090? (615)
- UPERFECT UMax 24 (2)
- Starfield discussion thread (1739)
Popular Reviews
- Fractal Design Scape Review - Debut Done Right
- ASUS ROG Crosshair X870E Extreme Review
- Crucial T710 2 TB Review - Record-Breaking Gen 5
- PowerColor ALPHYN AM10 Review
- Sapphire Radeon RX 9060 XT Pulse OC 16 GB Review - An Excellent Choice
- Upcoming Hardware Launches 2025 (Updated May 2025)
- AMD Ryzen 7 9800X3D Review - The Best Gaming Processor
- Sapphire Radeon RX 9070 XT Nitro+ Review - Beating NVIDIA
- SCHENKER KEY 18 Pro (E25) Review - Top-Tier Contender
- AVerMedia CamStream 4K Review
TPU on YouTube
Controversial News Posts
- Intel's Core Ultra 7 265K and 265KF CPUs Dip Below $250 (288)
- NVIDIA Grabs Market Share, AMD Loses Ground, and Intel Disappears in Latest dGPU Update (212)
- Some Intel Nova Lake CPUs Rumored to Challenge AMD's 3D V-Cache in Desktop Gaming (140)
- NVIDIA GeForce RTX 5080 SUPER Could Feature 24 GB Memory, Increased Power Limits (115)
- Microsoft Partners with AMD for Next-gen Xbox Hardware (105)
- NVIDIA Launches GeForce RTX 5050 for Desktops and Laptops, Starts at $249 (105)
- Intel "Nova Lake‑S" Series: Seven SKUs, Up to 52 Cores and 150 W TDP (100)
- NVIDIA DLSS Transformer Cuts VRAM Usage by 20% (97)