 0
0
NZXT H230 Review
Value & Conclusion »Assembly
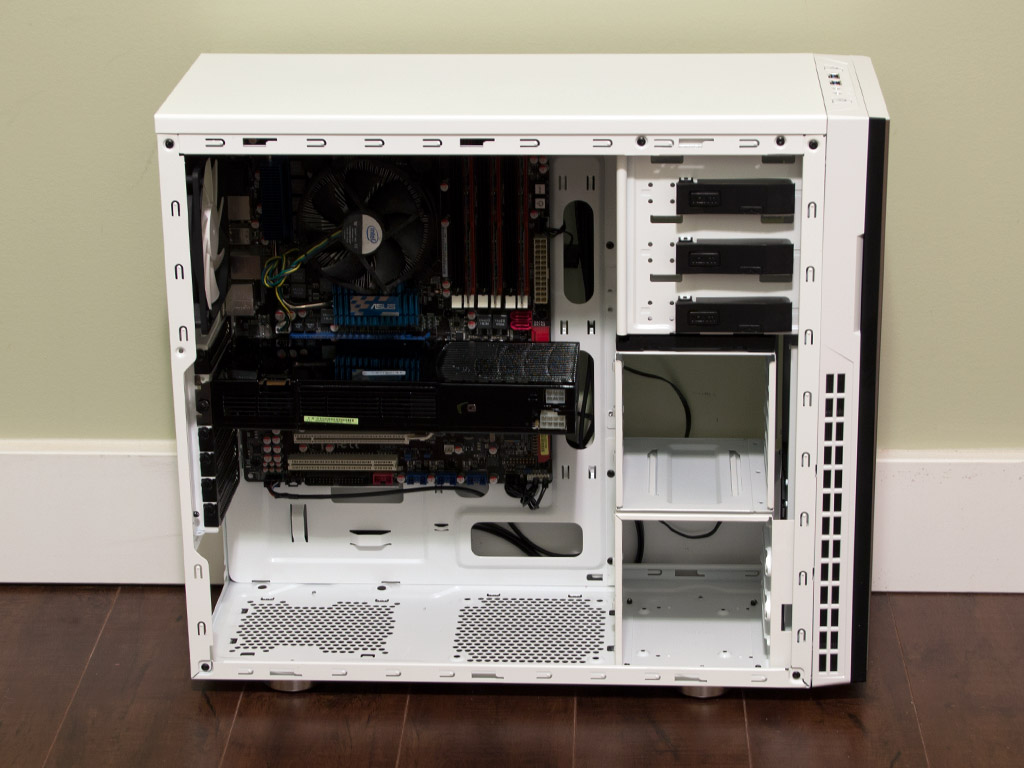
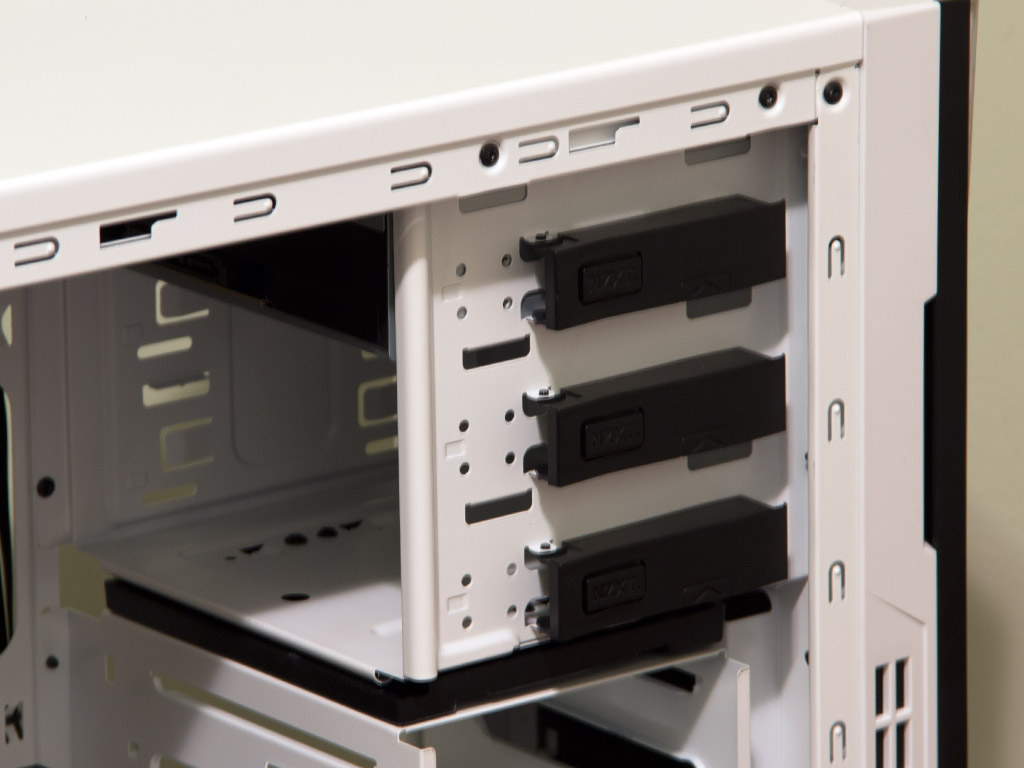
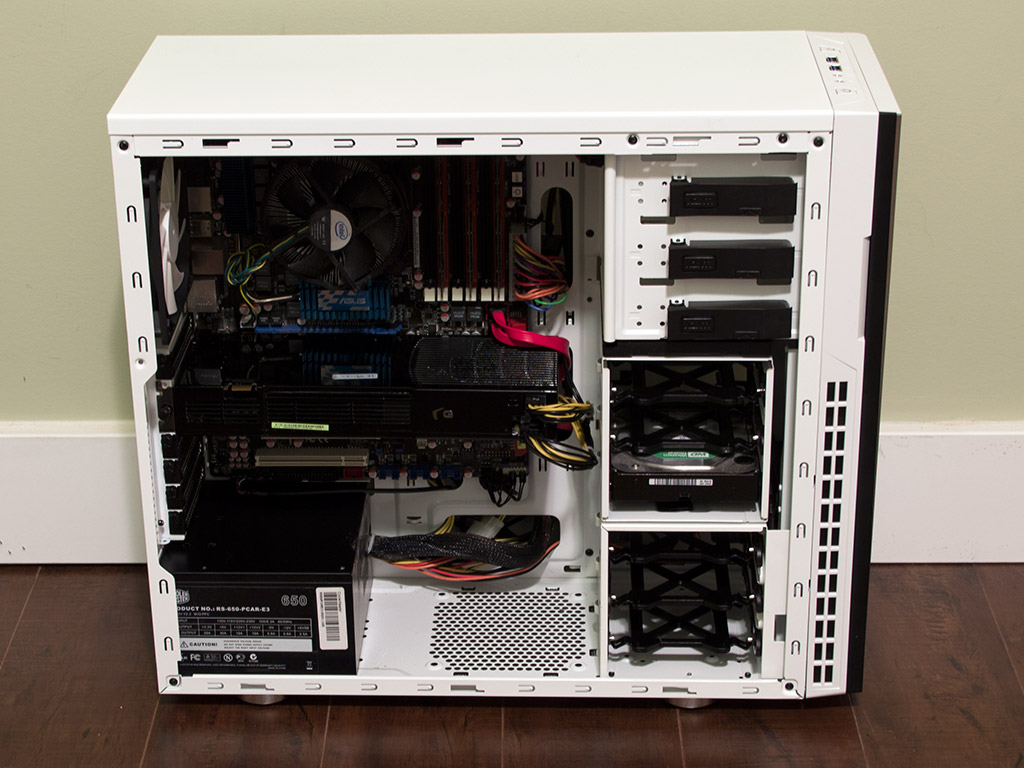
Installing the motherboard is done by traditional means, with the use of the black spacers and some screws. As you can see in the image above, all the hard-drive trays are missing. I had to remove them because they kept falling out of their bays with the case tipped on its side. I am amazed NZXT still uses these flimsy trays, even after reviewers and users alike commented on their fragile and soft nature. The company not listening to the community is more than unfortunate, so we will have to dock NZXT points for these from now on out. It is one thing if the trays are flimsy, another if they do not hold in place properly and yet another if we have been told, "yes, they are no good and will be phased out" a long time ago. Even the new Source 530 seems to use the same trays yet again.
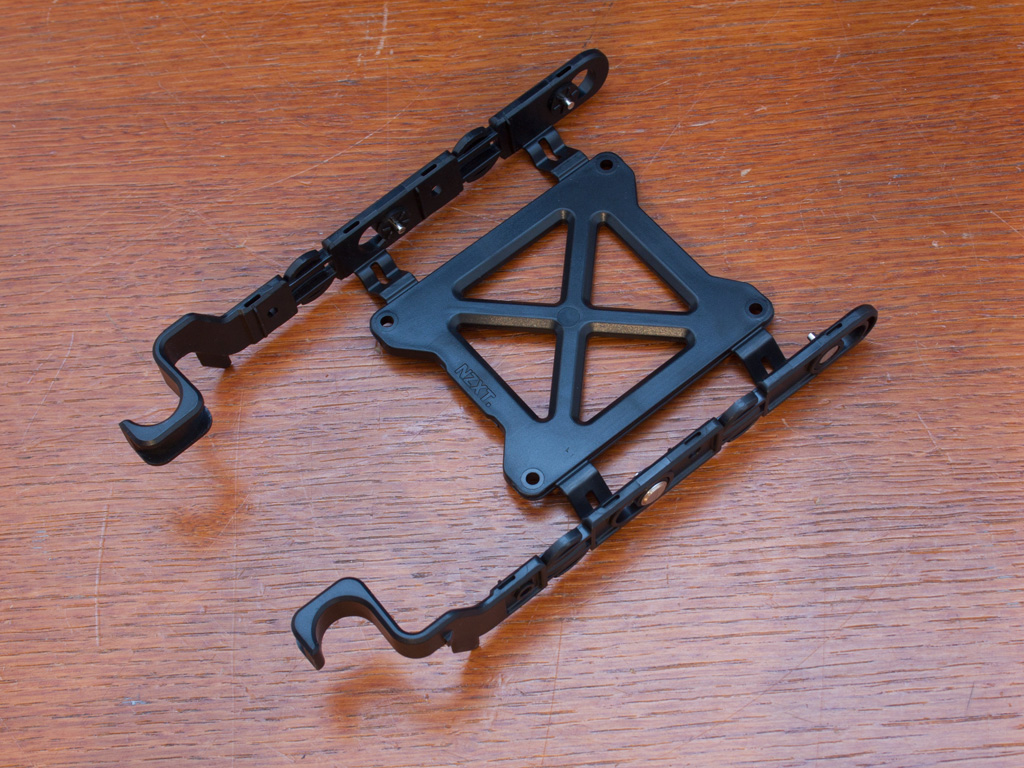
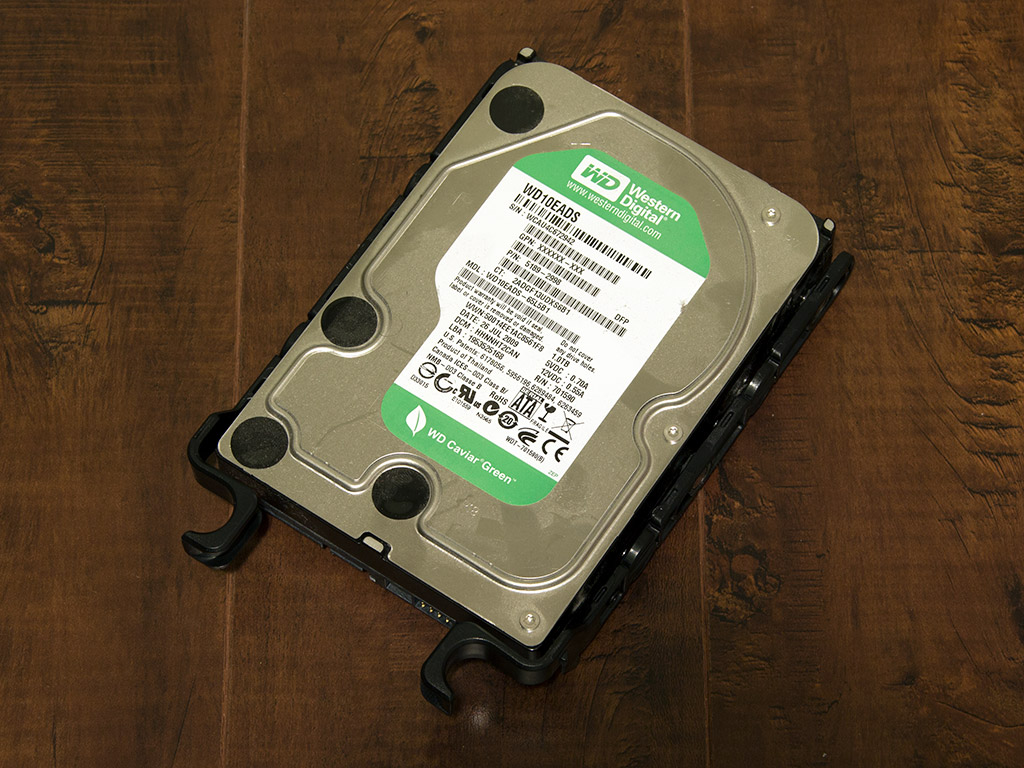
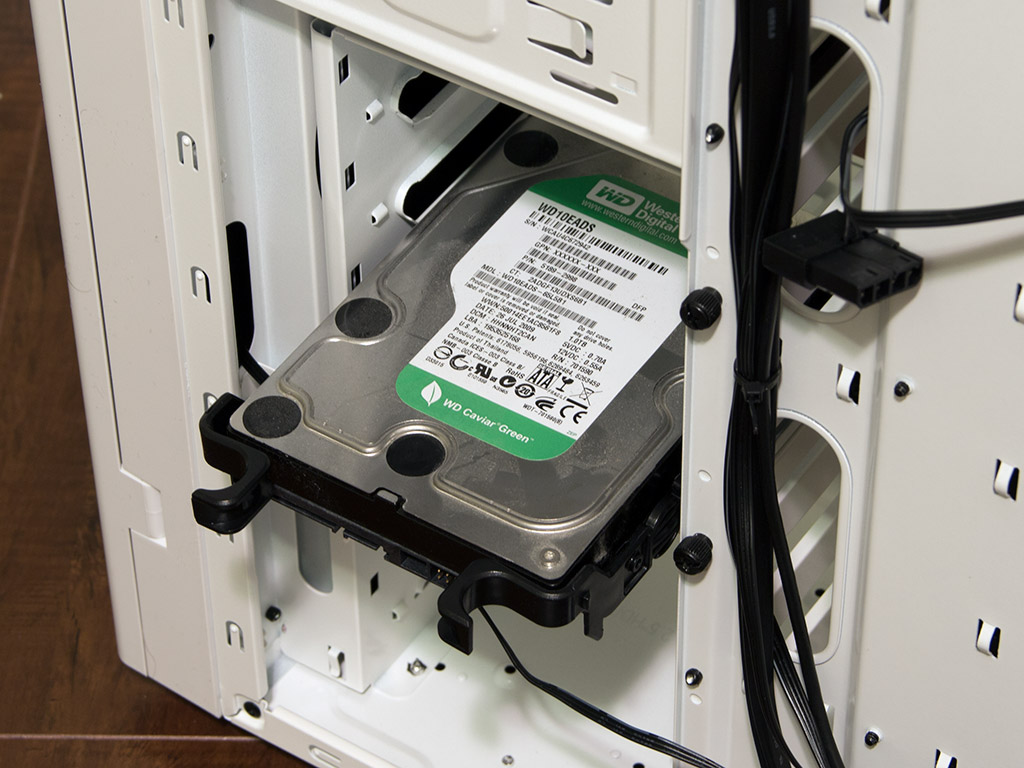
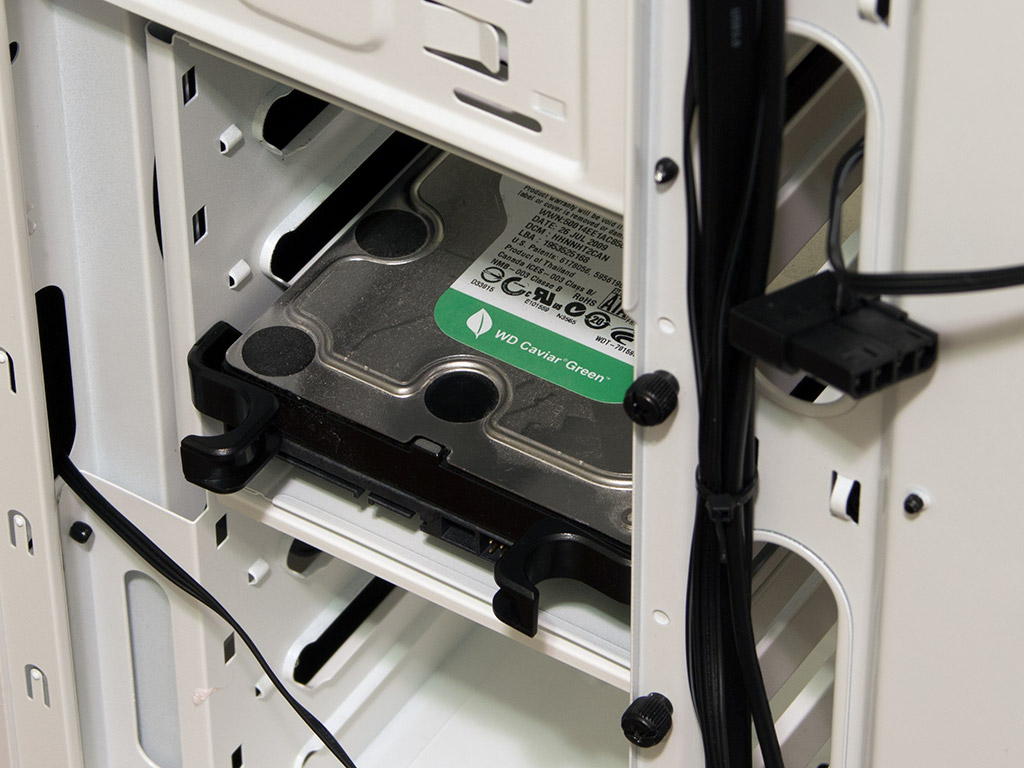
NZXT is then still using these very fragile, but intricate-looking hard-drive cages. We were told that future NZXT cases will use more robust trays, but have yet to see such a transition. That said, the current trays do not require any tools to be filled unless you want to place a 2.5" unit into one. Once a drive has been installed onto a tray, simply slide the tray into the slot until it snaps into place. Connectors will face toward the motherboard, which will minimize the cable mess inside your case.
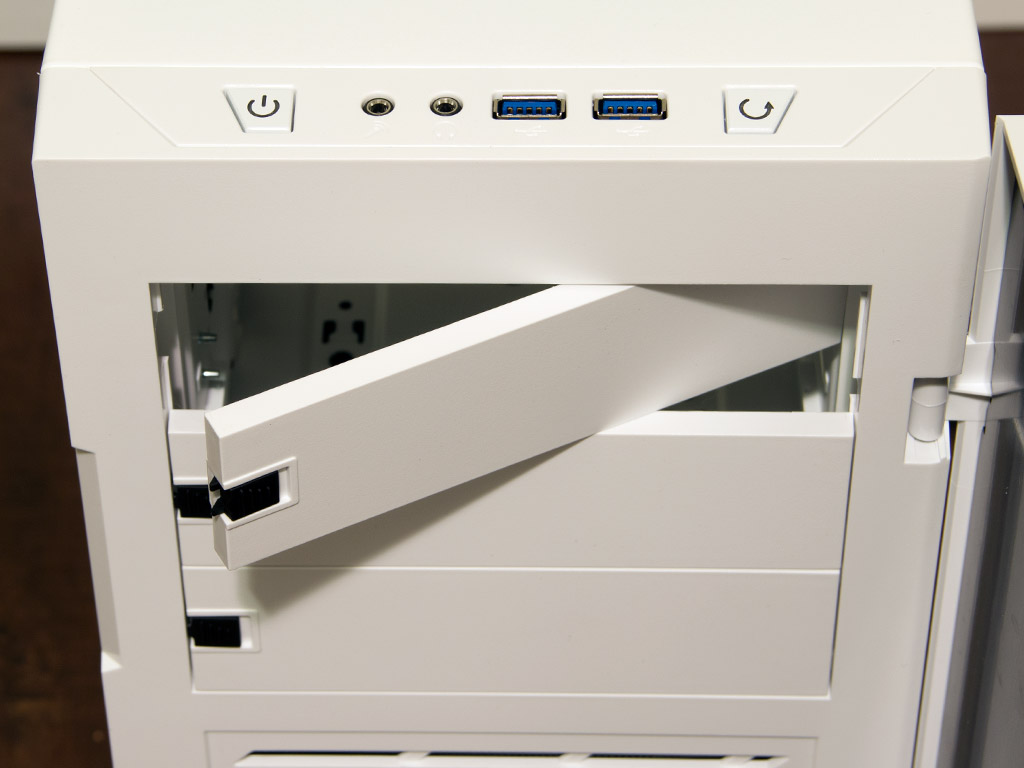
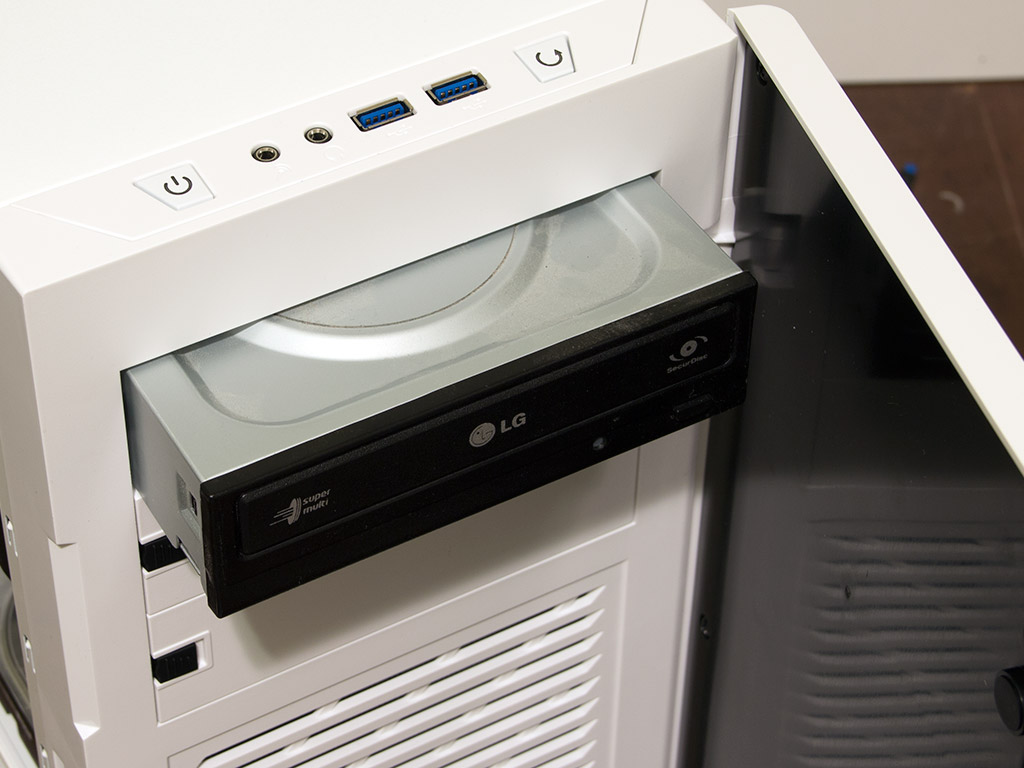
Installing an optical drive within the NZXT H230 does not require any tools. Once the bay of your choice is free, unlock the plastic lock and slide the drive into position. Last but not least, snap the lock back into place. The drive will now be held in place quite well, but you may want to apply a single screw to the opposite side to stop any vibrations these drives may cause.
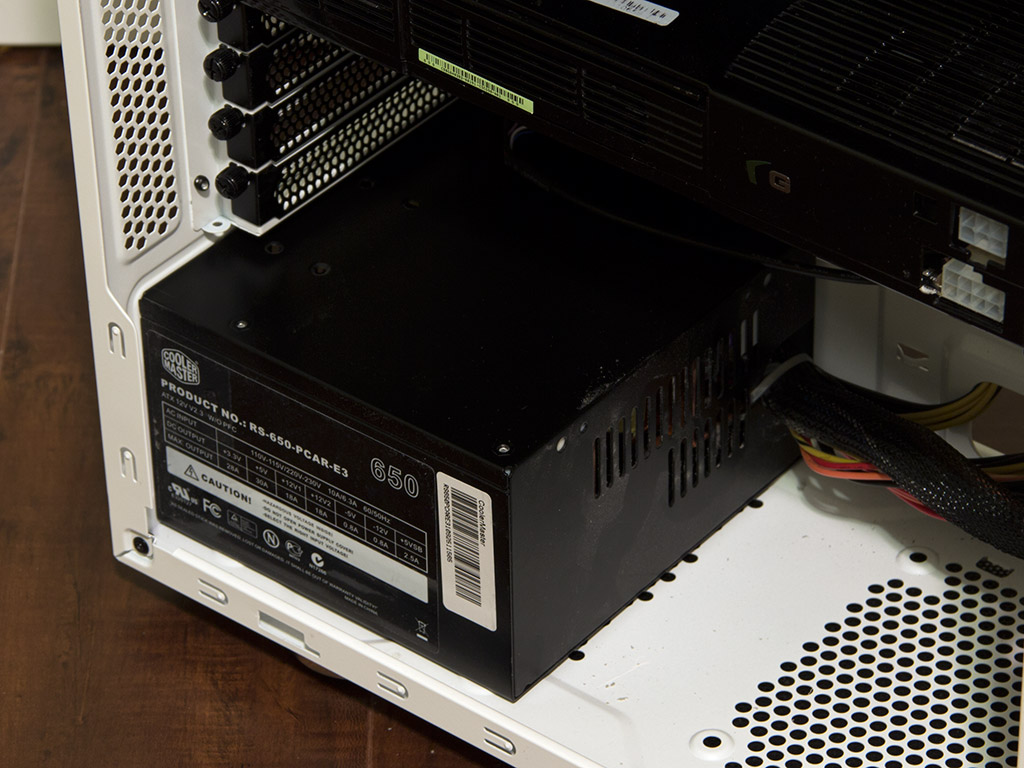
Installing a power supply is done by traditional means and does not bear any surprises. Simply screw your PSU down with the provided screws.
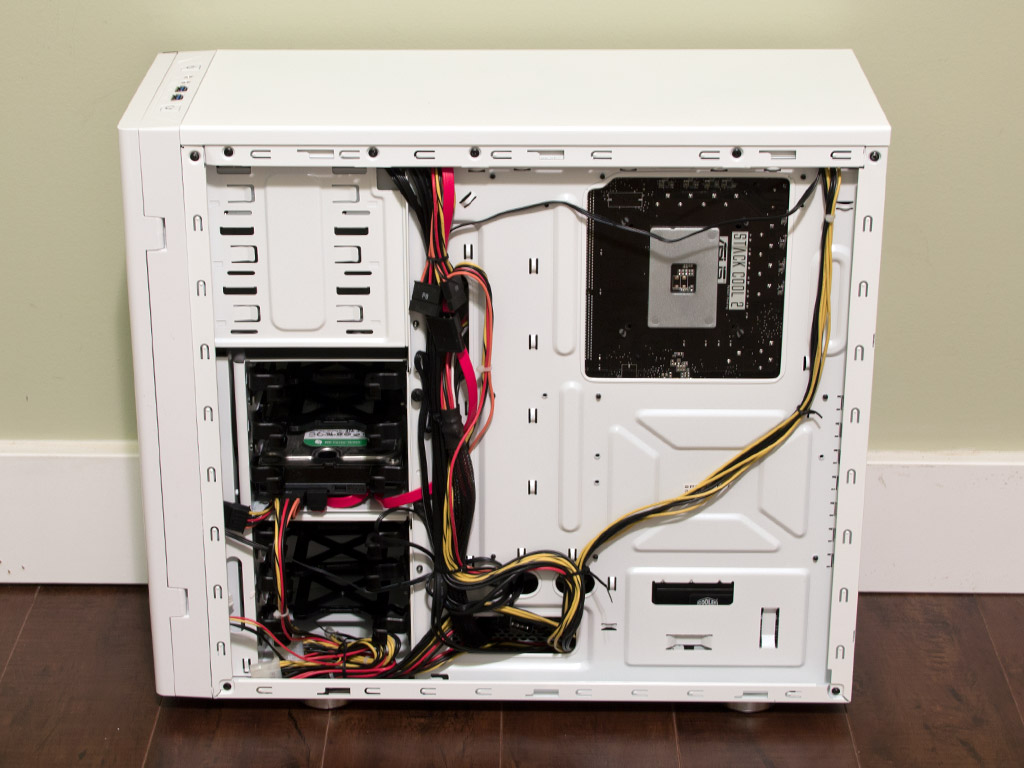
With everything in place, the full system looks quite clean as all the cables can be hidden behind the motherboard tray. The numerous hooks in the tray create plenty of possibilities for routing and securing all the cables.
Finished Looks
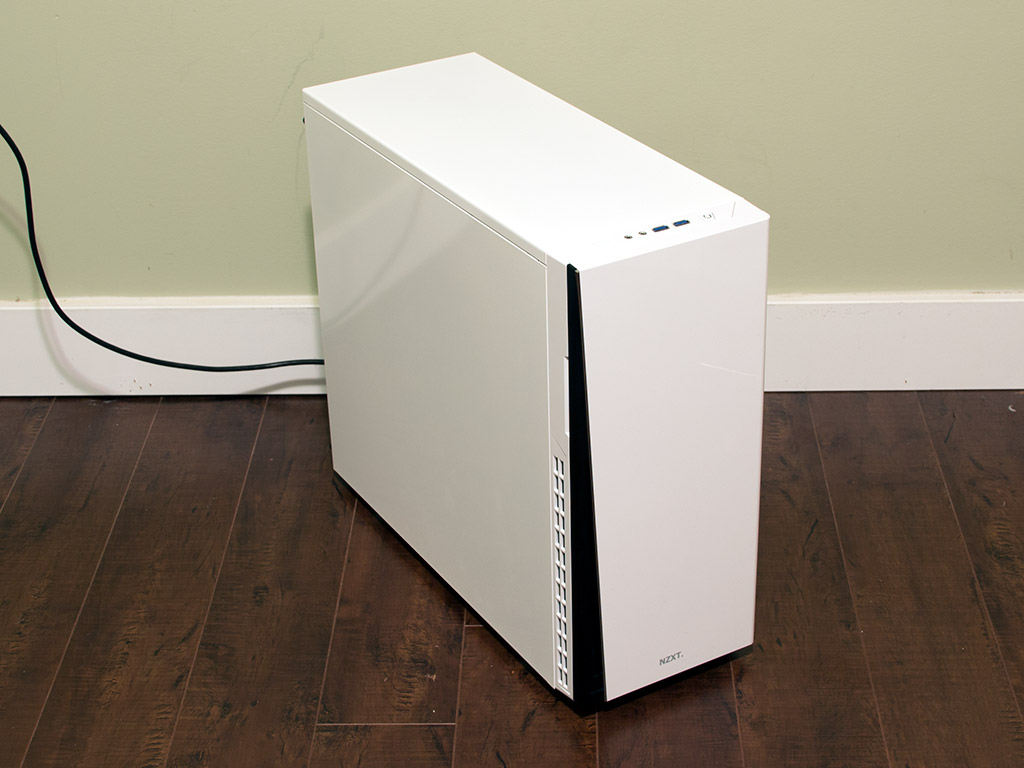
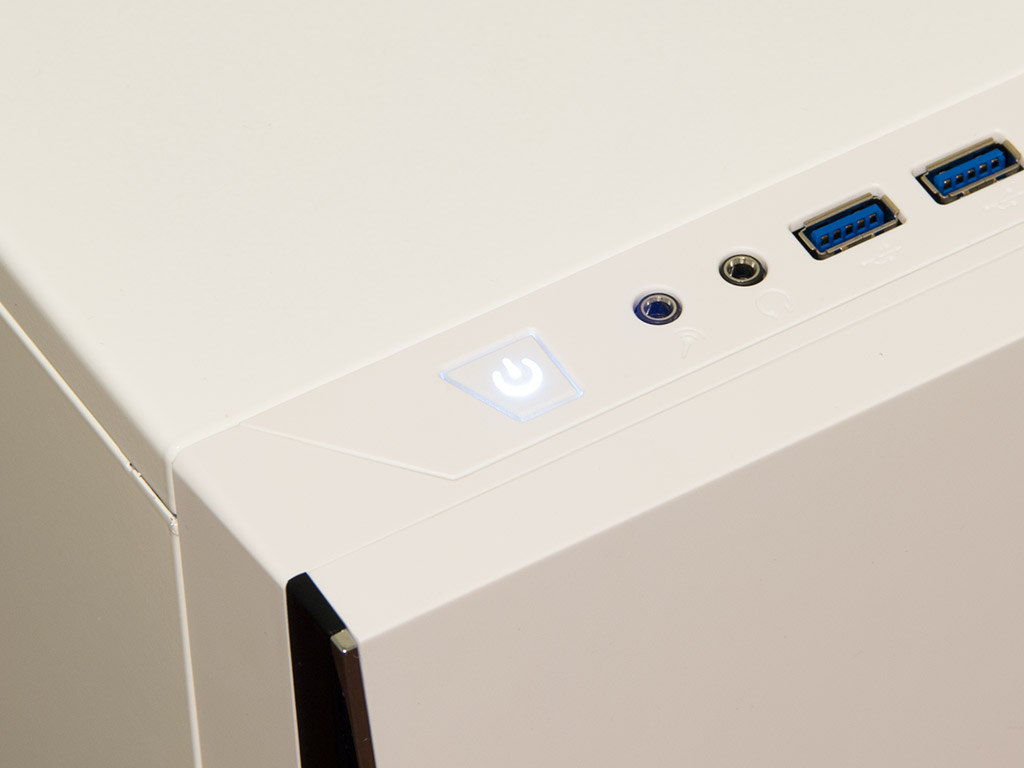
The H230 makes a good impression with everything in place and the side panels back in place. The solid panels encapsulate sound quite nicely, which works well with the adequately quiet fans NZXT provided. Sure, have some extremely loud components within the H230 and you will find your system to be noisy, though the H230 still does a very good job in reducing operating noise. A white LED in the top lets you know that the system is up and running as there are no other visual elements to do so.


The black optical drive bay looks quite sexy within the white H230, and closing the door will encapsulate sound there to that area of the case. The rear does not have a lot to keep noise away, which is fine because it faces away from you, and all the connectors are where you would expect them to be. It would have been a really nice touch of NZXT to include the I/O light of their higher-end cases in the H230, but we understand their aim to differentiate each individual price point within the product range.
Mar 30th, 2025 12:48 EDT
change timezone
Latest GPU Drivers
New Forum Posts
- 3GB/s PCIe features test w/3D Mark (2)
- GPU Crashing System From Hibernation (15)
- Is ARC SLI friendly? (9)
- Intel Arc A770 LE Temperature (7)
- The TPU UK Clubhouse (26011)
- Can you guess Which game it is? (25)
- random system shutdown with fans running at full speed (10)
- Bought Mining rx 580 with flashed bios but yellow triangle shows at device manager (4)
- Looking for Palit 5090 Gamerock OC BIOS (17)
- RX 9070 availability (237)
Popular Reviews
- Sapphire Radeon RX 9070 XT Pulse Review
- ASRock Phantom Gaming B850 Riptide Wi-Fi Review - Amazing Price/Performance
- Samsung 9100 Pro 2 TB Review - The Best Gen 5 SSD
- Palit GeForce RTX 5070 GamingPro OC Review
- Assassin's Creed Shadows Performance Benchmark Review - 30 GPUs Compared
- Sapphire Radeon RX 9070 XT Nitro+ Review - Beating NVIDIA
- ASRock Radeon RX 9070 XT Taichi OC Review - Excellent Cooling
- Enermax REVOLUTION D.F. 12 850 W Review
- AMD Ryzen 7 9800X3D Review - The Best Gaming Processor
- AMD Ryzen 9 9950X3D Review - Great for Gaming and Productivity
Controversial News Posts
- MSI Doesn't Plan Radeon RX 9000 Series GPUs, Skips AMD RDNA 4 Generation Entirely (142)
- Microsoft Introduces Copilot for Gaming (124)
- AMD Radeon RX 9070 XT Reportedly Outperforms RTX 5080 Through Undervolting (119)
- NVIDIA Reportedly Prepares GeForce RTX 5060 and RTX 5060 Ti Unveil Tomorrow (115)
- Over 200,000 Sold Radeon RX 9070 and RX 9070 XT GPUs? AMD Says No Number was Given (100)
- NVIDIA GeForce RTX 5050, RTX 5060, and RTX 5060 Ti Specifications Leak (96)
- Retailers Anticipate Increased Radeon RX 9070 Series Prices, After Initial Shipments of "MSRP" Models (90)
- China Develops Domestic EUV Tool, ASML Monopoly in Trouble (88)