 24
24
NZXT H510 Flow Review
Thermal Stress Test »Review System
| System Parts for Case Reviews | |
|---|---|
| Processor: | ATX: Intel Core i5-11600K mATX/ITX: Intel Core i5-10600K Provided by: Intel |
| Motherboards: | ATX: Gigabyte Z590 AORUS PRO AX ITX: Gigabyte Z590I Vision D Provided by: Gigabyte mATX: ASRock B560M Steel Legend Provided by: ASRock |
| Graphics Card: | Palit GeForce RTX 2080 Gaming Pro OC Provided by: Palit ZOTAC GAMING GeForce RTX 3060 Ti Twin Edge OC Provided by: Zotac |
| Memory: | 16 GB XPG SPECTRIX D50 3200 MHz 16 GB XPG SPECTRIX D60G DDR4 3000 MHz 16 GB XPG GAMMIX D20 DDR4 3200 MHz Provided by: ADATA |
| HDD: | Toshiba MG08ADA400E 7200 RPM SATA III Provided by: Toshiba |
| SSD: | ATX:XPG SPECTRIX S20G 500 GB mATX: XPG GAMMIX S50 Lite 1 TB ITX: ADATA Falcon 512 GB ADATA Ultimate SU800 512 GB ADATA Ultimate SU720 500 GB Provided by: ADATA |
| Power Supply: | ATX: Fractal Design ION+ 650W 80 Plus Gold SFX: Fractal Design ION SFX-L 650W 80 Plus Gold Provided by: Fractal Design |
| Cooling: | be quiet! Pure Loop 120/240/280/360 Provided by: be quiet! |
Assembly
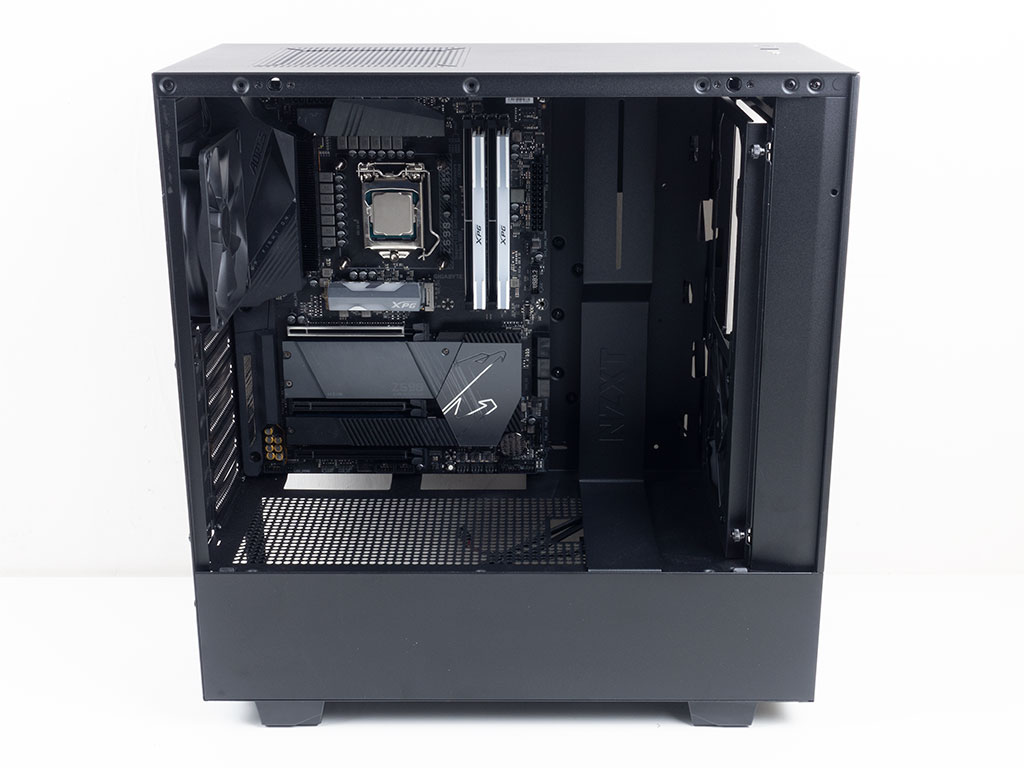

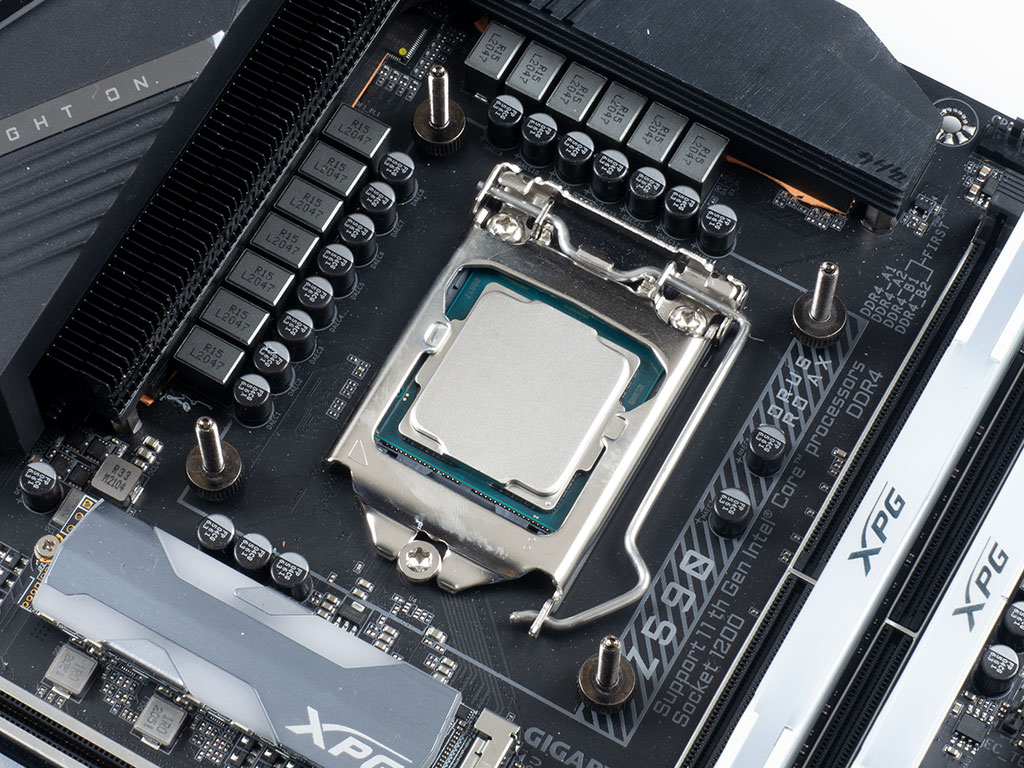
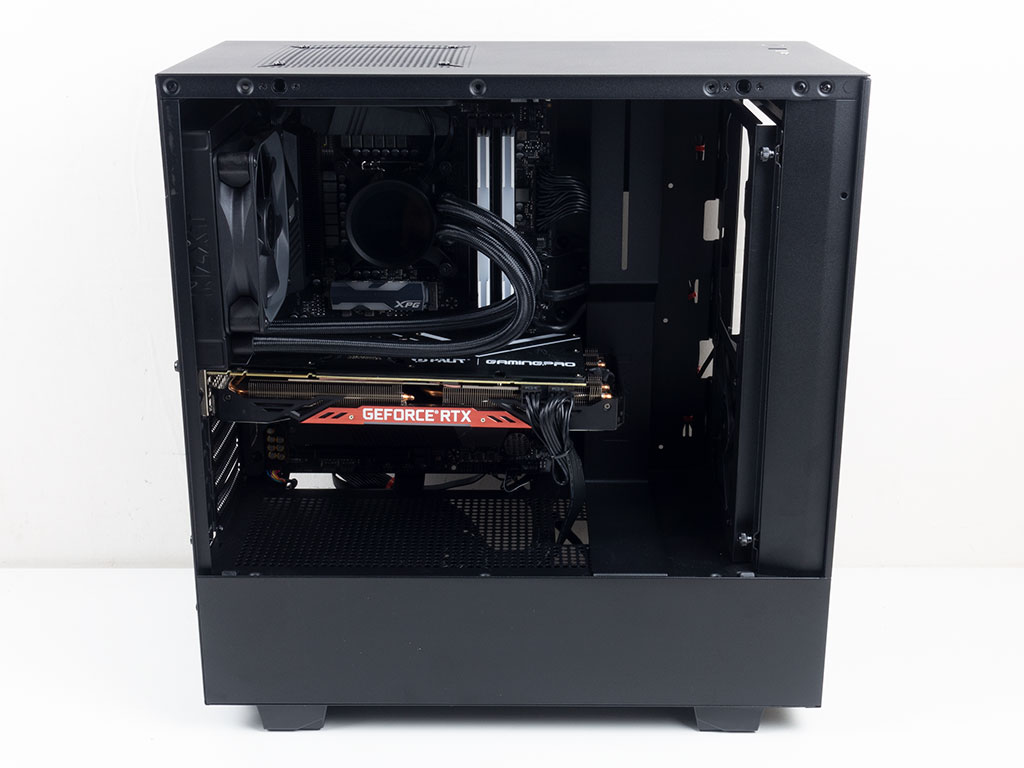
Adding a motherboard is done by traditional means, with screws and spacers. Thankfully, NZXT has pre-installed the latter, so you simply put the board in place and screw it down. There is very little space above and below it, which reduces accessibility to any connectors along the motherboard's top edge. This is especially true for the CPU power plug, which is traditionally in the top-left corner. The Palit GeForce GTX 2080 Ti fits easily with plenty of room to spare, so you should have no issues with long, modern graphics cards, either.
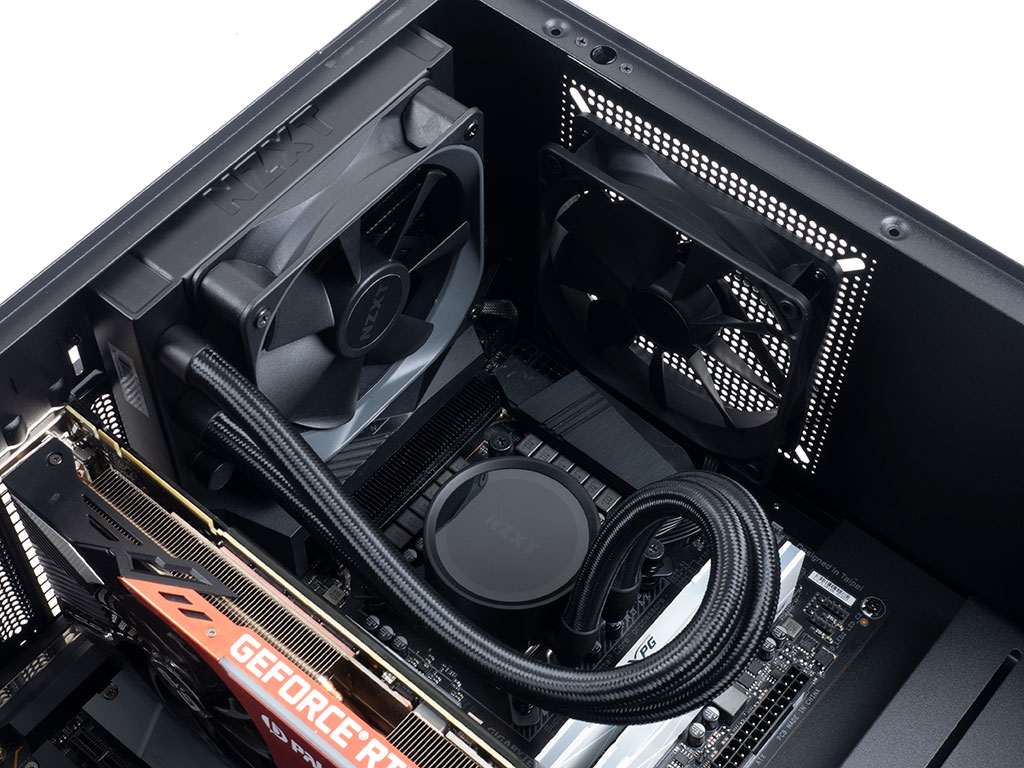
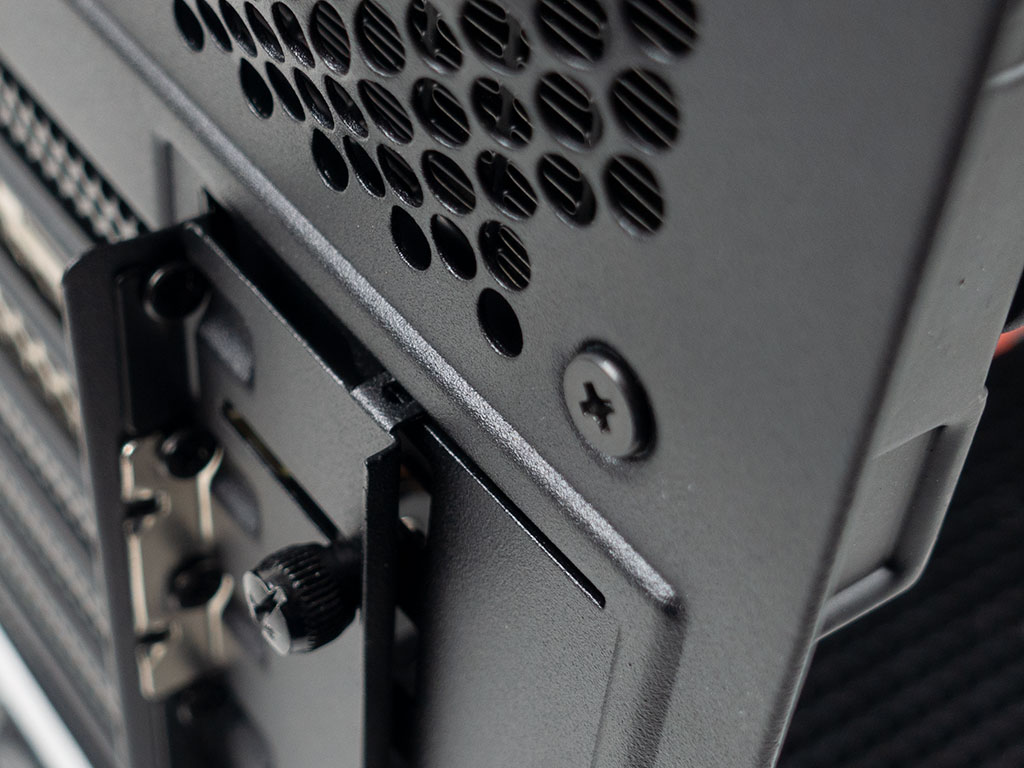
To prep for the AIO installation, simply screw down the backplate with the four provided screws. You may now secure the AIO base to the CPU using spring-loaded screws. As you can see, the rear fan was moved to the ceiling of the H510 Flow to make room for the AIO in the rear. That said, the top fan barely allowed for the CPU power connectors to clip into place—it took some tough love—and the AIO in the back actually popped out of the sliding backplate for the expansion slots when screwed down. Neither are dealbreakers, but represent issues you should not have in modern enclosures.
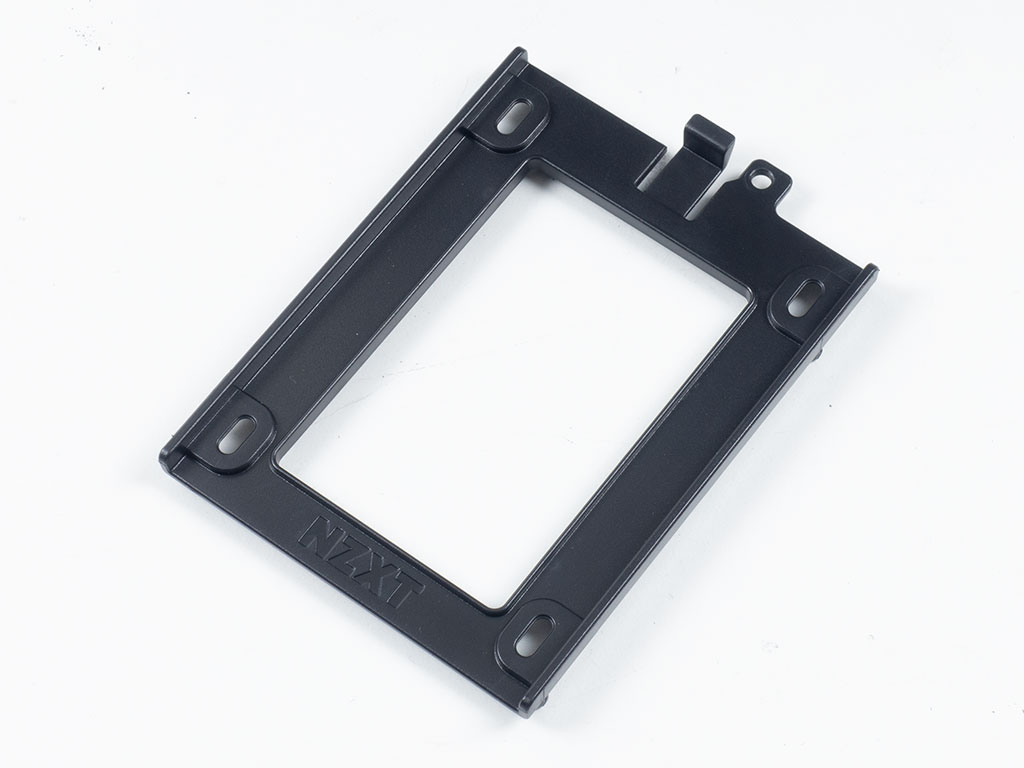
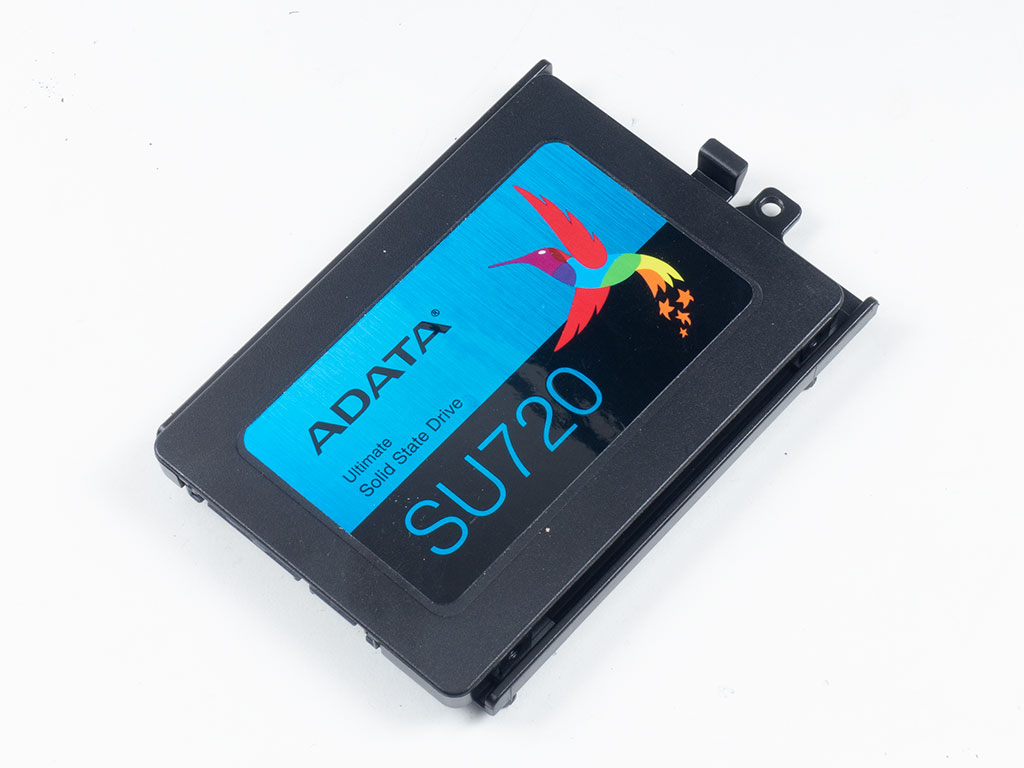
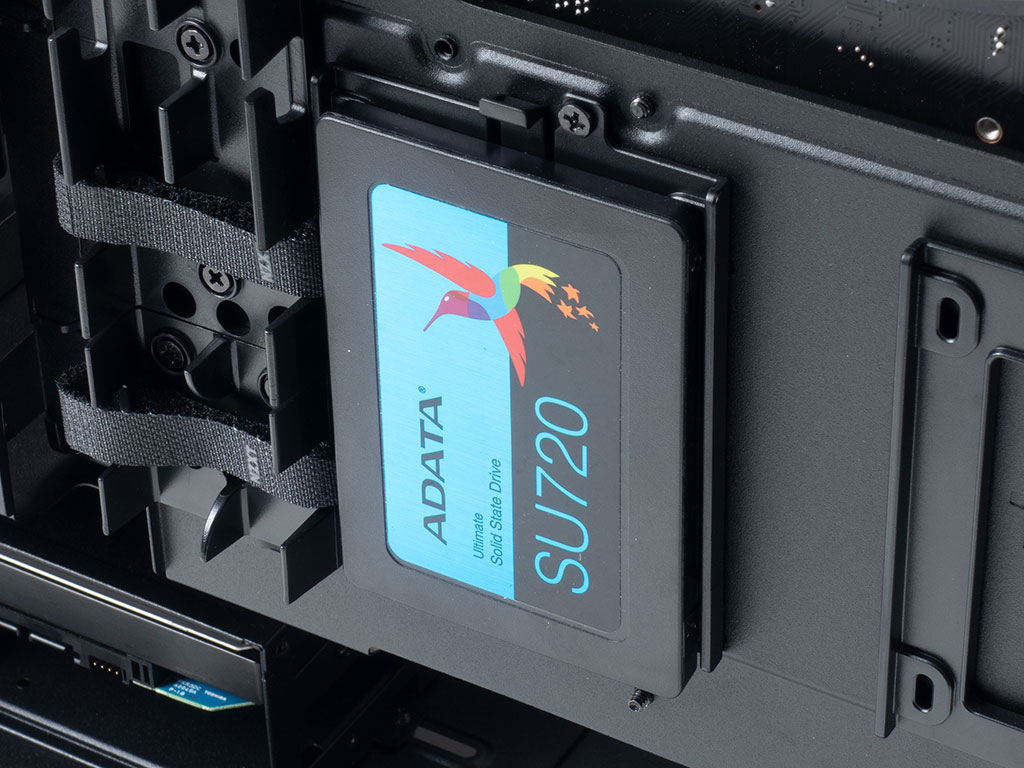
Adding an SSD now requires screws to hold it down, which was simpler in the previous generation. While a small annoyance, I don't really see this as a deal breaker. In fact, I rather be sure my drives are secure with a few screws than have the convenience and some uncertainty. Once filled, simply screw the tray back into place on the back of the motherboard tray.
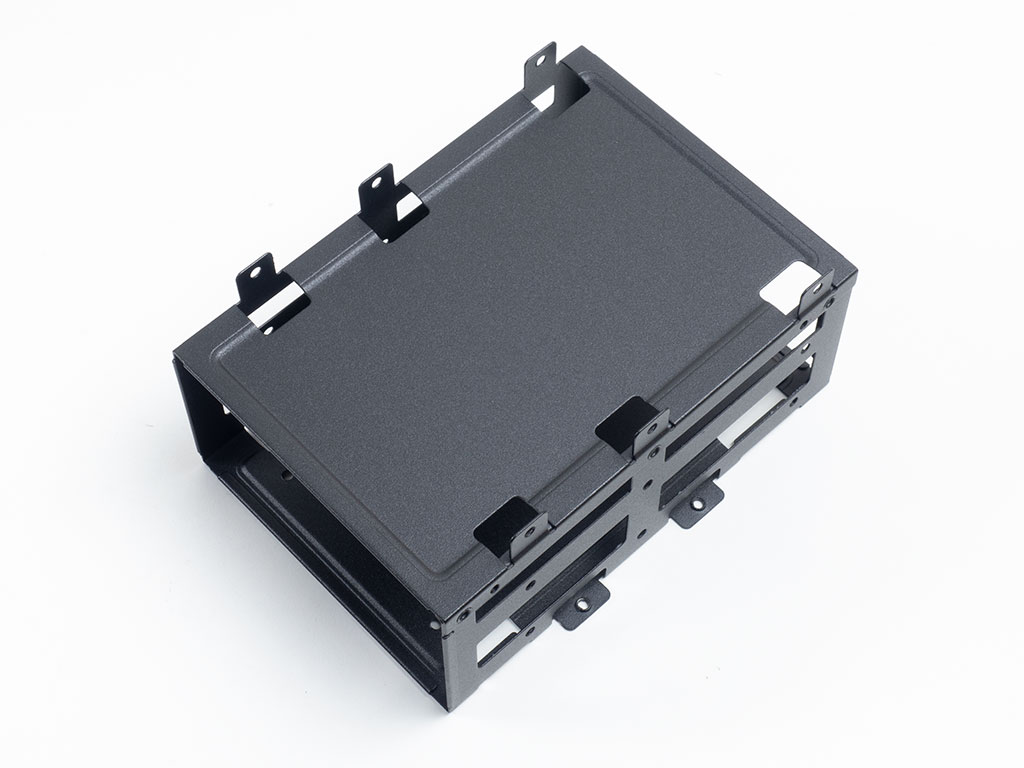
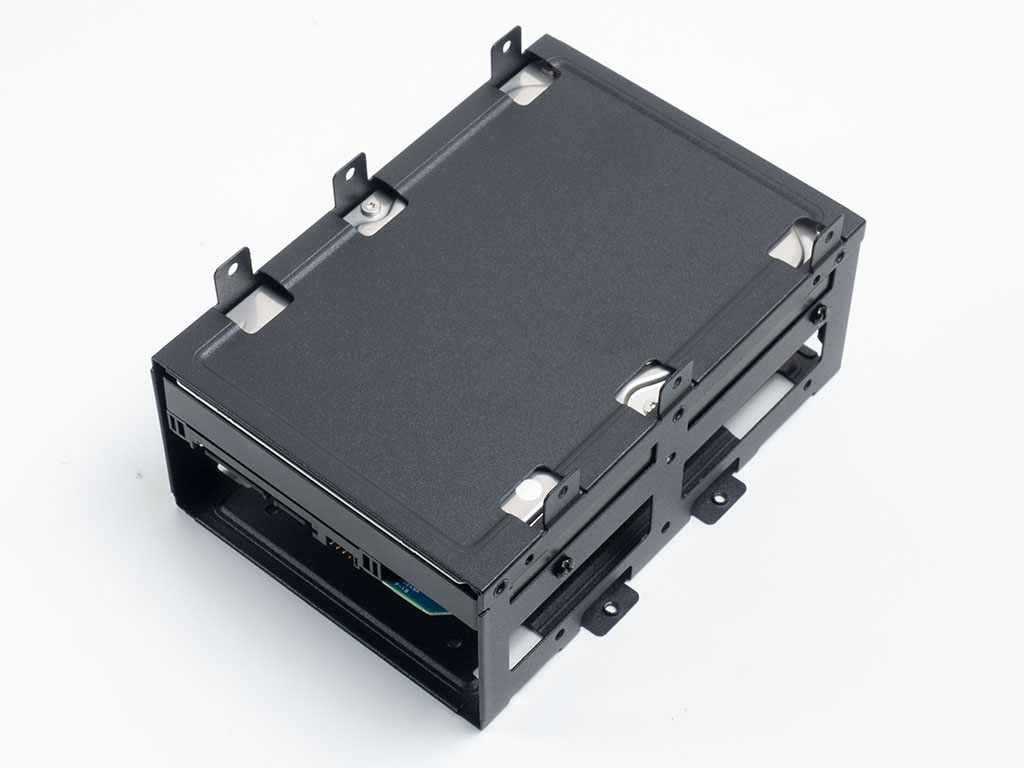
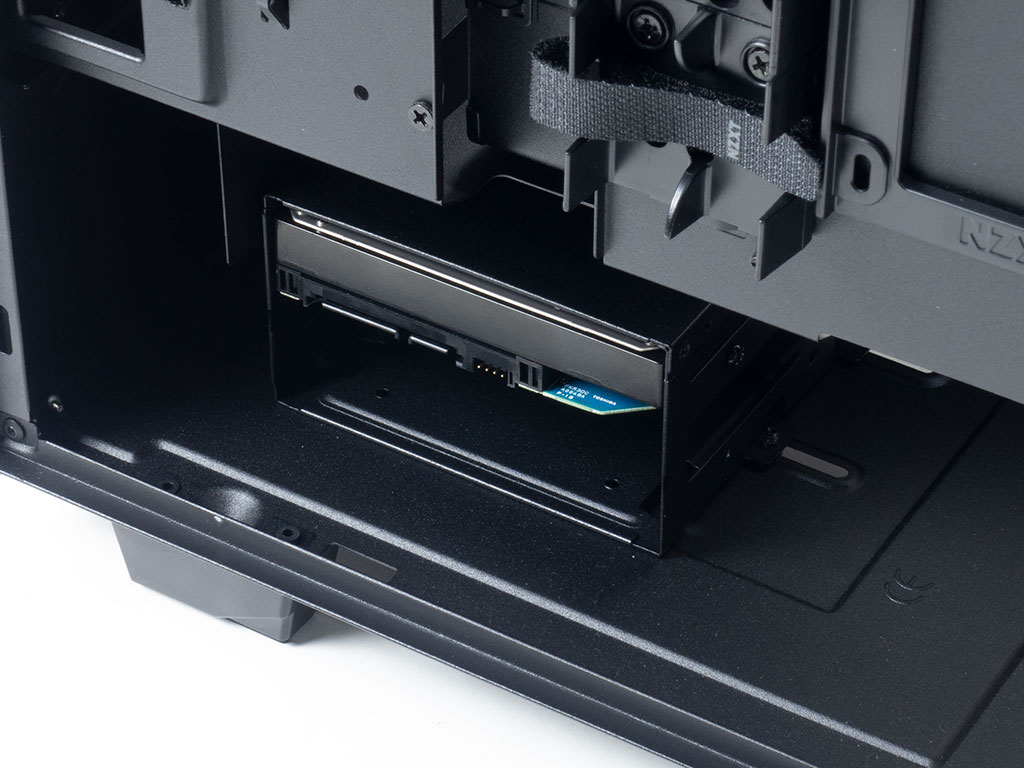
However, the 3.5" drives are quite the contrast as you will be forced to lay the chassis on its side first to then remove the four screws holding the cage in place before pulling it out of the system. While this is a minor hassle when initially assembling things, those wanting to expand their running system will be forced to detach everything and pull the whole unit out. NZXT should have gone with trays for at least two of the three drive placements.
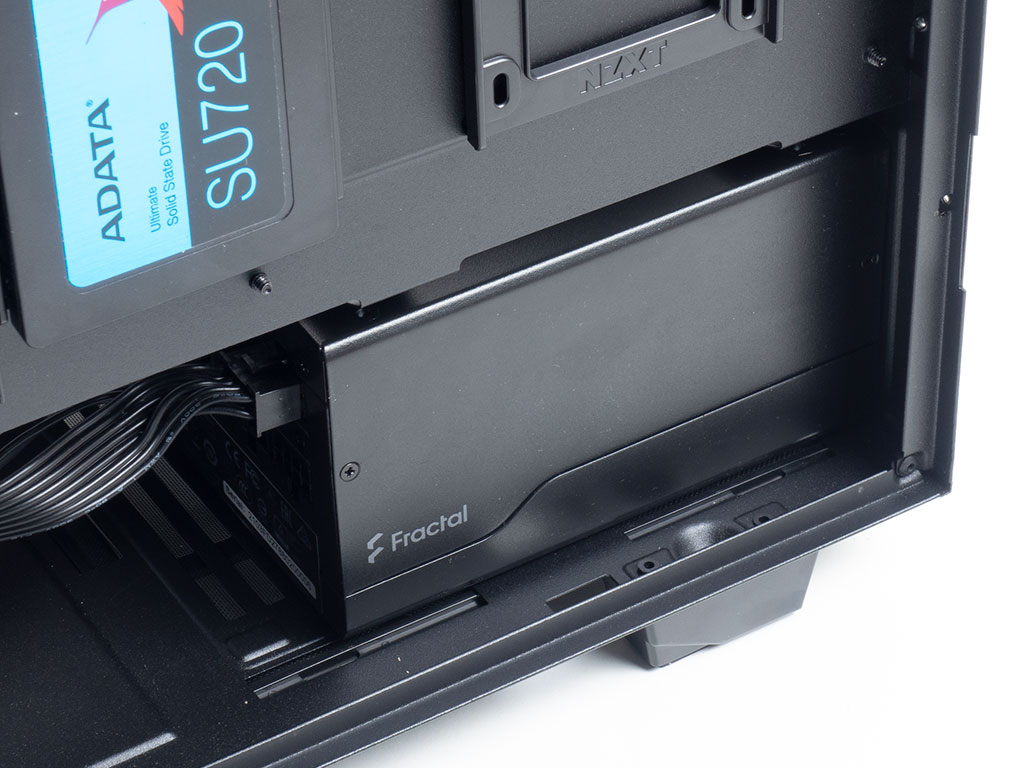
Adding a PSU is pretty unspectacular. Simply slide it in, screw it down, and connect all the components. There is plenty of room, so you should be able to use any unit regardless of size.
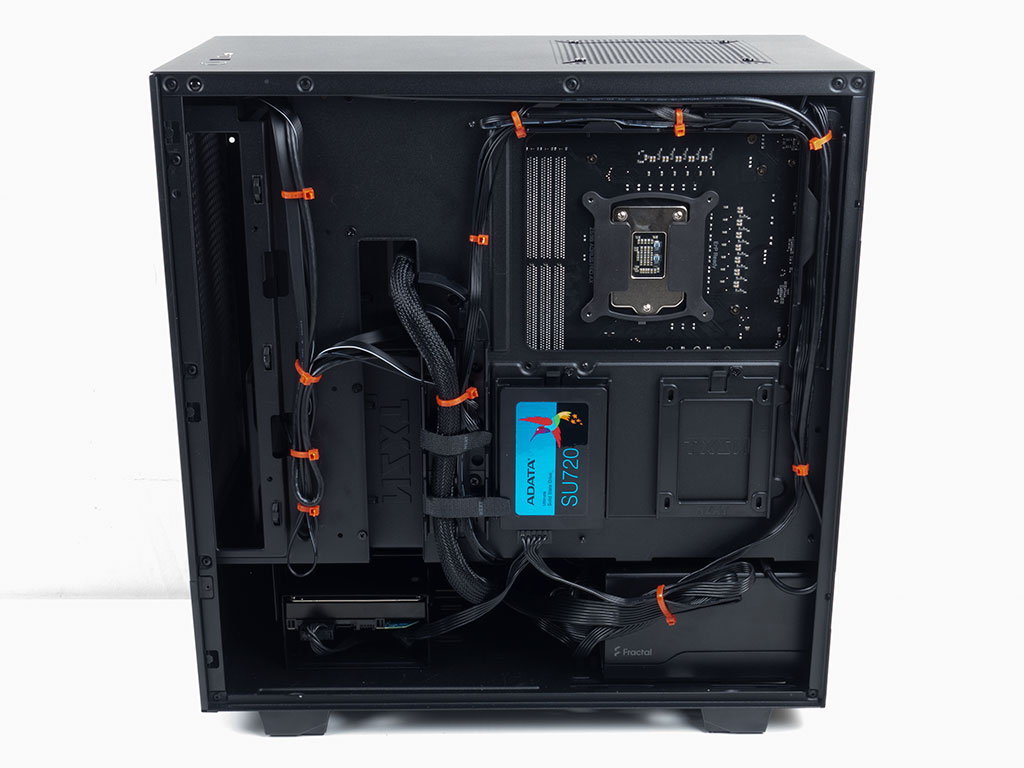
Once everything is assembled, the NZXT H510 Flow makes a good impression because of the metal cover within the case. On the backside, a bit of extra time was spent using the trenches and lots of zip ties to keep everything in place as nicely as possible. Some of them used tension in the cable to keep other leads tidy, so you have to get a little creative.
Finished Looks
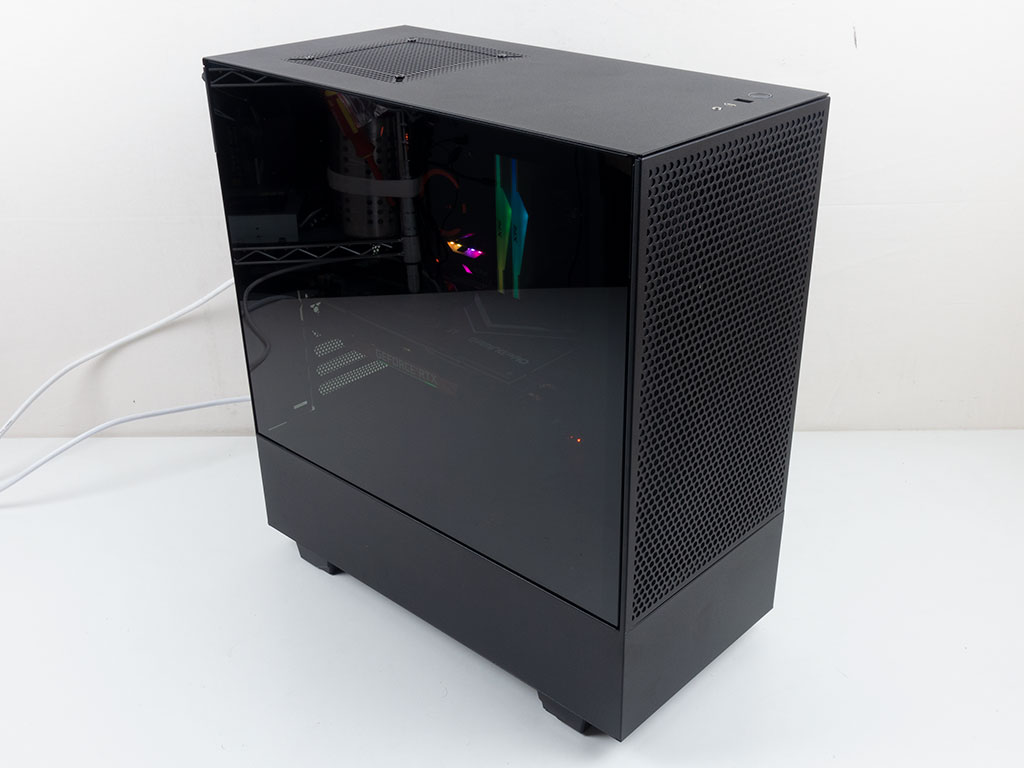
Once turned on, the RGB of the components gently shines through the glass panel, and the two built-in fans are actually not as quiet as we had hoped. That said, both the GPU and CPU should really benefit from the airflow. The power supply LED is also white, which works quite well for this case.
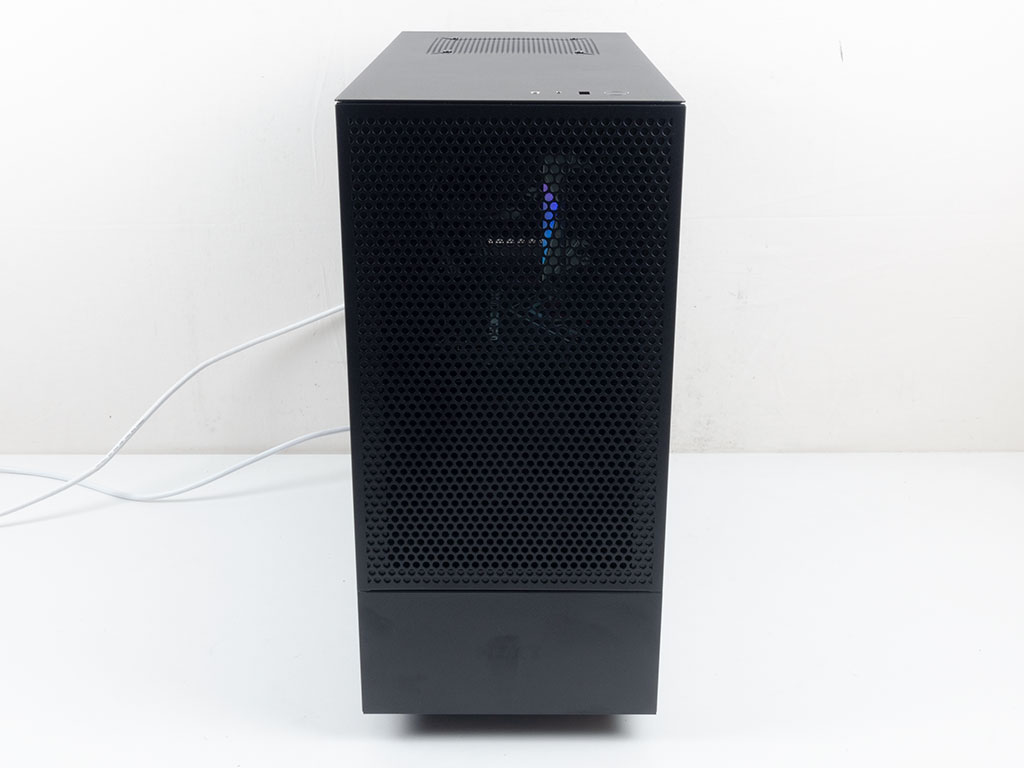
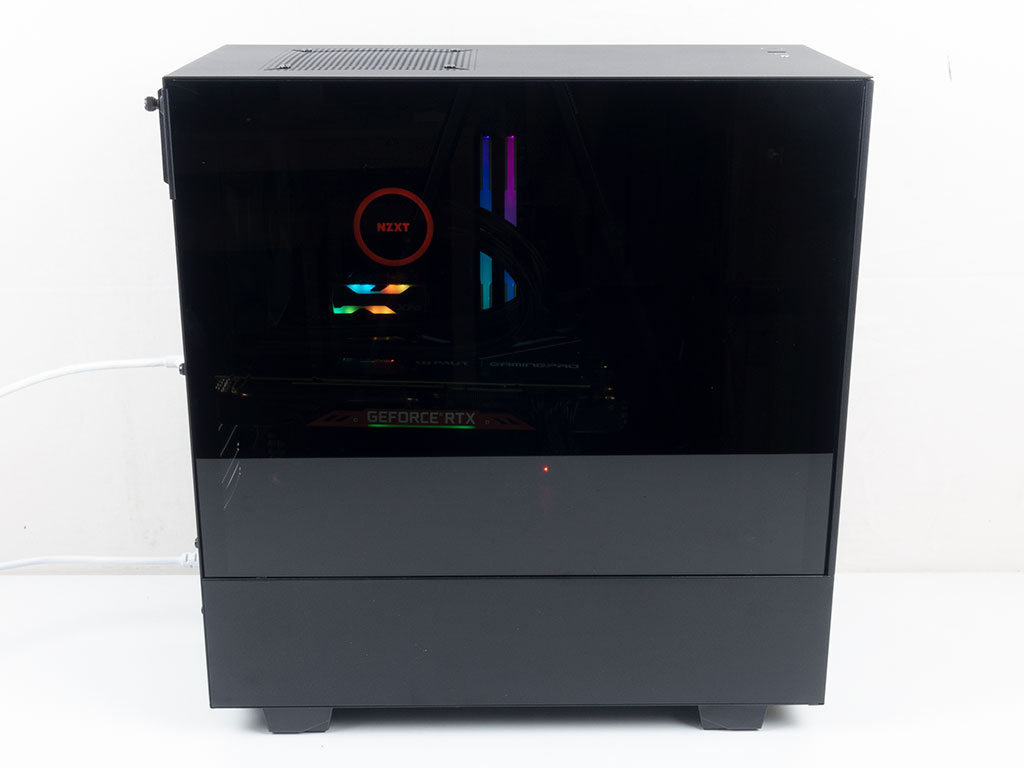

Looking through the front of the NZXT H510 Flow, you can see the components and the rear fan as well, which bodes well for unrestricted airflow. Unfortunately, due to the heavy tint of the glass panel, it is pretty difficult to see the hardware clearly.
Jul 14th, 2025 15:57 CDT
change timezone
Latest GPU Drivers
New Forum Posts
- AMD 7Ghz? This keeps popping up on my feeds! (6)
- Stupid things one has done with hardware (49)
- No offense, here are some things that bother me about your understanding of fans. (111)
- Choosing the right motherboard (5)
- Best motherboards for XP gaming (151)
- Which CPU to Choose for a 7900 XT? Ryzen 7 7700 or Ryzen 5 9600X? (43)
- Bent pins on an AM5 mobo, any way to test them and also find which ones were on the schematic? (6)
- i7 2860QM how to raise power limit? (20)
- Arc 770a 16gb money pit (9)
- Frametime spikes and stuttering after switching to AMD CPU? (572)
Popular Reviews
- Lexar NM1090 Pro 4 TB Review
- Our Visit to the Hunter Super Computer
- MSI GeForce RTX 5060 Gaming OC Review
- Fractal Design Epoch RGB TG Review
- NVIDIA GeForce RTX 5050 8 GB Review
- Corsair FRAME 5000D RS Review
- Sapphire Radeon RX 9060 XT Pulse OC 16 GB Review - An Excellent Choice
- Chieftec Iceberg 360 Review
- AMD Ryzen 7 9800X3D Review - The Best Gaming Processor
- Upcoming Hardware Launches 2025 (Updated May 2025)
TPU on YouTube
Controversial News Posts
- Intel's Core Ultra 7 265K and 265KF CPUs Dip Below $250 (288)
- Some Intel Nova Lake CPUs Rumored to Challenge AMD's 3D V-Cache in Desktop Gaming (140)
- AMD Radeon RX 9070 XT Gains 9% Performance at 1440p with Latest Driver, Beats RTX 5070 Ti (131)
- NVIDIA Launches GeForce RTX 5050 for Desktops and Laptops, Starts at $249 (122)
- NVIDIA GeForce RTX 5080 SUPER Could Feature 24 GB Memory, Increased Power Limits (115)
- Microsoft Partners with AMD for Next-gen Xbox Hardware (105)
- Intel "Nova Lake‑S" Series: Seven SKUs, Up to 52 Cores and 150 W TDP (100)
- NVIDIA DLSS Transformer Cuts VRAM Usage by 20% (97)