 10
10
NZXT Hades Review
Assembly & Finished Looks »A Closer Look - Inside
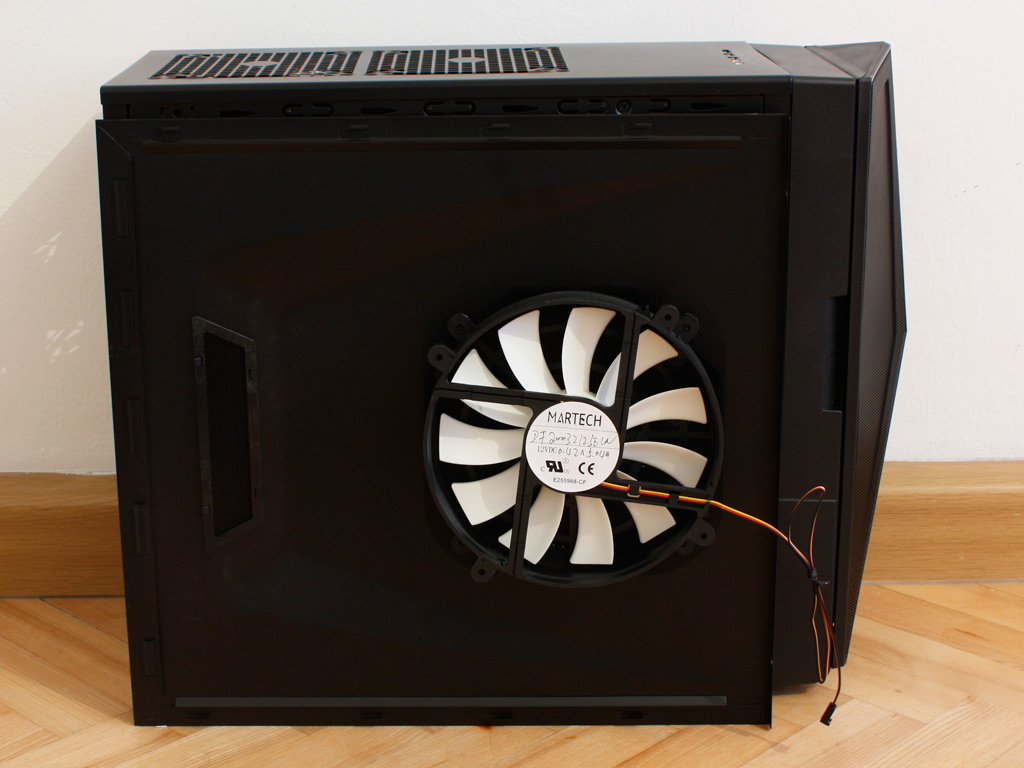
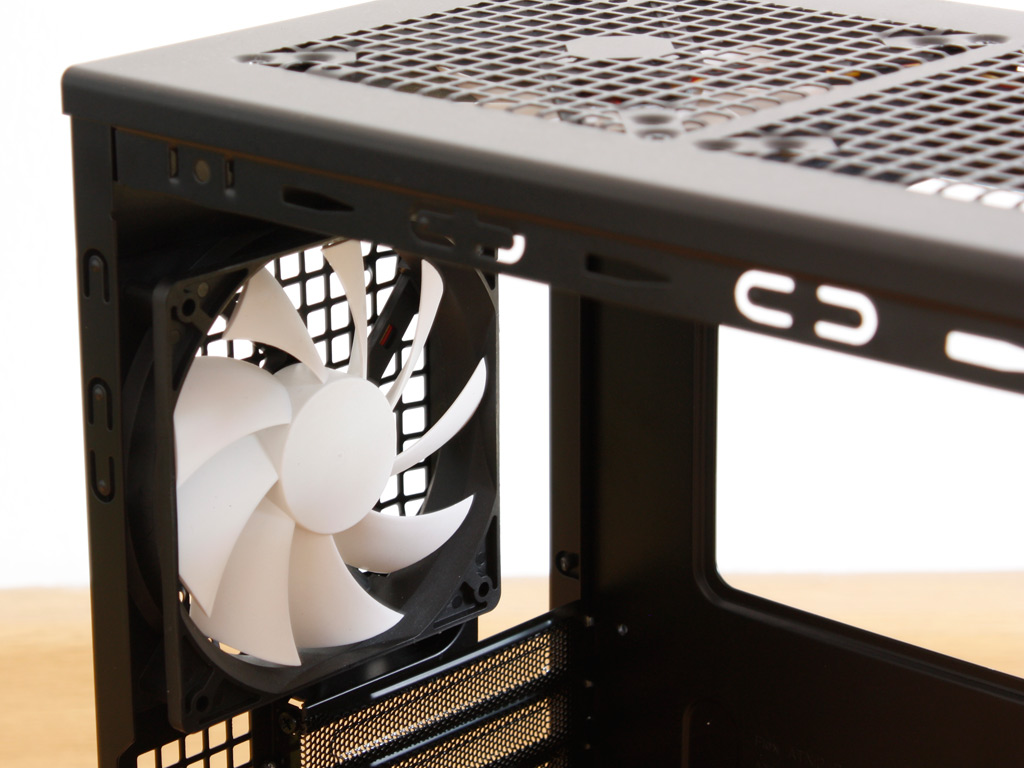
To gain access to the insides of the Hades, simply remove the pair of thumb screws holding each panel in place and pull the latter off. The side fan does not have a proper label on it, but it looks like a handwritten model and rating on a Martech sticker.
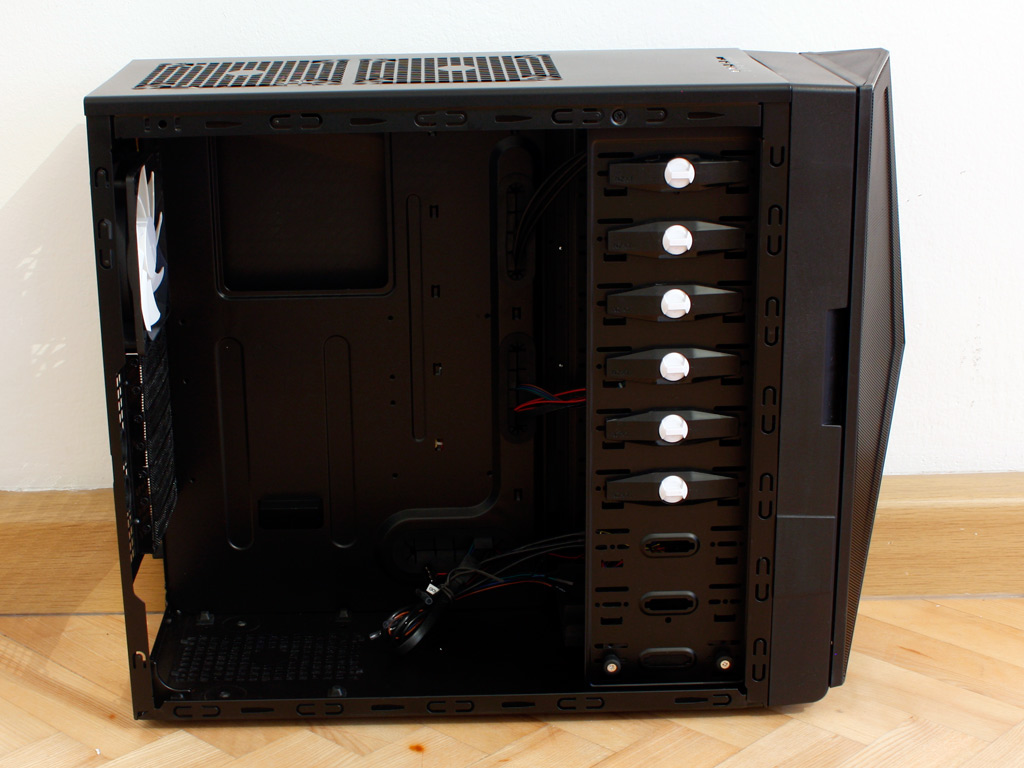
The interior of the Hades is completely black - another feature quickly becoming commonplace with mainstream enclosures. The cables have been pre-routed behind the mainboard tray and out the bottom opening. There are plastic locks on each of the external drive bays, with exception of the bottom three. This means that even though only four bays are accessible from the outside, there are locks for six of the nine actual bays. That does not make much sense, as you do not want your hard drives being held in place by simple plastic locks.
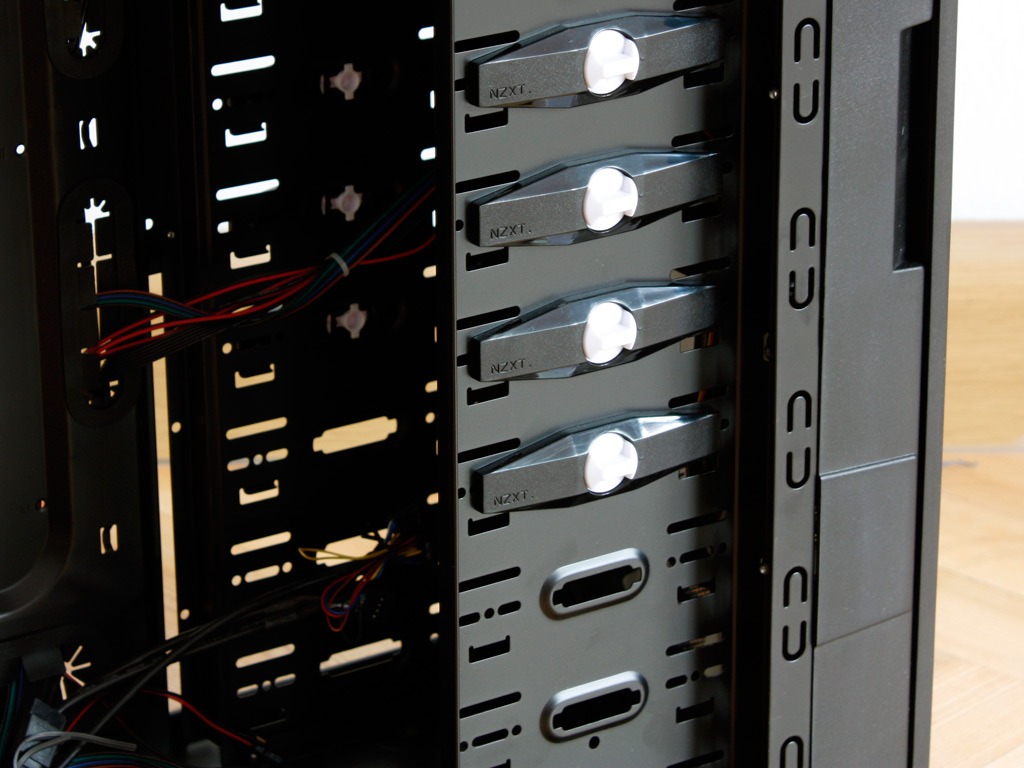
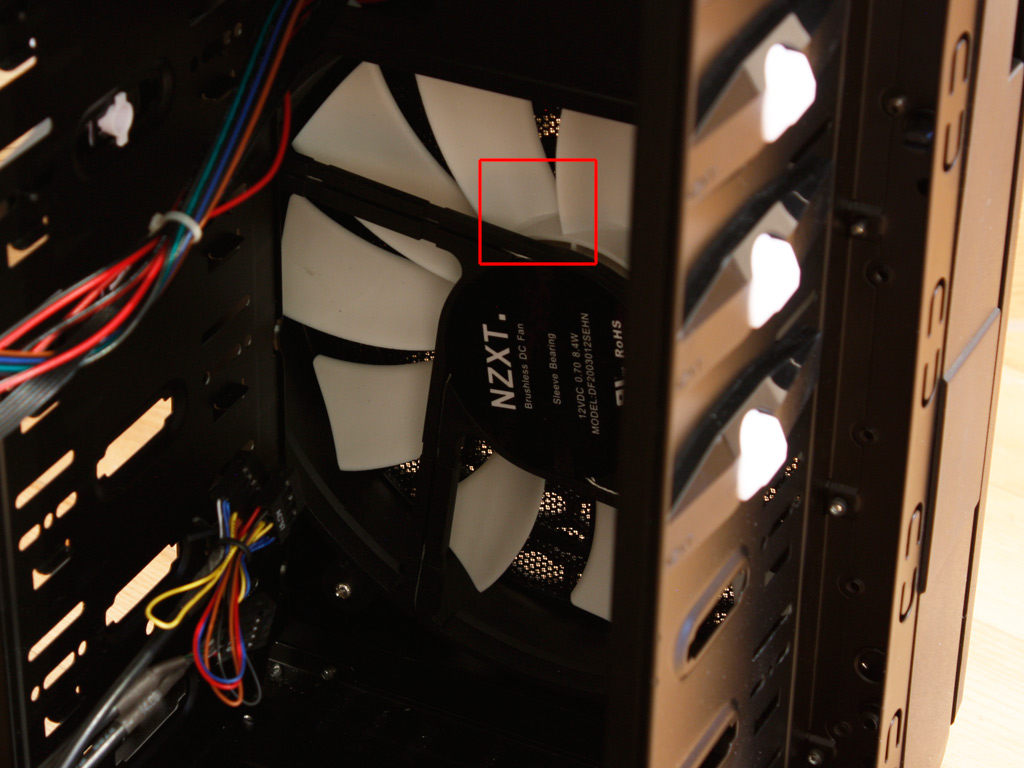
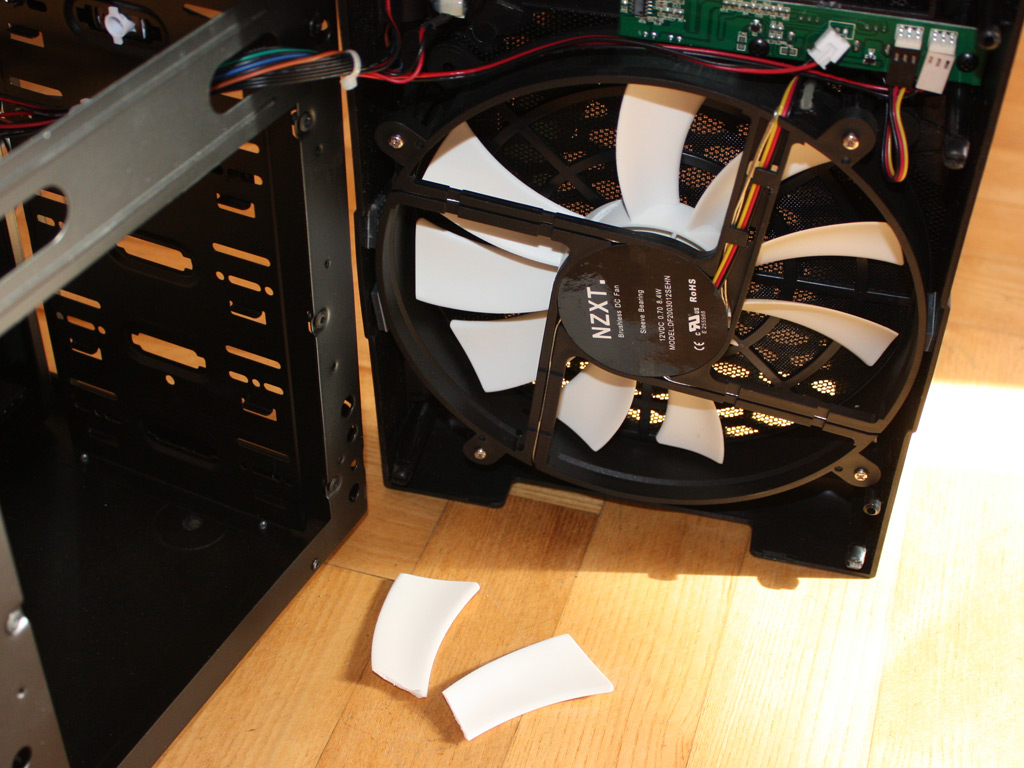
There is nothing out of the ordinary for the front drive bays. They are formed by two metal sheets running down the front area of the chassis. As it is obvious from the outside, the bottom five bays are covered by the 200 mm intake fan. This one also has white fan blades but sports red LEDs in the frame along with a proper NZXT sticker in the center. Quickly fast forwarding to the end for a second here: after turning everything on I was startled by two consecutive popping noises coming from the front cooling unit. Turns out once I turned things on, two blades just decided to do their own thing, breaking off and flying through the chassis. So I took a close look at the above picture to see if I could spot any damage or if I was the culprit by damaging the fan during the review. Turns out, that the unit was already cracked at the base of the two blades as you can see clearly in the image above. NZXT should really consider procuring their fans from a different manufacturer with better quality control.
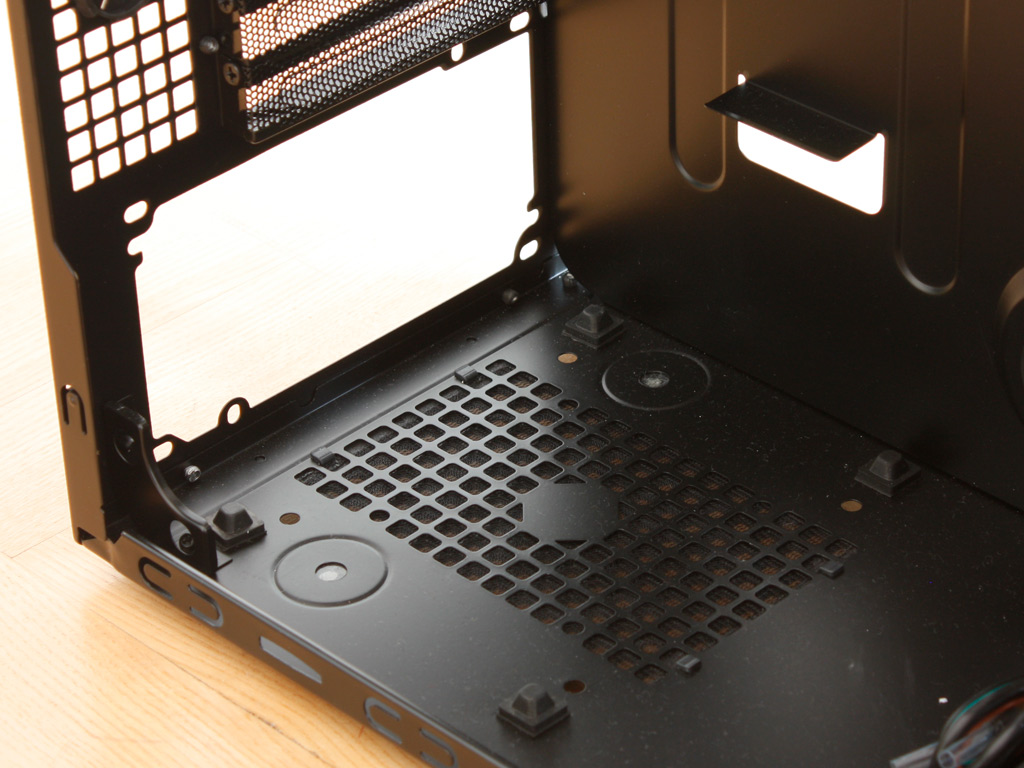
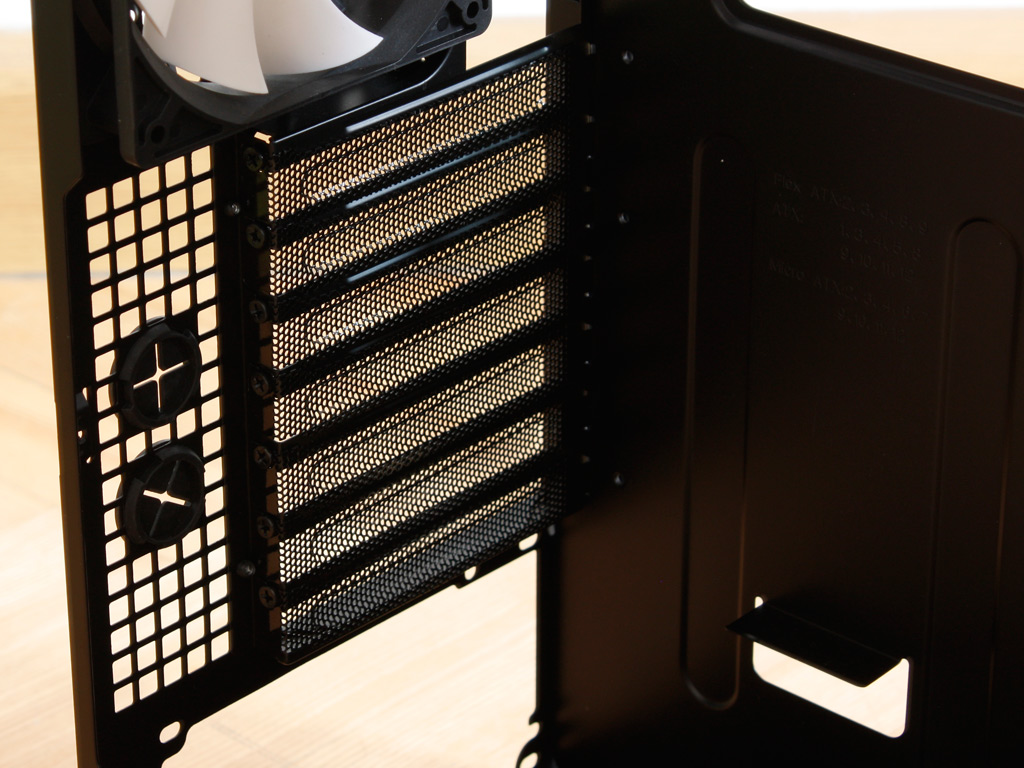
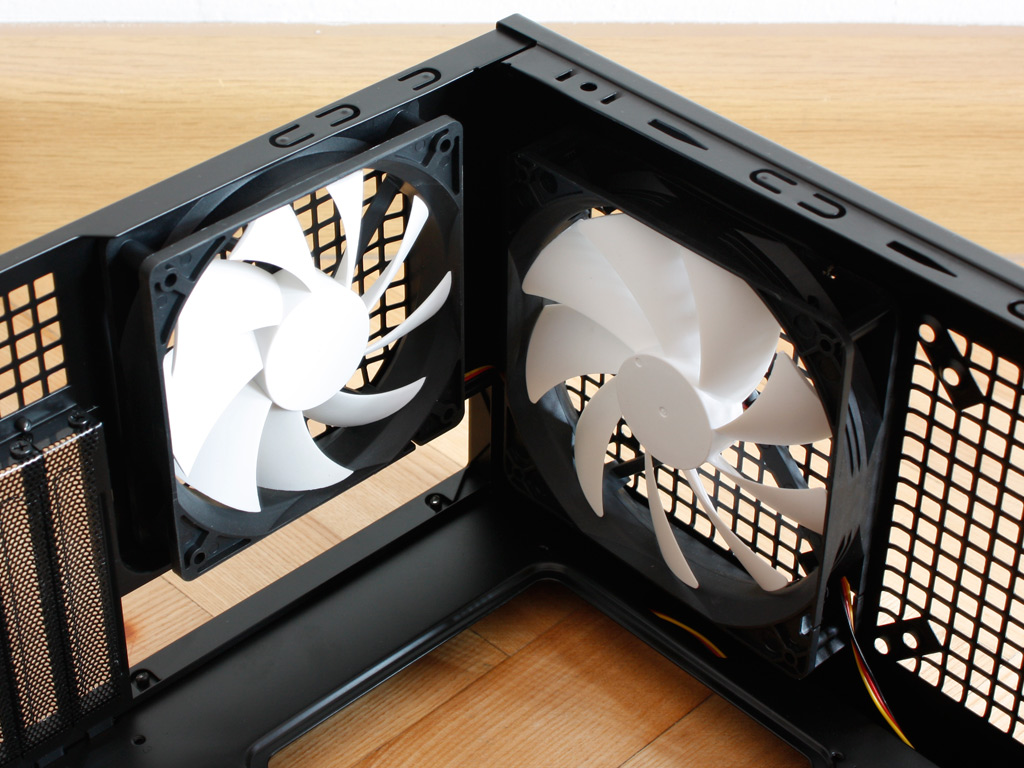
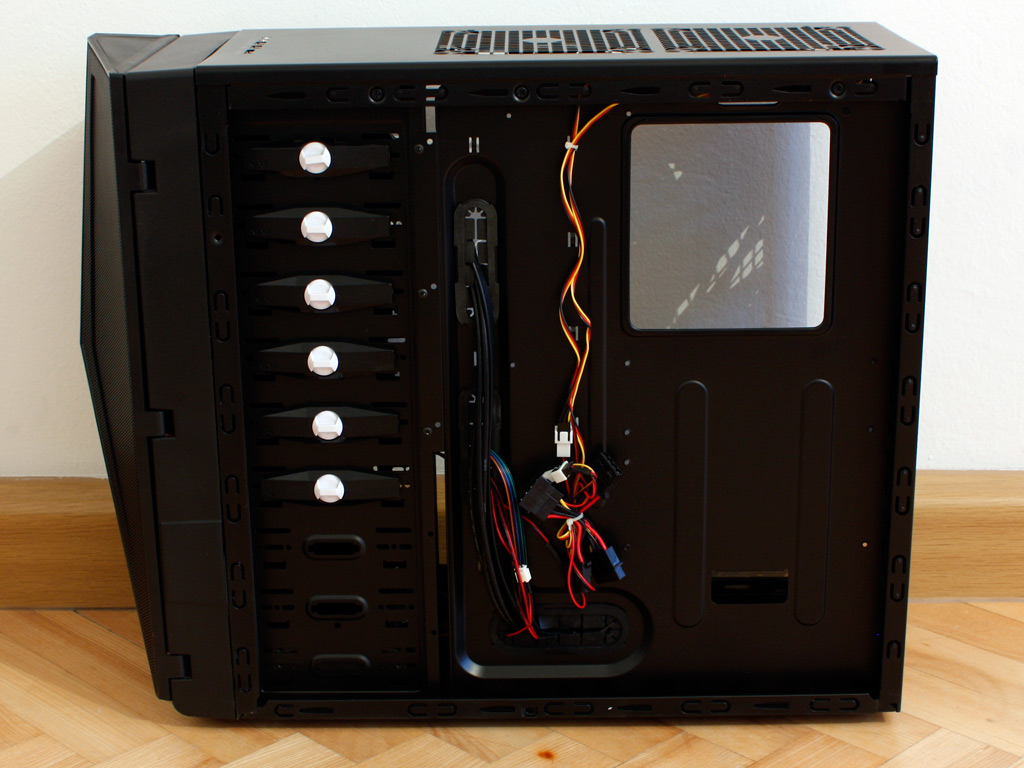
NZXT has placed four little rubber domes on the floor of the chassis. The power supply rests on these, which in turn stop any vibration from this area of the computer. Above that are the seven expansion slots, with normal, black screws holding each cover in place. Moving on up, we have the 120 mm fan as well as the 140 mm ceiling one. Both draw air out of the chassis, recreating the same air flow as if a PSU was present above the CPU area.
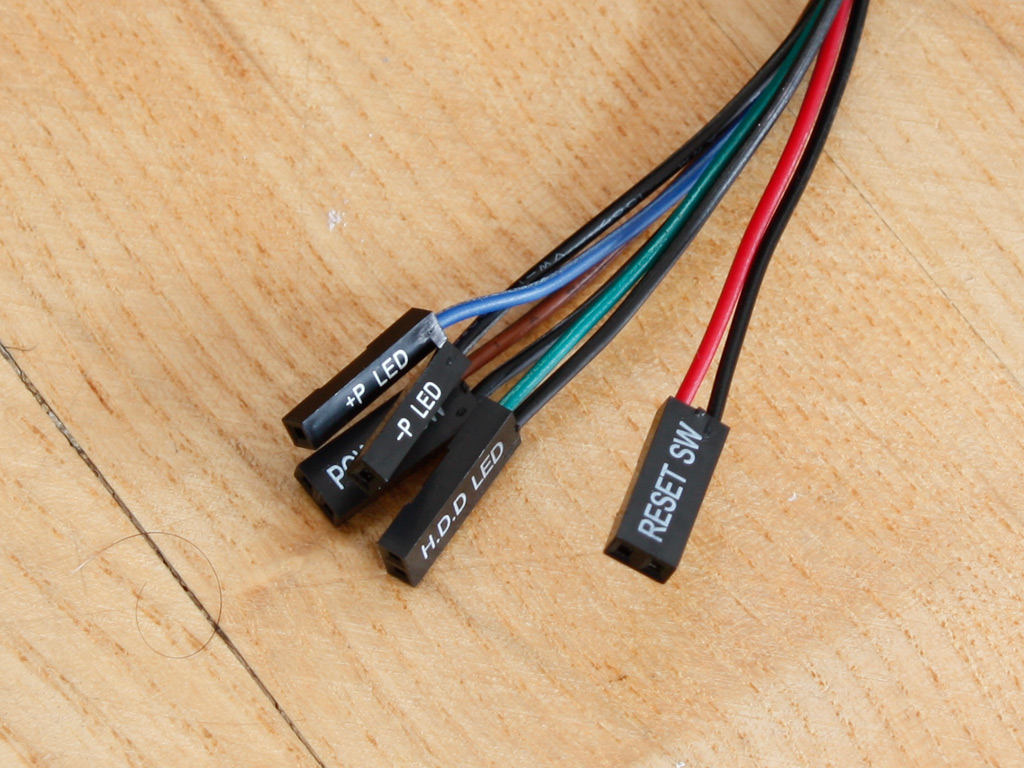
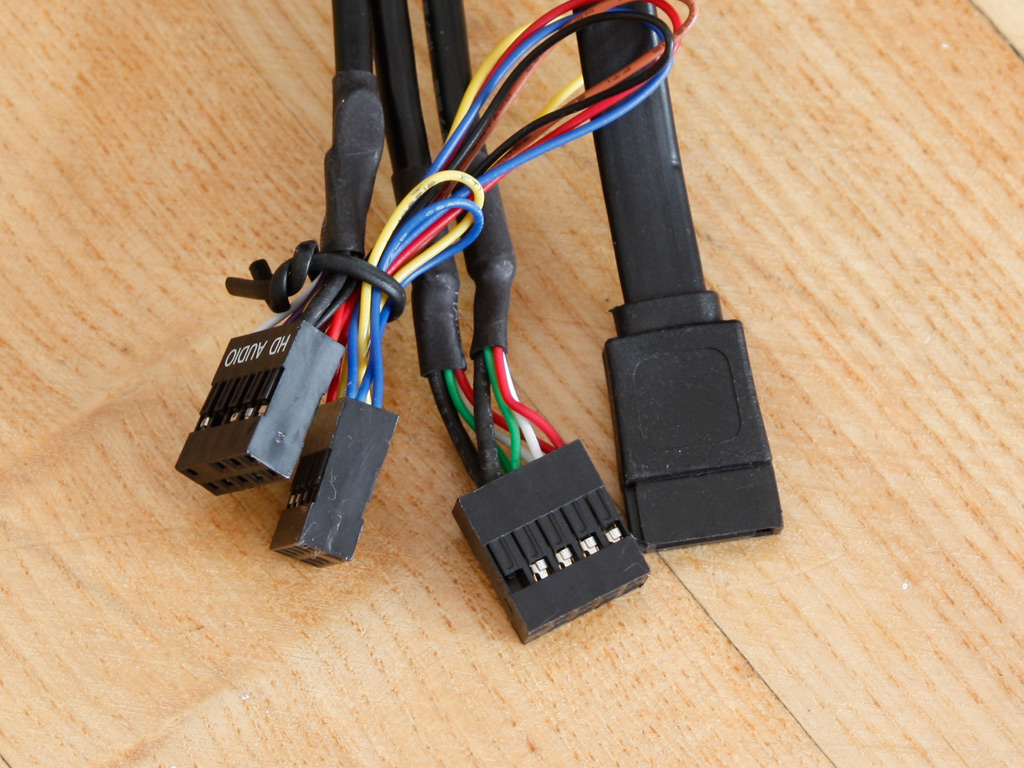
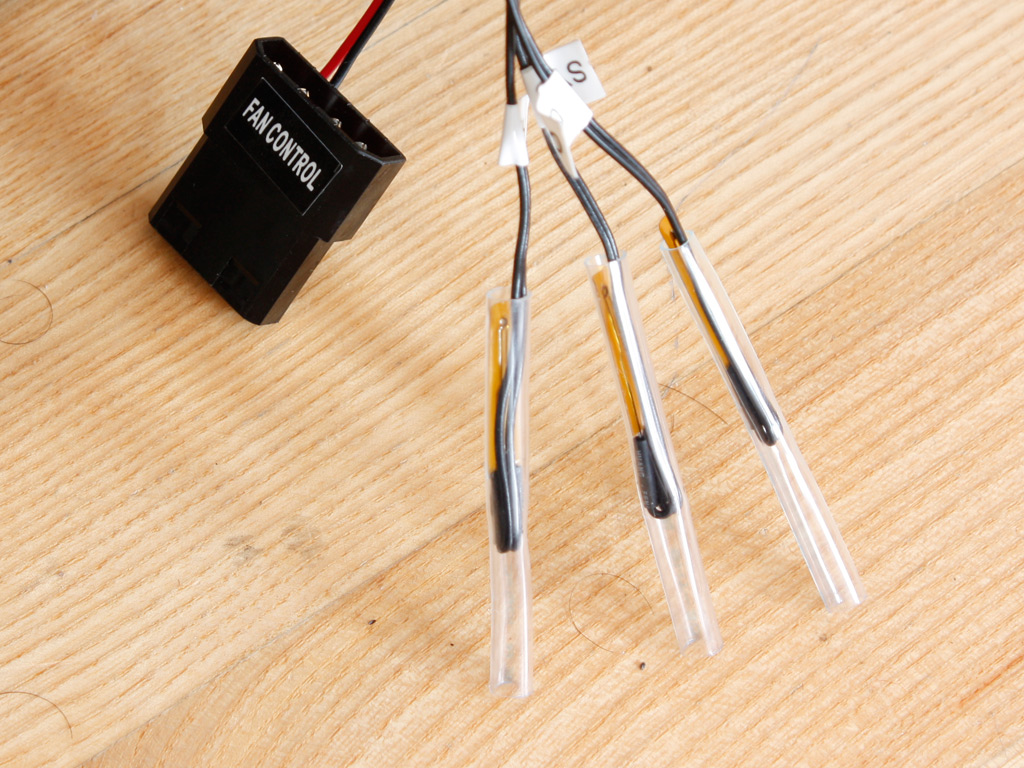
The cables are nothing out of the ordinary. Both those leading to the chassis power, reset and LEDs as those to the top I/O are of the standard variety. NZXT has also included a simple temperature display in the Hades. The three diodes along with the Molex connector to power the fan controller are also easy to spot. Each of the thermal diodes are clearly labeled, but since the exterior display does not have said labels, you can use them anywhere you want.
Jul 18th, 2025 19:20 CDT
change timezone
Latest GPU Drivers
New Forum Posts
- Anime Nation (13052)
- What's your latest tech purchase? (24305)
- AI Job Losses: let's count the losses up, total losses to AI so far 94,000 and counting (35)
- lower score 5070Ti after replacing the PSU (0)
- TPU's Nostalgic Hardware Club (20539)
- 3DMARK "LEGENDARY" (329)
- Hatsune Miku x ASUS TUF Gaming Build (67)
- Ferrari themed mod cont. 4070s repaste (7)
- Stalker 2 is looking great. (213)
- Share your CPU-X Benchmarks! (6)
Popular Reviews
- MSI GeForce RTX 5060 Gaming OC Review
- Razer Blade 16 (2025) Review - Thin, Light, Punchy, and Efficient
- Thermal Grizzly WireView Pro Review
- Pulsar X2 Crazylight Review
- SilverStone SETA H2 Review
- AVerMedia Live Gamer Ultra S (GC553Pro) Review
- Upcoming Hardware Launches 2025 (Updated May 2025)
- Sapphire Radeon RX 9060 XT Pulse OC 16 GB Review - An Excellent Choice
- NVIDIA GeForce RTX 5050 8 GB Review
- Our Visit to the Hunter Super Computer
TPU on YouTube
Controversial News Posts
- Intel's Core Ultra 7 265K and 265KF CPUs Dip Below $250 (288)
- Some Intel Nova Lake CPUs Rumored to Challenge AMD's 3D V-Cache in Desktop Gaming (140)
- AMD Radeon RX 9070 XT Gains 9% Performance at 1440p with Latest Driver, Beats RTX 5070 Ti (131)
- NVIDIA Launches GeForce RTX 5050 for Desktops and Laptops, Starts at $249 (124)
- NVIDIA GeForce RTX 5080 SUPER Could Feature 24 GB Memory, Increased Power Limits (115)
- Microsoft Partners with AMD for Next-gen Xbox Hardware (105)
- NVIDIA DLSS Transformer Cuts VRAM Usage by 20% (99)
- AMD Sampling Next-Gen Ryzen Desktop "Medusa Ridge," Sees Incremental IPC Upgrade, New cIOD (97)