 43
43
PassMark Inline PSU Tester Review
(43 Comments) »Introduction
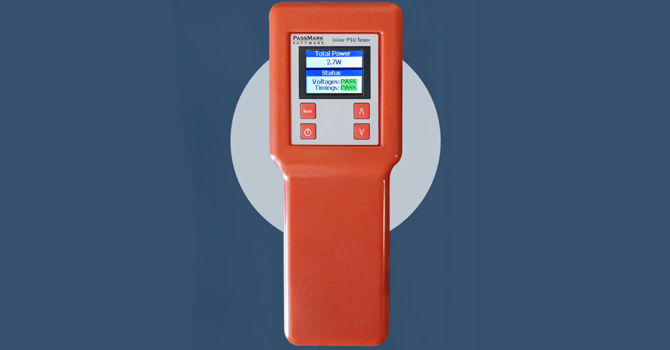
You need to figure out whether the power supply or something else is the root of all the problems your system faces? If you need to perform an extended test, a plain multimeter won't cut it. A scope is also required to take timing and ripple readings, and such tools are not affordable. On top of that, you need to have the necessary basic knowledge to operate them, and taking timing and ripple measurements is not that simple since you need to follow specific procedures. Thankfully, for those of you who can afford it, PassMark offers a PSU tester with many interesting features in that regard.
The PassMark PSU tester supports five operating modes:
- Inline mode
- Inline mode & monitoring
- Standalone mode
- Standalone mode & monitoring
- Multiple testers combined
For me, the most important thing is to find out whether this tool provides accurate readings or not, so I will compare it with a fully automated and calibrated Chroma station. I don't expect to get the same readings since the Chroma station costs a ton more, but I don't want to see high deviations, either.
| Technical Specification | |
|---|---|
| CPU | ARM Cortex M4 |
| Memory | 32 KB RAM, 128K flash |
| User Interface | 1.8" TFT LCD 128 x 64 pixels + membrane keypad |
| Standards | ATX12V |
| Connectors | 24-Pin In, 8-Pin CPU In, 6-Pin PCIe In, SATA In, 24-Pin Out, 8-Pin CPU Out, 6-Pin PCIe Out, SATA Out |
| Internal load | Internal load (1 W) on +12 V1, +12 V2, 5 V and 3.3 V voltage rails. Active only when the PSU tester is in standalone mode (disable in Inline mode) |
| Measurement | Voltages: +12 V1, +12 V2 (12 V CPU), 5 V DC, 3.3 V, +5VSB, -12V, +12 V PCIe Currents: +12 V1, +12 V2 (12 V CPU), 5 V, 3.3 V, +5VSB, +12 V PCIe, +12 V SATA, 5 V SATA. 3.3 V SATA Ripple: +12 V1, +12 V2 (12 V CPU), 5 V, 3.3 V Timings: Power-on Time (T1), Rise Time (T2), PWR_OK delay (T3) and Power-down Warning (T6) Minimum slew rate and ramp up: Check smooth and continuous ramp up of +12 V1, +12 V2 (12 V CPU), 5 V, 3.3 V Power Sequencing: Check +12 V and 5 V against 3.3 V during power up to ensure they are equal to or greater than the +3.3 V |
| Maximum Inline Current | +12 V1: 25 A +12 V2 (12V CPU): 50 A 5V: 30 A 3.3V: 30 A 5VSB: 8 A +12 V PCIe: 30 A +12 V SATA: 5.5 A 5 V SATA: 5.5 A 3.3 V SATA: 5.5 A |
| Operational Voltage | 5 V via USB port or the 5 V on the 24-Pin connector |
| Operational Current | 200 mA |
| Measurement Error (A) | ±2% |
| Measurement Error (V) | ±0.5% |
| Case | High impact ABS plastic |
| Size | 225 mm x 85 mm x 30 mm (8.8 x 3.3 x 1.2") |
| Weight | 240 g (8.4 oz) |
| Safety Protections | Over voltage protection +12 V: protected up to 22 V 5 V: protected up to 10 V 3.3 V: protected up to 6.5 V) | Storage Temperature | -30 °C to + 80 °C | Usage Temperature | 0 °C to + 40 °C | Part Number | PM123 | RoHS (lead free) | Yes |
Package

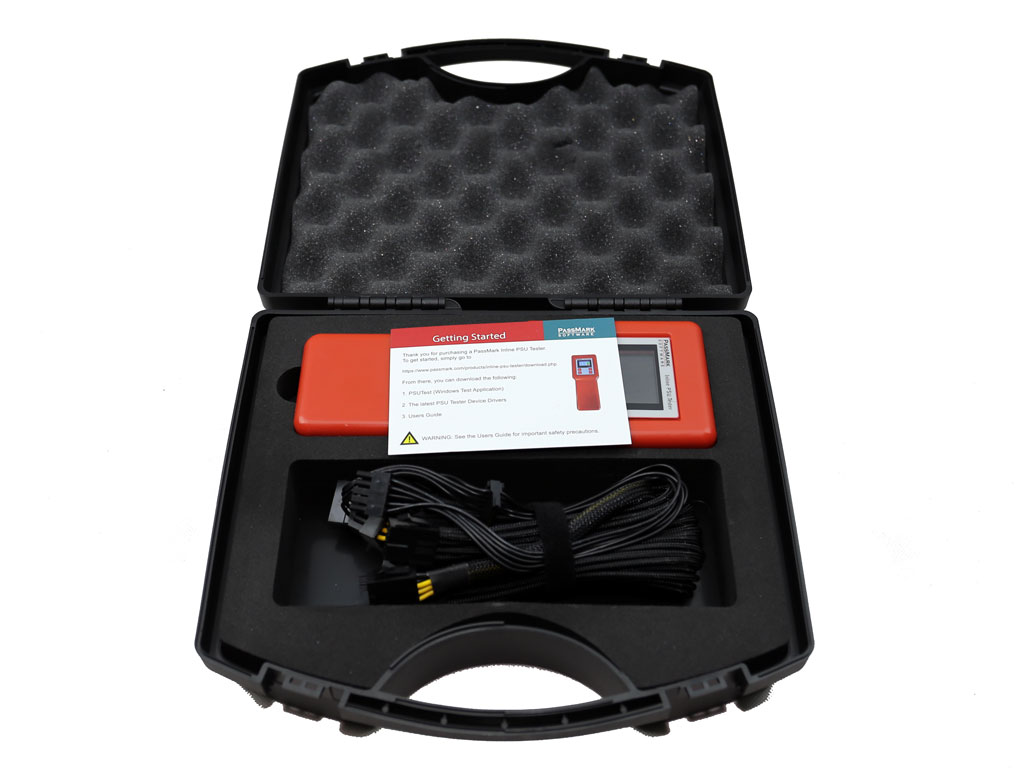
The product comes in a hard case, which offers adequate protection.
Contents

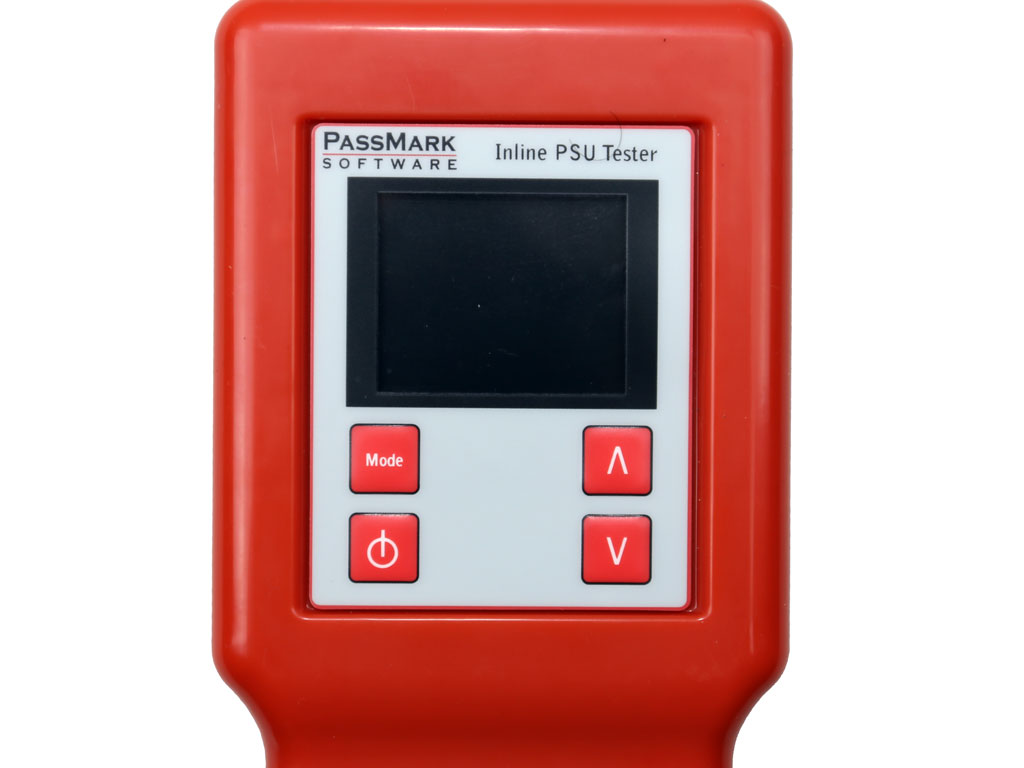

The external design is plain, and the plastic casing doesn't look nice, but this is a tool, so good looks are not necessary.


The in and out ports. You will utilize the latter if you install the PSU tester between the PSU and the load.
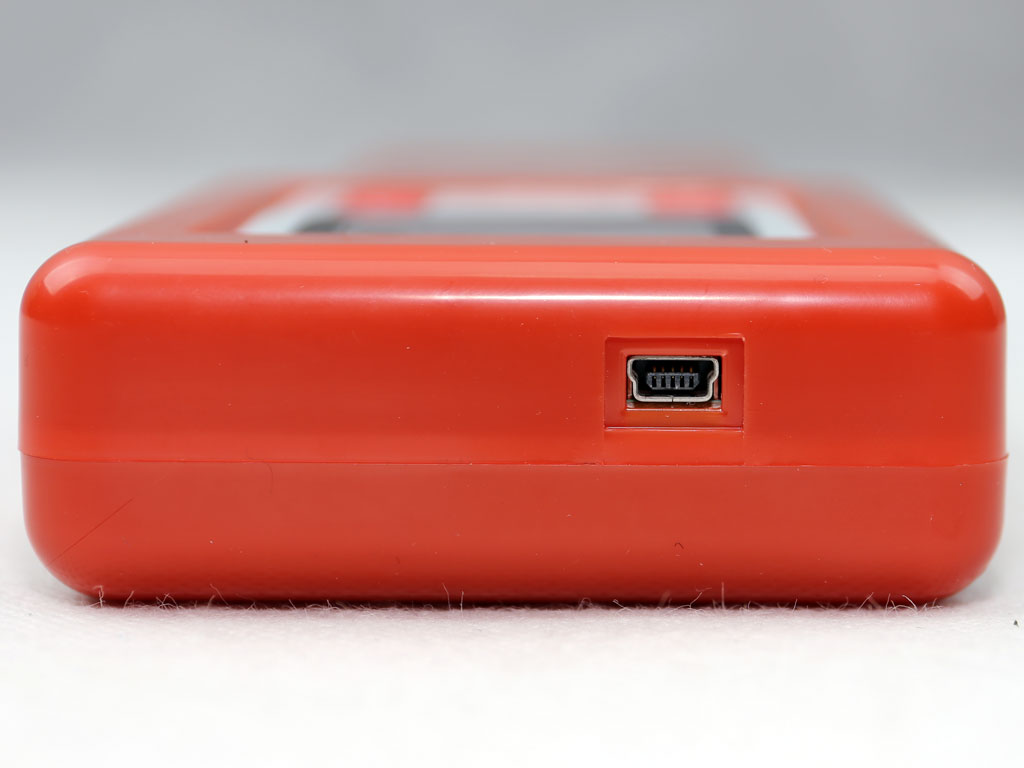
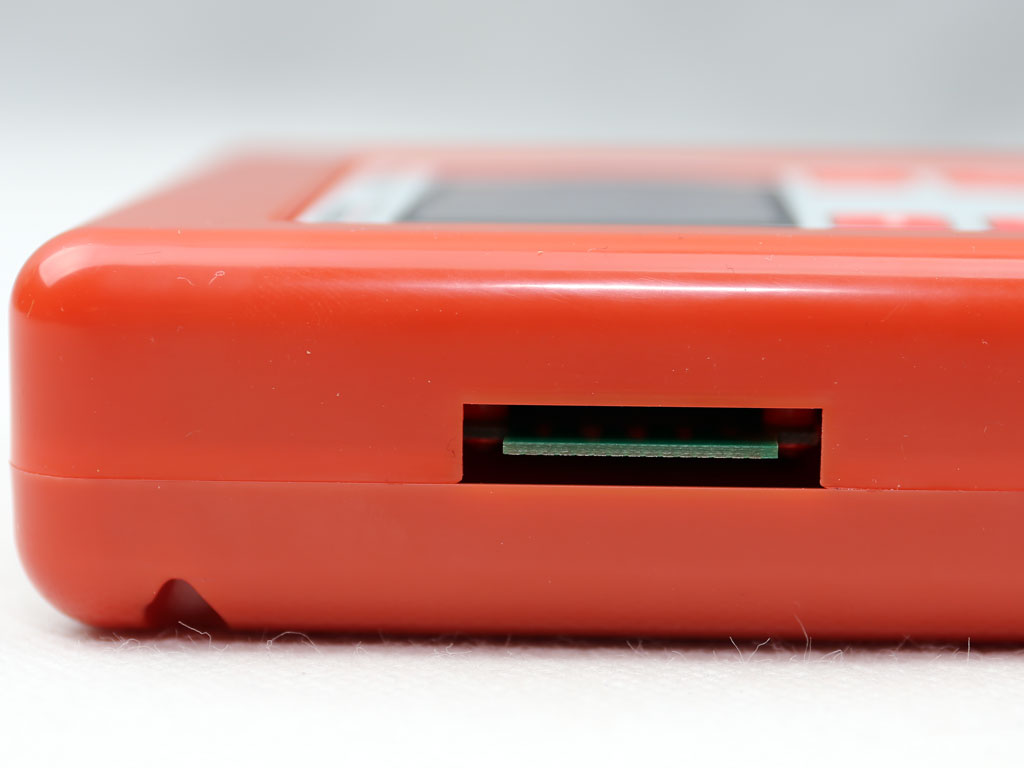
I would prefer a Type-C USB port instead of the mini-USB port. At least mini-USB connectors are more tolerant than micro-USB ones.


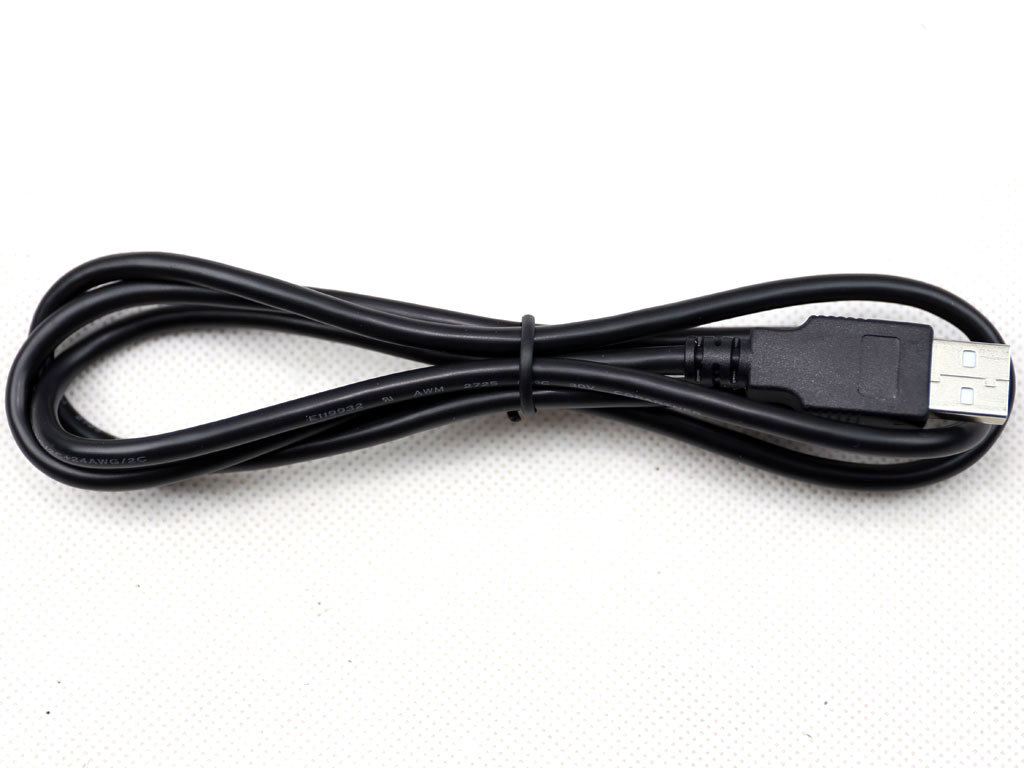
All the necessary cables are provided, and short enough to restrict energy losses. The individual sleeving is a nice touch.

The "Getting Started" card.
Our Patreon Silver Supporters can read articles in single-page format.
Apr 1st, 2025 21:07 EDT
change timezone
Latest GPU Drivers
New Forum Posts
- RTX 3090 is still a good card? (25)
- RX 9000 series GPU Owners Club (96)
- Is the futureproof gaming solution a four drive system? (39)
- Is RX 9070 VRAM temperature regular value or hotspot? (284)
- Biostar RX 6700 XT OC BIOS (19)
- What do you do for a living? (474)
- A Final Fantasy IX Reminiscence - My love letter and homage to one of the best stories ever told (77)
- Gigabyte 9070xt compatibility with msi a850g 850 (0)
- can i yust connect 4 pin cpu coler to 5 pin ? (12)
- Can you guess Which game it is? (57)
Popular Reviews
- DDR5 CUDIMM Explained & Benched - The New Memory Standard
- Sapphire Radeon RX 9070 XT Pulse Review
- SilverStone Lucid 04 Review
- ASRock Phantom Gaming B850 Riptide Wi-Fi Review - Amazing Price/Performance
- Palit GeForce RTX 5070 GamingPro OC Review
- Sapphire Radeon RX 9070 XT Nitro+ Review - Beating NVIDIA
- Gigabyte GeForce RTX 5080 Gaming OC Review
- Samsung 9100 Pro 2 TB Review - The Best Gen 5 SSD
- Assassin's Creed Shadows Performance Benchmark Review - 30 GPUs Compared
- be quiet! Pure Rock Pro 3 Black Review
Controversial News Posts
- MSI Doesn't Plan Radeon RX 9000 Series GPUs, Skips AMD RDNA 4 Generation Entirely (146)
- Microsoft Introduces Copilot for Gaming (124)
- AMD Radeon RX 9070 XT Reportedly Outperforms RTX 5080 Through Undervolting (119)
- NVIDIA Reportedly Prepares GeForce RTX 5060 and RTX 5060 Ti Unveil Tomorrow (115)
- Over 200,000 Sold Radeon RX 9070 and RX 9070 XT GPUs? AMD Says No Number was Given (100)
- NVIDIA GeForce RTX 5050, RTX 5060, and RTX 5060 Ti Specifications Leak (96)
- Retailers Anticipate Increased Radeon RX 9070 Series Prices, After Initial Shipments of "MSRP" Models (90)
- China Develops Domestic EUV Tool, ASML Monopoly in Trouble (88)