 10
10
Phanteks Enthoo Primo Review
A Closer Look - Inside »A Closer Look - Outside
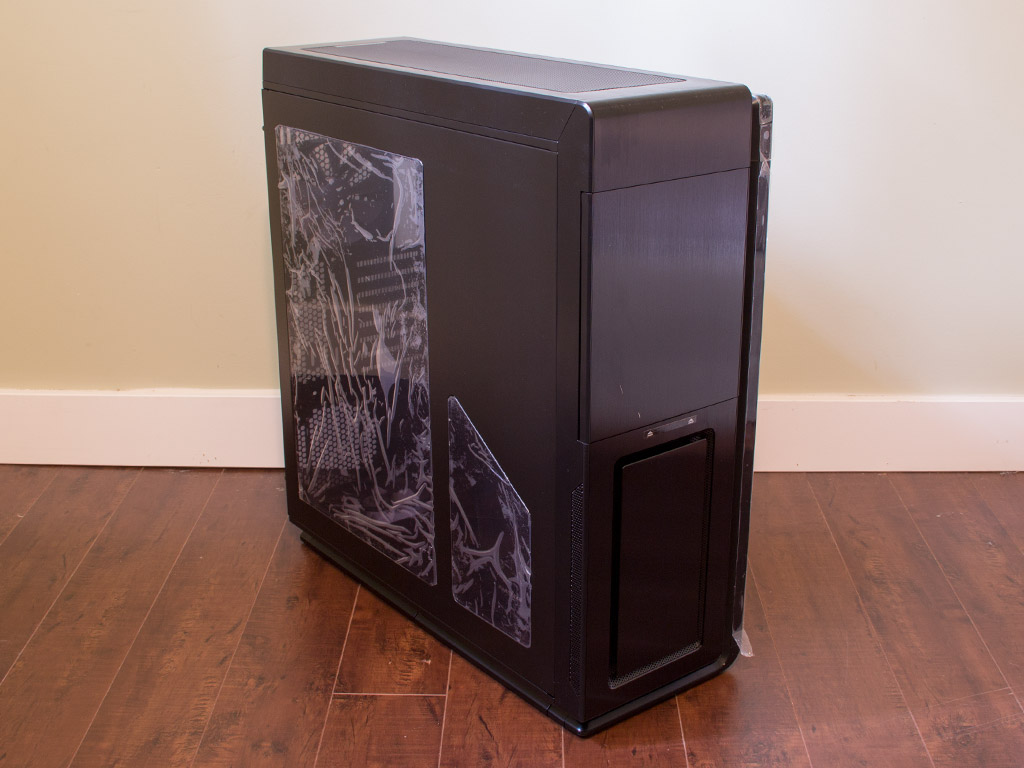
Taking a closer look, Phanteks uses metal, plastic, and aluminum to construct the chassis. Straight lines and soft curves make up its design, and an off-center look and large LED strip down the top and front of the case make it an eye turner.

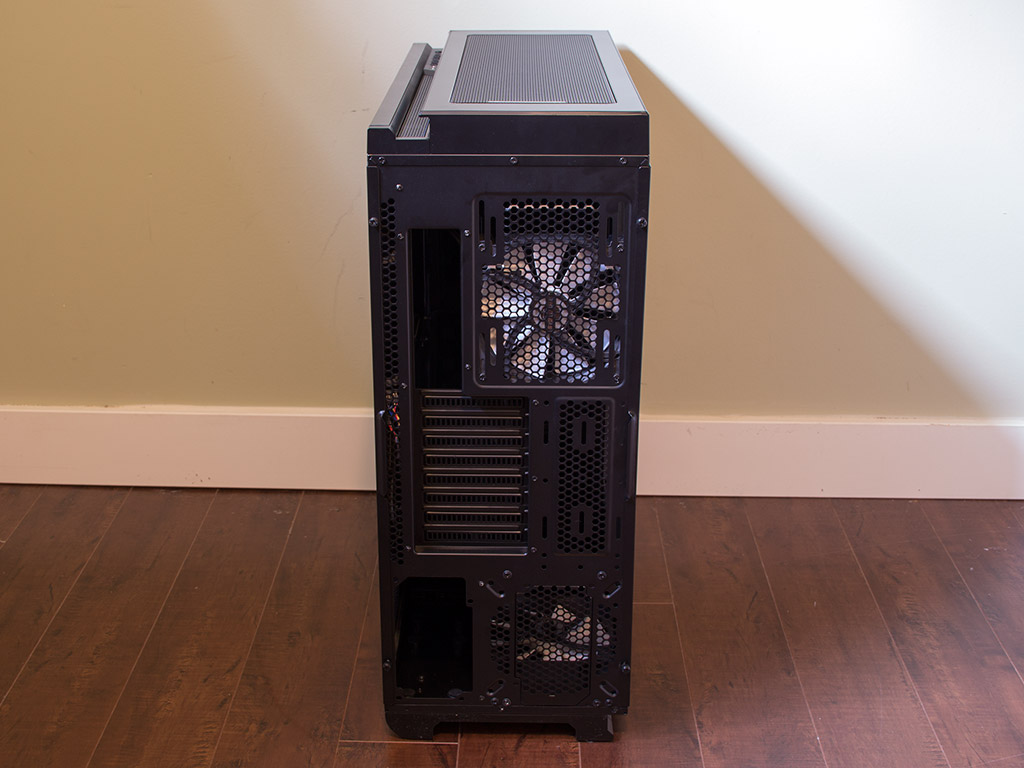
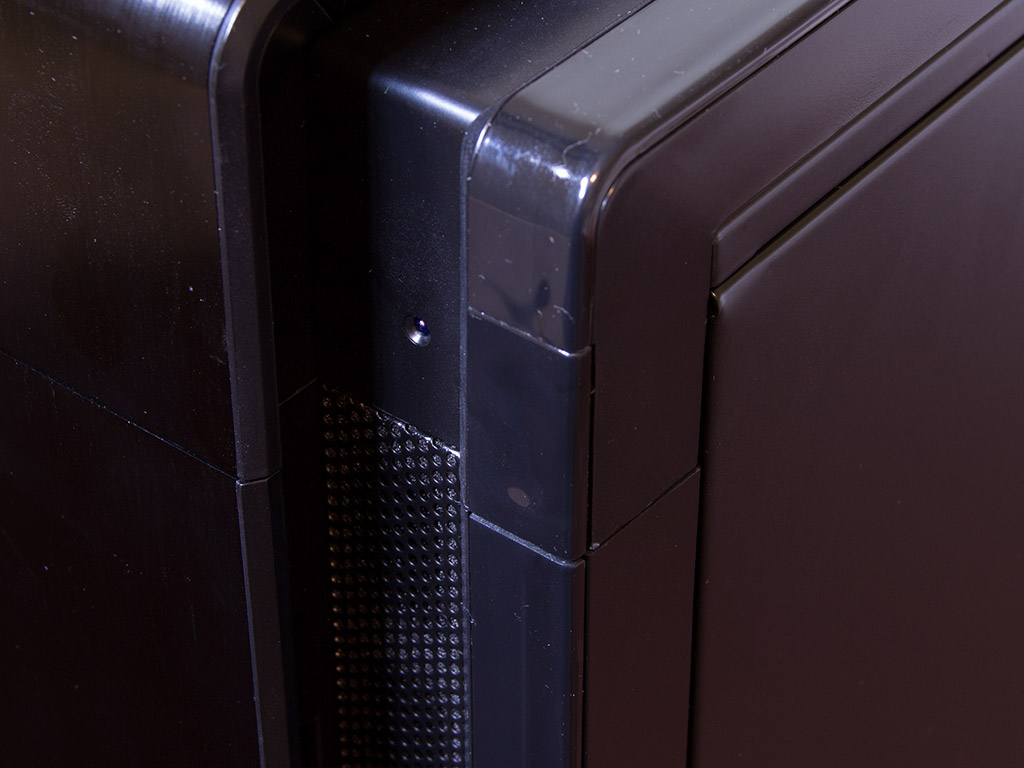
The drive bays at the front are covered by an aluminum door that swings open to the left. I would have liked the door to swing right instead, but this will do. The solid part below it is also made of aluminum, giving the chassis a clean look and feel. Turning the chassis around, the rear shows the interior to be anything but standard, with the PSU bay upright on the floor of the chassis, for example.
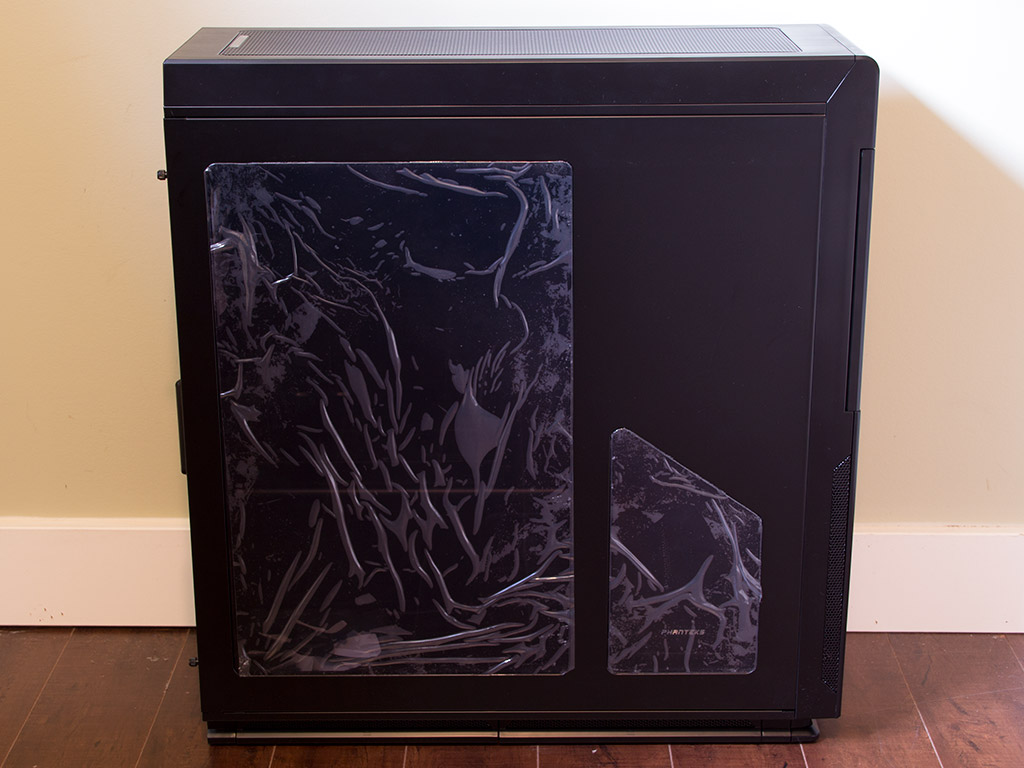
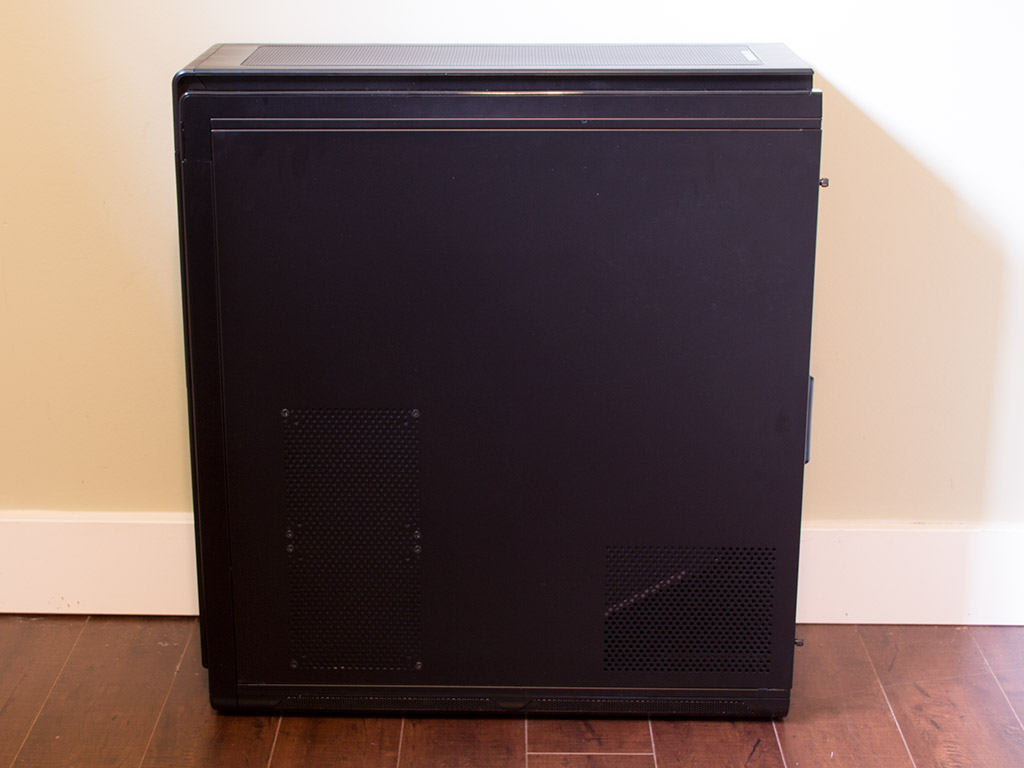
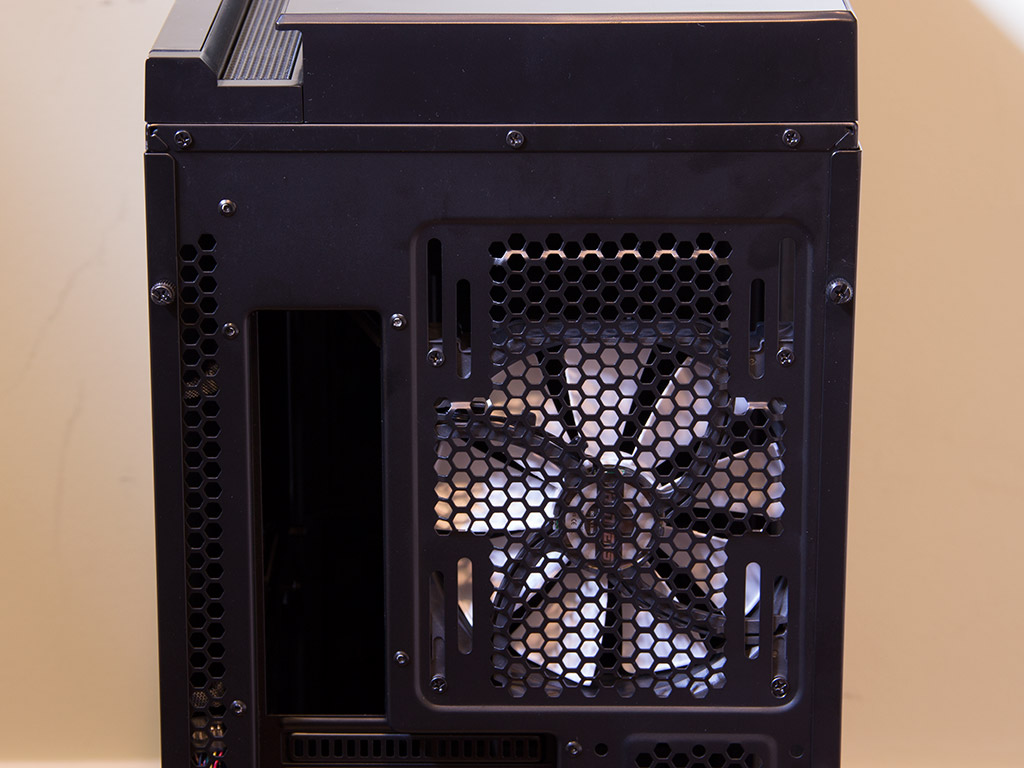
You will find two windows on the main side. One is supposed to let you view the hardware installed within, while the other lets you look through the panel and onto a small Phanteks plaque screwed to the interior of the case. A nice visual touch, especially since it opens up the possibility of using such an emblem for limited editions or OEM projects in the future, it makes for a small but unique addition. The opposite side comes with two air vents. The larger of the two is covered by default but may be used for additional cooling, while the smaller vent in the corner comes fitted with a dust filter held in place by magnets, which allows for fresh air to reach the installed PSU.
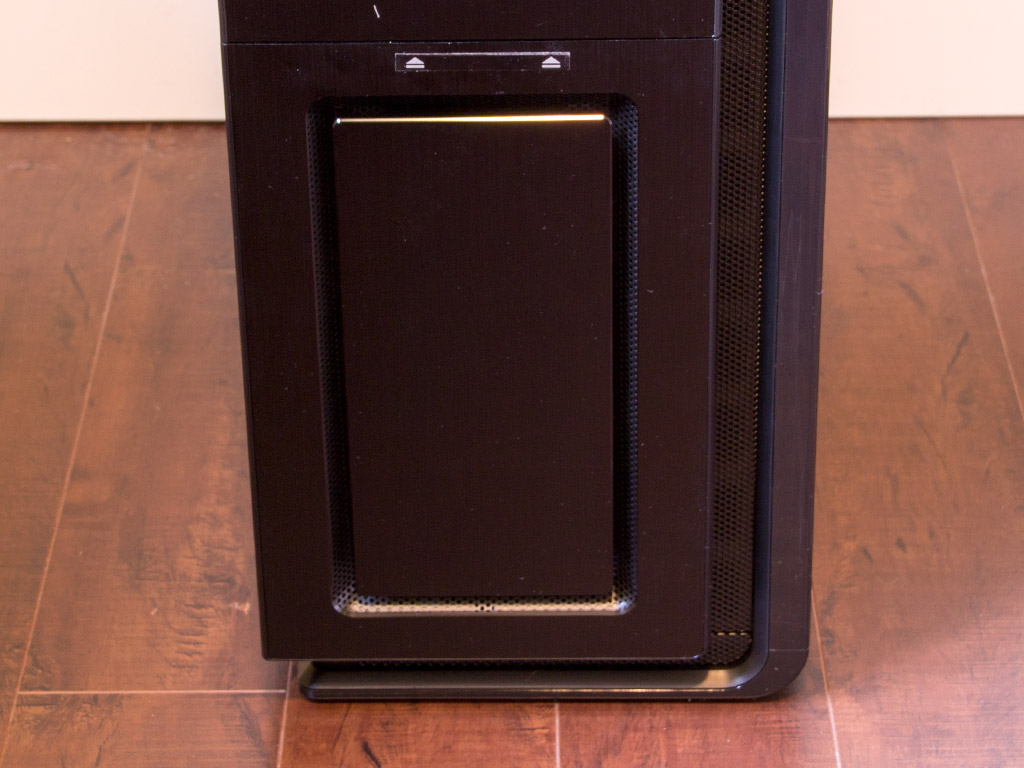
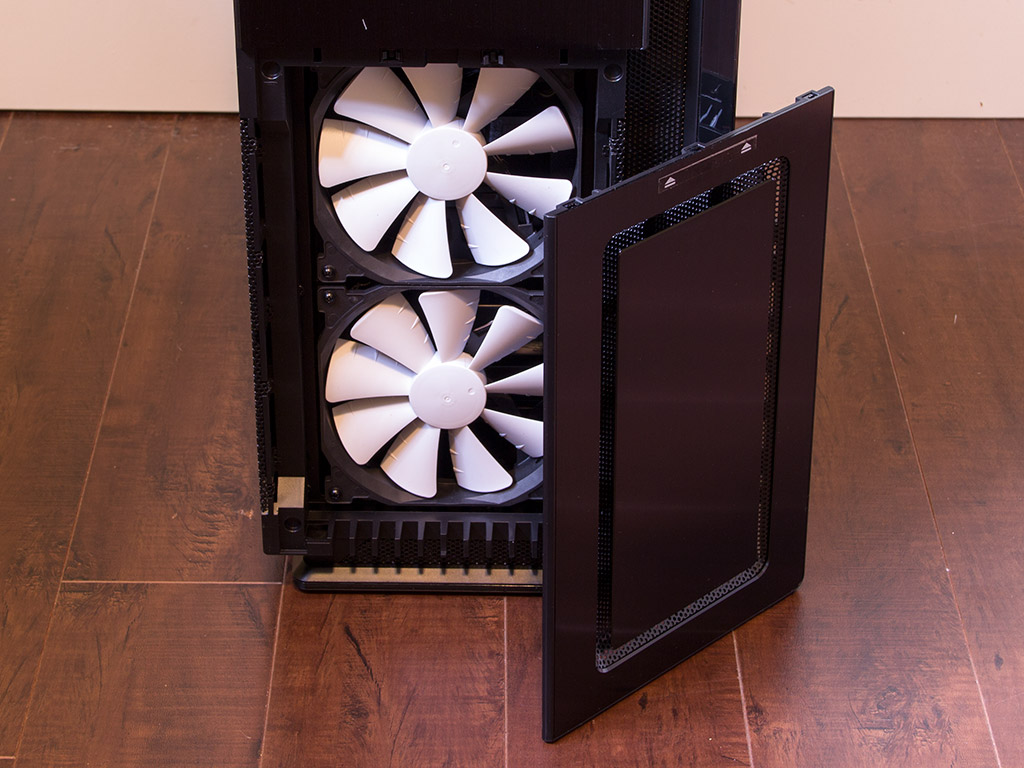
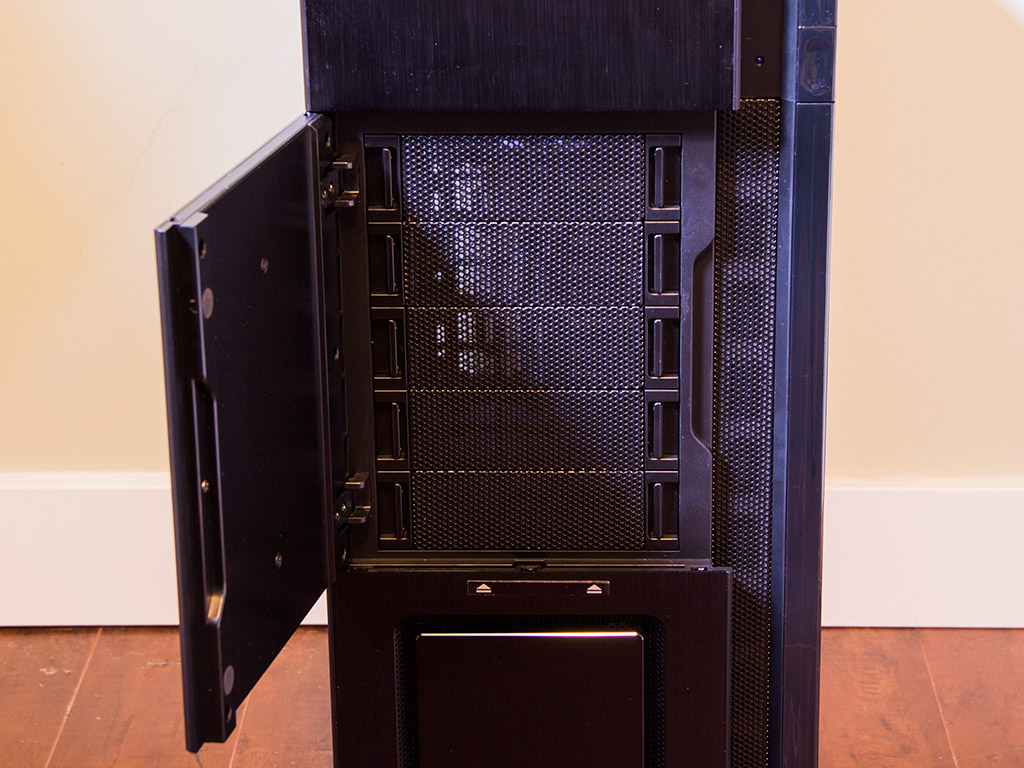
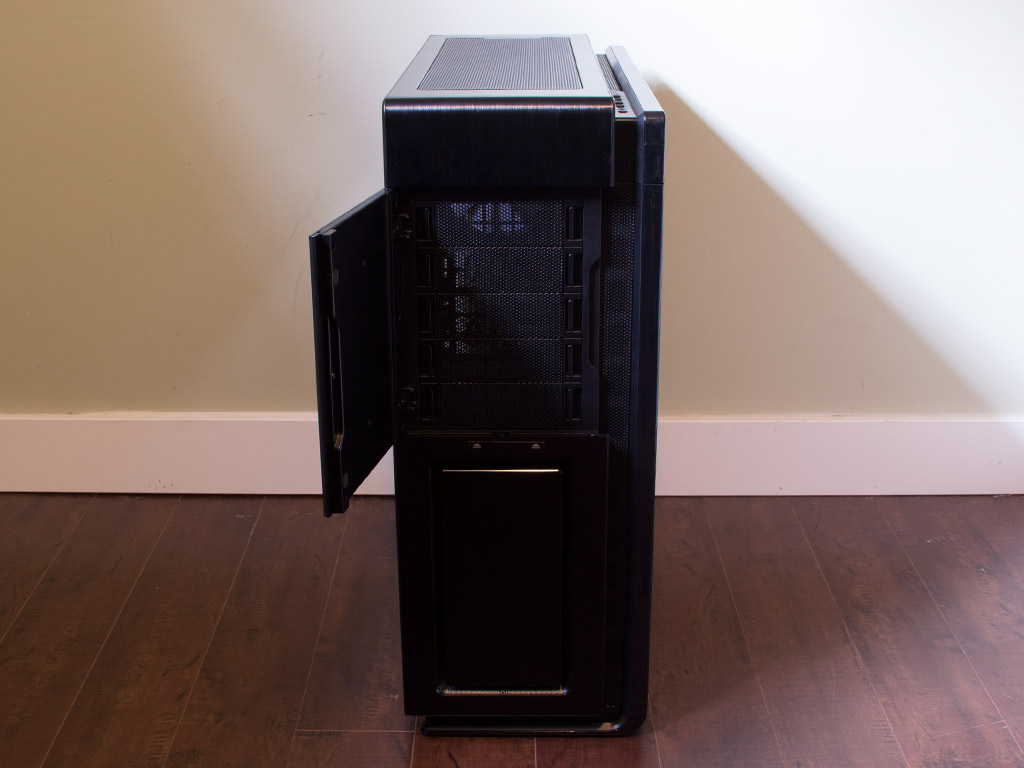
The bottom half of the front protects the two fans behind it and allows air to be pulled through the square frame. You may remove the cover by pressing down on the upper edge. Above that are the five 5.25" bays. Each is filled by an easily removable metal mesh cover, but a 5.25" to 3.5" adapter would have been nice to have for card readers, for example. One functional downside of the door is the lack of clearance, which may make the use of devices with extruding parts, like dials on a fan controller, impossible as the door will not close with such units installed.

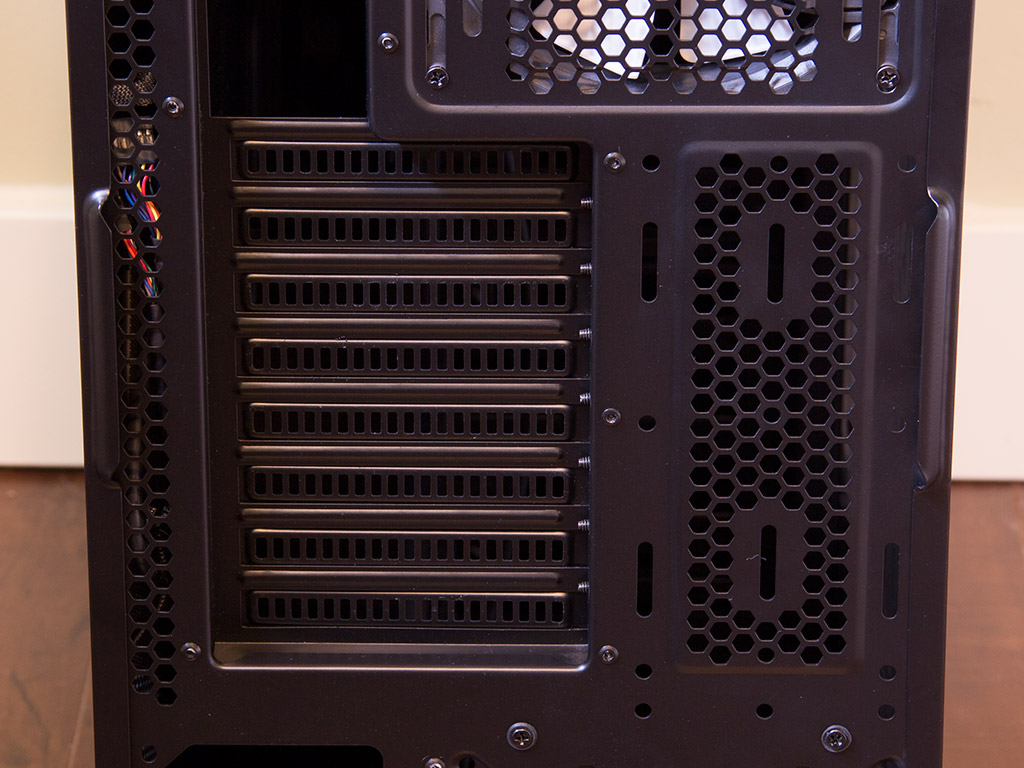
The PSU bay is on bottom-left corner in the back. Your can break out another PSU bay to the right of it, but that part of the case is built to hold a cooling fan by default. Above that are the eight expansion slots, each protected by individual covers. To the right of those are holes for the installation of a reservoir without having to mod the chassis or resort to double-sided tape. In the very top is a 140 mm exhaust fan to push air out the back of the case. It can be moved up or down a bit, which gives some flexibility with radiators there or the ability to line the fan up with your CPU cooler perfectly.
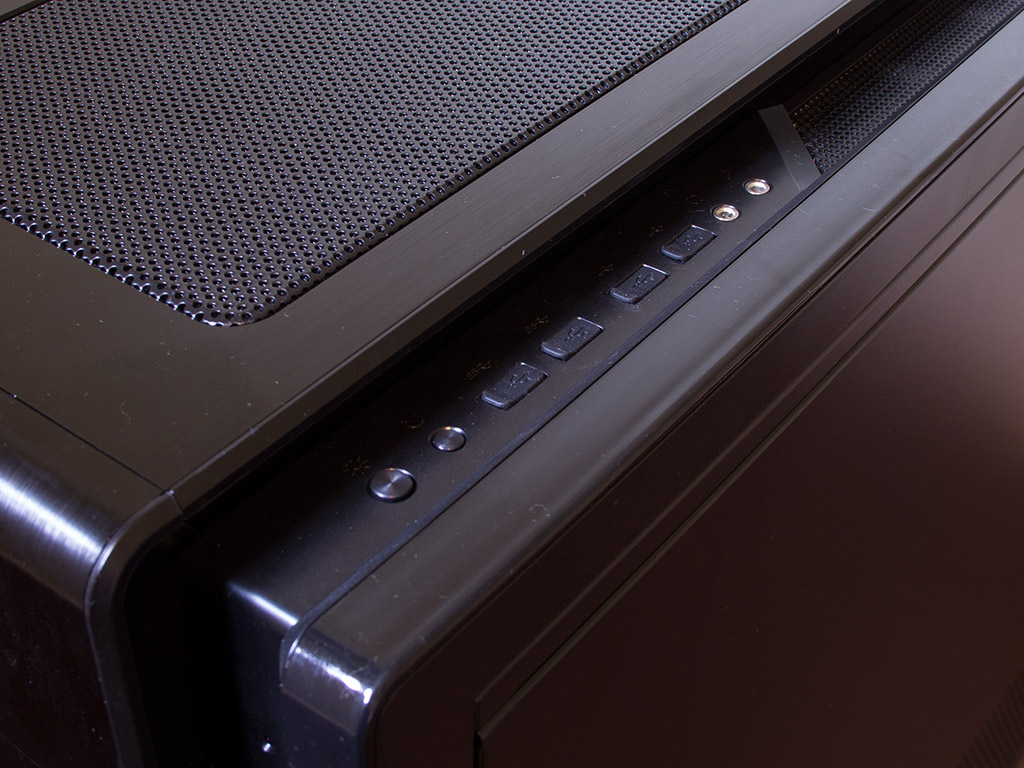
A fairly large power button with a small blue LED next to it has been placed in the top-right corner of the front panel. On top are a reset button, LED on/off button, and four USB plugs with individual rubber covers. Two of the latter are USB 3.0. A pair of audio plugs round out the I/O here.
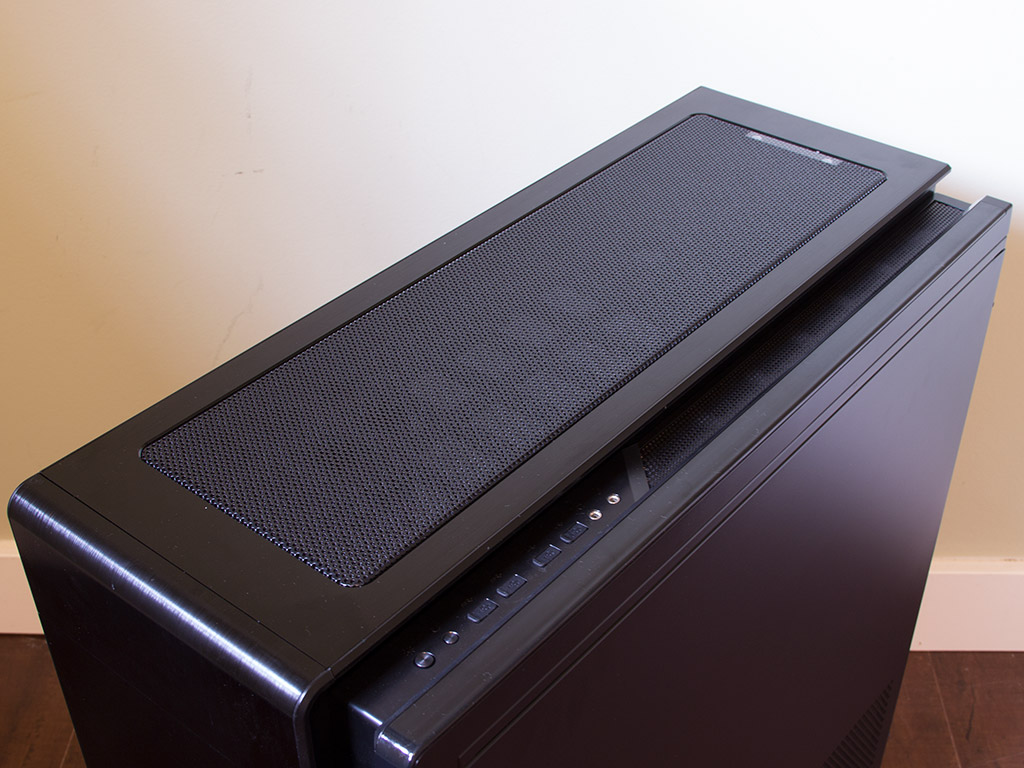
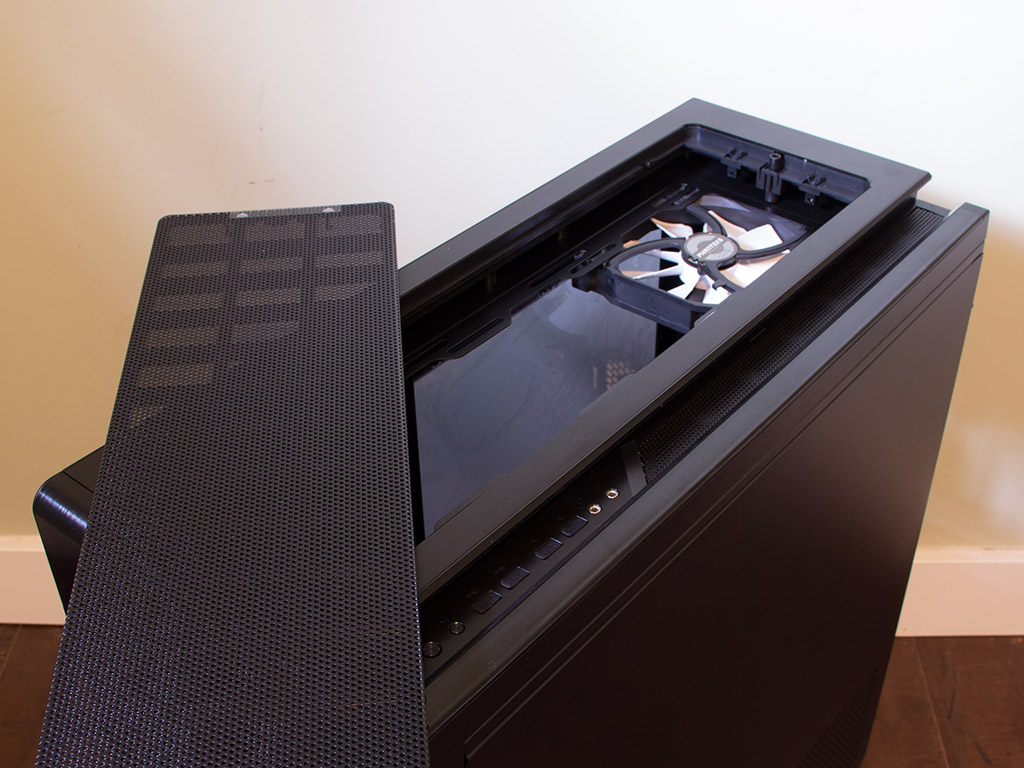
The entire top of the chassis is lined with a metal mesh cover. It can be removed easily, revealing mounting possibilities for radiators of up to 480 mm in size. There is virtually no limit to the radiator's thickness because of an excellent interior layout we will take a closer look at soon.
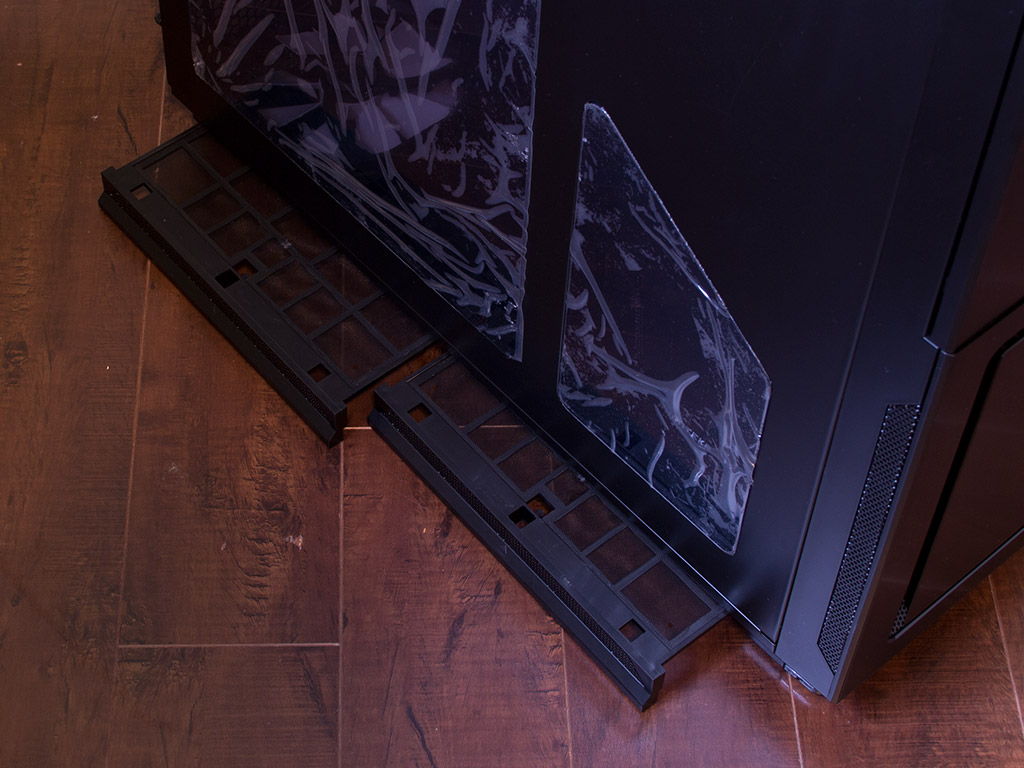
Two separate dust filters on the underside cover the entire length of the chassis. They may be removed for cleaning without tipping the chassis over, which is pretty cool.
Jul 19th, 2025 00:33 CDT
change timezone
Latest GPU Drivers
New Forum Posts
- What's your latest tech purchase? (24312)
- VMware Workstation is now free for personal use (16)
- 9060 XT 8GB or 5060 8GB? (35)
- question for everyone about google play games beta (1)
- Gacha Games - Discussions, Pulls, Updates, etc. (0)
- Idle issue since 5060 ti installed (28)
- Windows 11 General Discussion (6151)
- Have you got pie today? (16795)
- Anime Nation (13054)
- Stalker 2 is looking great. (214)
Popular Reviews
- MSI GeForce RTX 5060 Gaming OC Review
- Razer Blade 16 (2025) Review - Thin, Light, Punchy, and Efficient
- Thermal Grizzly WireView Pro Review
- Pulsar X2 Crazylight Review
- SilverStone SETA H2 Review
- AVerMedia Live Gamer Ultra S (GC553Pro) Review
- Upcoming Hardware Launches 2025 (Updated May 2025)
- Sapphire Radeon RX 9060 XT Pulse OC 16 GB Review - An Excellent Choice
- NVIDIA GeForce RTX 5050 8 GB Review
- Our Visit to the Hunter Super Computer
TPU on YouTube
Controversial News Posts
- Intel's Core Ultra 7 265K and 265KF CPUs Dip Below $250 (288)
- Some Intel Nova Lake CPUs Rumored to Challenge AMD's 3D V-Cache in Desktop Gaming (140)
- AMD Radeon RX 9070 XT Gains 9% Performance at 1440p with Latest Driver, Beats RTX 5070 Ti (131)
- NVIDIA Launches GeForce RTX 5050 for Desktops and Laptops, Starts at $249 (124)
- NVIDIA GeForce RTX 5080 SUPER Could Feature 24 GB Memory, Increased Power Limits (115)
- Microsoft Partners with AMD for Next-gen Xbox Hardware (105)
- NVIDIA DLSS Transformer Cuts VRAM Usage by 20% (99)
- AMD Sampling Next-Gen Ryzen Desktop "Medusa Ridge," Sees Incremental IPC Upgrade, New cIOD (97)