 10
10
Phanteks Enthoo Primo Review
Assembly & Finished Looks »A Closer Look - Inside
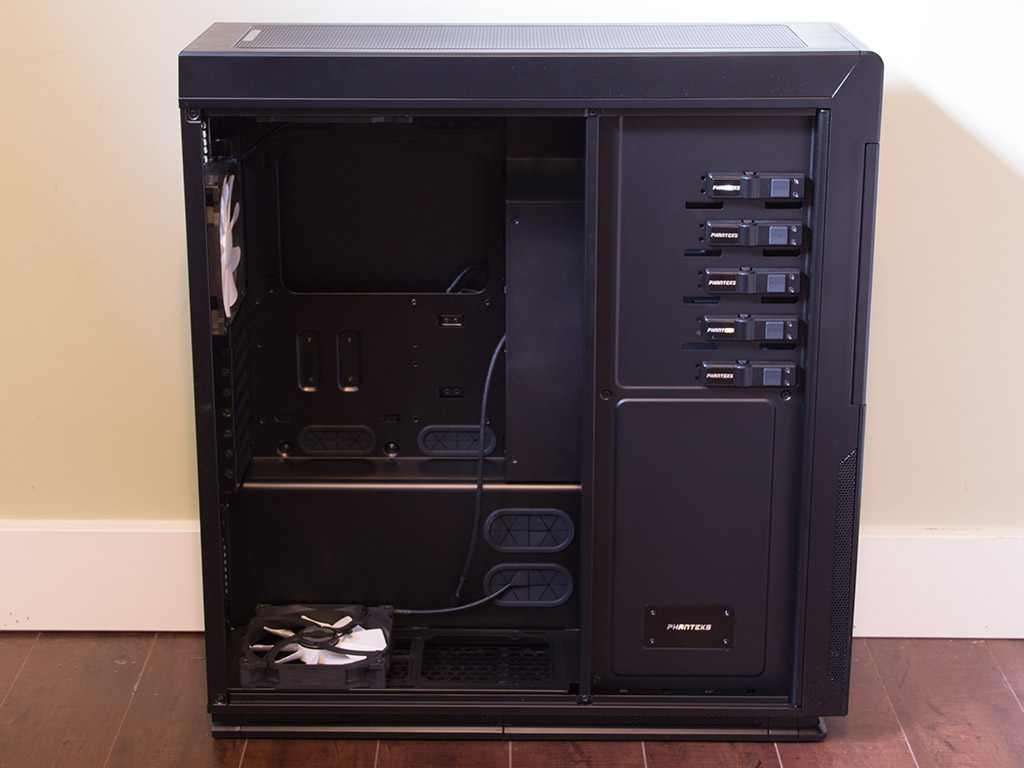
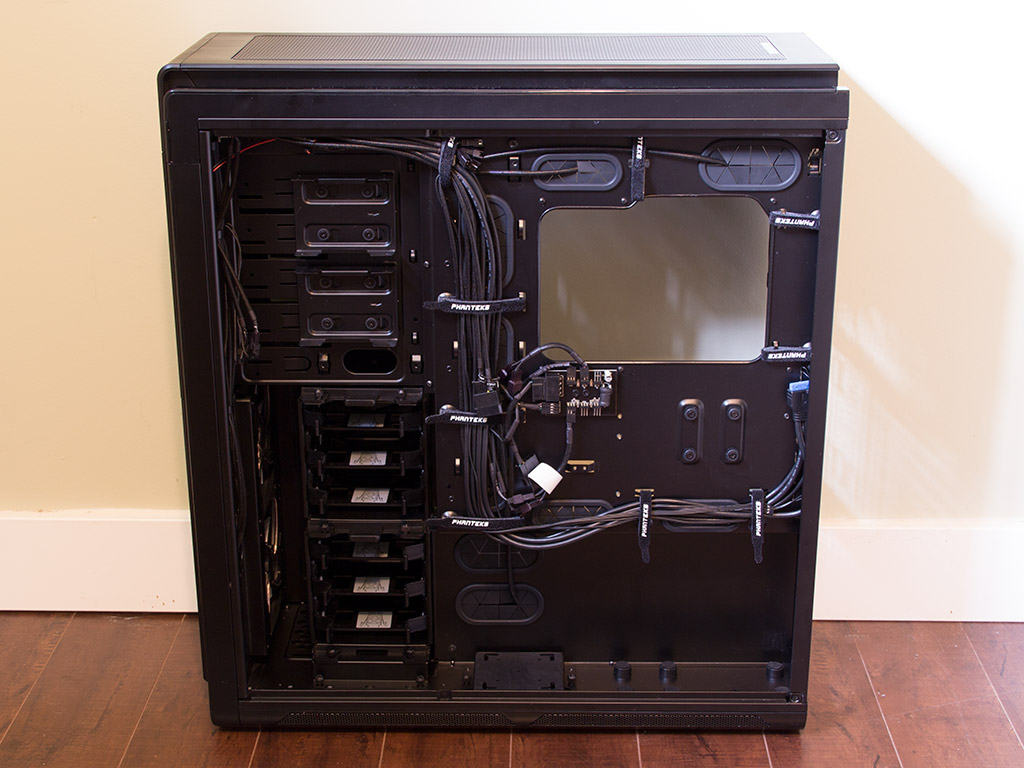
Simply remove the two thumbscrews holding each side panel in place to access the interior. First, you will notice the solid metal panel toward the front of the chassis. Phanteks has effectively hidden all drives completely, which should elevate it to a new level of clean and tidy as far as your cable mess is concerned. All installed cables on the backside come pre-routed right out of the box, which will save you loads of trouble when assembling things. Instead of cheap clips or traditional zip ties, the Enthoo Primo utilizes Velcro strips which are in turn held in place by screws. These seem very sturdy, so you really can pin a bunch of cables down without issue, and the back has nearly 40 mm worth of depth to run cables through. Put together, all these characteristics should allow for amazingly clean builds.
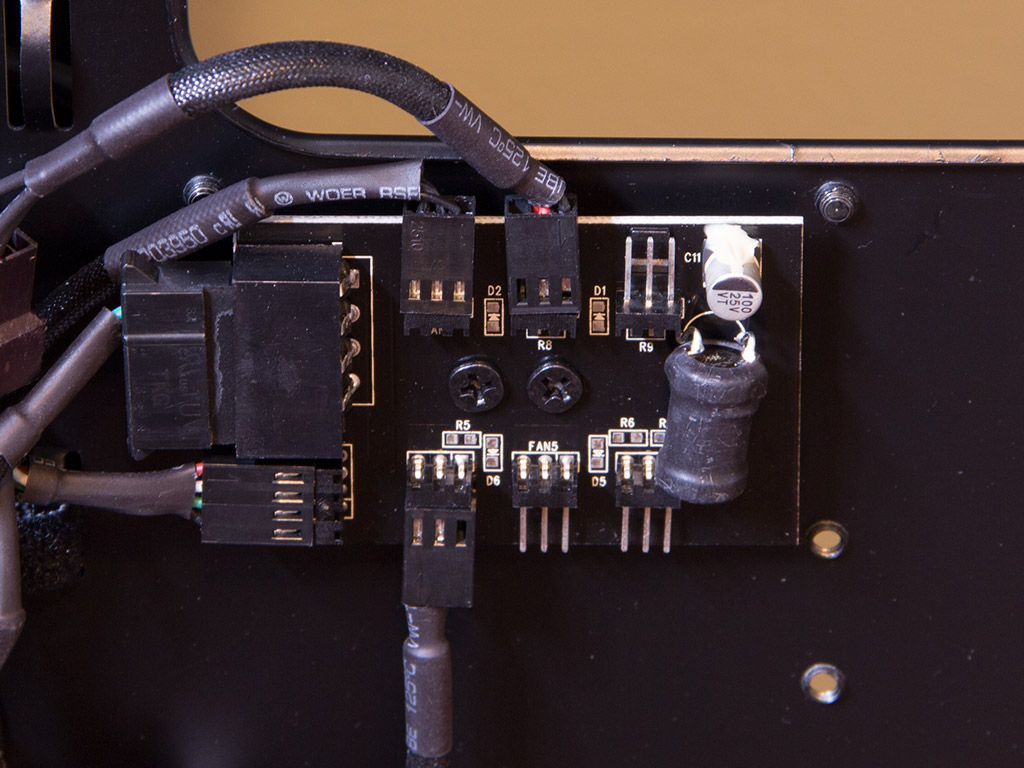
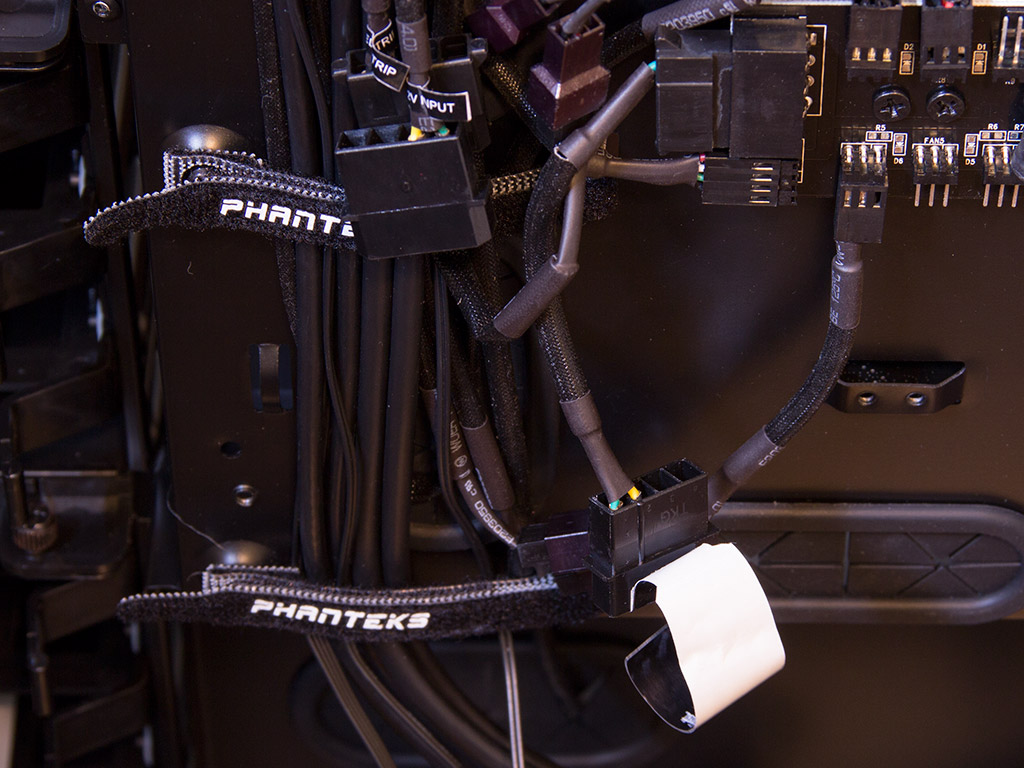
You will also find a PCB that acts as a hub to all other attached units on the back of the motherboard tray. It is unique in that the PWM functionality of a motherboard PWM header is transferred to upward of eleven traditional 3-pin fans. Not only does it reduce the cable mess, but you can now use affordable 3-pin fans to reap the benefits of PWM, and a Molex cable may be attached if you require more power than the one header can provide. But the PCB inside the Enthoo Primo managed to run all four 140 mm units without a Molex cable.
A Molex for the LED lights and one to connect third-party lighting elements to have also been built into the chassis, which allows you to toggle all lighting elements, including your own, on/off via the on/off switch.


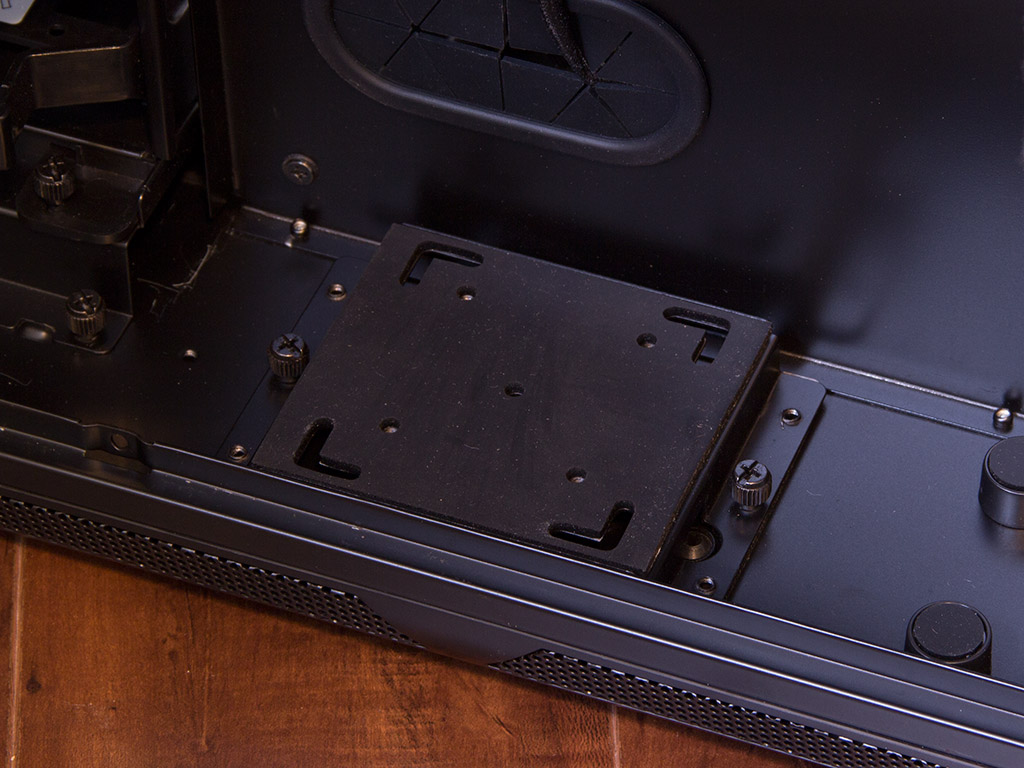
You will find two cages for 2.5" drives on the side of the chassis, but installing such storage units into them will require screws. These contraptions allow one to add four 2.5" hard drives to the Enthoo Primo in total, but one additional mounting opportunity on the back of the motherboard tray also allows you to move a cage over there, which would obviously create enough room for a total of six drives if you get another cage.
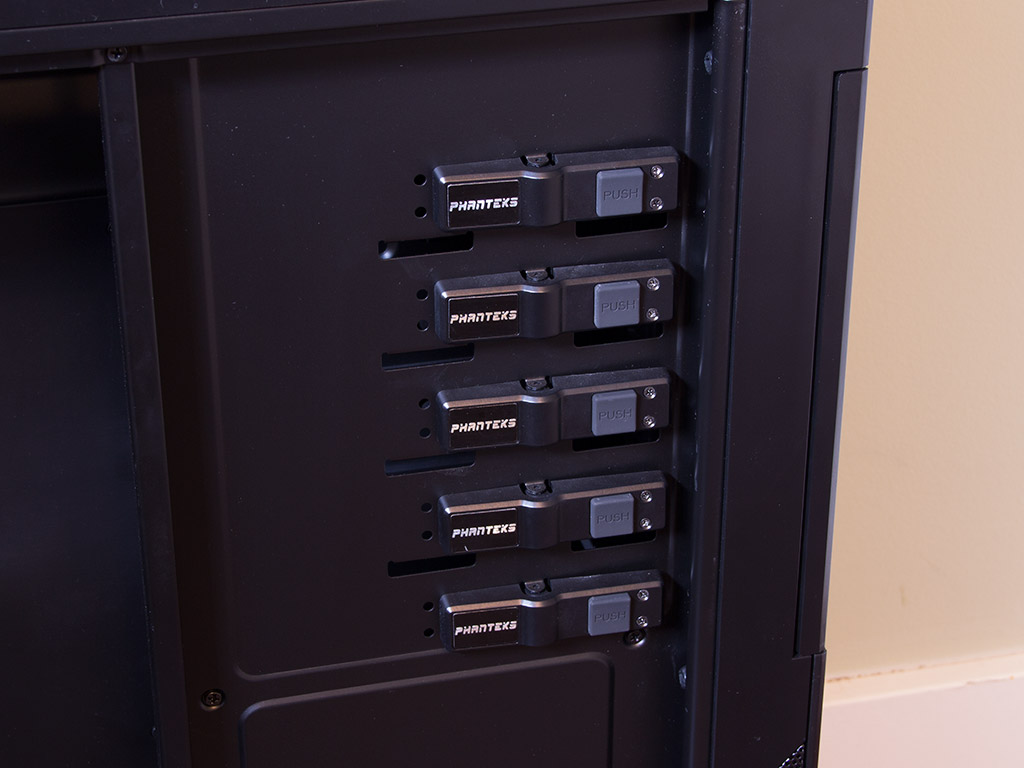
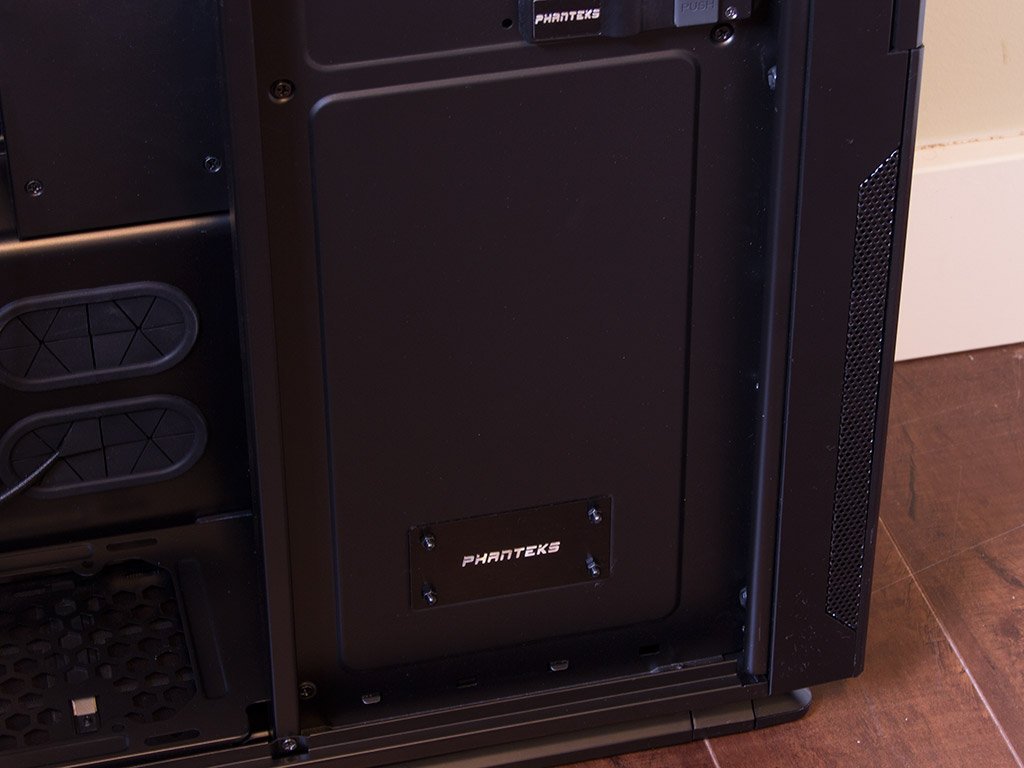
Taking a look at the front again, the 5.25" bays come equipped with a screwless locking mechanism, but you can still use two screws to secure anything mounted therein. Below those is the aforementioned plaque. Replacing it with a custom plaque for your own mod would be easy, and it is the only spot with the company's log—the exterior of the chassis is free of any such print.
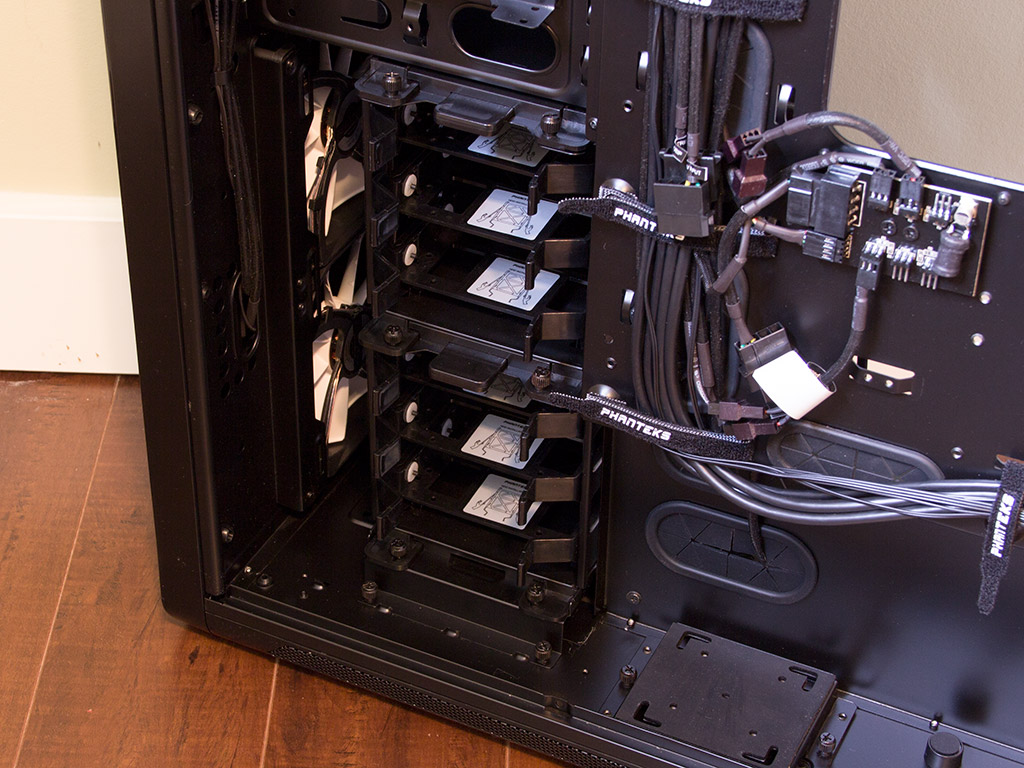
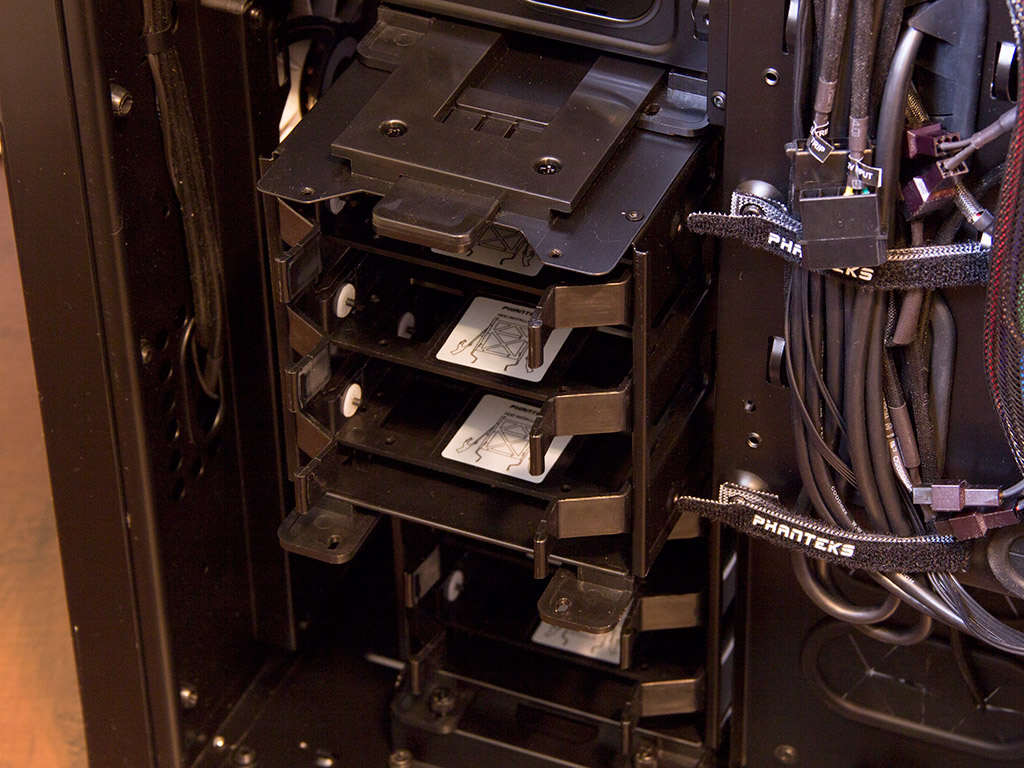
You can access the hard drives through the windowless side. Both cages can be moved toward the front slightly if you require the additional space within the case for a watercooling setup. Each of the two cages holds three hard-drive trays and installing drives does not require tools or screws.
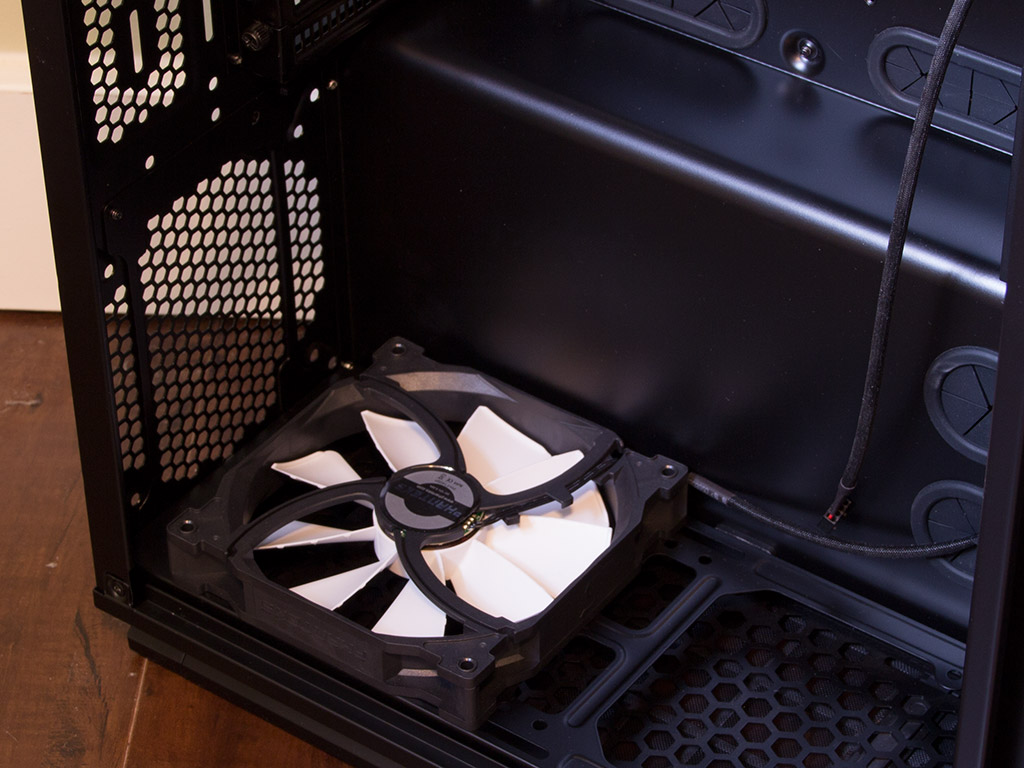

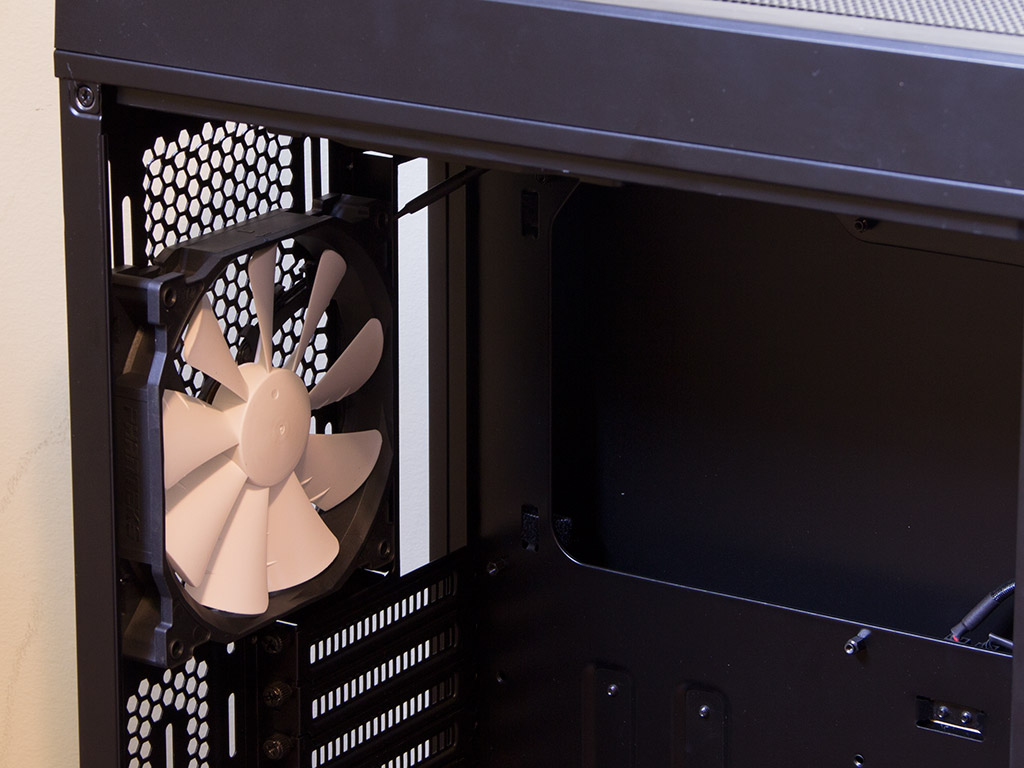
In the rear, you will find a 140 mm fan on the floor of the Enthoo Primo. You may install another unit here or go all out by, for example, placing another radiator instead. Above that are the eight expansion slots, each protected by separate covers held in place by thumbscrews. There is plenty of space for a reservoir next to it. Another 140 mm unit in the top is set to blow air out of the chassis.
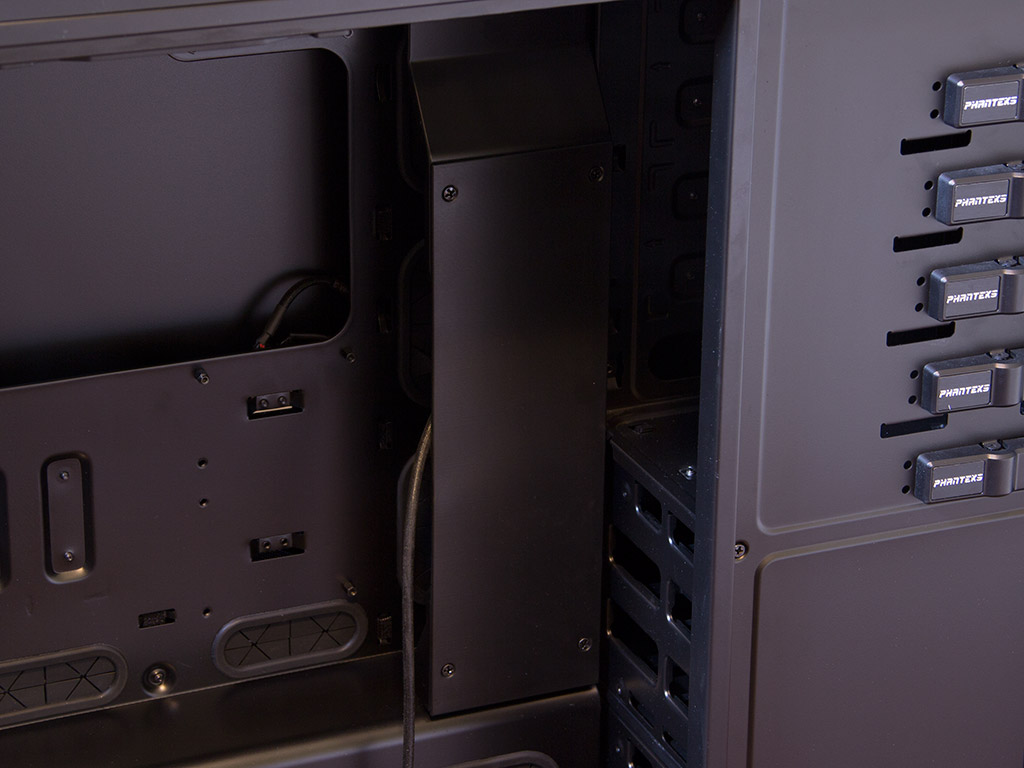
Within the chassis is a cover which hides your cable mess and acts as a mounting possibility for another reservoir. It comes with a plastic cover attached, which may be removed to reveal various screw mounts for such a unit. Installing this reservoir bracket and its plastic cover (or 80 mm reservoir) will reduce the maximum length of graphics cards to 257 mm. Removing the plastic bracket and installing a 60 mm reservoir gives you a bit more space for cards of up to 266.7 mm, and taking the whole contraption out allows you to place graphics cards of up to 350mm within the Enthoo Prim
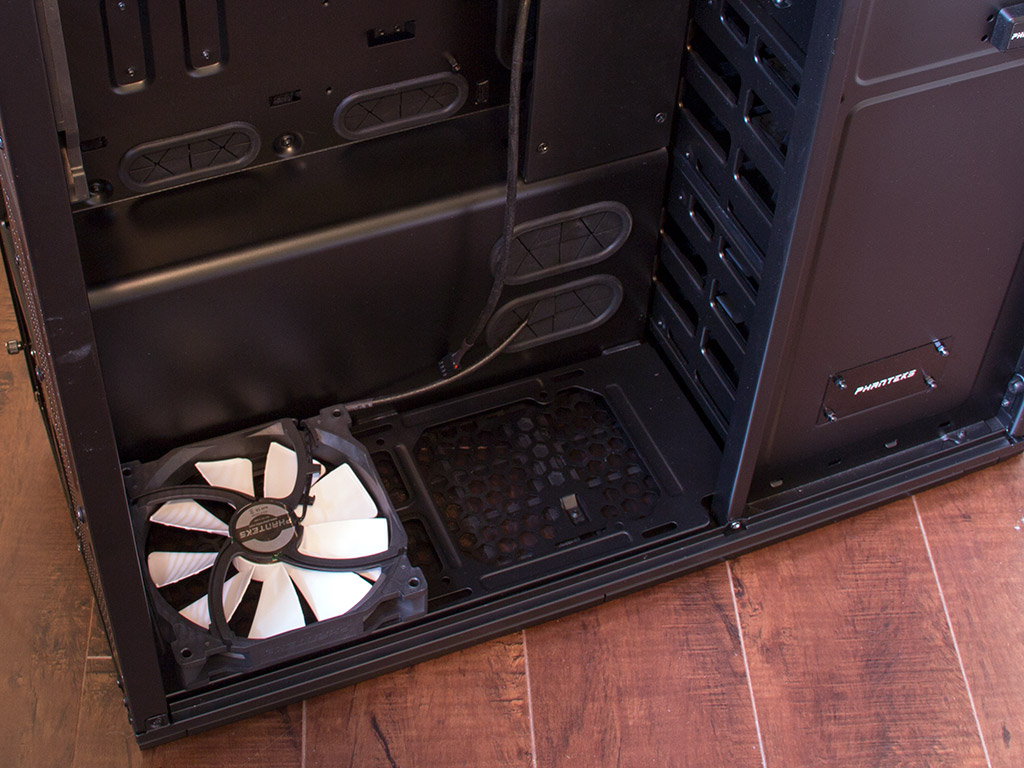
Another unique aspect is the shroud covering half the area on the bottom since it creates a little chamber under which the PSU resides, further enhancing the Enthoo Primos's ability to hide anything unseemly.
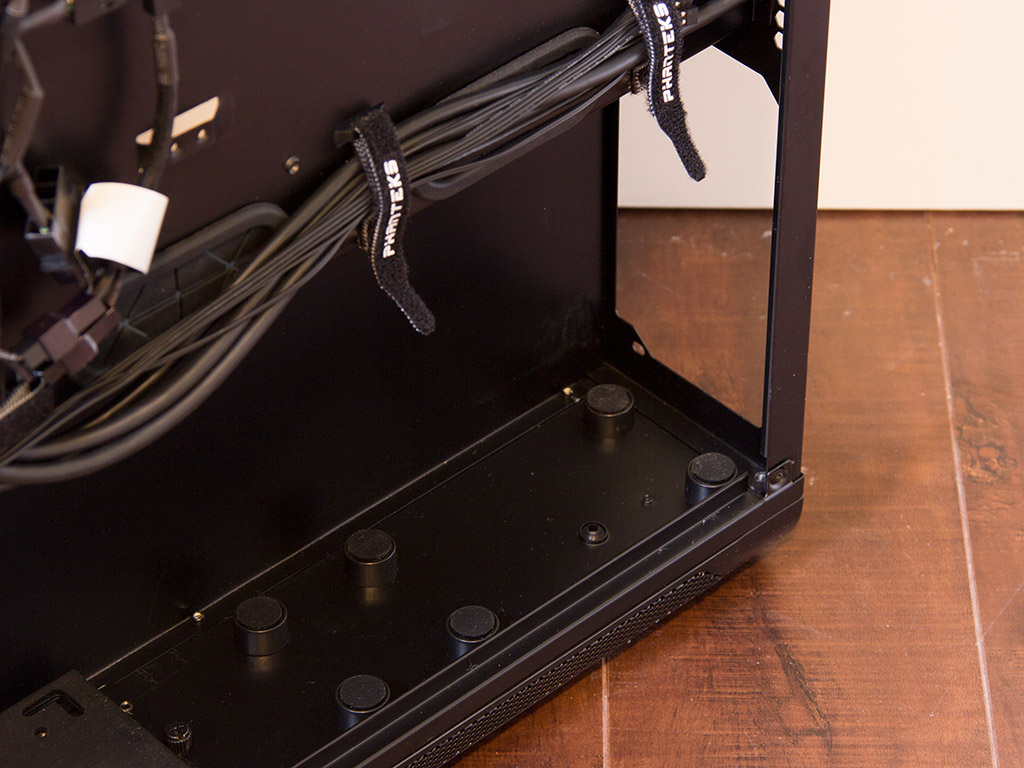
This PSU bay is accessible through the other side and comes with rubber-lined dots on the floor for support. Behind it is a little pedestal for a watercooling pump. It is lined with rubber materials on both sides to kill any vibrations. You can place this pedestal into the hard-drive area by sacrificing the bottom HDD cage instead. You can even remove both cages to install a dual radiator here.
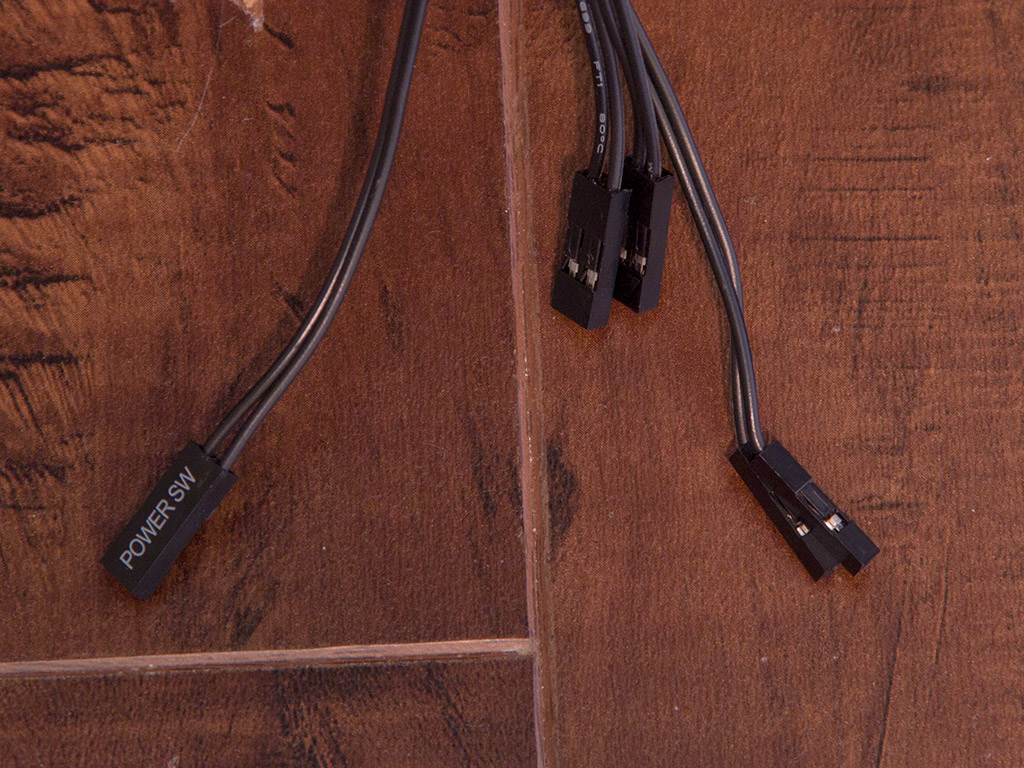
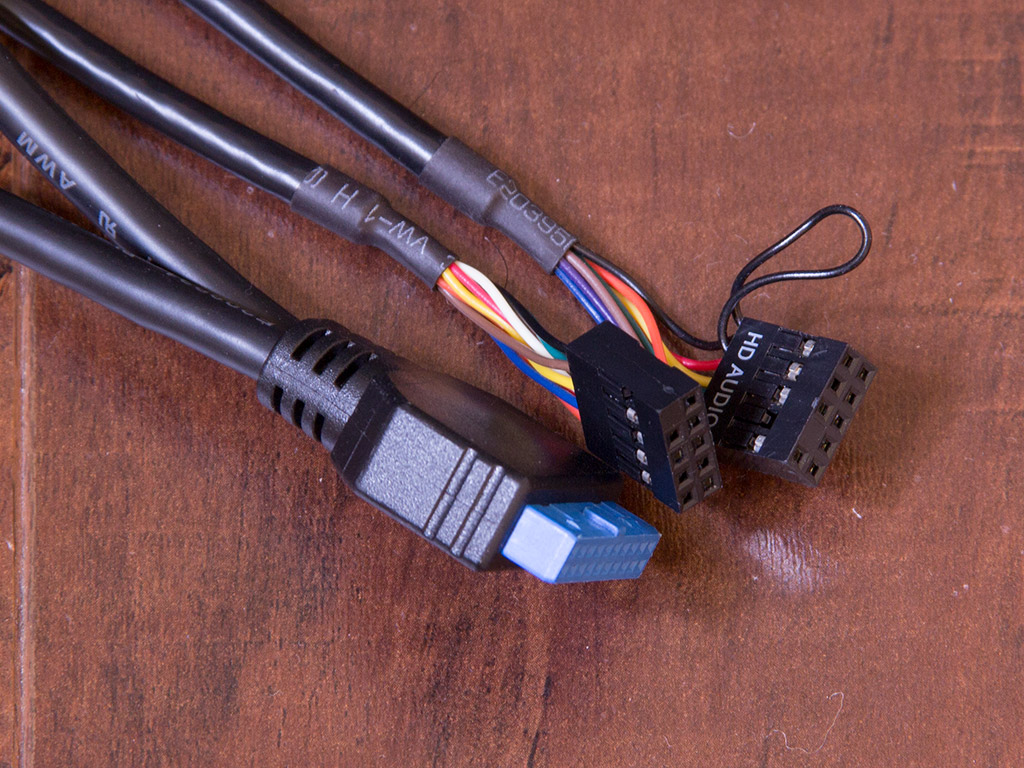
We will take a look at the cables before diving into the assembly process. All the leads within the Enthoo Primo are sleeved to go with the black interior of the chassis. You will get all the usual plugs for the motherboard header and the I/O panel. Phanteks uses one of the aforementioned Molex connectors to power he LED lights of the chassis.
Jul 14th, 2025 15:45 CDT
change timezone
Latest GPU Drivers
New Forum Posts
- Stupid things one has done with hardware (48)
- No offense, here are some things that bother me about your understanding of fans. (109)
- AMD 7Ghz? This keeps popping up on my feeds! (5)
- Best motherboards for XP gaming (151)
- Which CPU to Choose for a 7900 XT? Ryzen 7 7700 or Ryzen 5 9600X? (43)
- Bent pins on an AM5 mobo, any way to test them and also find which ones were on the schematic? (6)
- i7 2860QM how to raise power limit? (20)
- Arc 770a 16gb money pit (9)
- Frametime spikes and stuttering after switching to AMD CPU? (572)
- What's your latest tech purchase? (24265)
Popular Reviews
- Lexar NM1090 Pro 4 TB Review
- Our Visit to the Hunter Super Computer
- MSI GeForce RTX 5060 Gaming OC Review
- Fractal Design Epoch RGB TG Review
- NVIDIA GeForce RTX 5050 8 GB Review
- Corsair FRAME 5000D RS Review
- Sapphire Radeon RX 9060 XT Pulse OC 16 GB Review - An Excellent Choice
- Chieftec Iceberg 360 Review
- AMD Ryzen 7 9800X3D Review - The Best Gaming Processor
- Upcoming Hardware Launches 2025 (Updated May 2025)
TPU on YouTube
Controversial News Posts
- Intel's Core Ultra 7 265K and 265KF CPUs Dip Below $250 (288)
- Some Intel Nova Lake CPUs Rumored to Challenge AMD's 3D V-Cache in Desktop Gaming (140)
- AMD Radeon RX 9070 XT Gains 9% Performance at 1440p with Latest Driver, Beats RTX 5070 Ti (131)
- NVIDIA Launches GeForce RTX 5050 for Desktops and Laptops, Starts at $249 (122)
- NVIDIA GeForce RTX 5080 SUPER Could Feature 24 GB Memory, Increased Power Limits (115)
- Microsoft Partners with AMD for Next-gen Xbox Hardware (105)
- Intel "Nova Lake‑S" Series: Seven SKUs, Up to 52 Cores and 150 W TDP (100)
- NVIDIA DLSS Transformer Cuts VRAM Usage by 20% (97)