 36
36
Phanteks PH-TC14PE Review
Finished Looks »Installation
Installing the Phanteks PH-TC14PE is not overly difficult but can be somewhat time-consuming. Users will first want to install the LGA2011 screws. Screw them in by hand until they are snug.
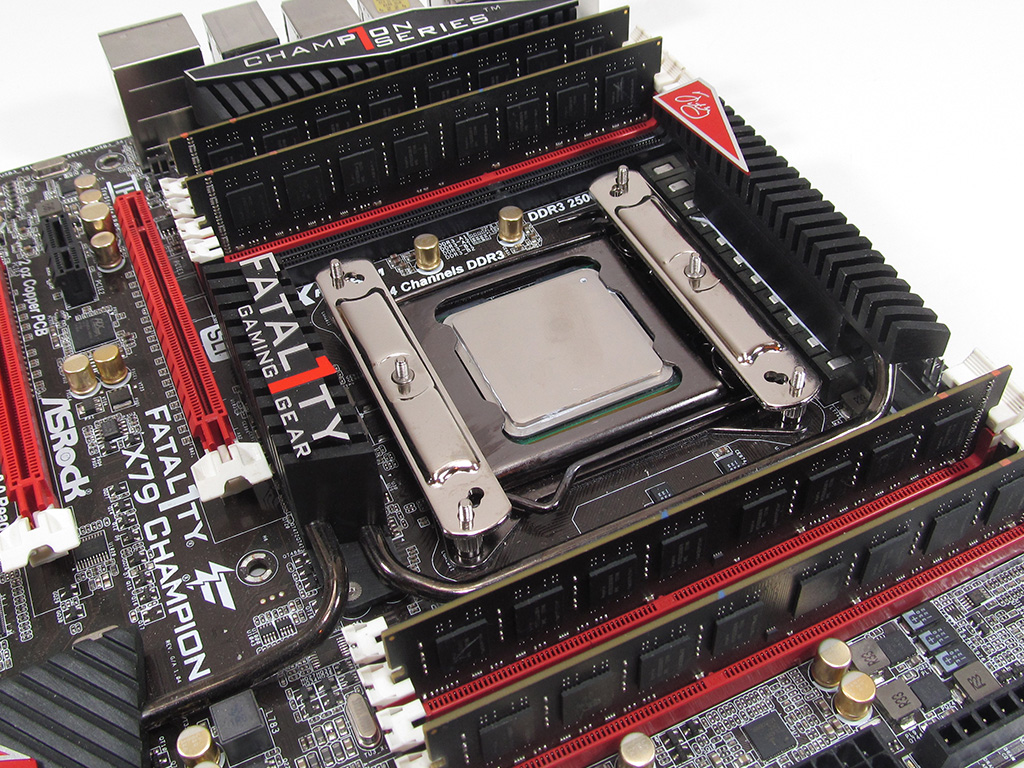
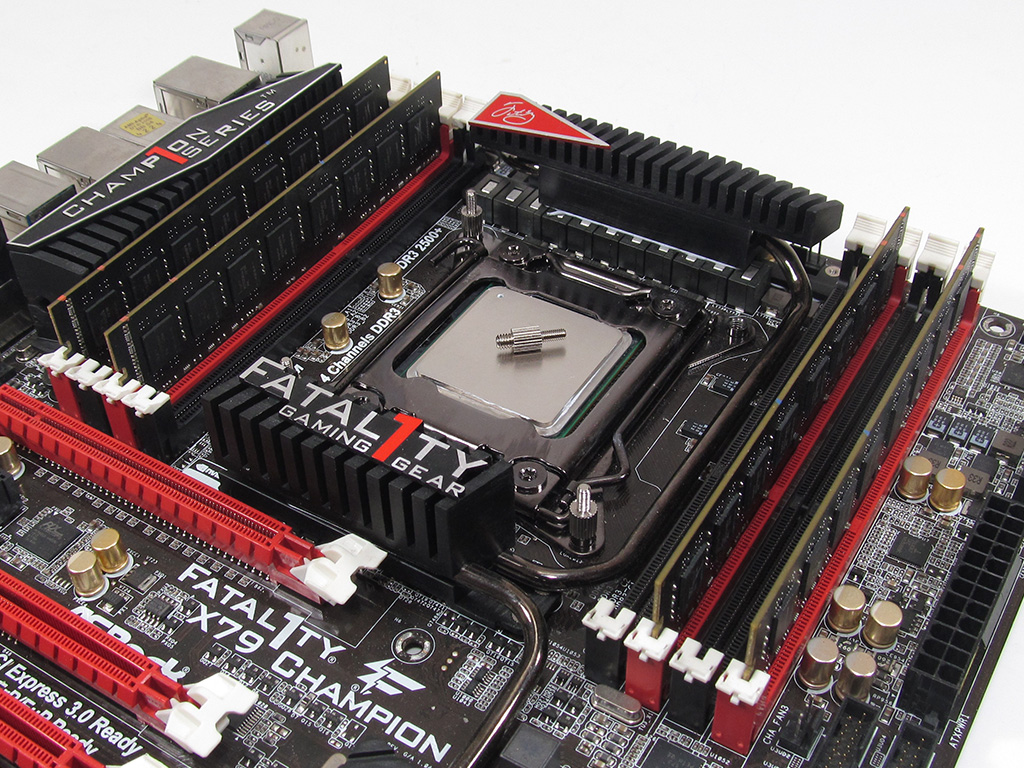
Place the mounting arms onto the LGA2011 screws. You can place them vertically or horizontally depending on how you wish to mount the cooler itself.
Here, you can see the Phanteks PH-TC14PE's different orientations. Pick one that fits your situation best.
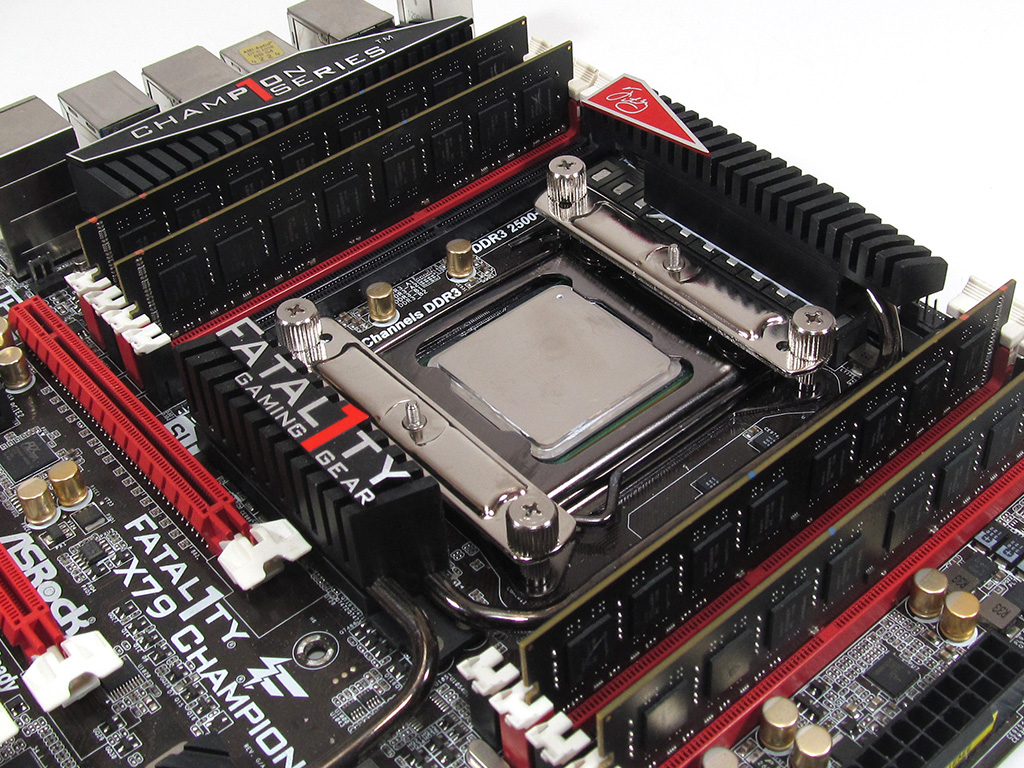
After deciding on the orientation, tighten the nuts down onto the mounting arms to hold them in place. This will create the solid foundation this massive cooler needs as support.

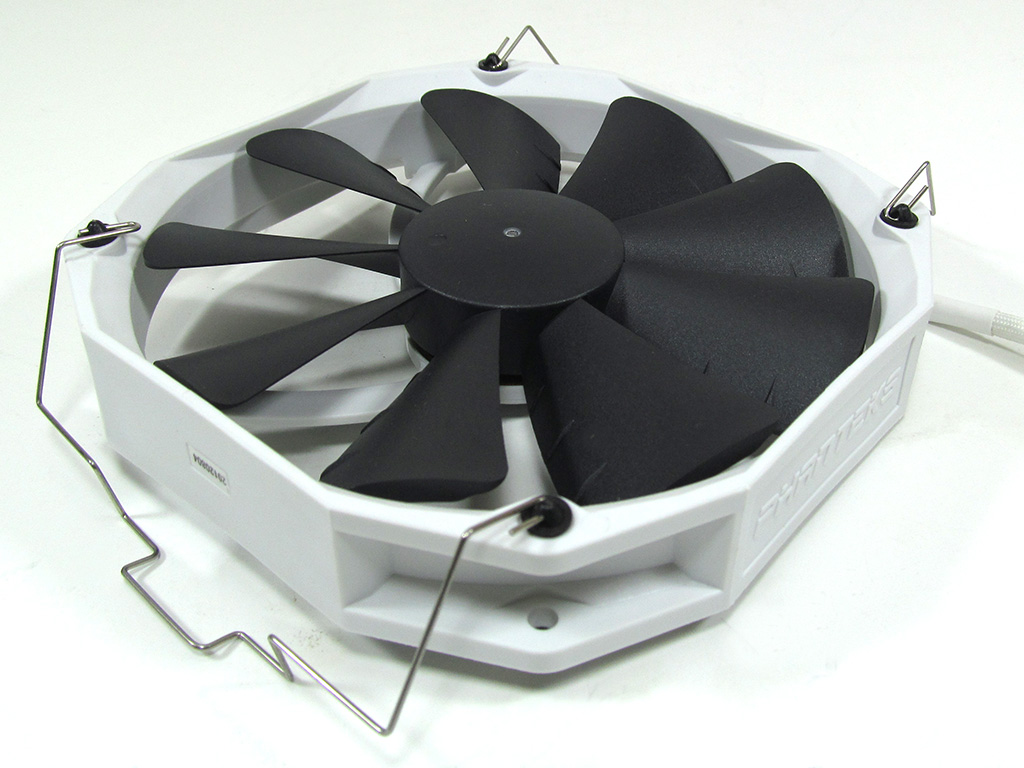
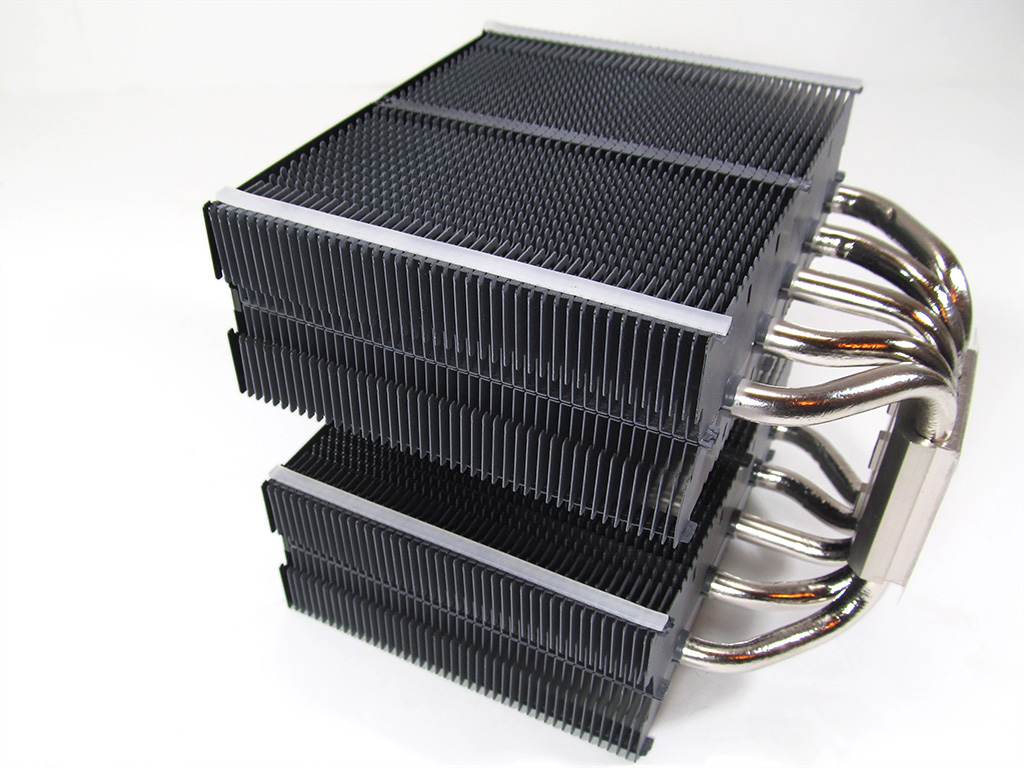
The fans will also need to be prepared for mounting. Push plastic fan clip adaptors through each fan's mounting holes. After that is done, simply slide both ends of a metal clip through a spare opening on an adaptor. The fans are now ready. The heatsink, however, is not. Phanteks includes six rubber strips to keep the fans from vibrating against the aluminum heatsink. Users will need to place these as shown for the two fans. Phanteks has included two additional rubber strips for a third fan should you wish to go that route.

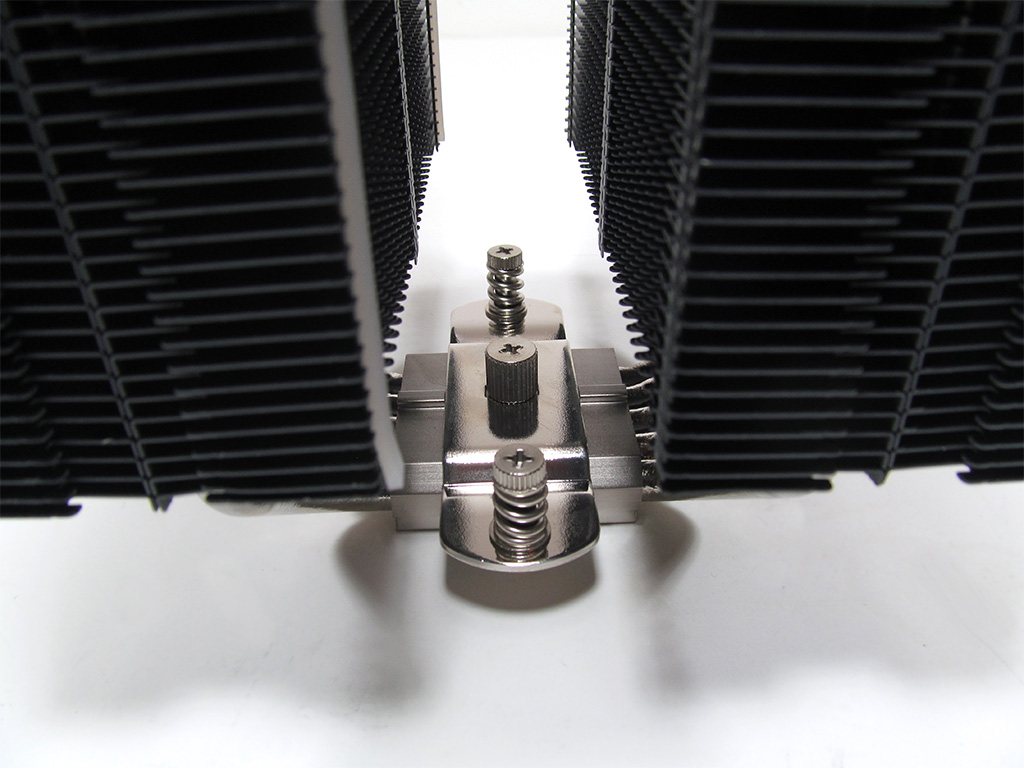
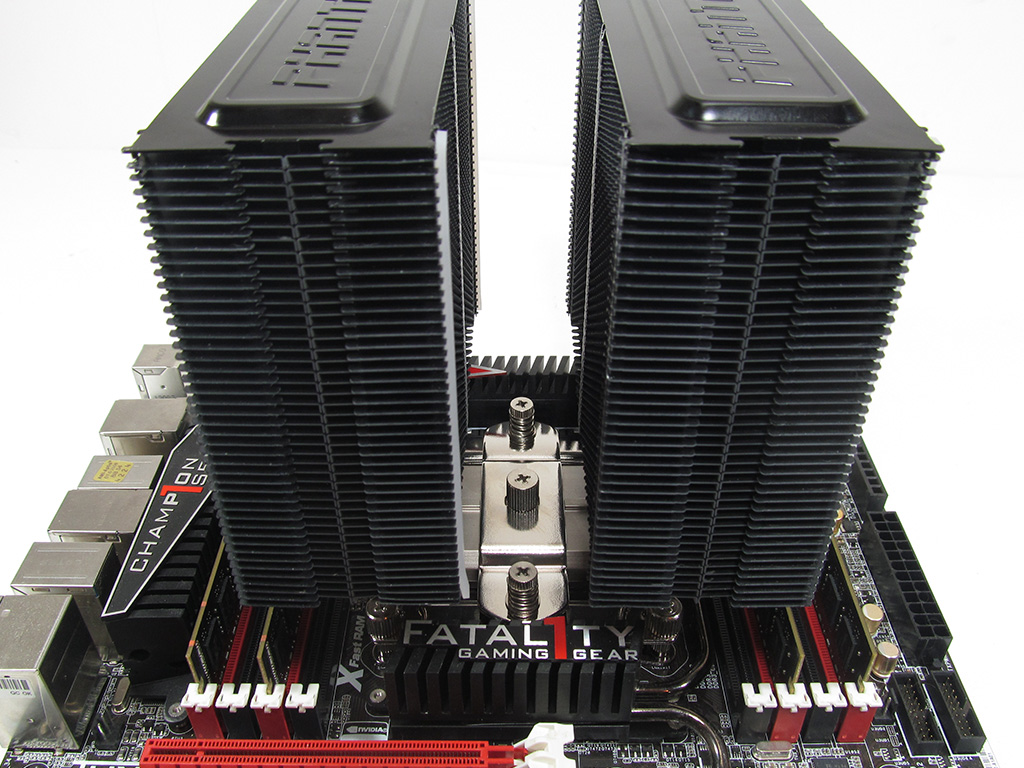
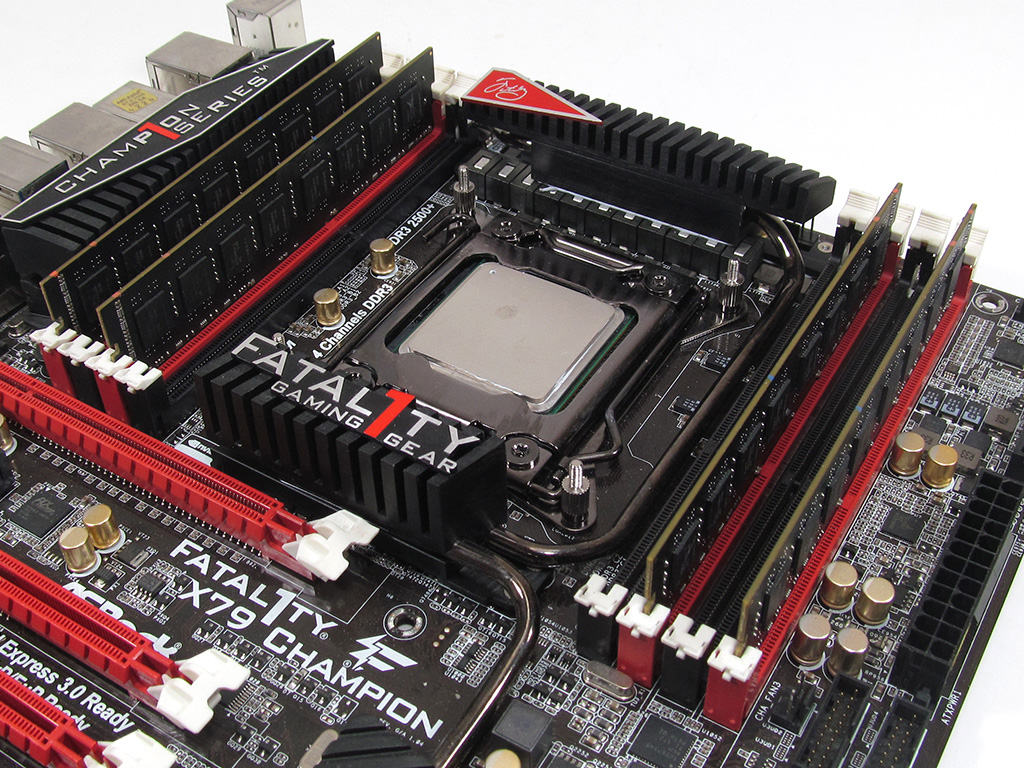
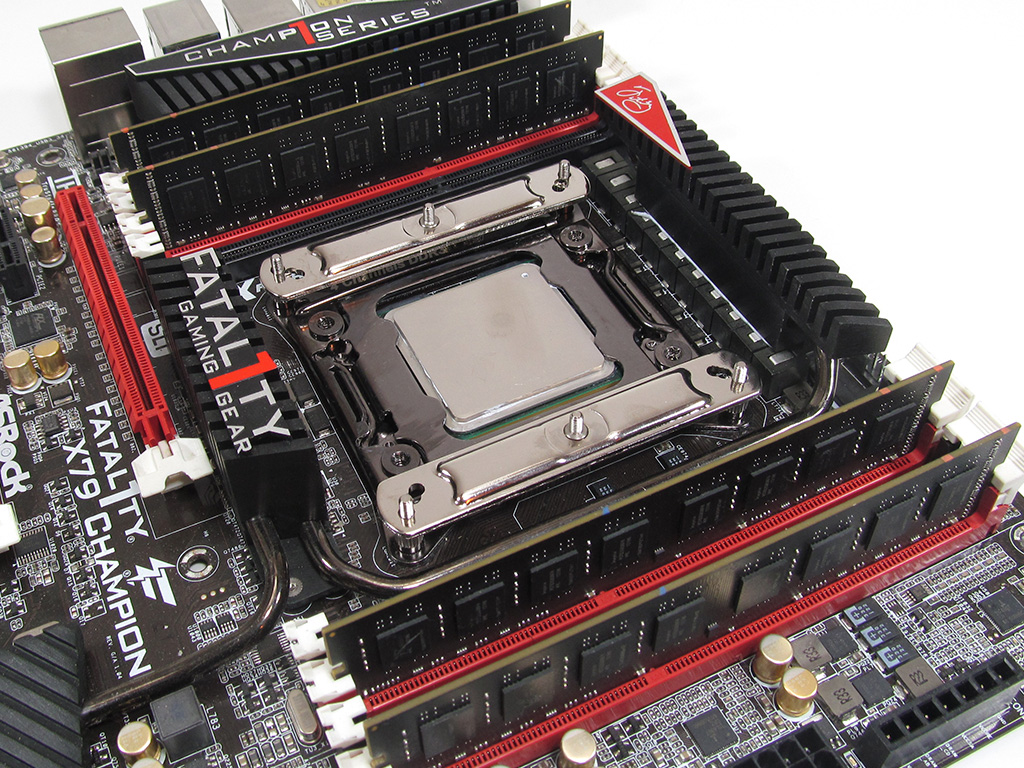
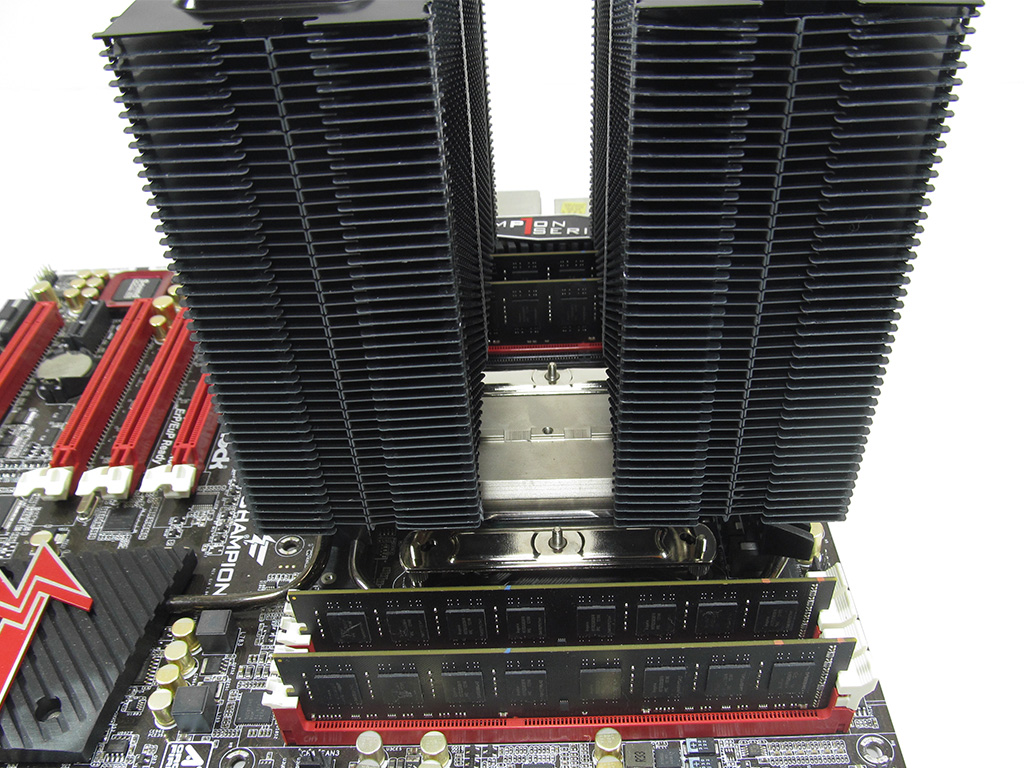
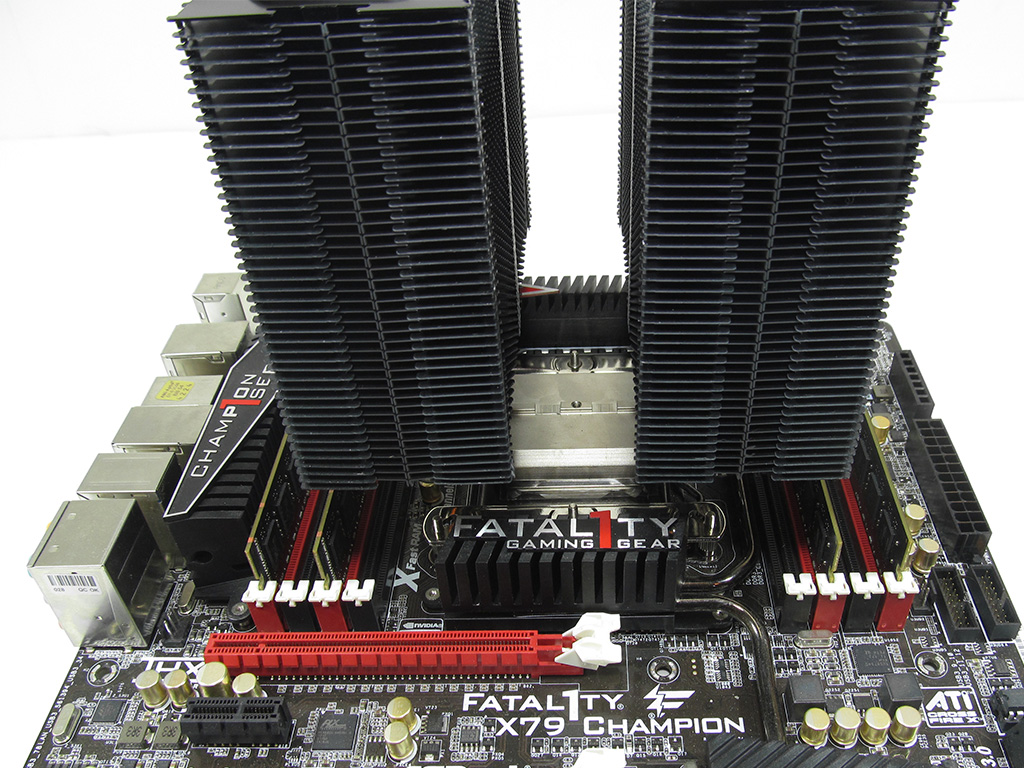
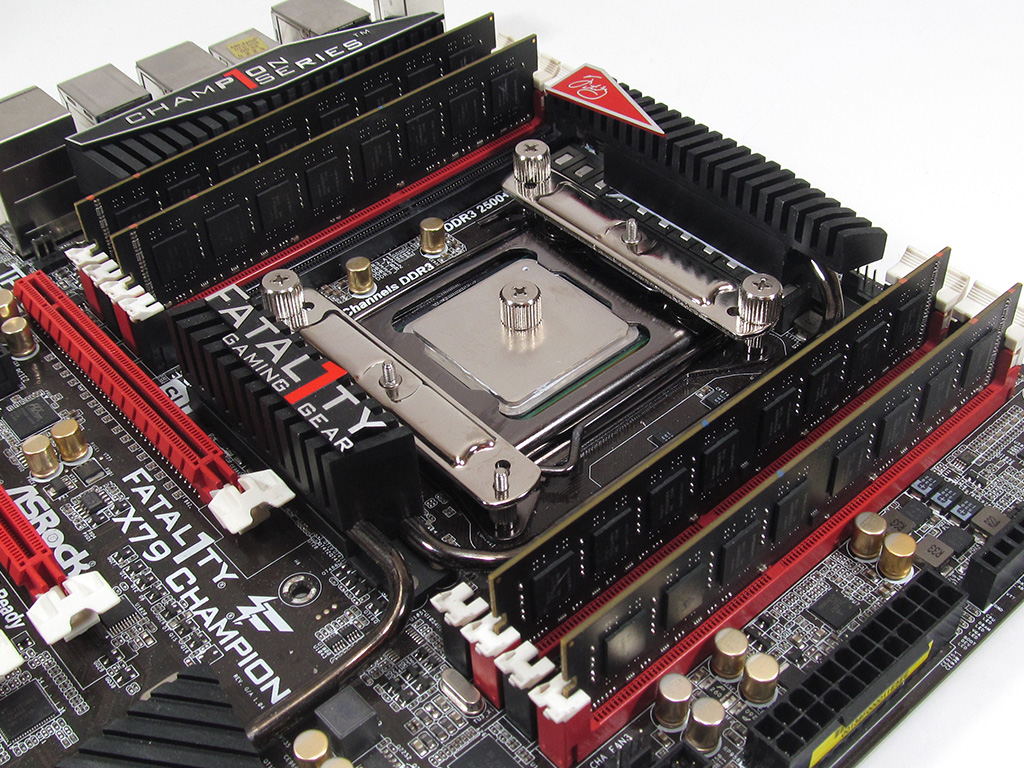
It is now finally time to apply the thermal paste at which point things become a bit difficult for those of us with big hands as the crossbar needs to be attached to the cooler. It lines up easily enough, but screwing the small thumbscrew in can be problematic. I would recommend a long, magnetic screwdriver to make this part of the install much easier. Once the crossbar has been attached, it's time to seat the PH-TC14PE before tightening the two spring screws down. With that accomplished, the heatsink is now firmly attached to the motherboard.

The final step is to mount the fans and plug them into the motherboard. Should you need it, a PWM Y-cable has been included in the box.
The process of installing the Phanteks PH-TC14PE could have definitely been better. Everything except for screwing the crossbar to the top of the cooler's base was relatively easy. The crossbar proved troublesome to me and will do so again to others with big hands. I would recommend a long, magnetic screwdriver to make its installation a lot easier. In the end, I would rate the installation process a 7 on a scale of 1 (hardest) to 10 (easiest).
Apr 2nd, 2025 12:34 EDT
change timezone
Latest GPU Drivers
New Forum Posts
- lowering the voltage but performance decreased a lot. (11)
- WCG Daily Numbers (12825)
- Is RX 9070 VRAM temperature regular value or hotspot? (291)
- Upgrading...Video editing; CPU, GPU, SSD/NVMe , Memory; how important is each one? (11)
- Gigabyte 9070 XT audio issues (22)
- Free Games Thread (4607)
- Folding Pie and Milestones!! (9456)
- Post your cooling. (200)
- OCCT power test shows a lot of error (6)
- NUC i7-9750 throttle stop help (14)
Popular Reviews
- DDR5 CUDIMM Explained & Benched - The New Memory Standard
- Sapphire Radeon RX 9070 XT Pulse Review
- SilverStone Lucid 04 Review
- ASRock Phantom Gaming B850 Riptide Wi-Fi Review - Amazing Price/Performance
- Gigabyte GeForce RTX 5080 Gaming OC Review
- Palit GeForce RTX 5070 GamingPro OC Review
- Sapphire Radeon RX 9070 XT Nitro+ Review - Beating NVIDIA
- Samsung 9100 Pro 2 TB Review - The Best Gen 5 SSD
- Assassin's Creed Shadows Performance Benchmark Review - 30 GPUs Compared
- be quiet! Pure Rock Pro 3 Black Review
Controversial News Posts
- MSI Doesn't Plan Radeon RX 9000 Series GPUs, Skips AMD RDNA 4 Generation Entirely (146)
- Microsoft Introduces Copilot for Gaming (124)
- AMD Radeon RX 9070 XT Reportedly Outperforms RTX 5080 Through Undervolting (119)
- NVIDIA Reportedly Prepares GeForce RTX 5060 and RTX 5060 Ti Unveil Tomorrow (115)
- Over 200,000 Sold Radeon RX 9070 and RX 9070 XT GPUs? AMD Says No Number was Given (100)
- NVIDIA GeForce RTX 5050, RTX 5060, and RTX 5060 Ti Specifications Leak (96)
- Retailers Anticipate Increased Radeon RX 9070 Series Prices, After Initial Shipments of "MSRP" Models (90)
- China Develops Domestic EUV Tool, ASML Monopoly in Trouble (88)