 4
4
Rosewill Cullinan MX Review
Assembly & Finished Looks »A Closer Look - Inside
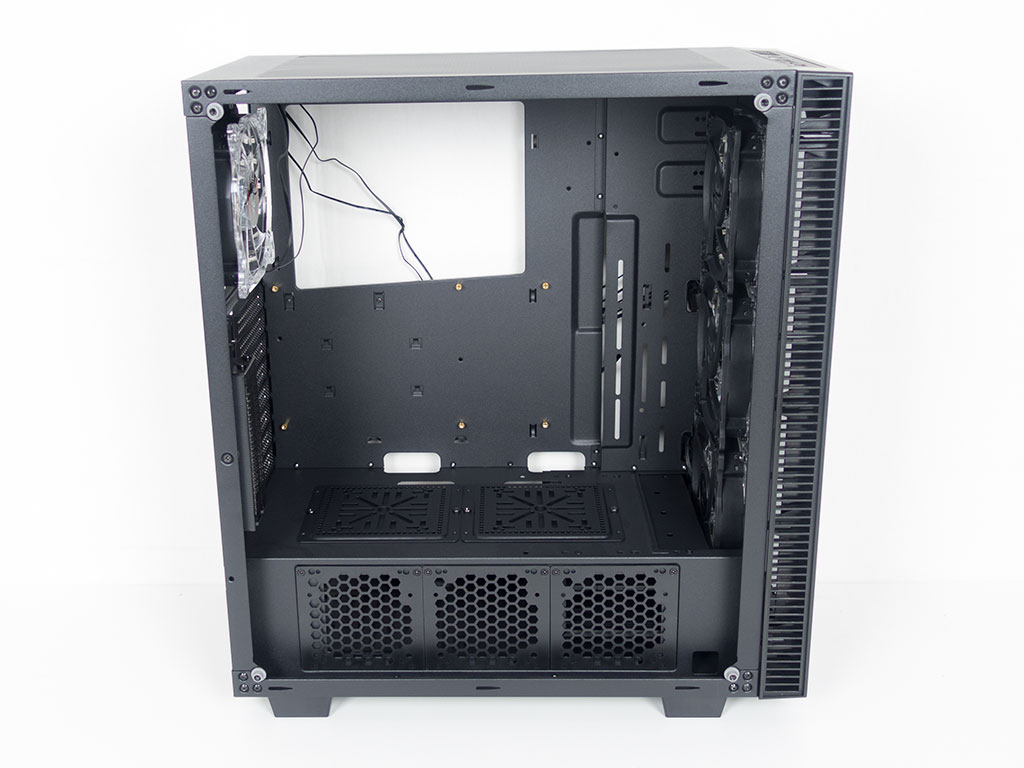
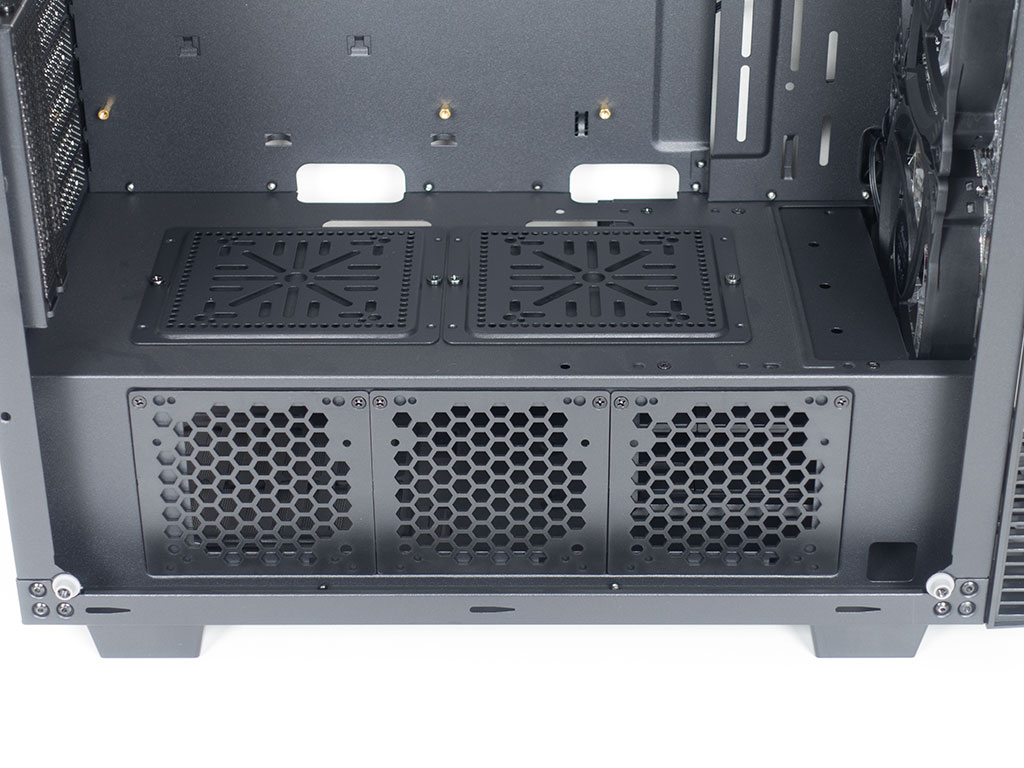
To gain access to the interior of the Cullinan MX, simply remove the thumb screws holding each side panel in place. On the inside, you will find a sturdy metal shroud covering both the PSU and the 3.5" hard drive bays. It comes with metal plates that allow you to install all types of storage drives, or even mount liquid-cooling pumps on them. The front holds three plastic plates that may be used for 2.5" drives or smaller fans.
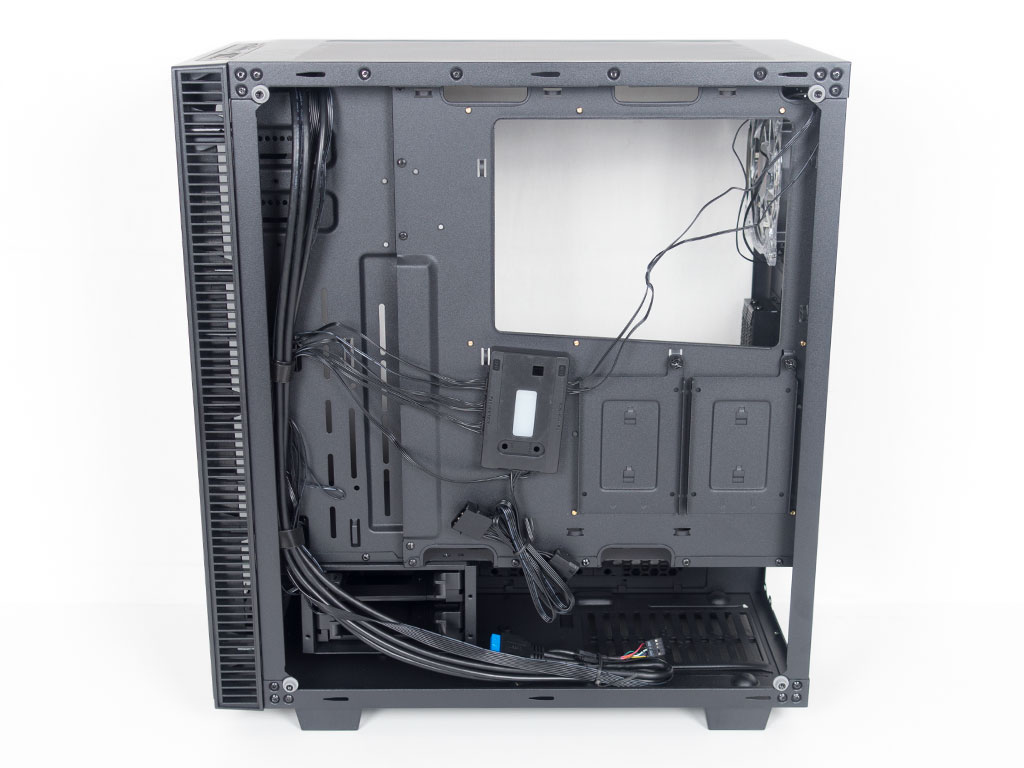
There is around 20-30 mm of space behind the motherboard tray, which is enough for cable management without having to worry about whether anything will touch the glass side panel.
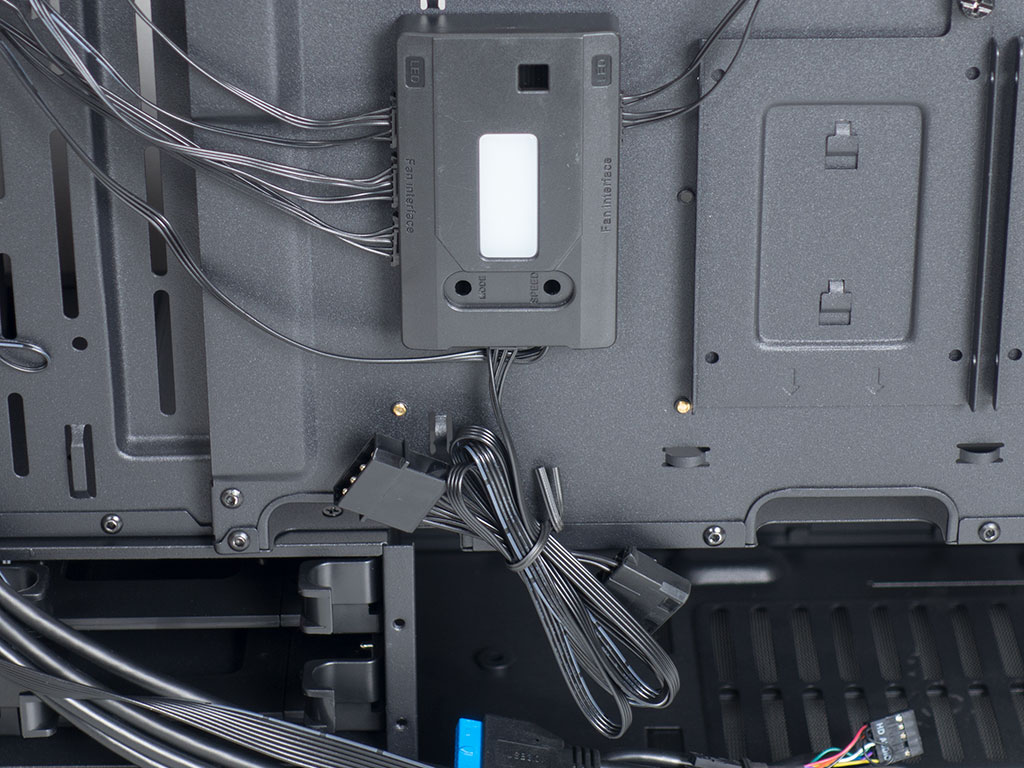
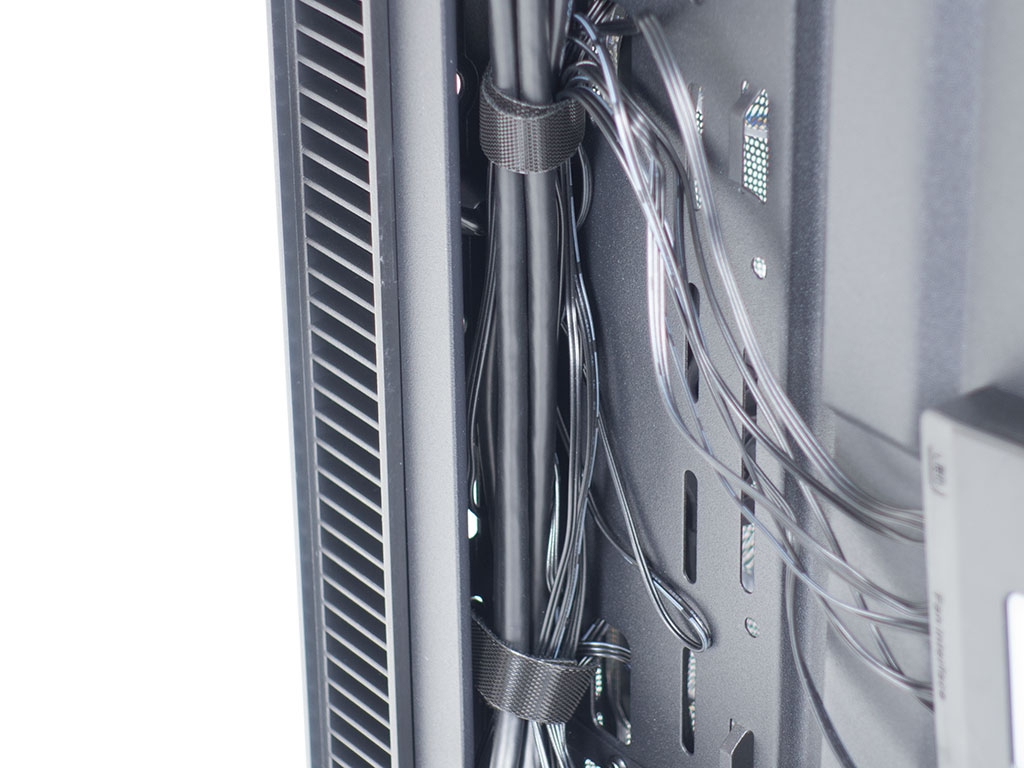
One of the coolest elements within the Cullinan MX is the RGB controller. It is the brains behind all the possible lighting modes and comes with fairly strong magnets that cling to the chassis frame instead of traditional screws. Considering it stayed in place nicely during shipping, I don't worry about it coming loose due to everyday use. There are also two 2.5" hard drive trays next to it, and you will find basic, but functional Velcro strips holding all the major cables in place.
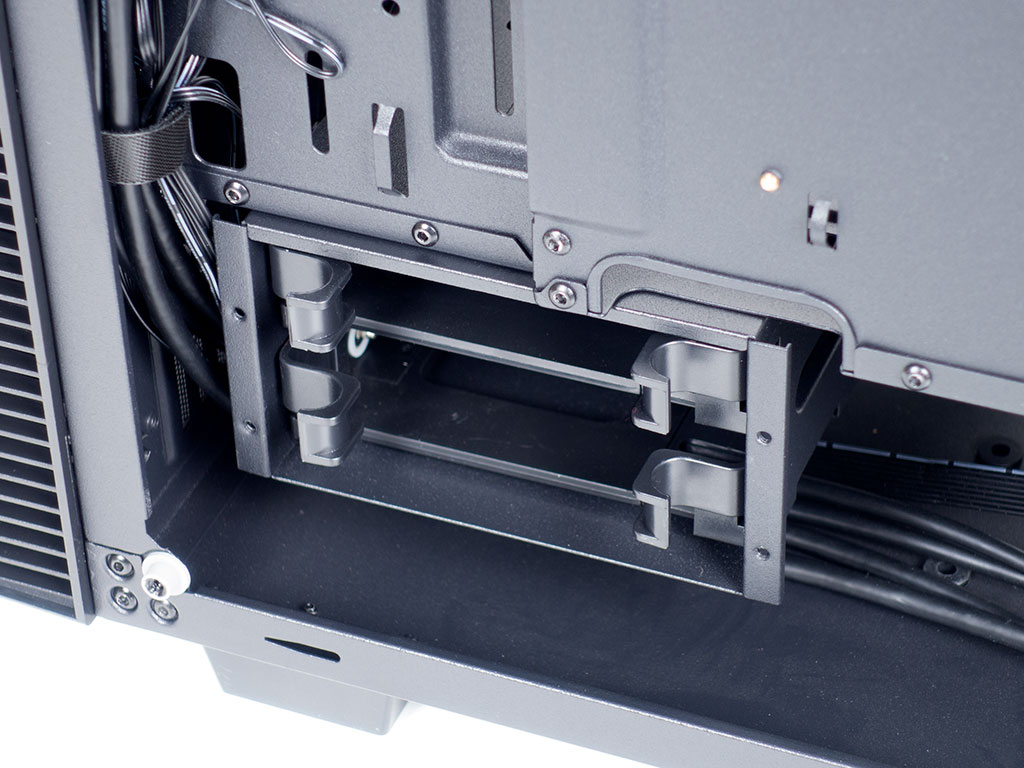
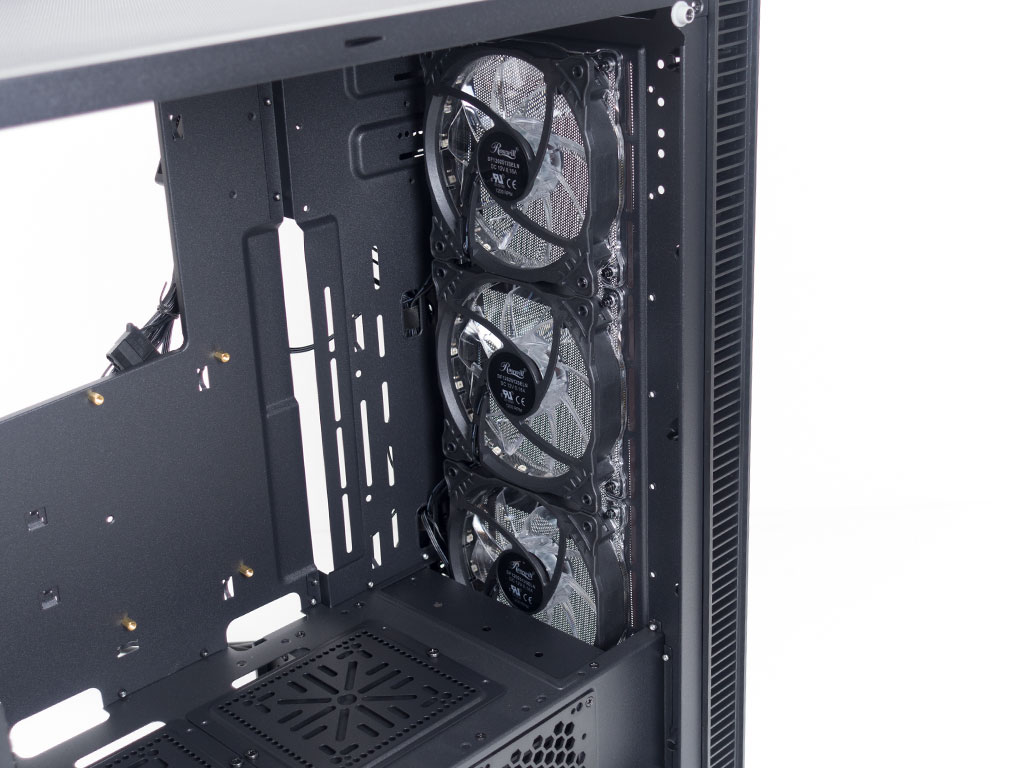
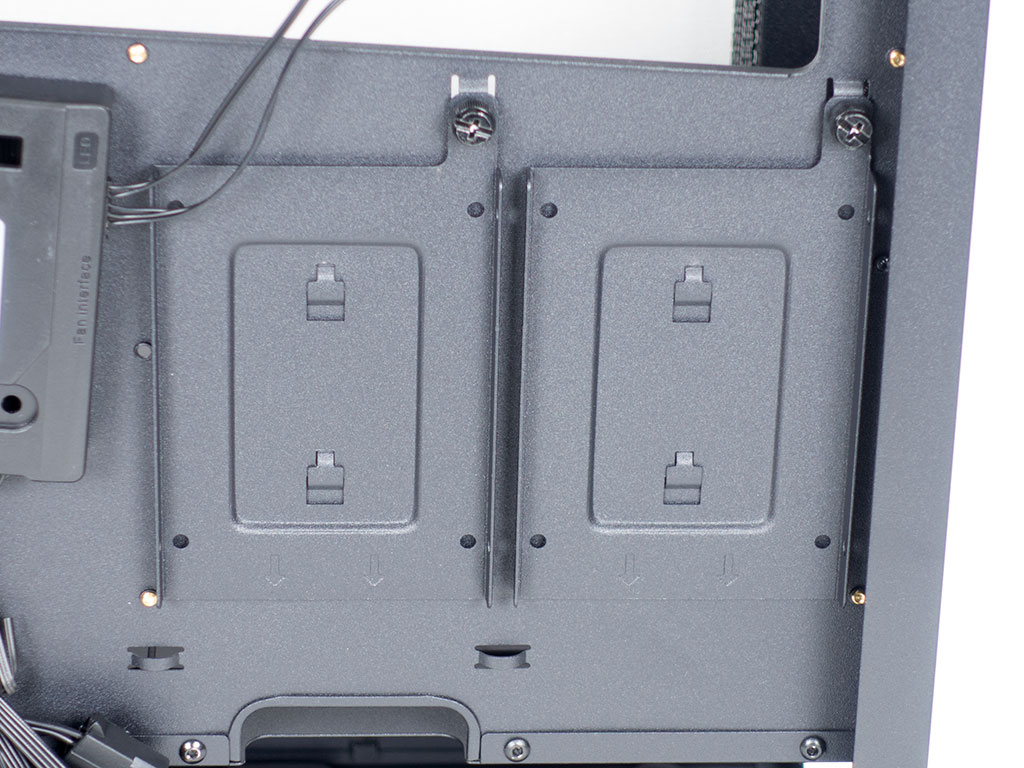
Taking a closer look at the front, there are two 3.5" hard-drive trays underneath the shroud that may also hold smaller 2.5" drives. As mentioned previously, you are able to place another 3.5" unit on the floor. The entire front is lined with 120 mm fans, which also means you can place a 360 mm radiator there as there is a removable bit on the metal shroud for an opening. Adding such a radiator to the system does not mean you will have to sacrifice any room for storage since the hard-drive cage can be moved around underneath the shroud.
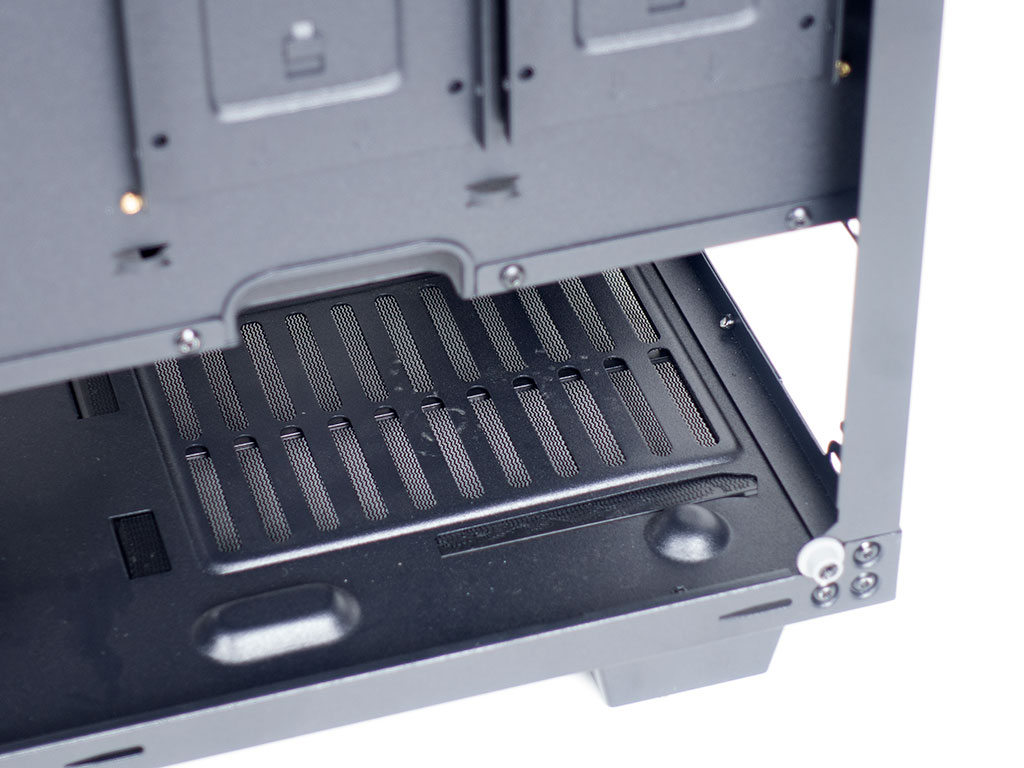
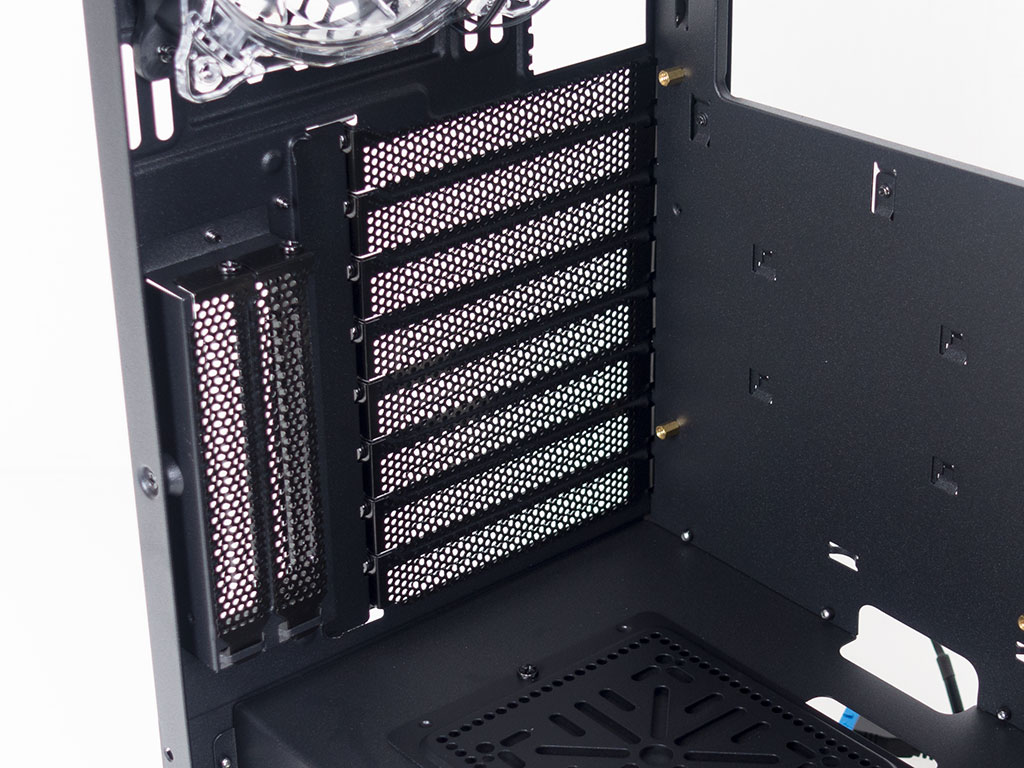
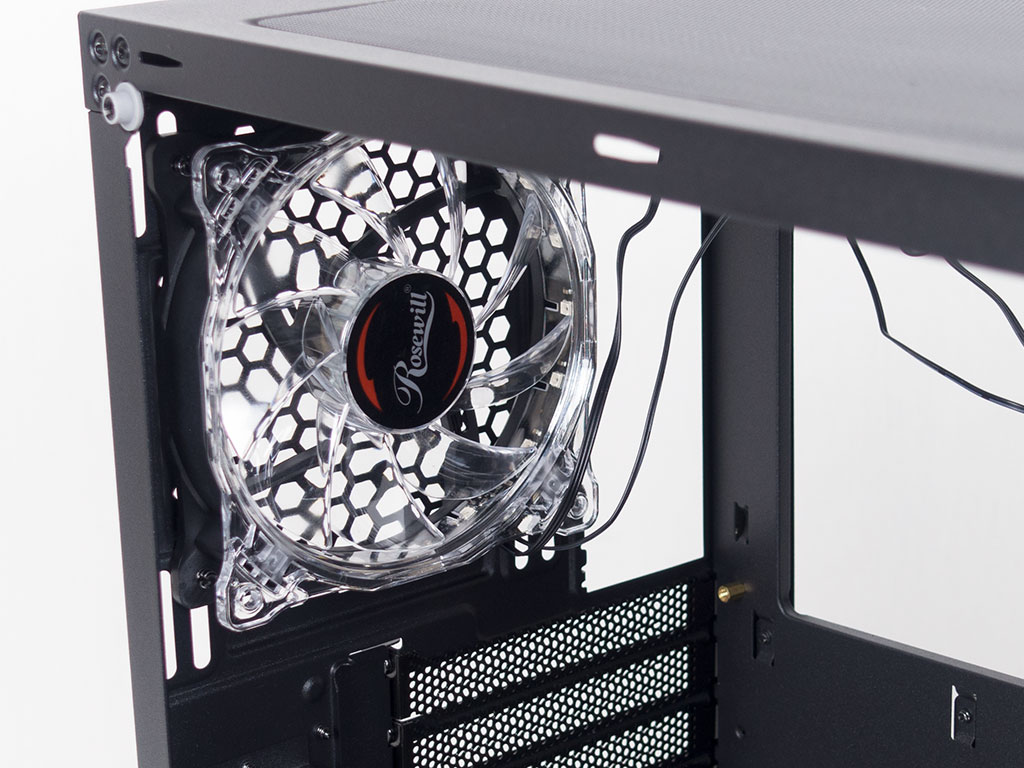
In the rear, you will find the basic PSU bay underneath the shroud. There are openings in the motherboard tray to ensure none of the cables get in the way of the power supply. Above that are the eight standard expansion slots next to which you will find the two vertical ones. Rosewill has placed removable covers here for the sake of reusability for when you change your system setup. The rear 120 mm fan in the very top is identical to those found in the front: all clear blades and a frame with RGB LEDs all around.
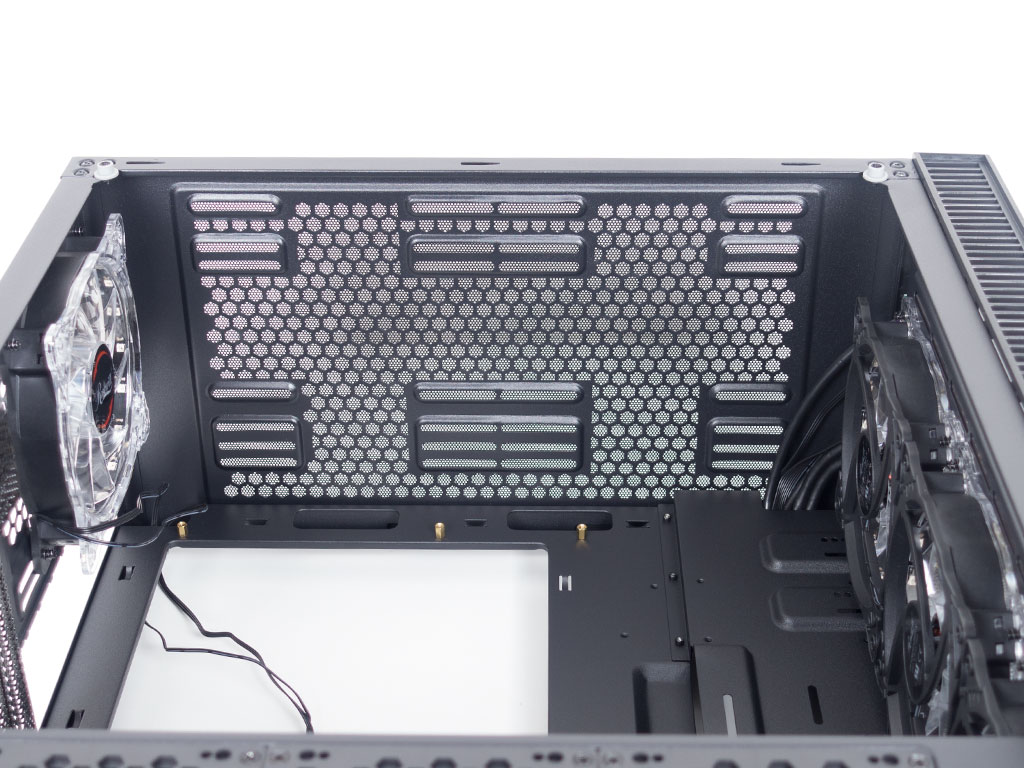
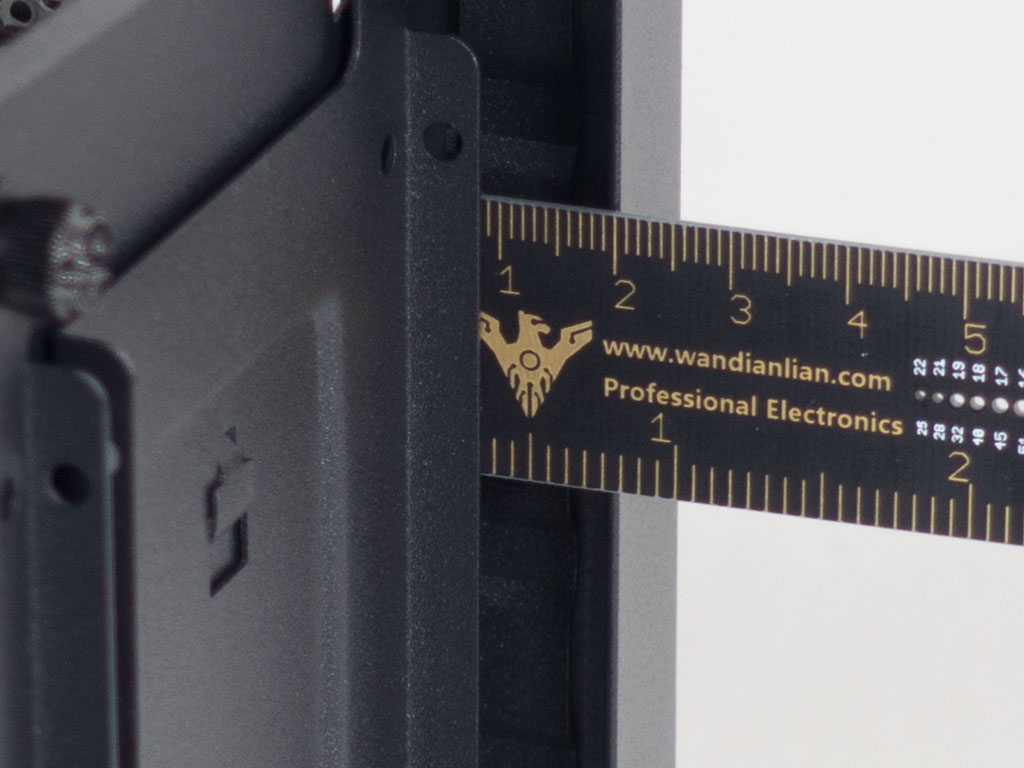
Looking at the ceiling, you can clearly see that the mounting holes for fans or a radiator are far away from the motherboard tray. This means you should be able to install a thick 240 mm radiator without issues - quite the nice touch.
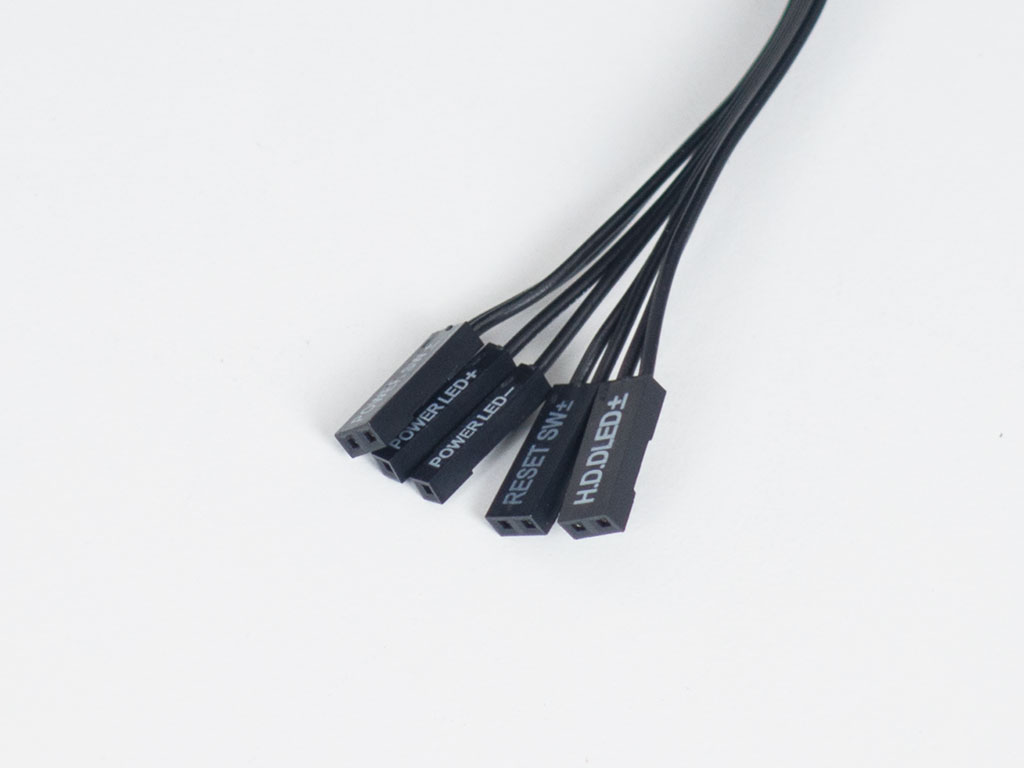

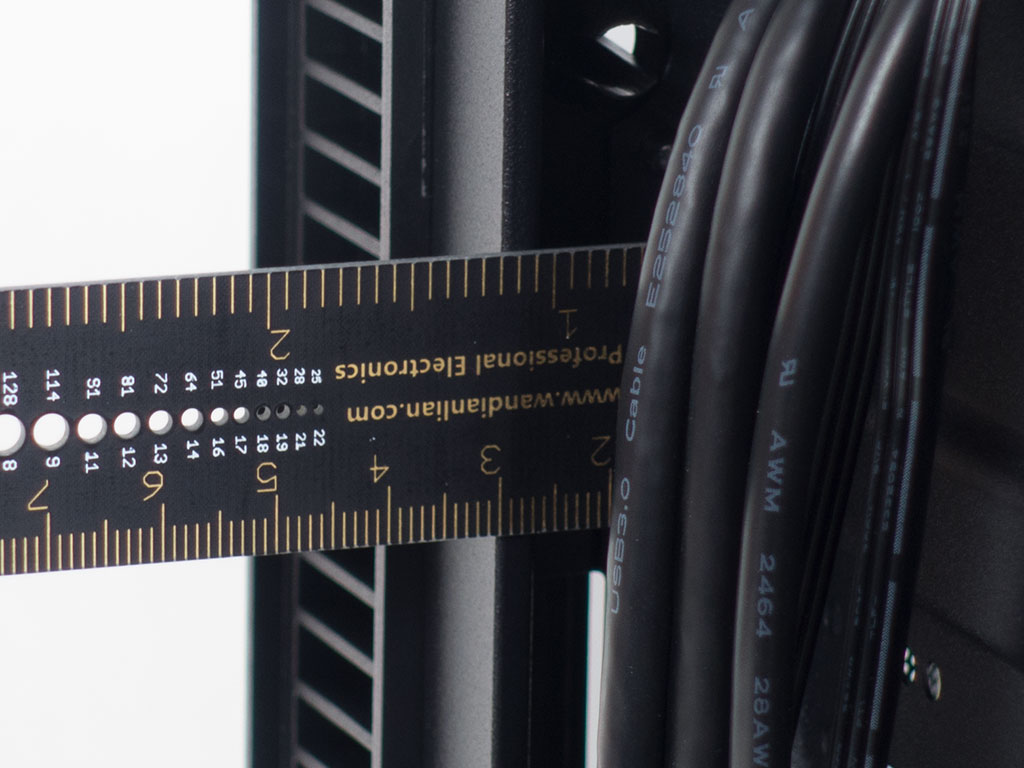
All the cables within the Cullinan MX are pretty standard, with black sleeving to go with the case's' other colors.
Jul 18th, 2025 19:16 CDT
change timezone
Latest GPU Drivers
New Forum Posts
- Anime Nation (13052)
- What's your latest tech purchase? (24305)
- AI Job Losses: let's count the losses up, total losses to AI so far 94,000 and counting (35)
- lower score 5070Ti after replacing the PSU (0)
- TPU's Nostalgic Hardware Club (20539)
- 3DMARK "LEGENDARY" (329)
- Hatsune Miku x ASUS TUF Gaming Build (67)
- Ferrari themed mod cont. 4070s repaste (7)
- Stalker 2 is looking great. (213)
- Share your CPU-X Benchmarks! (6)
Popular Reviews
- MSI GeForce RTX 5060 Gaming OC Review
- Razer Blade 16 (2025) Review - Thin, Light, Punchy, and Efficient
- Thermal Grizzly WireView Pro Review
- Pulsar X2 Crazylight Review
- SilverStone SETA H2 Review
- AVerMedia Live Gamer Ultra S (GC553Pro) Review
- Upcoming Hardware Launches 2025 (Updated May 2025)
- Sapphire Radeon RX 9060 XT Pulse OC 16 GB Review - An Excellent Choice
- NVIDIA GeForce RTX 5050 8 GB Review
- Our Visit to the Hunter Super Computer
TPU on YouTube
Controversial News Posts
- Intel's Core Ultra 7 265K and 265KF CPUs Dip Below $250 (288)
- Some Intel Nova Lake CPUs Rumored to Challenge AMD's 3D V-Cache in Desktop Gaming (140)
- AMD Radeon RX 9070 XT Gains 9% Performance at 1440p with Latest Driver, Beats RTX 5070 Ti (131)
- NVIDIA Launches GeForce RTX 5050 for Desktops and Laptops, Starts at $249 (124)
- NVIDIA GeForce RTX 5080 SUPER Could Feature 24 GB Memory, Increased Power Limits (115)
- Microsoft Partners with AMD for Next-gen Xbox Hardware (105)
- NVIDIA DLSS Transformer Cuts VRAM Usage by 20% (99)
- AMD Sampling Next-Gen Ryzen Desktop "Medusa Ridge," Sees Incremental IPC Upgrade, New cIOD (97)