 9
9
Silverstone SETA A1 Review
Assembly & Finished Looks »A Closer Look - Inside
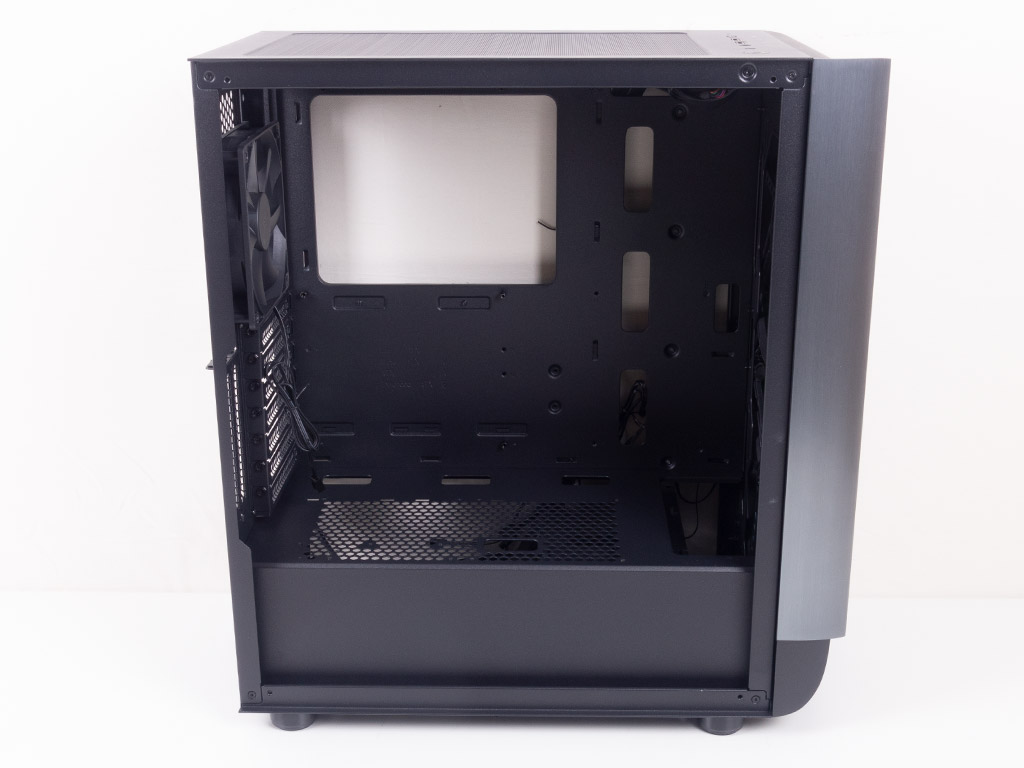
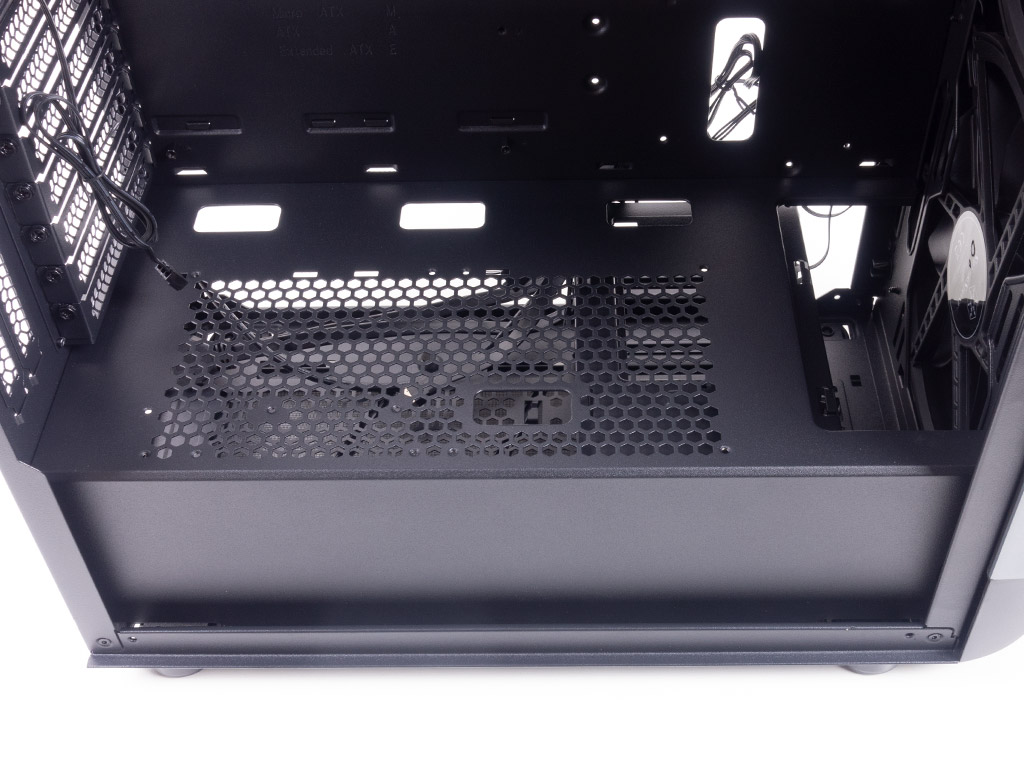
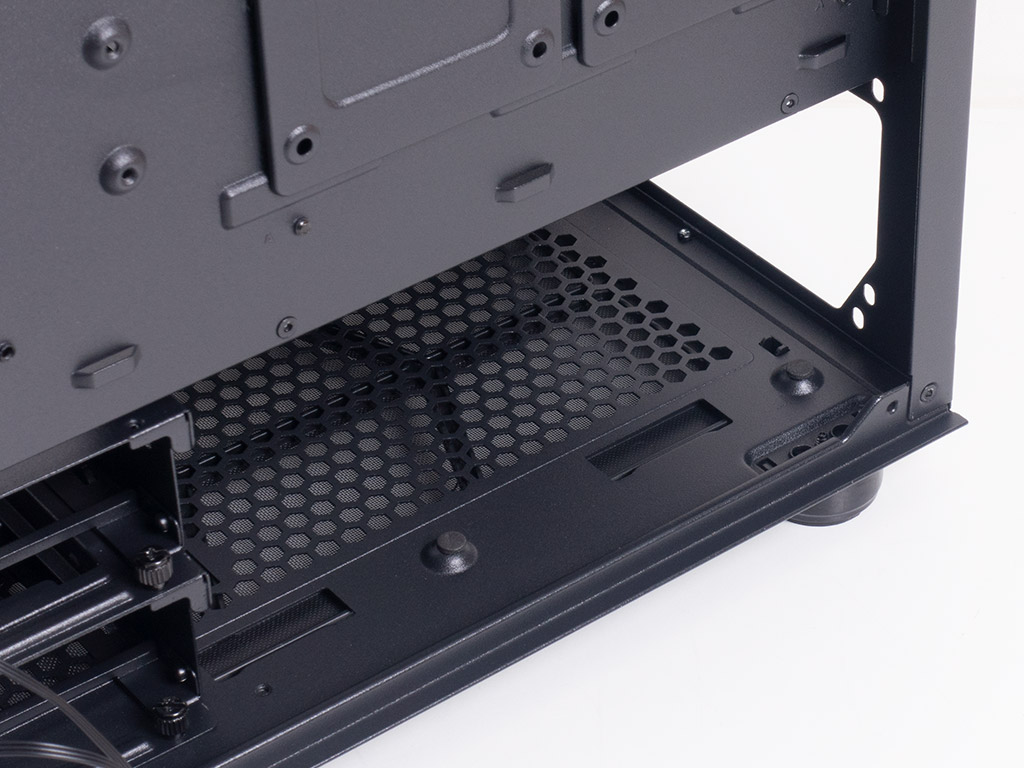
To access the interior of the Silverstone SETA A1, simply remove the thumb screws holding each side panel in place. The interior layout can be considered rather traditional with Silverstone clearly having chosen the tried and true tooling options. The metal shroud covering the PSU and larger hard drives has mounting possibilities for two 120 mm fans even though Silverstone does not explicitly mention it on their product page. Thanks to the width of the chassis, this could actually still be useful without completely blocking off the connectors along the bottom edge of an installed ATX board. As you may also install a GPU vertically within the SETA A1, there are mounting holes to add the optional PCIe bracket to the shroud.
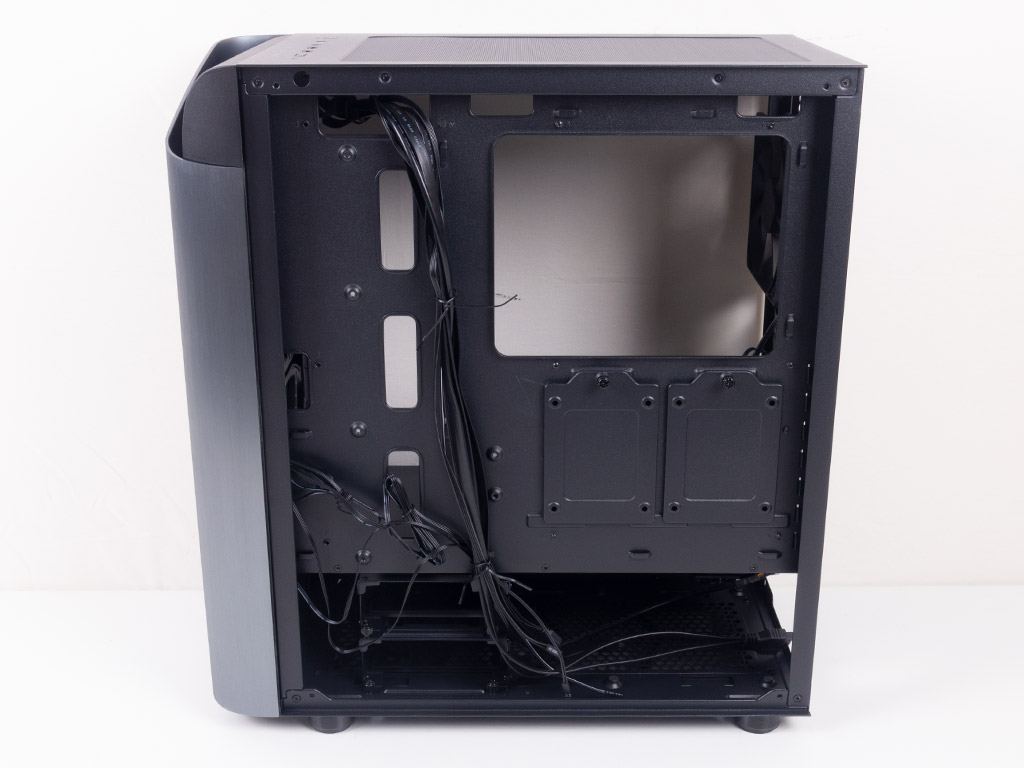
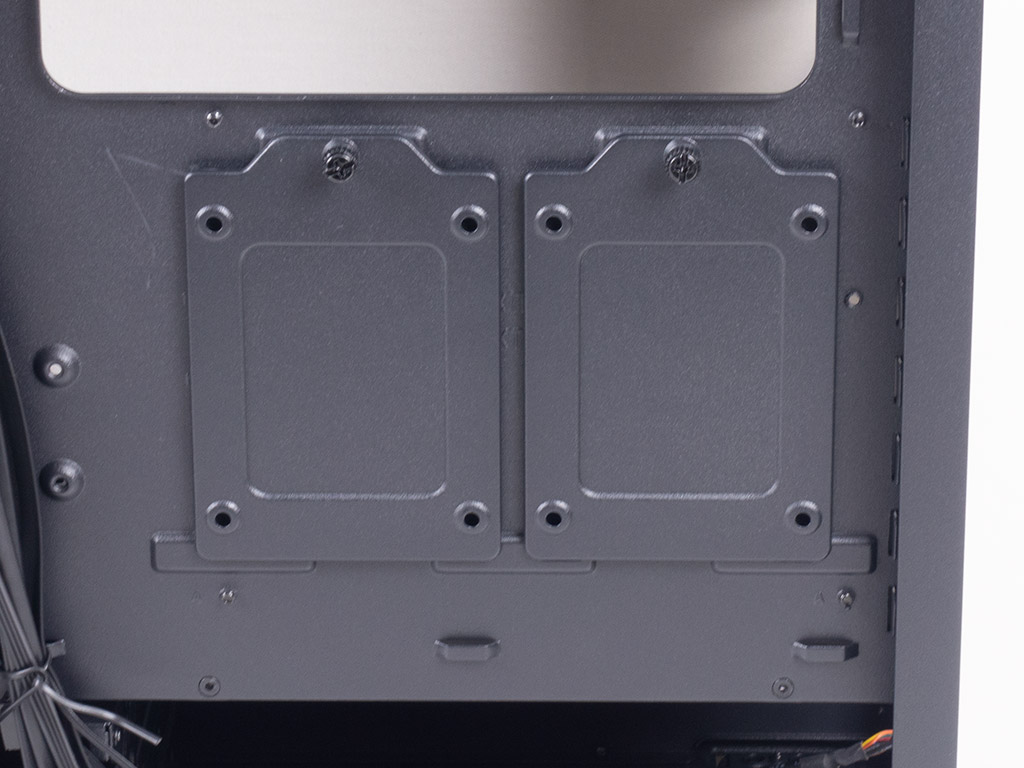
Behind the motherboard tray, things look rather simple, and Silverstone has chosen to skip any grommets for the cable-routing holes. This is alright in the black frame variants of the SETA A1, but those who pick the rose gold edition will notice it a bit more. That having been said, these openings are well placed, and while a bit compact, there are a good number of hooks to use for zip ties all around. Underneath the large opening for any CPU cooler backplate are two individual SSD trays to hide your drives from view nicely.
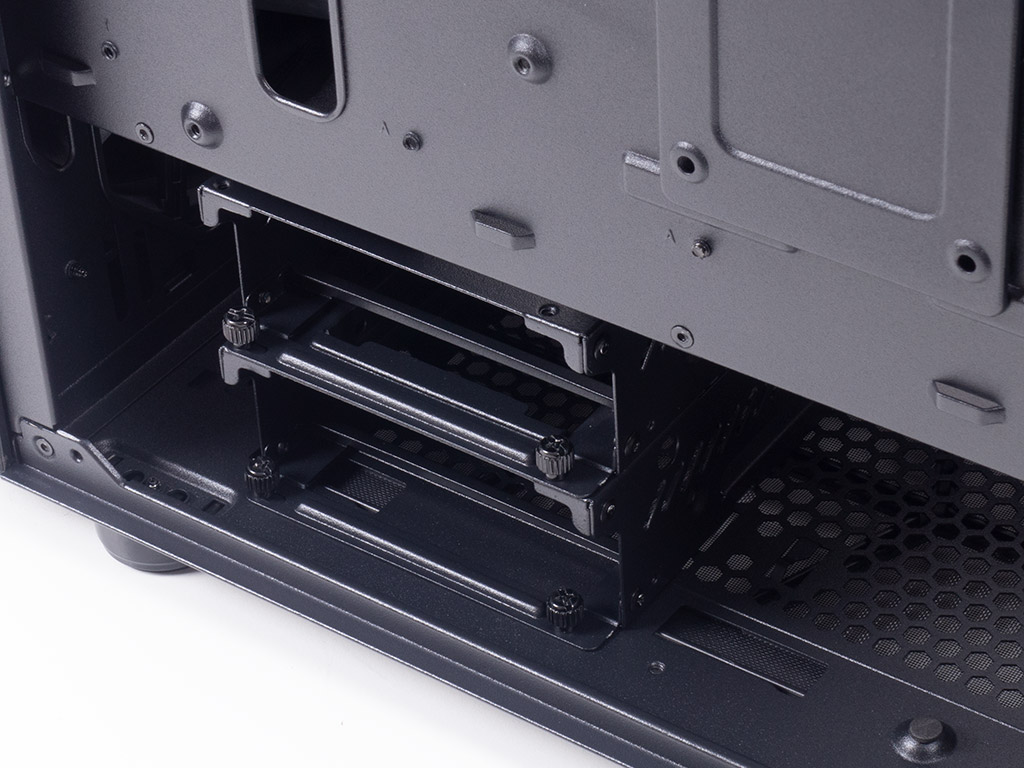
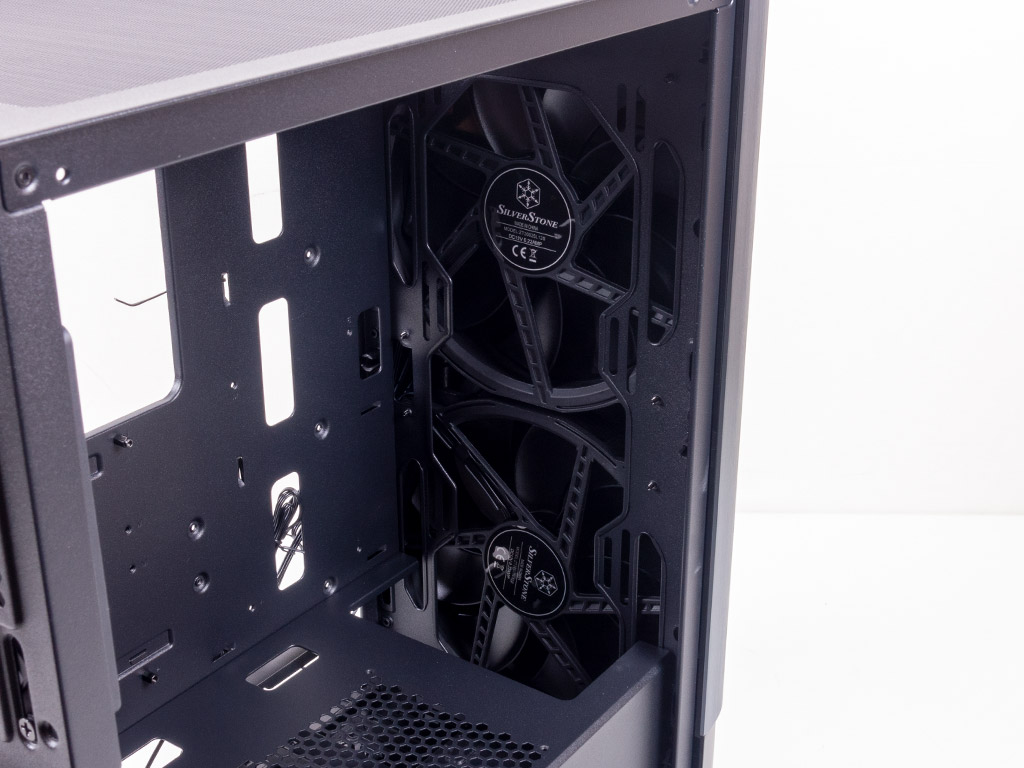
In the front, underneath the shroud, are two metal frames for additional storage. Each of these can hold a 3.5" as well as a 2.5" drive, which brings the total storage space within the SETA A1 to a respectable six drives. You could place one of the aforementioned SSD plates on top of one of these cages as well. But I see no reason to do so as the placement on the backside of the motherboard tray would not get in the way of things in any scenario I can think of. Above that, the entire front is utilized by the two 200 mm fans, while also allowing you to install a radiator of up to 360 mm. Because the two fans are mounted to the exterior of the chassis frame, you should also be able to go for a thick radiator of that size without issue.

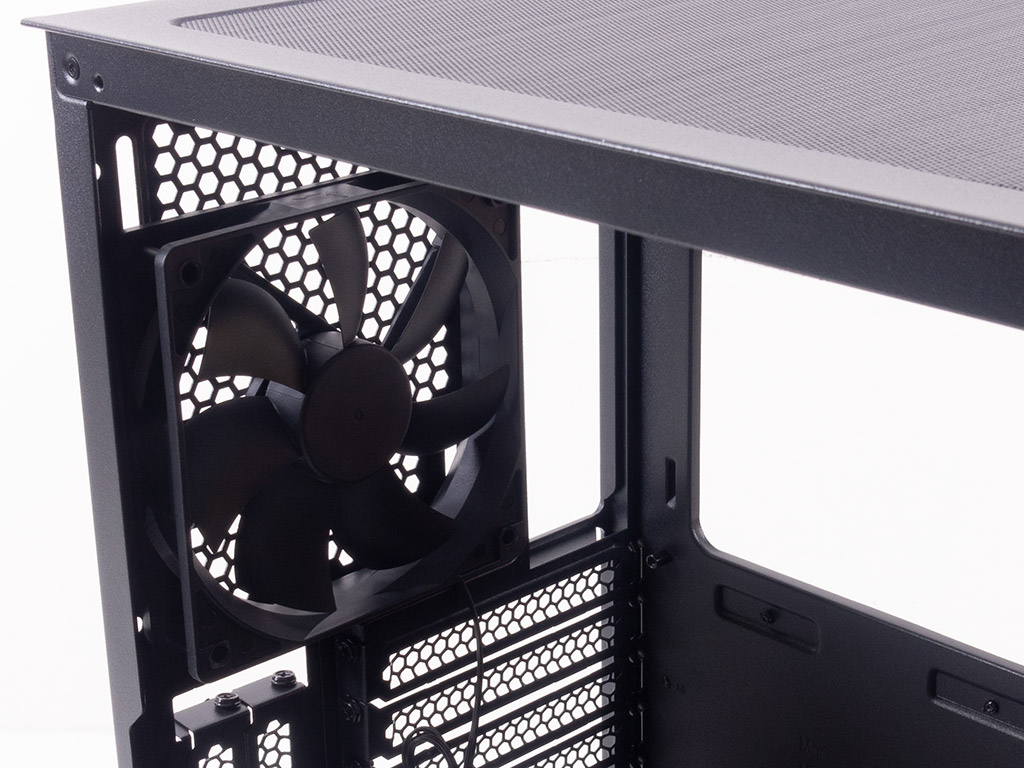
In the rear, the PSU bay is pretty basic, with glued on foam bits the unit will rest on. The 7+2 expansion slots above that use classic screws, so you may just detach those you need for your GPU or other add-in cards. In the very top, the 120 mm fan is no-frills as well, being all black with a 3-pin motherboard header connector for power and RPM control.
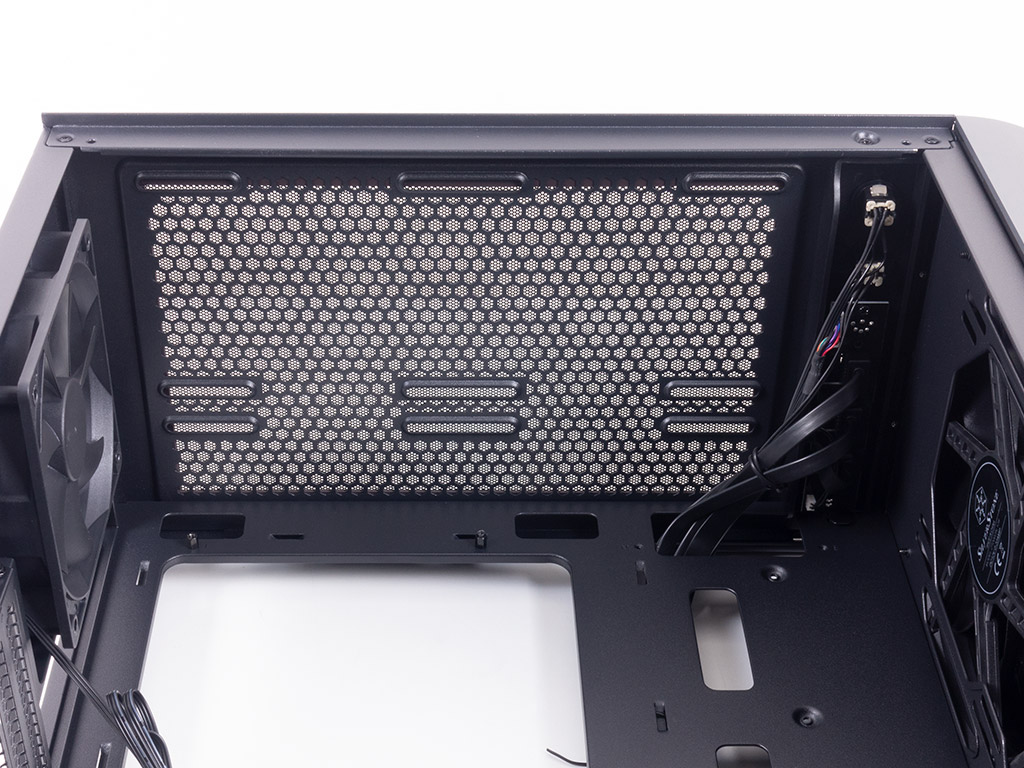
Taking a look at the ceiling, you can clearly see the mounting holes for active cooling or radiators. From this view, I still don't see any reason why you should not be able to install a 280 mm radiator as well, as there seems to be plenty of space all around.

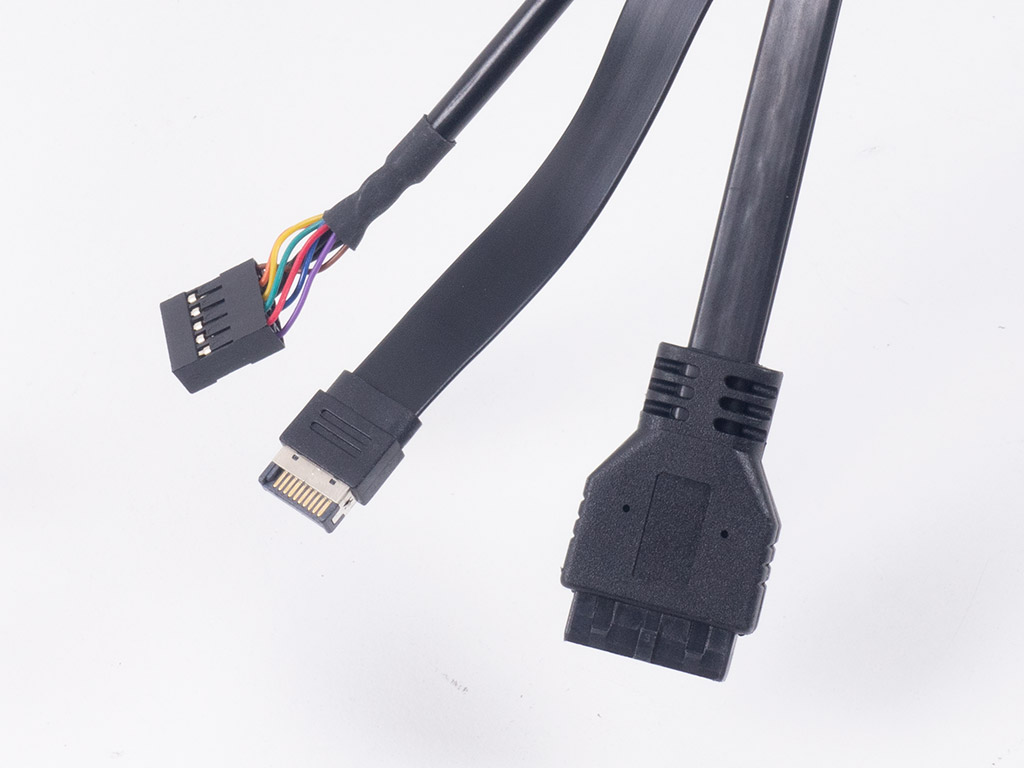
All the leads inside the Silverstone SETA A1 are black and come with the right plugs. The USB 3.0 and the USB 3.1 Type-C cables are flat, which is a refreshing difference to the stiff, round cables we are used to with most other implementations out there.
Jul 19th, 2025 00:11 CDT
change timezone
Latest GPU Drivers
New Forum Posts
- What's your latest tech purchase? (24311)
- 9060 XT 8GB or 5060 8GB? (35)
- question for everyone about google play games beta (1)
- Gacha Games - Discussions, Pulls, Updates, etc. (0)
- Idle issue since 5060 ti installed (28)
- Windows 11 General Discussion (6151)
- Have you got pie today? (16795)
- Anime Nation (13054)
- Stalker 2 is looking great. (214)
- Intel Core i9-13980HX Undervolt - Observations and Questions (62)
Popular Reviews
- MSI GeForce RTX 5060 Gaming OC Review
- Razer Blade 16 (2025) Review - Thin, Light, Punchy, and Efficient
- Thermal Grizzly WireView Pro Review
- Pulsar X2 Crazylight Review
- SilverStone SETA H2 Review
- AVerMedia Live Gamer Ultra S (GC553Pro) Review
- Upcoming Hardware Launches 2025 (Updated May 2025)
- Sapphire Radeon RX 9060 XT Pulse OC 16 GB Review - An Excellent Choice
- NVIDIA GeForce RTX 5050 8 GB Review
- Our Visit to the Hunter Super Computer
TPU on YouTube
Controversial News Posts
- Intel's Core Ultra 7 265K and 265KF CPUs Dip Below $250 (288)
- Some Intel Nova Lake CPUs Rumored to Challenge AMD's 3D V-Cache in Desktop Gaming (140)
- AMD Radeon RX 9070 XT Gains 9% Performance at 1440p with Latest Driver, Beats RTX 5070 Ti (131)
- NVIDIA Launches GeForce RTX 5050 for Desktops and Laptops, Starts at $249 (124)
- NVIDIA GeForce RTX 5080 SUPER Could Feature 24 GB Memory, Increased Power Limits (115)
- Microsoft Partners with AMD for Next-gen Xbox Hardware (105)
- NVIDIA DLSS Transformer Cuts VRAM Usage by 20% (99)
- AMD Sampling Next-Gen Ryzen Desktop "Medusa Ridge," Sees Incremental IPC Upgrade, New cIOD (97)