 0
0
Silverstone Temjin TJ08 Review
Value and Conclusion »Installation
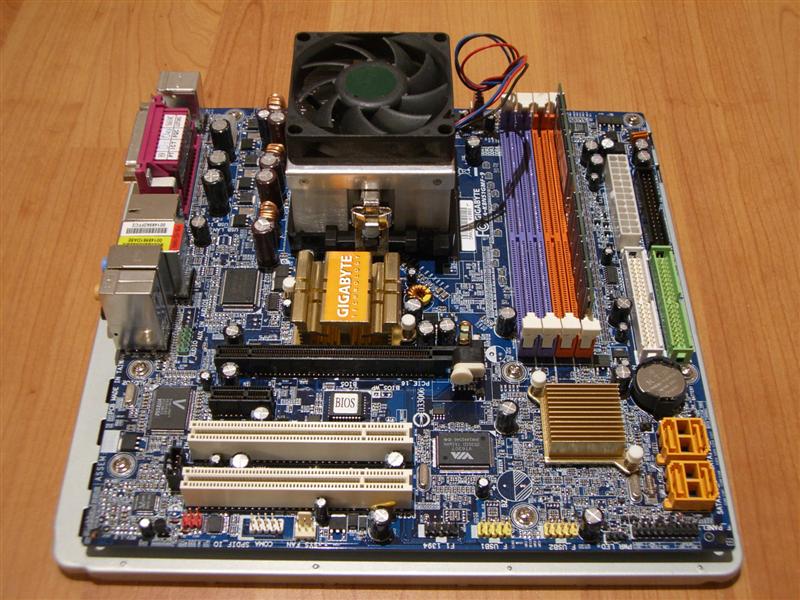
Installing the mainboard is very easy, as it is done on the removable mainboard tray. While this is a positive point, it also restricts the use of a larger CPU cooler. It needs to be tilted to but put back into the case. The memory should definitely be installed right away, before inserting the tray, as any hard drives would be in the way once installed.
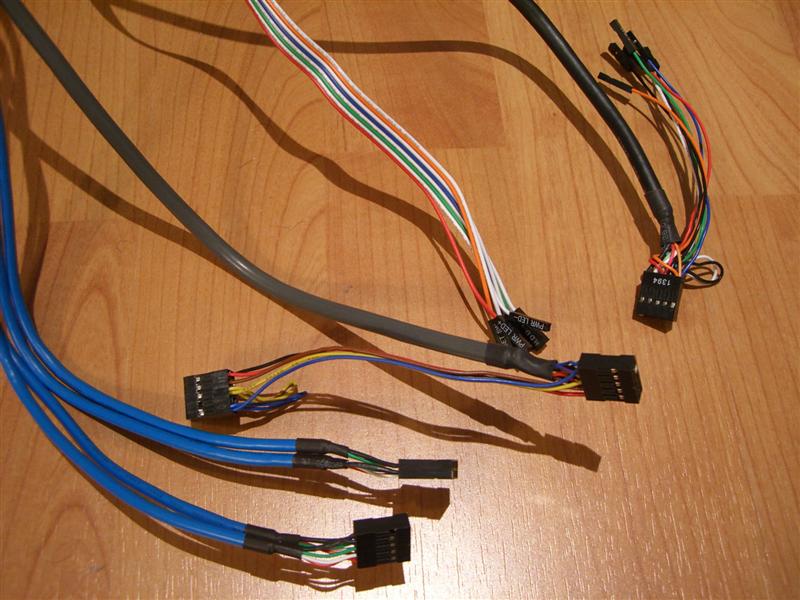
The connectors are incredibly well done, with all of them encased in plastic tubing. The two blue cables are for the four front USB, while the black cable connects the firewire. Notice the extension on the firewire cable, this gives you the option to connect the cable even if no standard mainboard header is present. The black audio cable has two connectors as well, one is marked as "HD Audio" while the other is marked "AC '97", so users with both kind of onboard sound chips can make use of the front microphone and headphone jacks.
Once everything installed, I noticed that the paint of the aluminum front was scraped off around the drive bay. This is not so much due to the average paint job, but because the sharp edges of the front. The paint scrapes off, when a drive rubs against these edges, as steel is harder than aluminum.
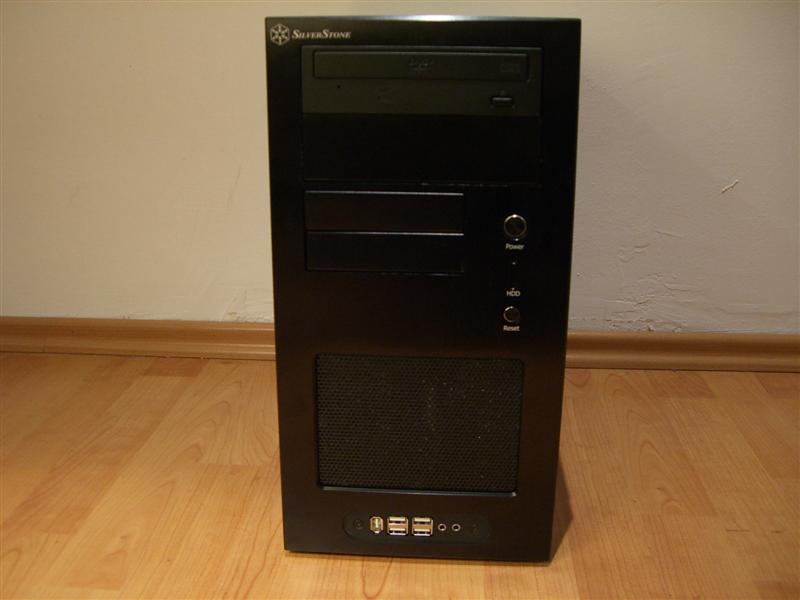
Finished look
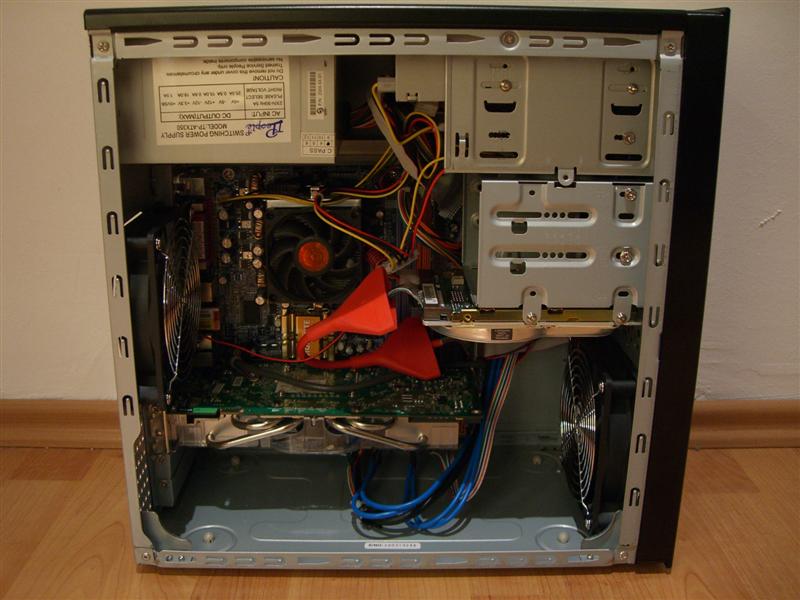
An OEM 350W power supply was used, as my Tagan 480W simply did not fit. Larger PSU will interfere with the optical drives. Even with a fairly short OEM part installed, the space in between the power supply and the DVD drive was just enough to connect the power and IDE cable. If Silverstone would have made the case just 2-3cm longer, this problem would not exist.
The used CPU cooler presents a similar problem. If a larger cooler is used, it will not just block access to the hard drive bay, but could even make it impossible to fit a hard drive into the case before hand. There are two internal drive bays for hard drives, with the bottom one being "up side down". This hard drive needs to be installed with the electronics facing upward.
Using large graphic cards does not yield any problems as there is plenty of space toward the front fan. Nonetheless, considering the limited space available, I would suggest to plan carefully what parts will be used before hand. There are quite a few optical drives which are shorter than the one used. If you want to have a powerful, maybe even SLI certified power supply inside this case, you better make sure to grab yourself the shortest optical drive available.
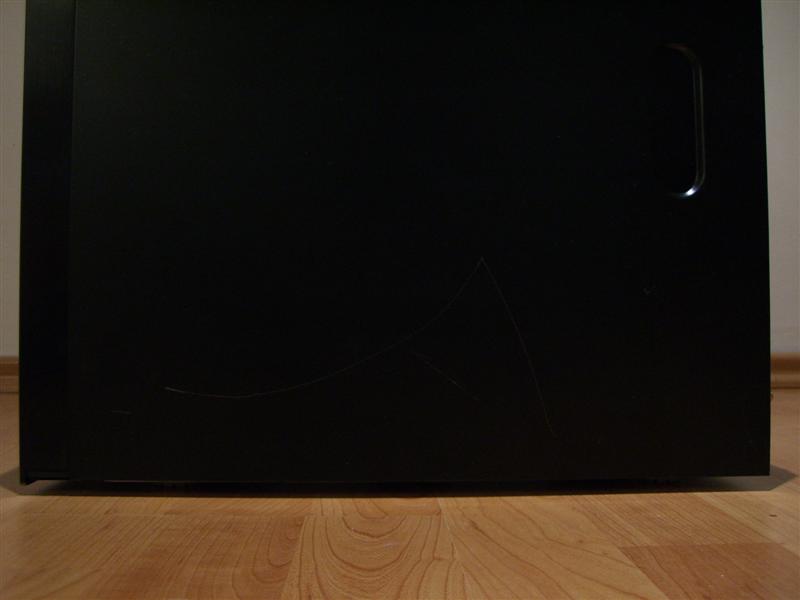
After finishing the pictures, I took the hardware out of the case while I had my side panel lying on my hard wood floor. I did not drag the side panel on the floor, nor did I place it on screws - I was being quite careful. After putting the side panel back on, I was greeted by a nasty scratch across the entire side. It was not deep at all as I could not feel it when moving over it with my finger, nonetheless there it was. The paint job of the case is just about as good as the 18€ case I bought for my brother off Ebay. That case even came with a power supply. Definitely not worth the $100 in that department.
Jul 12th, 2025 09:30 CDT
change timezone
Latest GPU Drivers
New Forum Posts
- No offense, here are some things that bother me about your understanding of fans. (36)
- Stupid buggy POS Realtek WiFi RTL8852BE (11)
- Swapping existing router w/ a replacement; any issues? (14)
- 'NVIDIA App' not usable offline? (13)
- Chrome has removed uBlock Origin 1.64.0 (remove google search suggestions) (12)
- Share your AIDA 64 cache and memory benchmark here (3097)
- The Official Linux/Unix Desktop Screenshots Megathread (778)
- [GPU-Z Test Build] New Kernel Driver, Everyone: Please Test (90)
- Gigabyte graphic cards - TIM gel SLIPPAGE problem (150)
- NVIDIA App (55)
Popular Reviews
- Fractal Design Epoch RGB TG Review
- Lexar NM1090 Pro 4 TB Review
- Corsair FRAME 5000D RS Review
- NVIDIA GeForce RTX 5050 8 GB Review
- NZXT N9 X870E Review
- Our Visit to the Hunter Super Computer
- Sapphire Radeon RX 9060 XT Pulse OC 16 GB Review - An Excellent Choice
- AMD Ryzen 7 9800X3D Review - The Best Gaming Processor
- Upcoming Hardware Launches 2025 (Updated May 2025)
- Chieftec Iceberg 360 Review
TPU on YouTube
Controversial News Posts
- Intel's Core Ultra 7 265K and 265KF CPUs Dip Below $250 (288)
- Some Intel Nova Lake CPUs Rumored to Challenge AMD's 3D V-Cache in Desktop Gaming (140)
- AMD Radeon RX 9070 XT Gains 9% Performance at 1440p with Latest Driver, Beats RTX 5070 Ti (131)
- NVIDIA Launches GeForce RTX 5050 for Desktops and Laptops, Starts at $249 (119)
- NVIDIA GeForce RTX 5080 SUPER Could Feature 24 GB Memory, Increased Power Limits (115)
- Microsoft Partners with AMD for Next-gen Xbox Hardware (105)
- Intel "Nova Lake‑S" Series: Seven SKUs, Up to 52 Cores and 150 W TDP (100)
- NVIDIA DLSS Transformer Cuts VRAM Usage by 20% (97)