 17
17
Streacom DA6 Review
Assembly & Finished Looks »A Closer Look - Outside
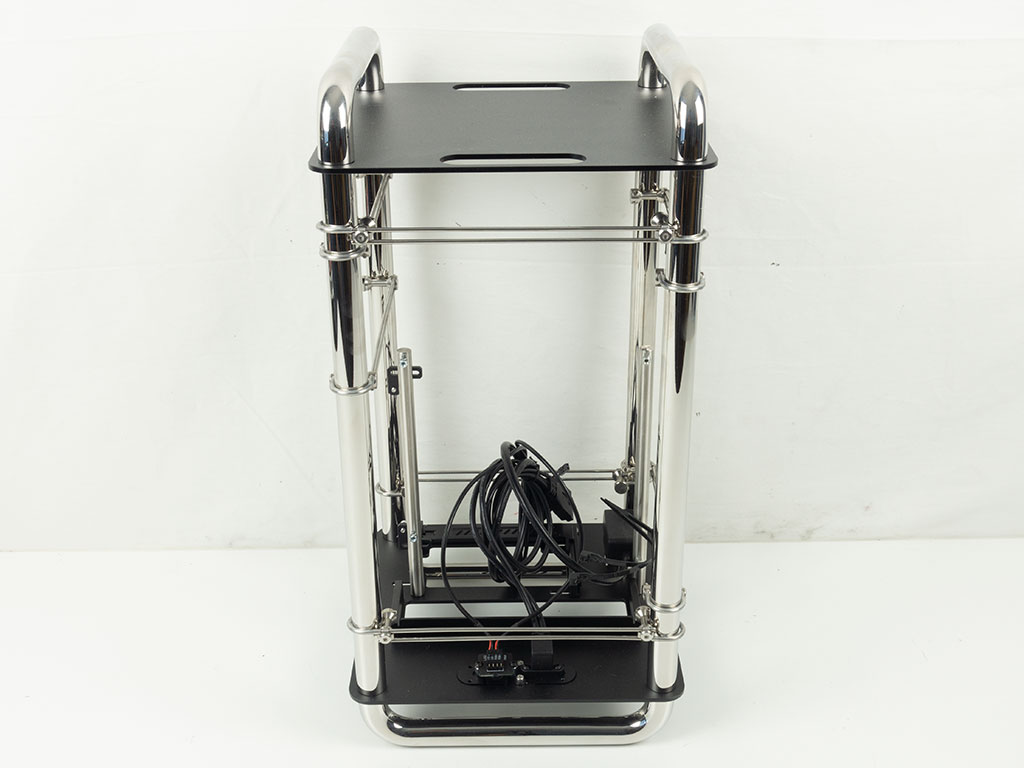
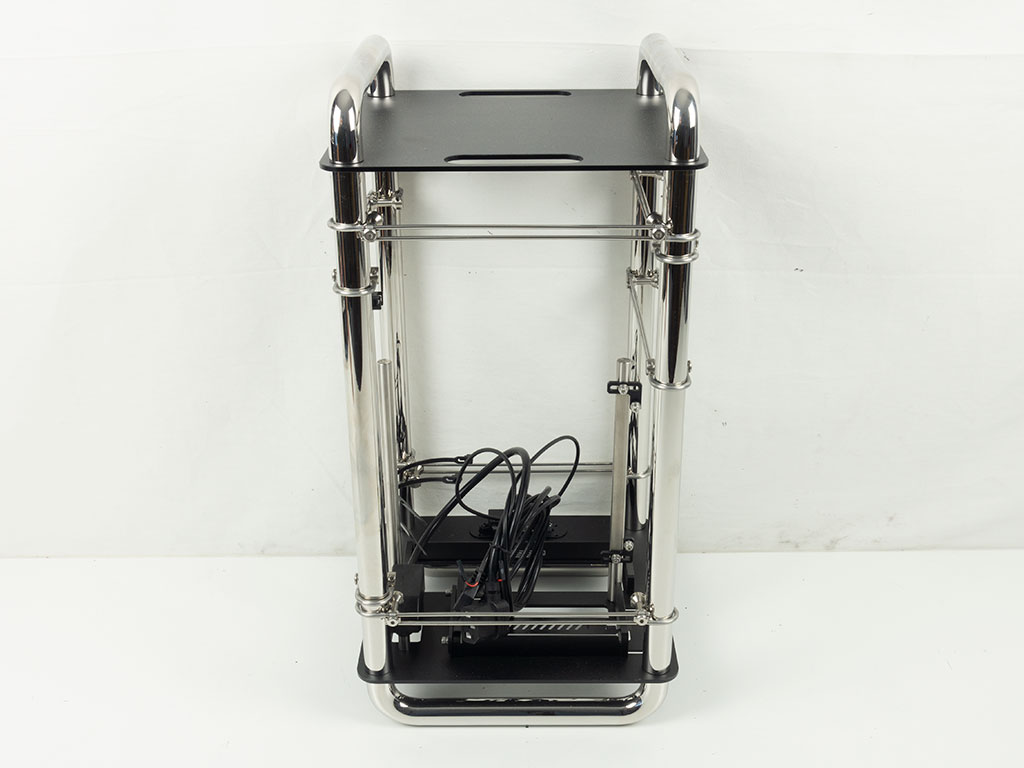
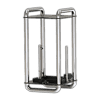
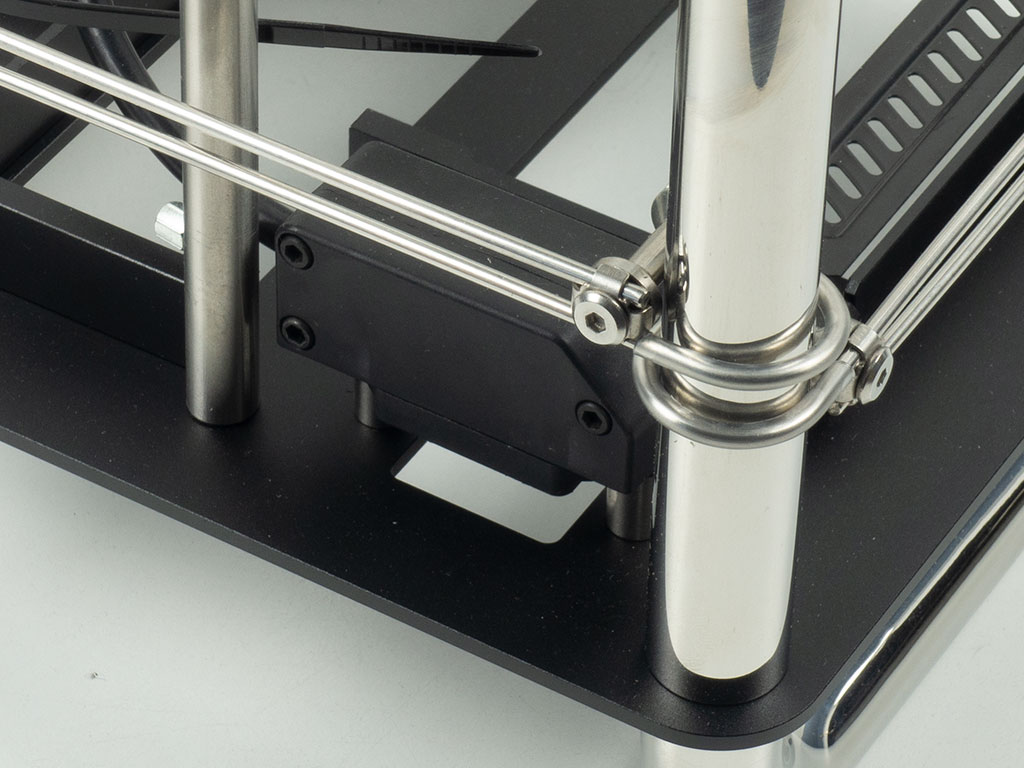
The Streacom DA6 is a completely open frame chassis. Two looped elements with two plates act to create a volume in which your hardware will sit. It all feels extremely sturdy and the engineering quite detailed as well even though the general case itself doesn't require much exotic tooling. Instead, the detail is in the mounting mechanism for all the components. When viewing the case empty from the front and rear, you can see that there is nothing in the way, as Streacom employs two rods unto which to fix the motherboard. The GPU slot will also be affixed to one of these rods.

Looking at the sides, you can see those two rods within the case with a slight offset to give the motherboard a bit more space than the GPU. That said, the case offers space for GPUs of up to 3 slot thickness and up to 323 mm in length, which should be plenty for all but the most expensive graphics cards out there, the XL variant offers support for 358 mm GPUs.
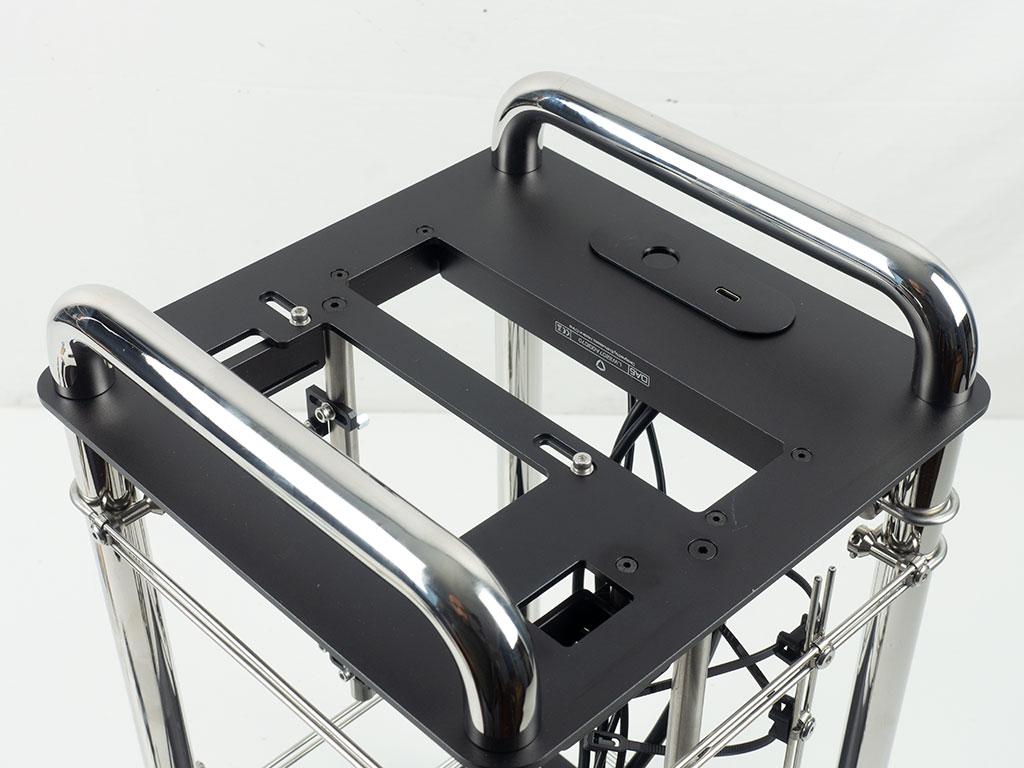
On the underside of the DA6, you will find the power button and USB-C port. While reaching the button will be easy, the placement of the USB port is not ideal as it leaves too little room to plug any flash drive in. Besides the downward facing plug, you will have to find some sort of extension cord. This is unfortunate, especially since the rest of the motherboard IO is also facing the same direction, meaning you have the same issues with those ports. On the GPU side, the opening for the slots may actually be adjusted in its position, so that you can fit GPUs of various widths as well. Unique screws hold everything together, so that you only really need the provided hex tool with the exception of the motherboard screws, which are of the classic kind.

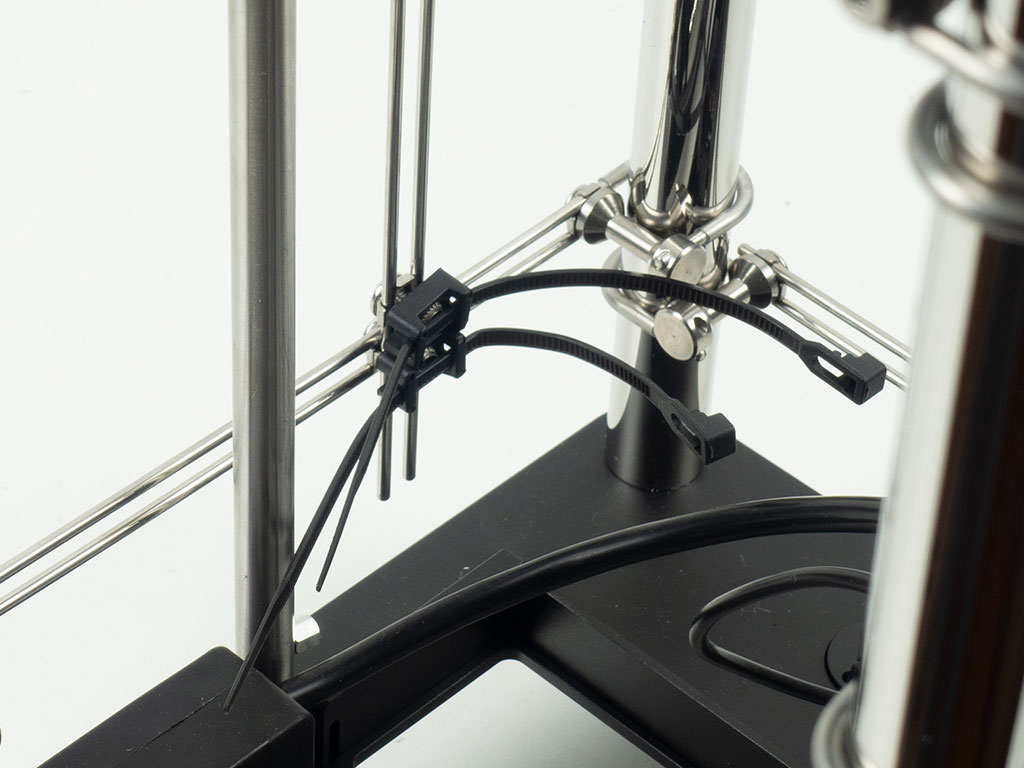
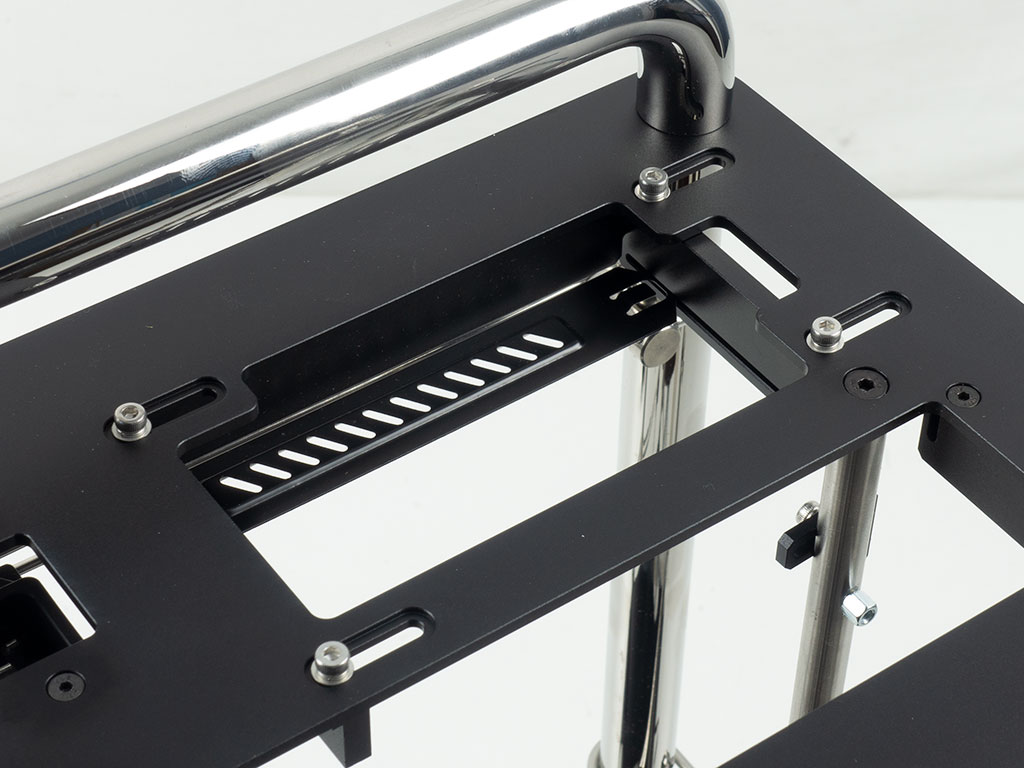
The Streacom DA6 utilizes universal mounting brackets that can hold everything besides the motherboard and GPU. This means that the brackets are used for the PSU, SSDs, hard drive, fans or AIO. The design looks nice and they an be placed in virtually any configuration. Streacom also adds re-usable zip ties to the mix for some cable management possibilities. All this engineering does make for a lot of individual, small parts, so it will be interesting to see how the assembly will go.
A Closer Look - Inside

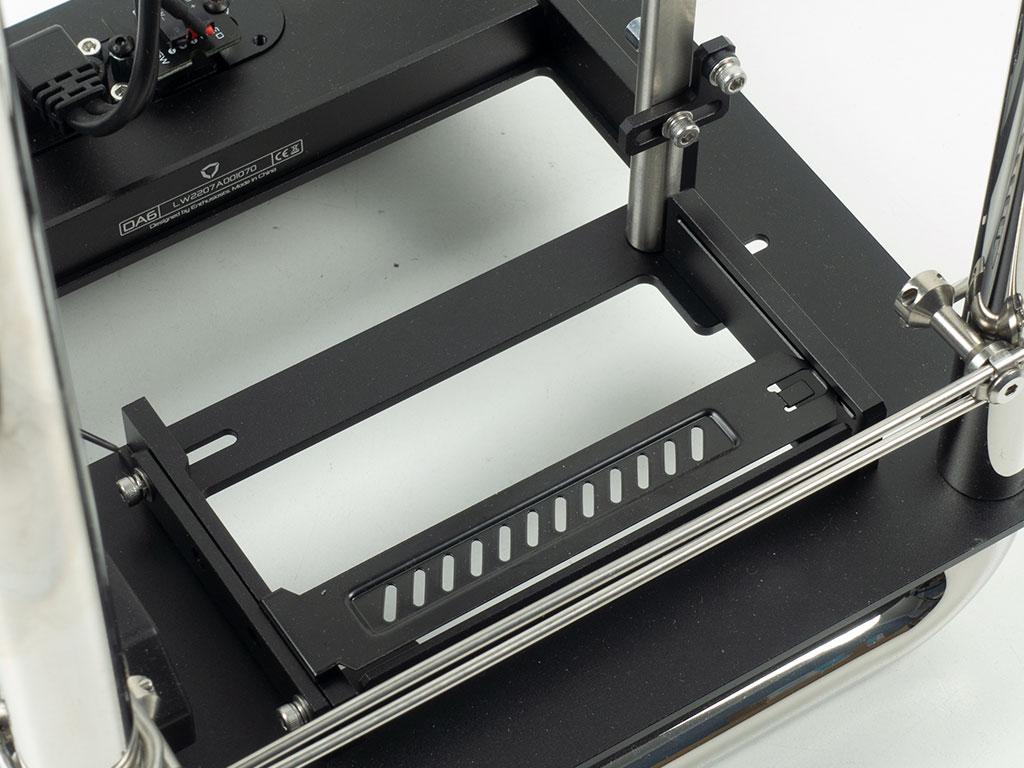
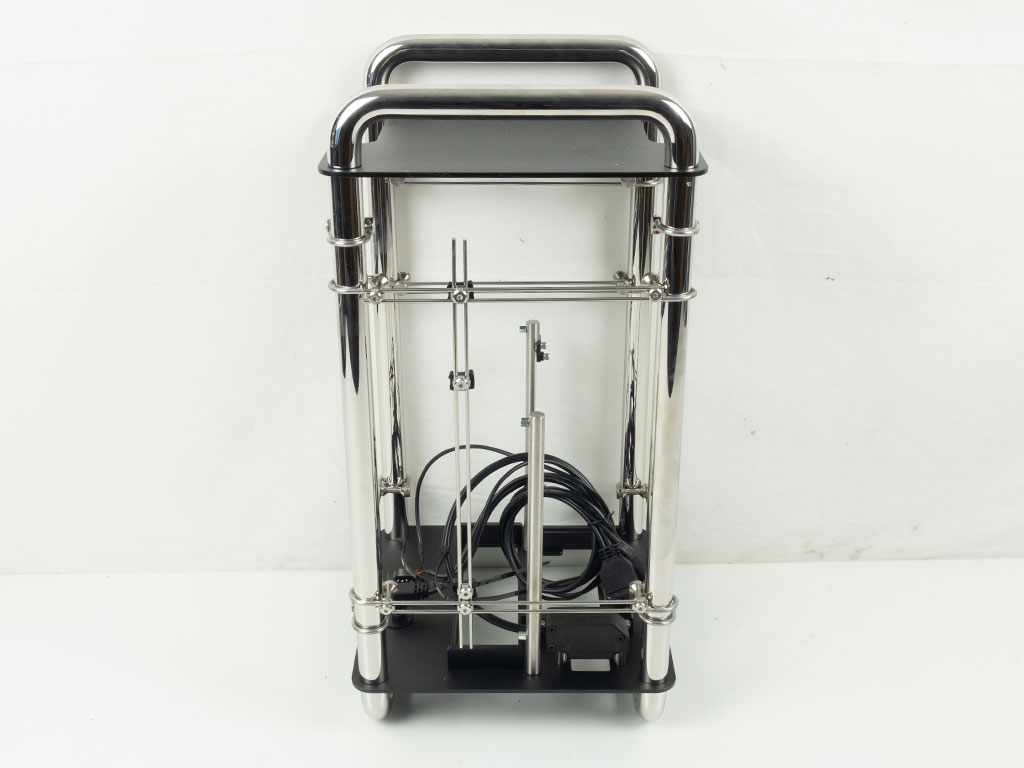
The two rods for the motherboard mounting also come with two adjustable black pieces to which the PCIe riser cable will be secured to. Interestingly enough, Streacom includes a single expansion slot cover. This is a bit odd, as you would either have a GPU installed and not need it, or would likely want that whole opening closed off by multiple individual covers. Thanks to a plate that is screwed down on the side, you won't need any screws to hold a GPU in place and are not restricted to a specific slot either, which is a very nice touch.
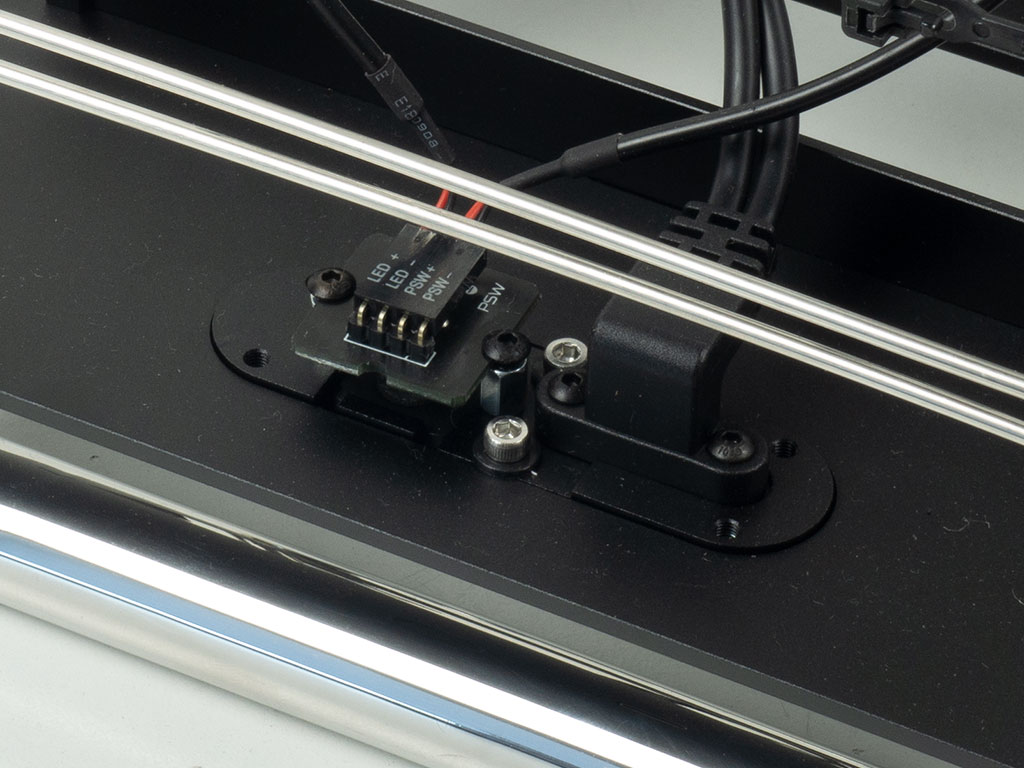
Streacom has opted to fix the power plug on the underside of the chassis, with a wire running up to where you should install your power supply. Lastly, the IO panel is exposed on the inside as well, so that you should easily be able to exchange the default power button for the fingerprint one. While the unit is shipped with the IO port at the bottom, you have two openings at the top of the case that are far more useful and accessible. Streacom has opted to interface the USB-C connector with a classic USB 3.0 plug to connect to the motherboard. While that is a bit of a compromise to offer both a modern plug and broad compatibility, they do offer the E2C cable, which you may buy separately to get the full USB 3.1 Gen 2 benefits. On the other end of the spectrum, if you require a USB-A 3.0 port, Streacom offers the DXX-FIO-A module for sale separately. Streacom does mention additional modules with two USB-A or USB-C ports, meaning that you could simply buy one or two more to potentially get even more ports if your board were somehow to support it.
Jul 10th, 2025 02:48 CDT
change timezone
Latest GPU Drivers
New Forum Posts
- Do you still use Antivirus software on your latest hardware? (75)
- Screen burn-in (21)
- TPU's Nostalgic Hardware Club (20493)
- 3DMARK "LEGENDARY" (326)
- Post Your TIMESPY, PCMARK10 & FIRESTRIKE SCORES! (2019) (321)
- 5070ti overclock...what are your settings? (47)
- 'NVIDIA App' not usable offline? (1)
- G-Sync Not Working in Borderless / Window Mode - Windows 11 (5)
- [GPU-Z Test Build] New Kernel Driver, Everyone: Please Test (78)
- Friend's monitor randomly loses signal (3)
Popular Reviews
- NZXT N9 X870E Review
- NVIDIA GeForce RTX 5050 8 GB Review
- Fractal Design Epoch RGB TG Review
- Corsair FRAME 5000D RS Review
- Fractal Design Scape Review - Debut Done Right
- AMD Ryzen 7 9800X3D Review - The Best Gaming Processor
- Sapphire Radeon RX 9060 XT Pulse OC 16 GB Review - An Excellent Choice
- Upcoming Hardware Launches 2025 (Updated May 2025)
- Sapphire Radeon RX 9070 XT Nitro+ Review - Beating NVIDIA
- PowerColor ALPHYN AM10 Review
TPU on YouTube
Controversial News Posts
- Intel's Core Ultra 7 265K and 265KF CPUs Dip Below $250 (288)
- Some Intel Nova Lake CPUs Rumored to Challenge AMD's 3D V-Cache in Desktop Gaming (140)
- NVIDIA Launches GeForce RTX 5050 for Desktops and Laptops, Starts at $249 (117)
- AMD Radeon RX 9070 XT Gains 9% Performance at 1440p with Latest Driver, Beats RTX 5070 Ti (116)
- NVIDIA GeForce RTX 5080 SUPER Could Feature 24 GB Memory, Increased Power Limits (115)
- Microsoft Partners with AMD for Next-gen Xbox Hardware (105)
- Intel "Nova Lake‑S" Series: Seven SKUs, Up to 52 Cores and 150 W TDP (100)
- NVIDIA DLSS Transformer Cuts VRAM Usage by 20% (97)