 11
11
Watercool Heatkiller V Pro RTX 4090 Strix/TUF GPU Block Review
Installation & Lighting »Closer Examination
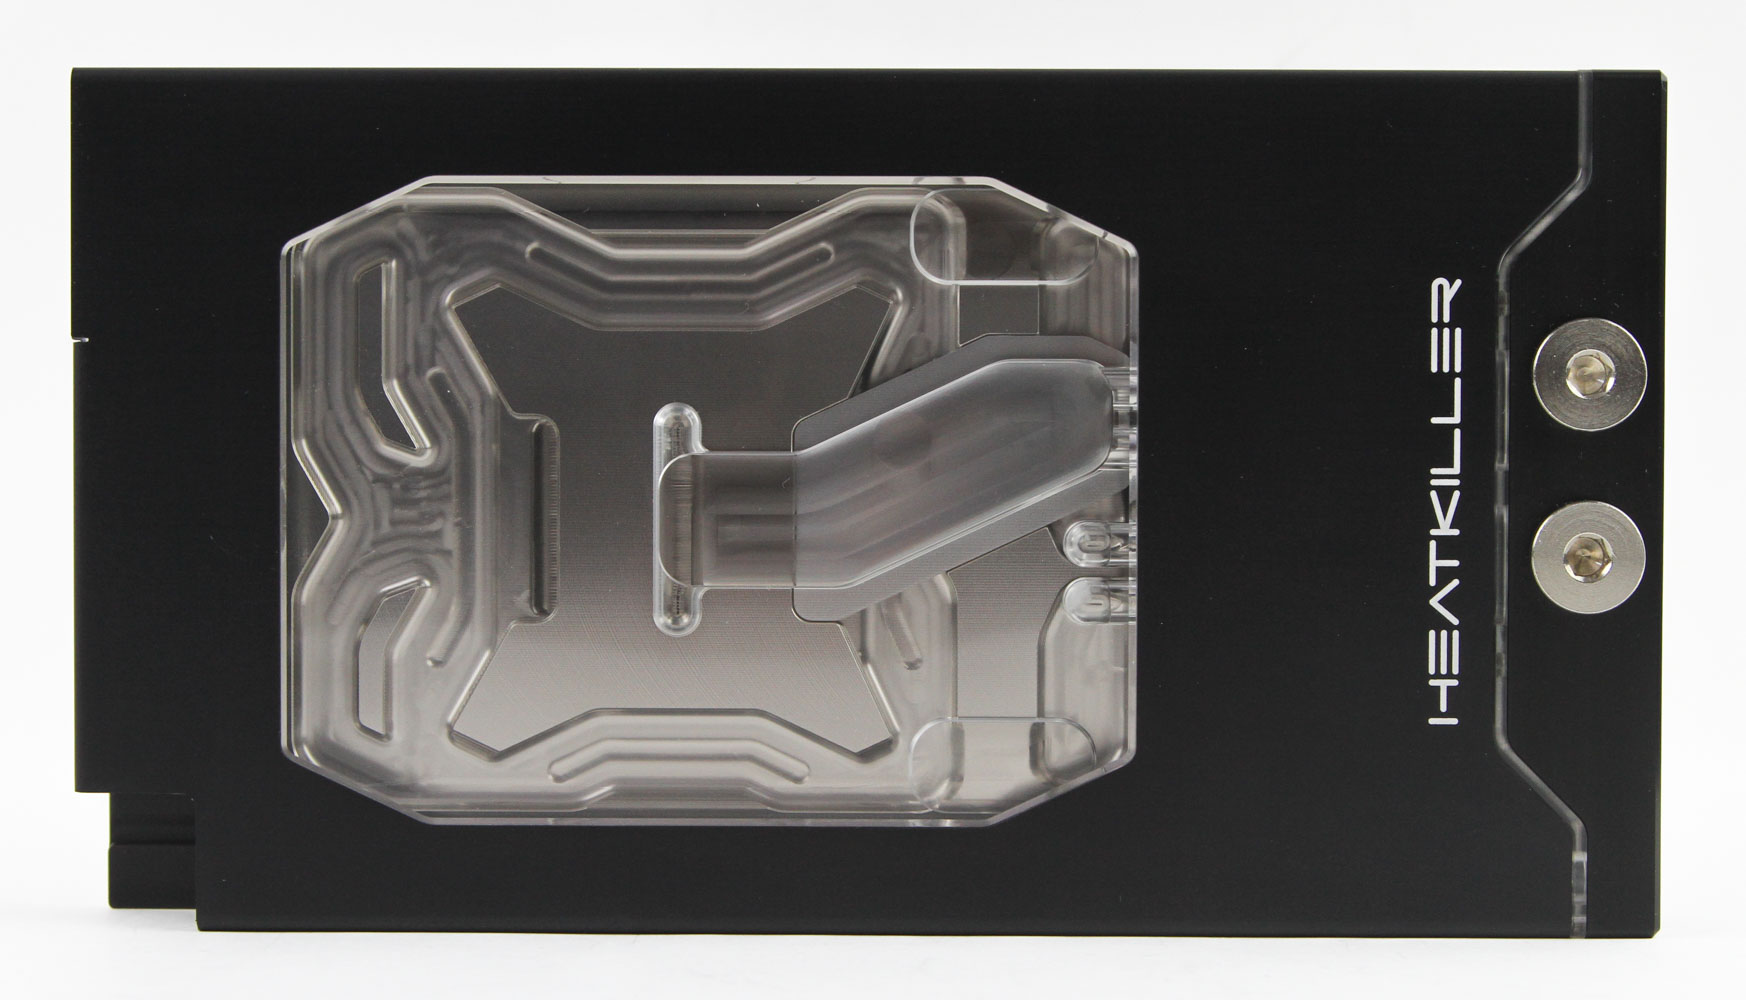
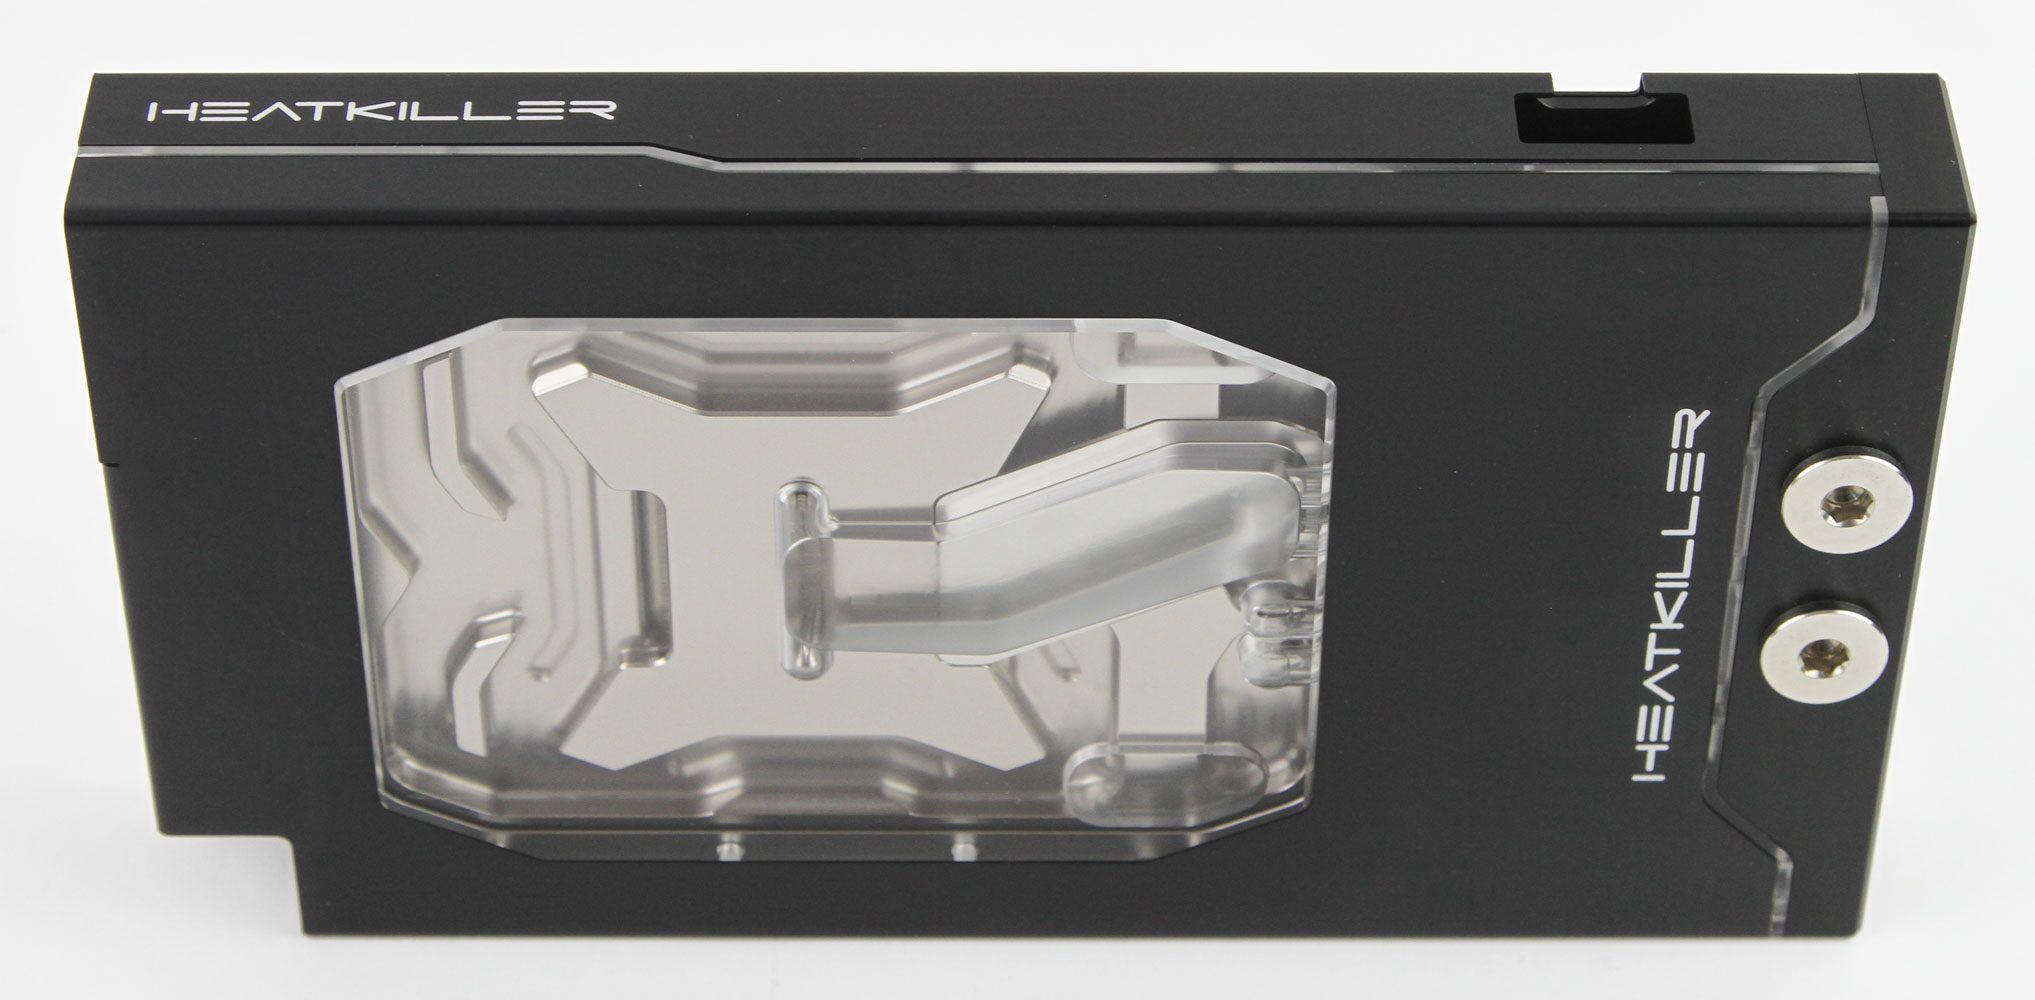

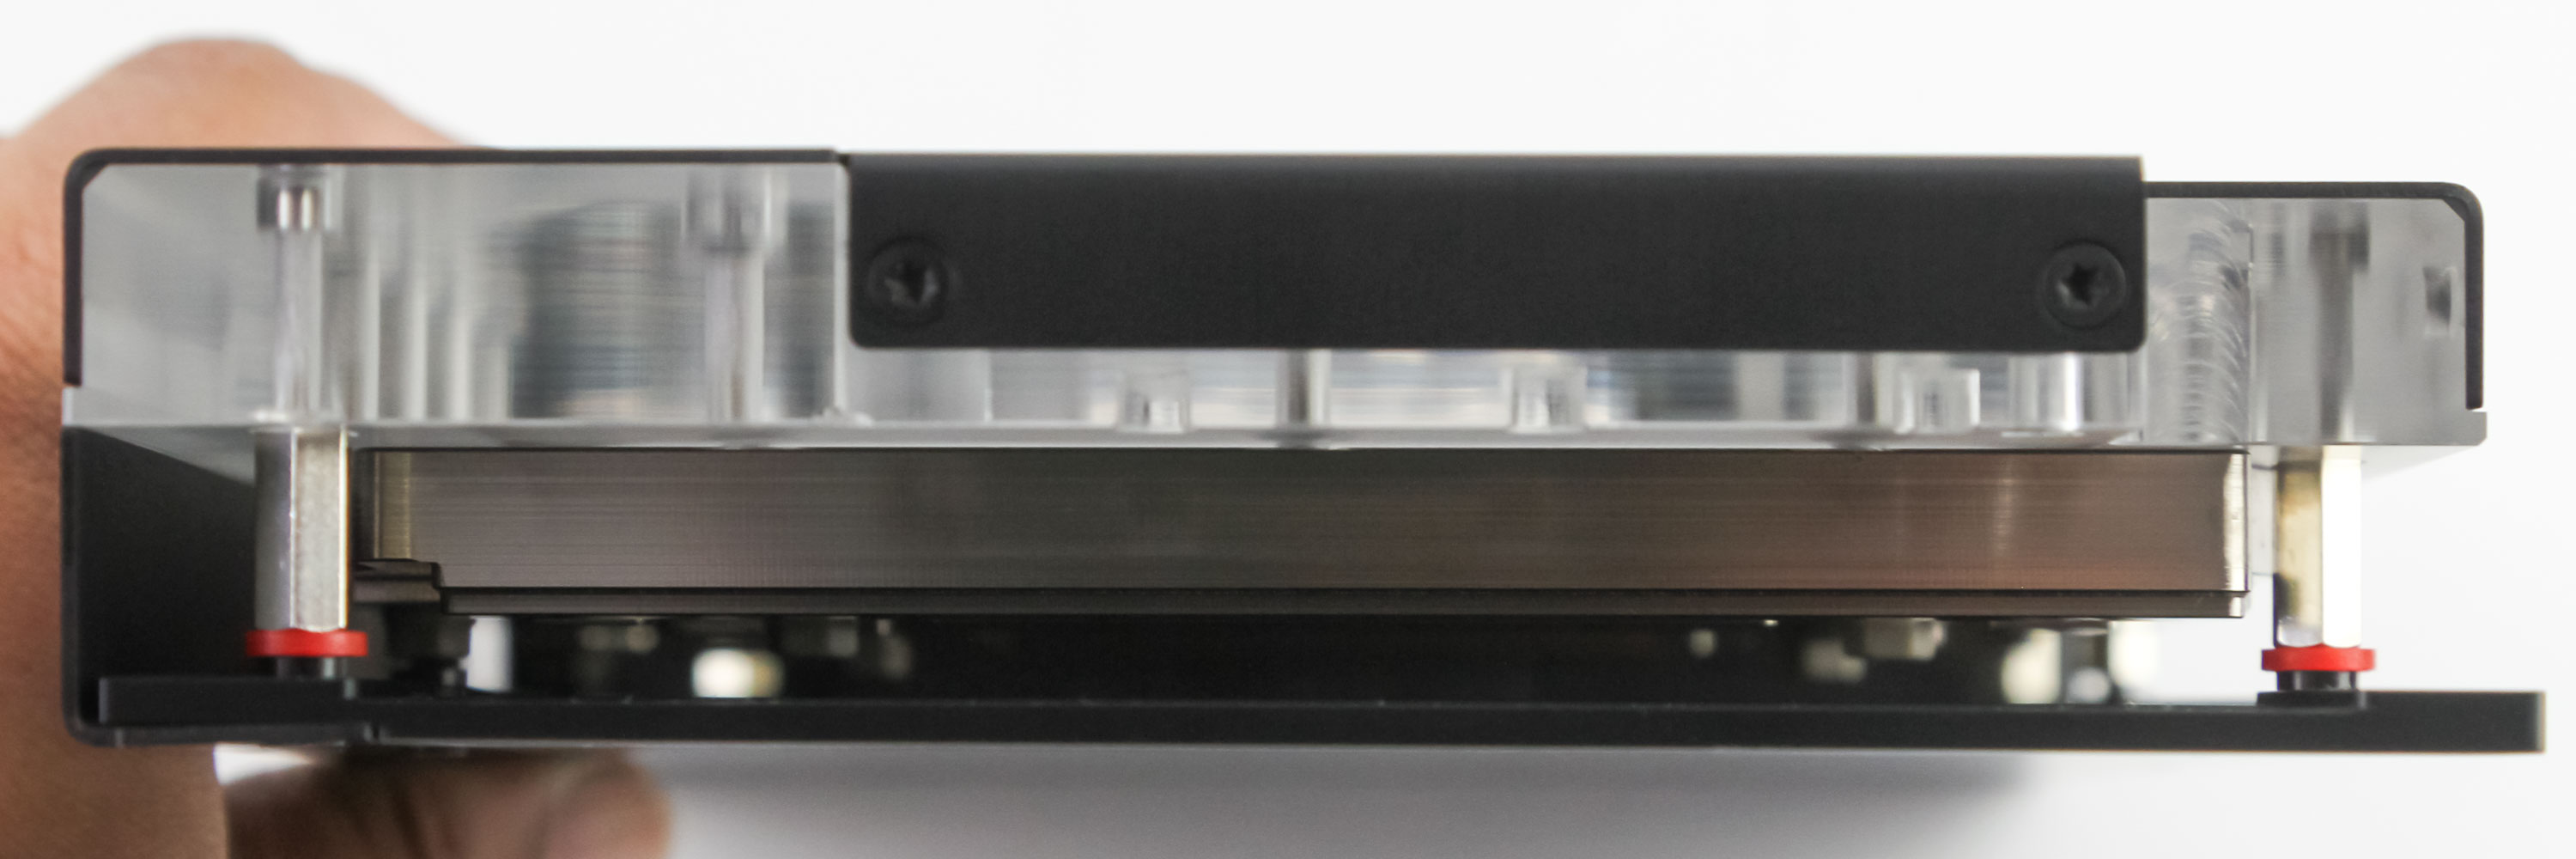
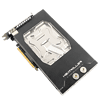
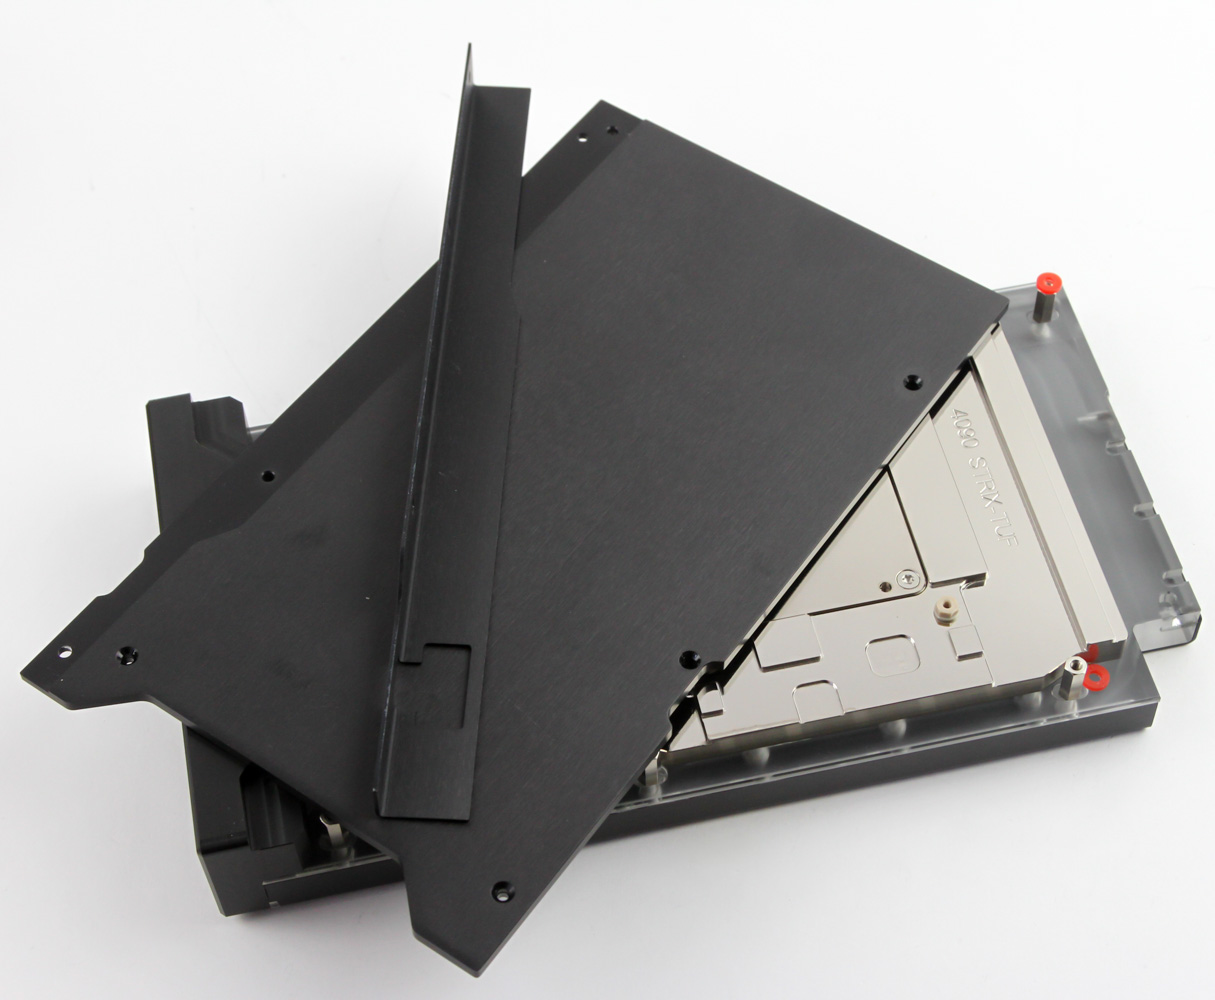
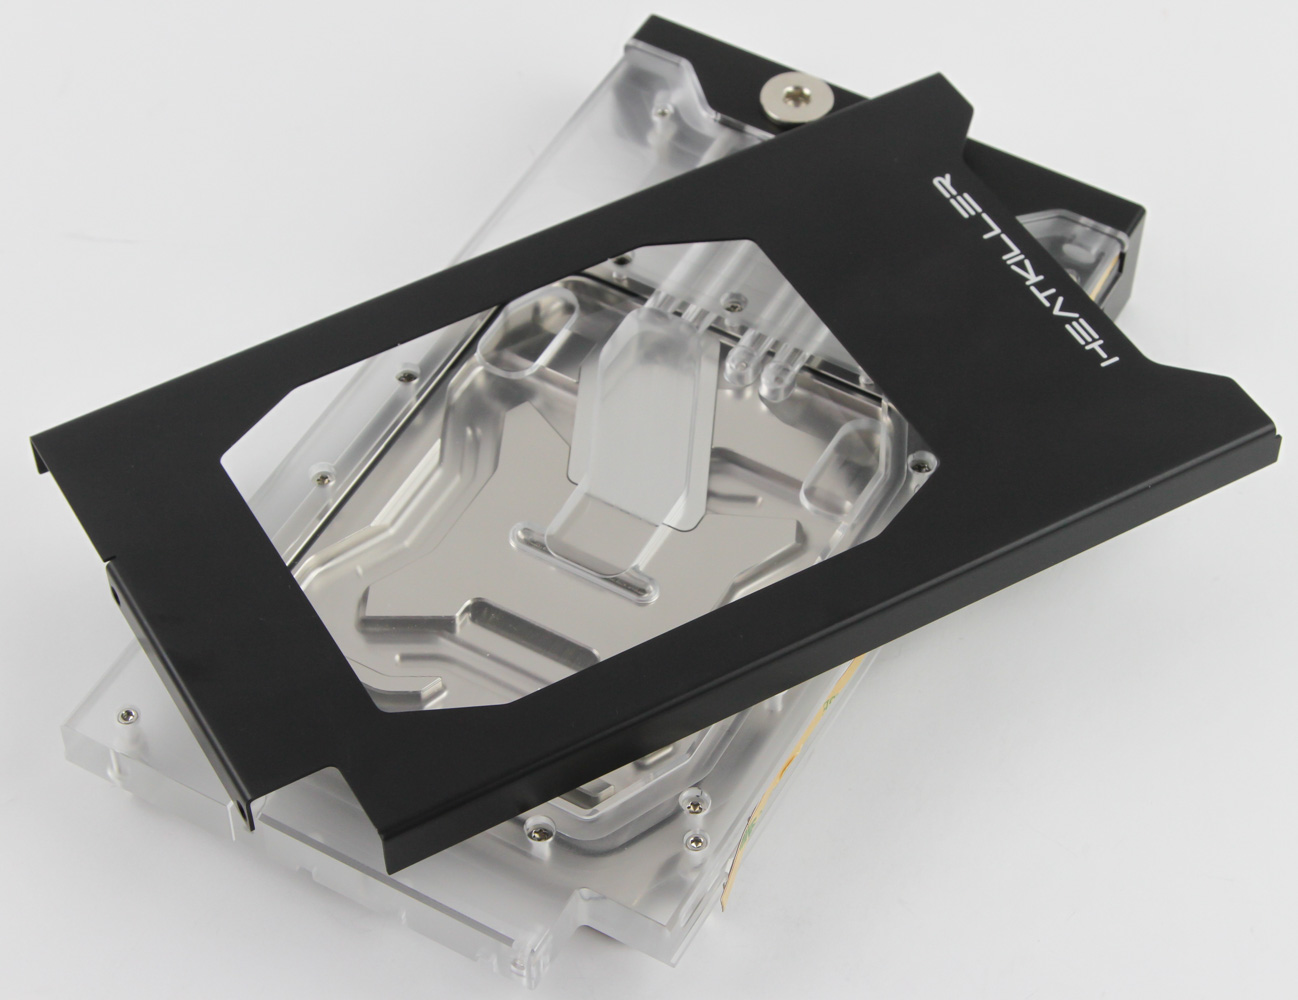
May I say right away that I think the Heatkiller V Pro looks stunning? I also think it's cleaner looking than the Heatkiller V block from the previous generation, and this is even before I realized the backplate comes pre-installed to make for a boxy sandwich. Watercool was among the very first companies to go for the clear top with opaque metal side cover design when it comes to both CPU and GPU blocks, and the new Heatkiller V Pro continues this trend with a polished Plexiglas (the actual brand, not generic acrylic) top and your choice of shiny stainless steel or black anodized aluminium surrounding it. This gives you a clear look at the cooling engine too which confirms this is a full-coverage block cooling the GPU core, the VRAM modules, and VRMs alike. This is also a full-cover block in that it does not leave the PCB exposed anywhere. Branding is clean with Heatkiller on the top and front and we also see a cutout going the length of these two sides where we will no doubt see ARGB lighting in action. There is also a cutout to allow access to the GPU power connector itself and a look from the side confirms the use of a thick acrylic top, a thinner cover, and then a wrap-around section going to the back where we have the backplate.
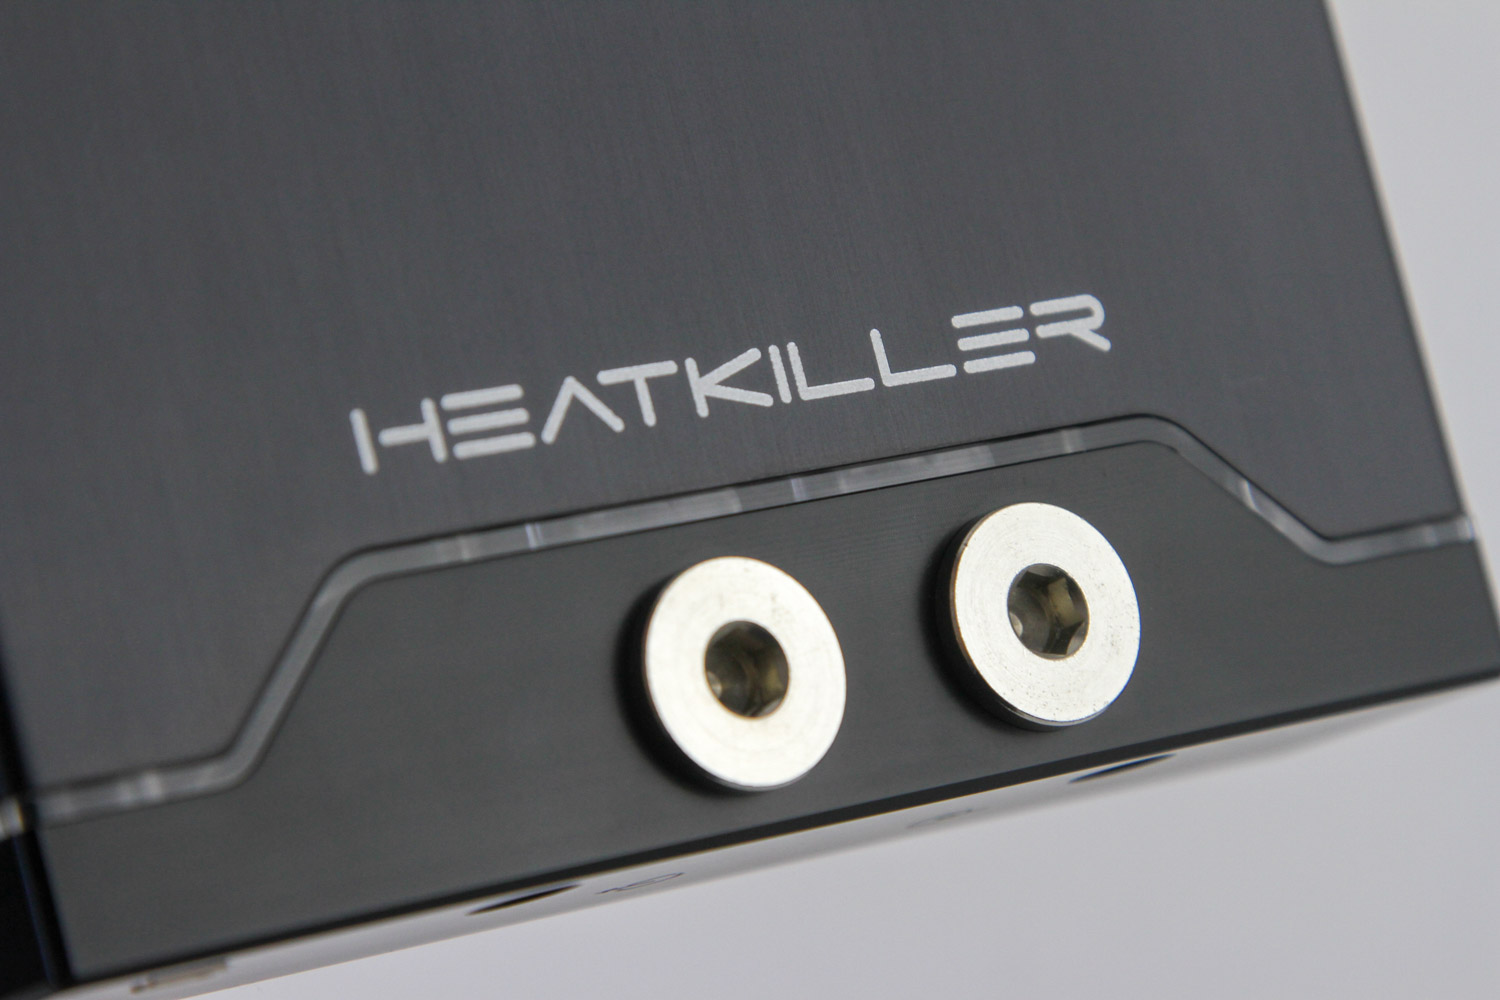
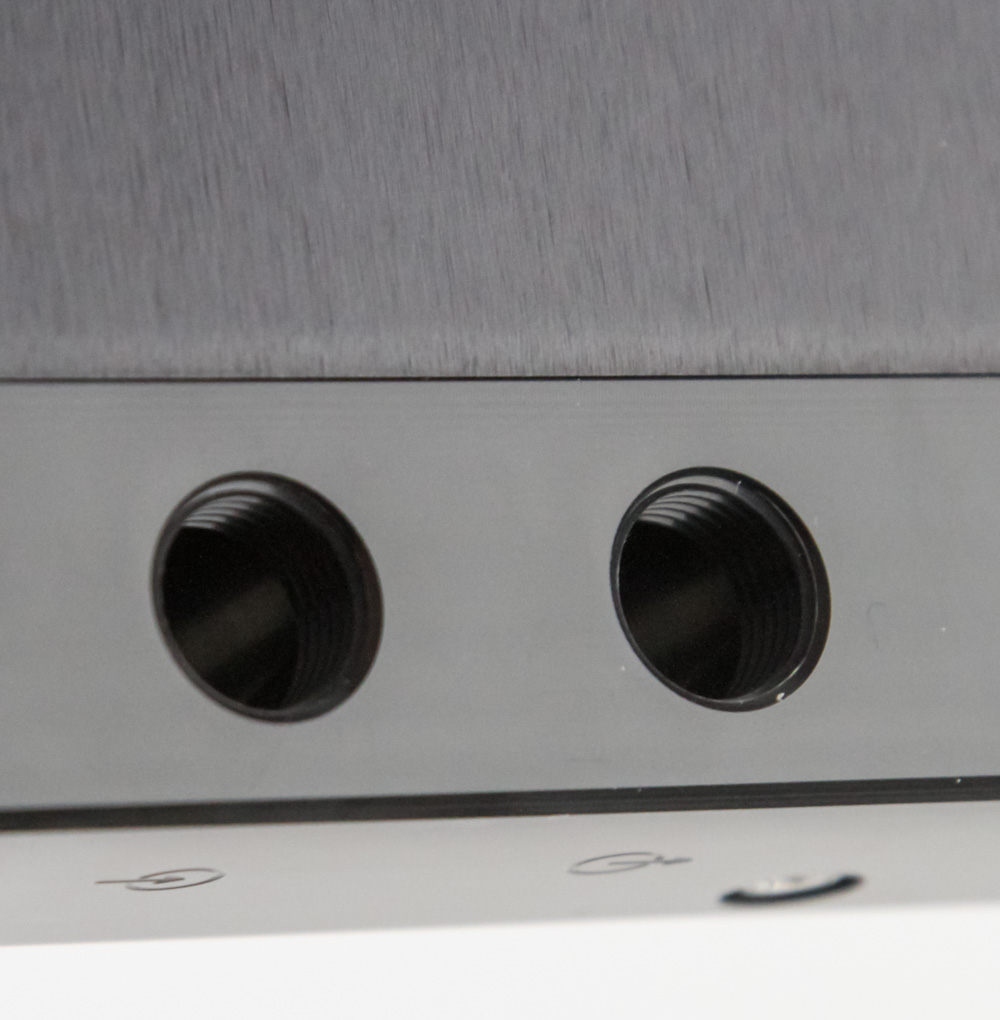

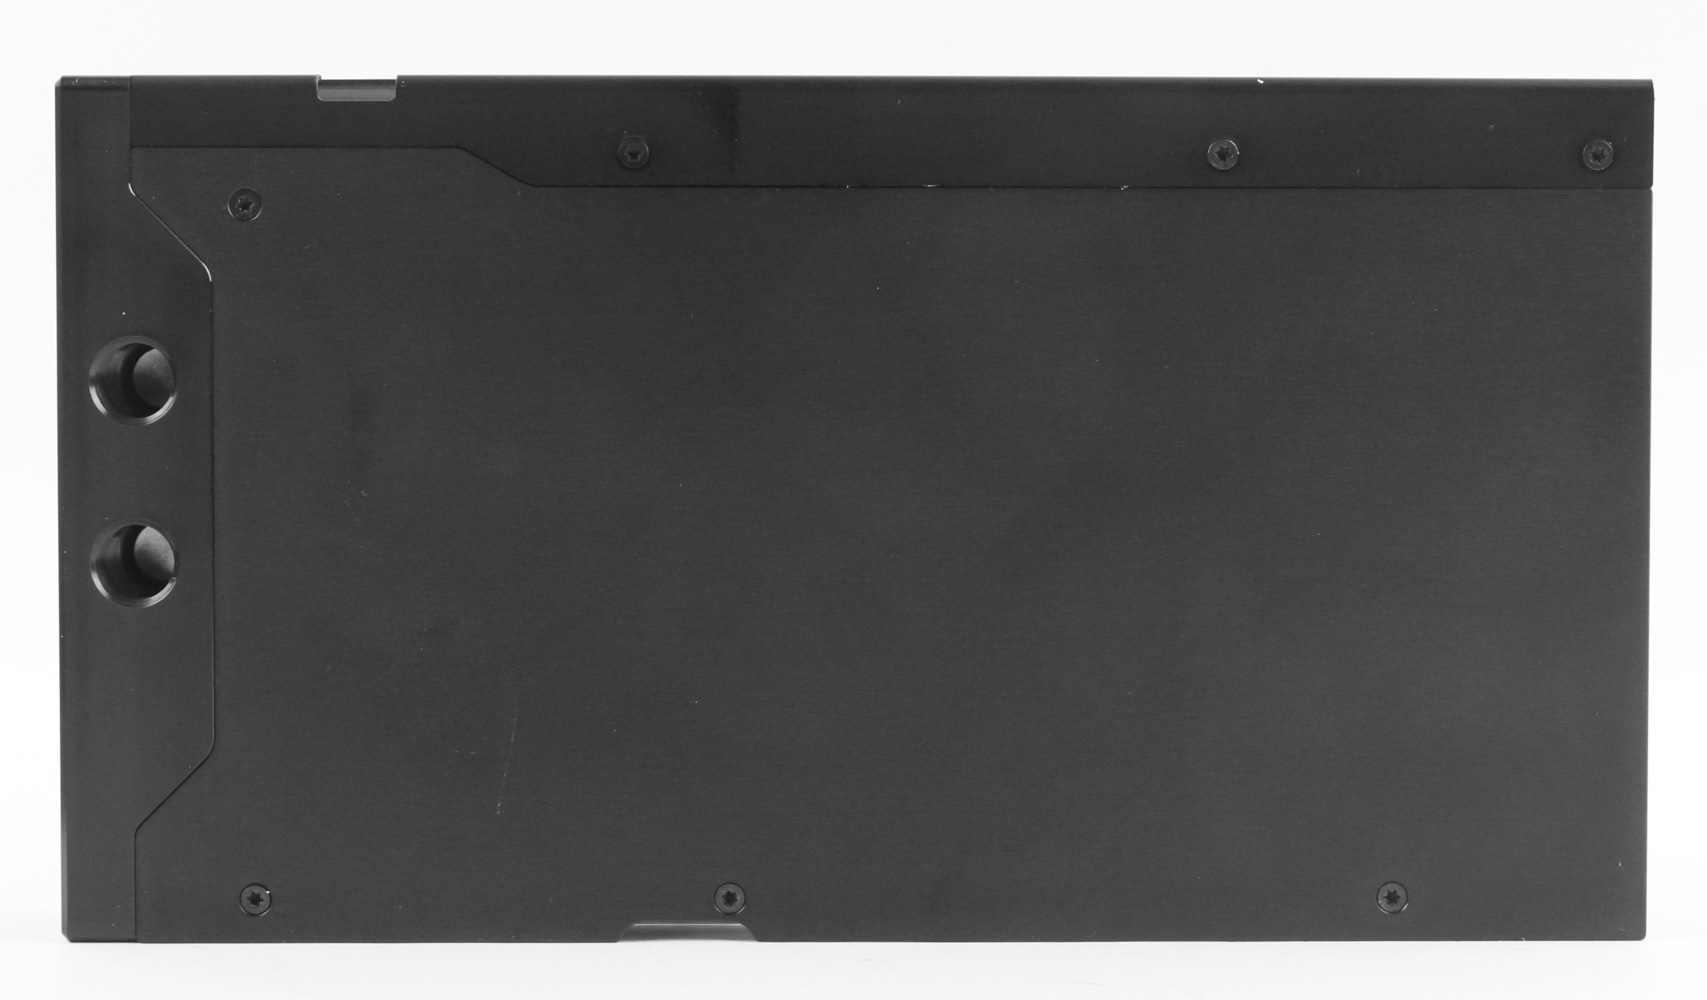
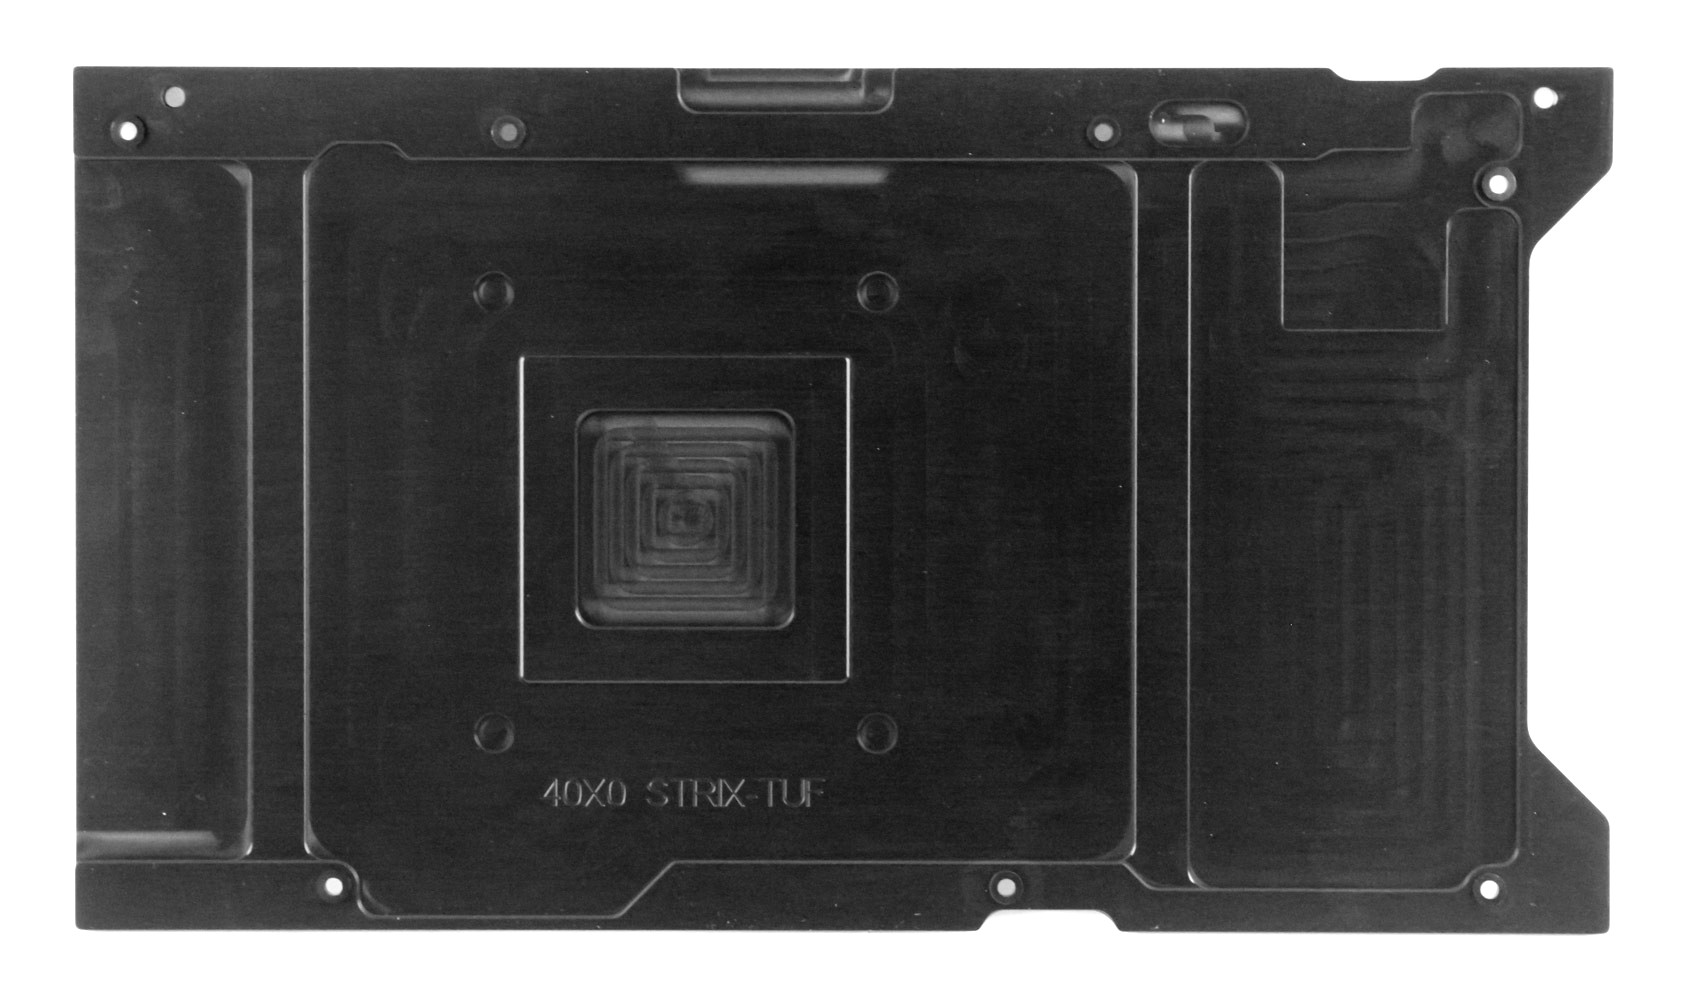
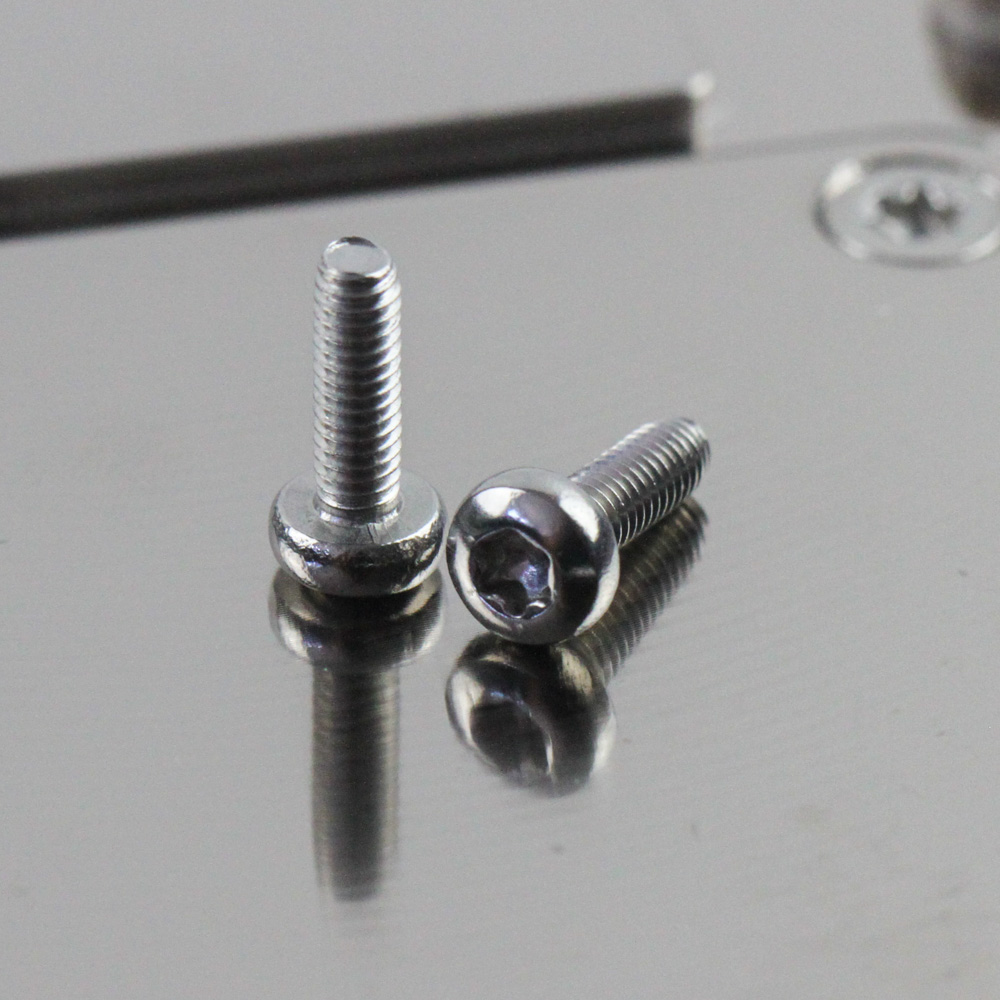
The GPU block has an integrated I/O terminal on the side rather than as a separate section on the top as before. There are two stop plugs pre-installed on the front and two open BSP G1/4" threaded blocks in the acetal (POM) terminal on the back. You will need your own hex key to remove the stop plugs if you plan to change the plumbing layout, and here is where other larger brands do better in providing all the tools necessary to not leave you hanging. There are subtle markings on the side to indicate the preferred inlet and outlet ports and we also see a smaller connector which no doubt fits the RGB cable we saw on the previous page. Turning the block over, we see an aluminium backplate in black—it is black for the other color version also—that is held in place via Torx T8 screws. It is also shaped to neatly fit the terminal and the side cover piece which wraps around the block as we saw before. The backplate is also going to cool the card thanks to clear locations where you will have thermal pads contacting the back of the PCB.
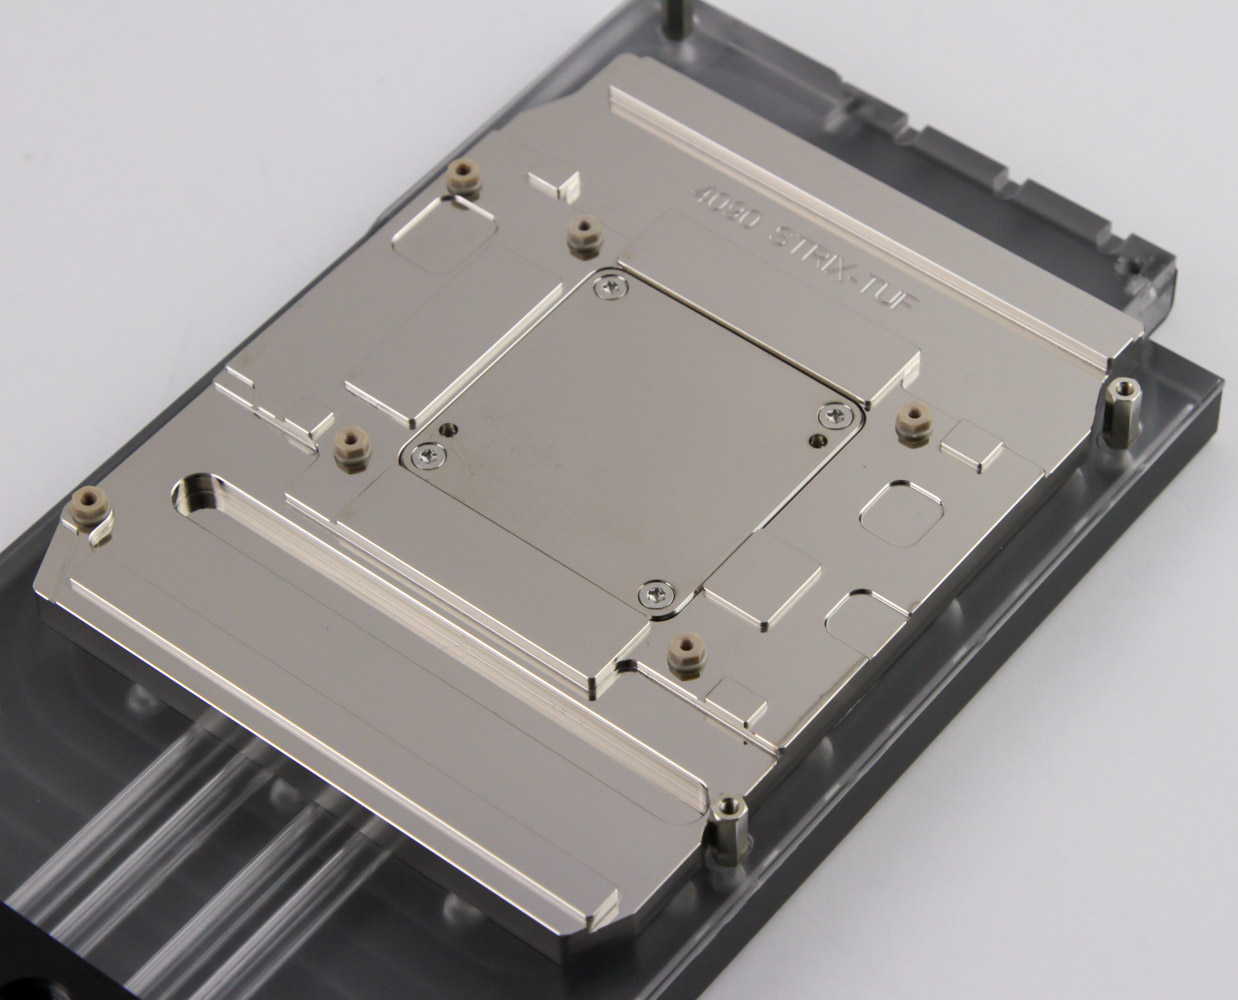
Removing the backplate also provides a better look at the nickel-plated copper cold plate used here. It's so shiny that I had a hard time taking photos without reflections in it, but then that also helped in the last photo above to show Watercool has given a polish to remove most of the machining marks here. We can see raised sections where the cold plate makes contact with the relevant components on the PCB via thermal pads or thermal paste.

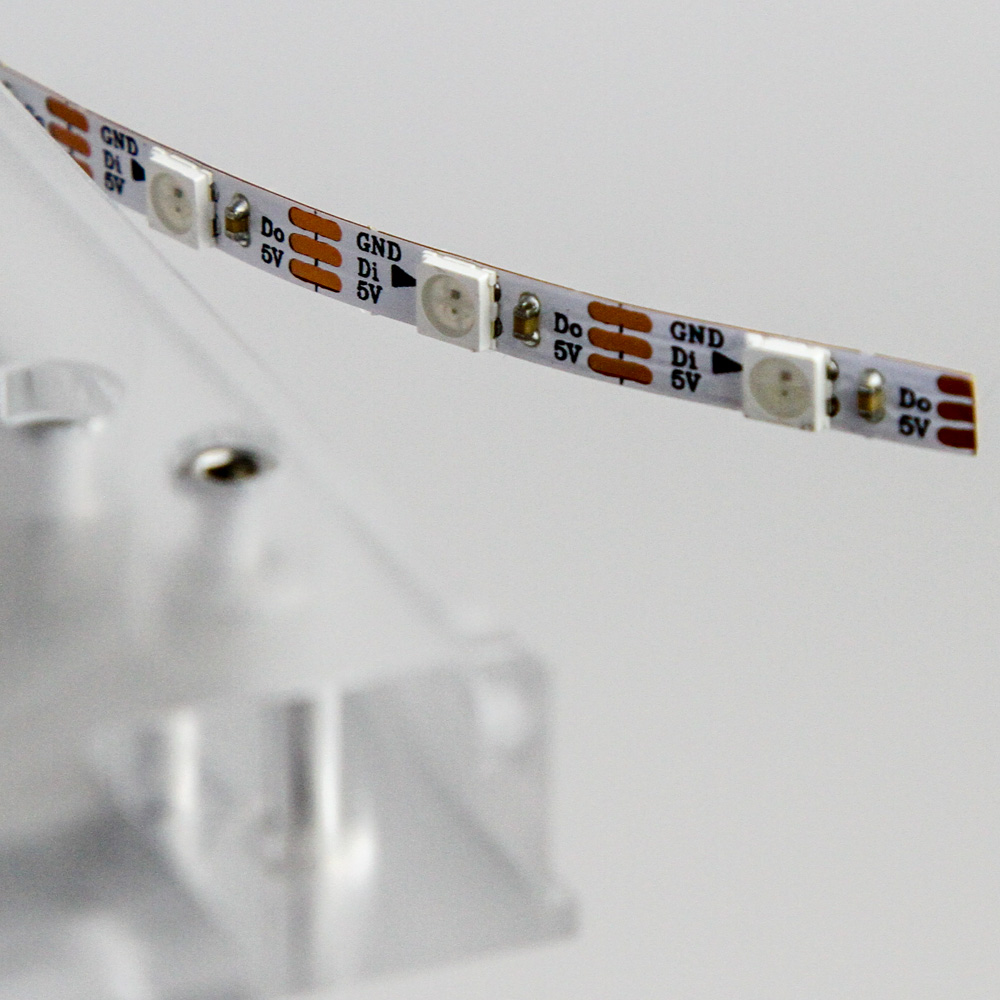
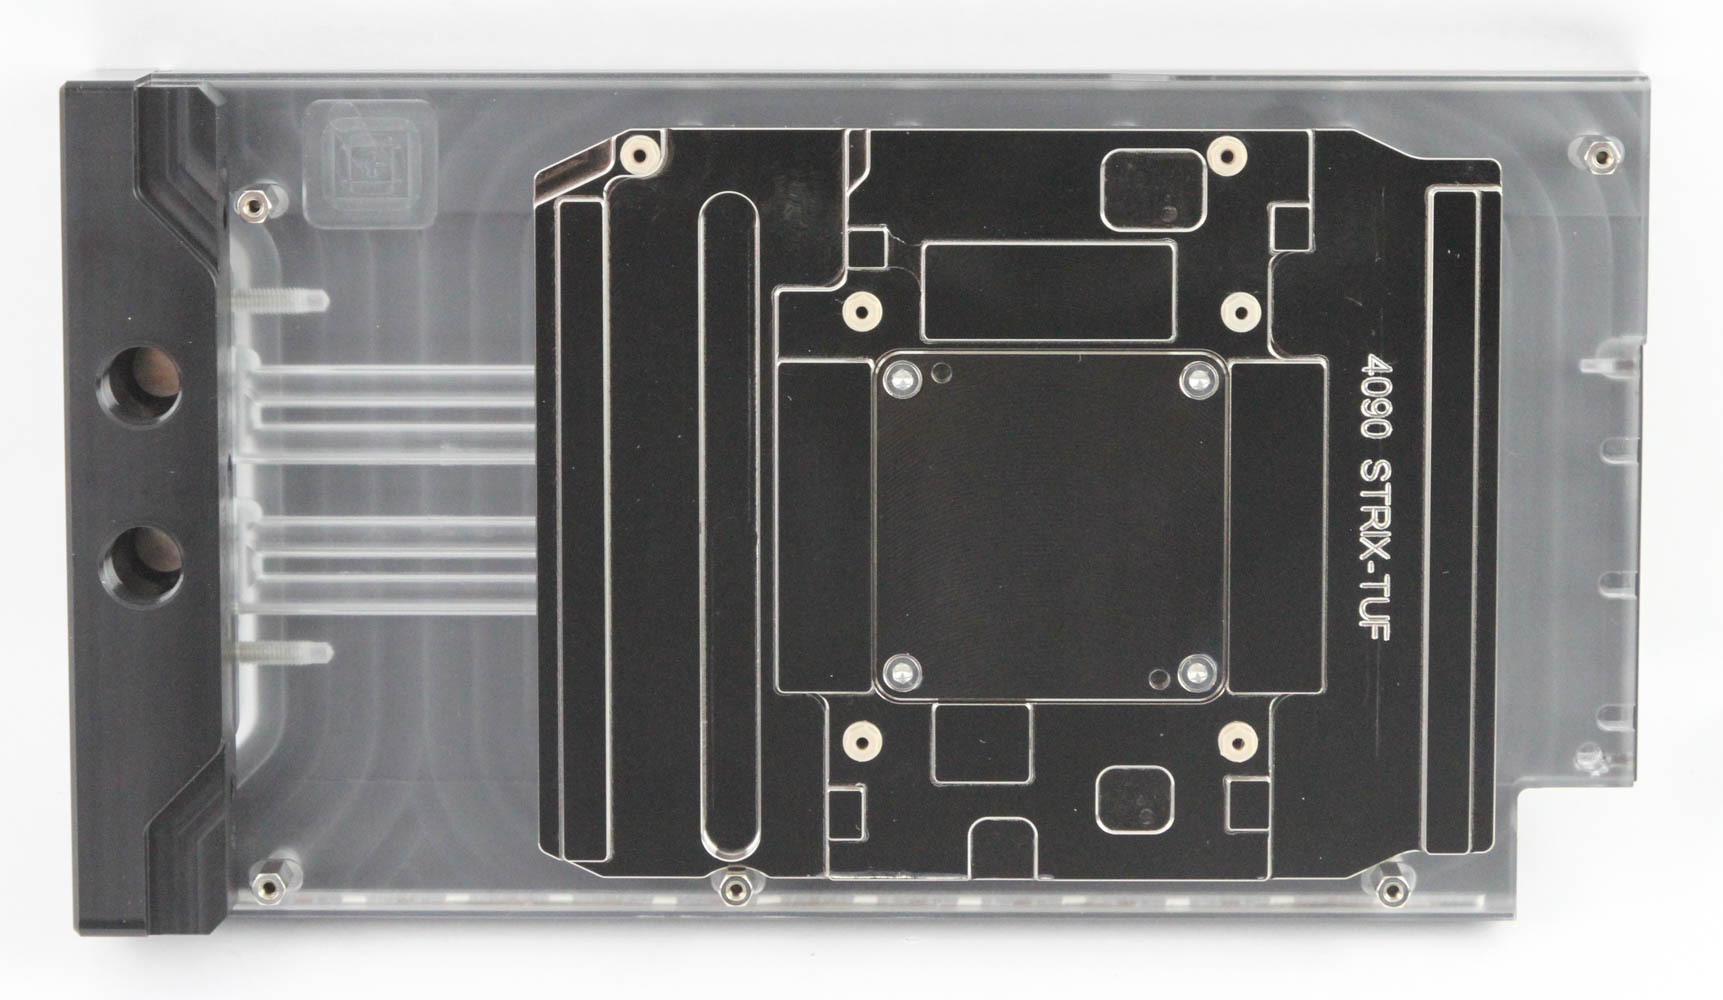
At this point I also realized the top side cover could be removed too, seeing as how the wrap-around section was taken off. It's held in place via Phillips-head screws on the side and now you can see the full extent of the machined acrylic top while also better admiring the cooling engine with the split central flow to the core and a fairly symmetric design throughout. The cover is also used to keep the LED strip in place at the bottom which has 12 individually addressable RGB LEDs firing upwards into the acrylic top. The lighting should be mostly visible through the clear top as well as the strips cut into the side covers on the top and front.
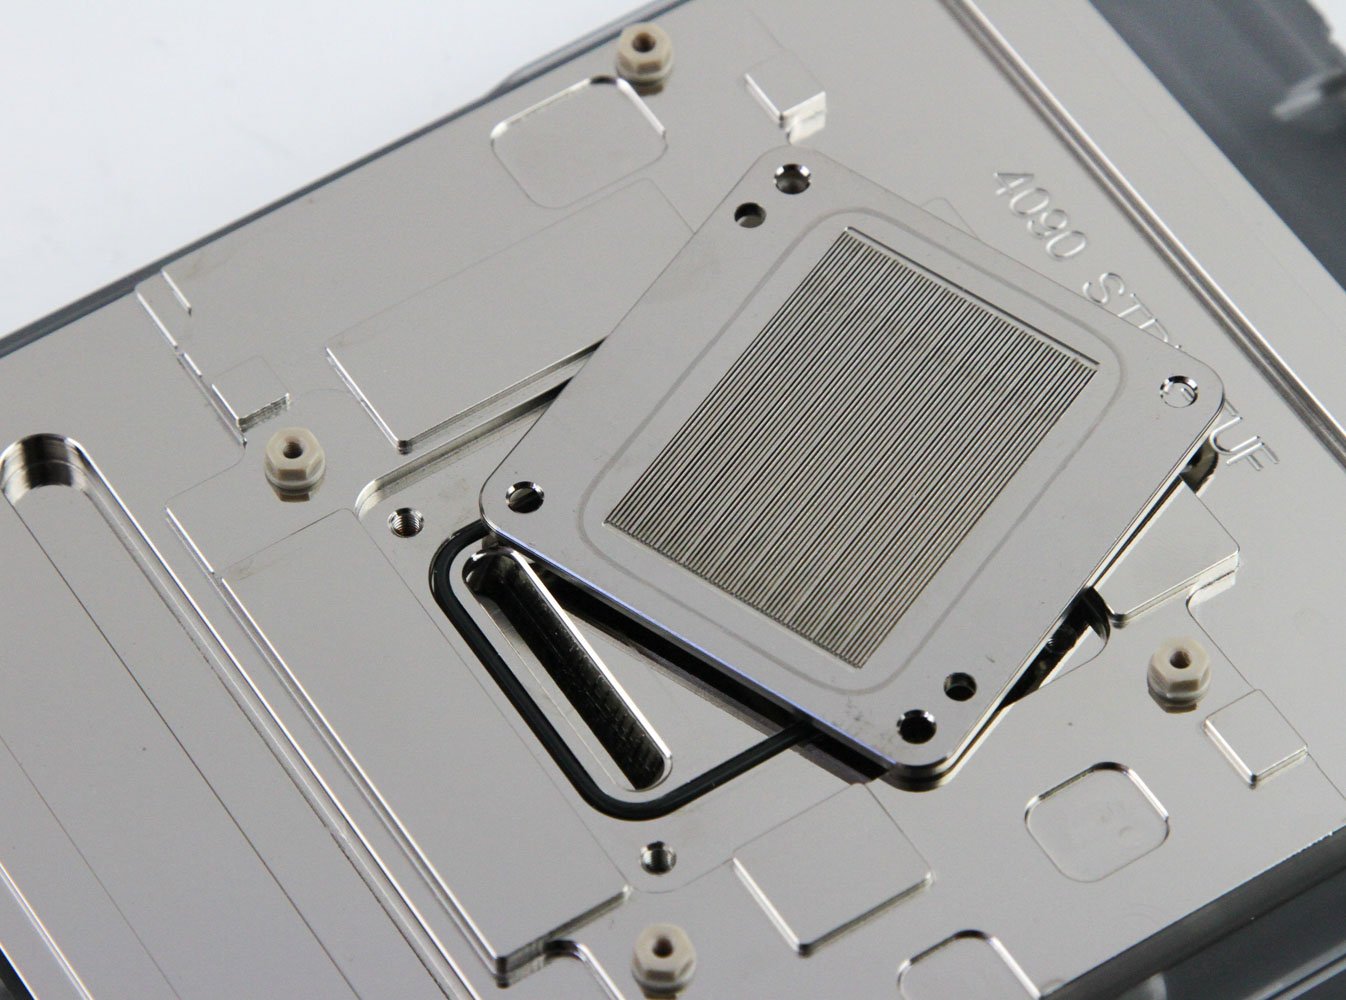
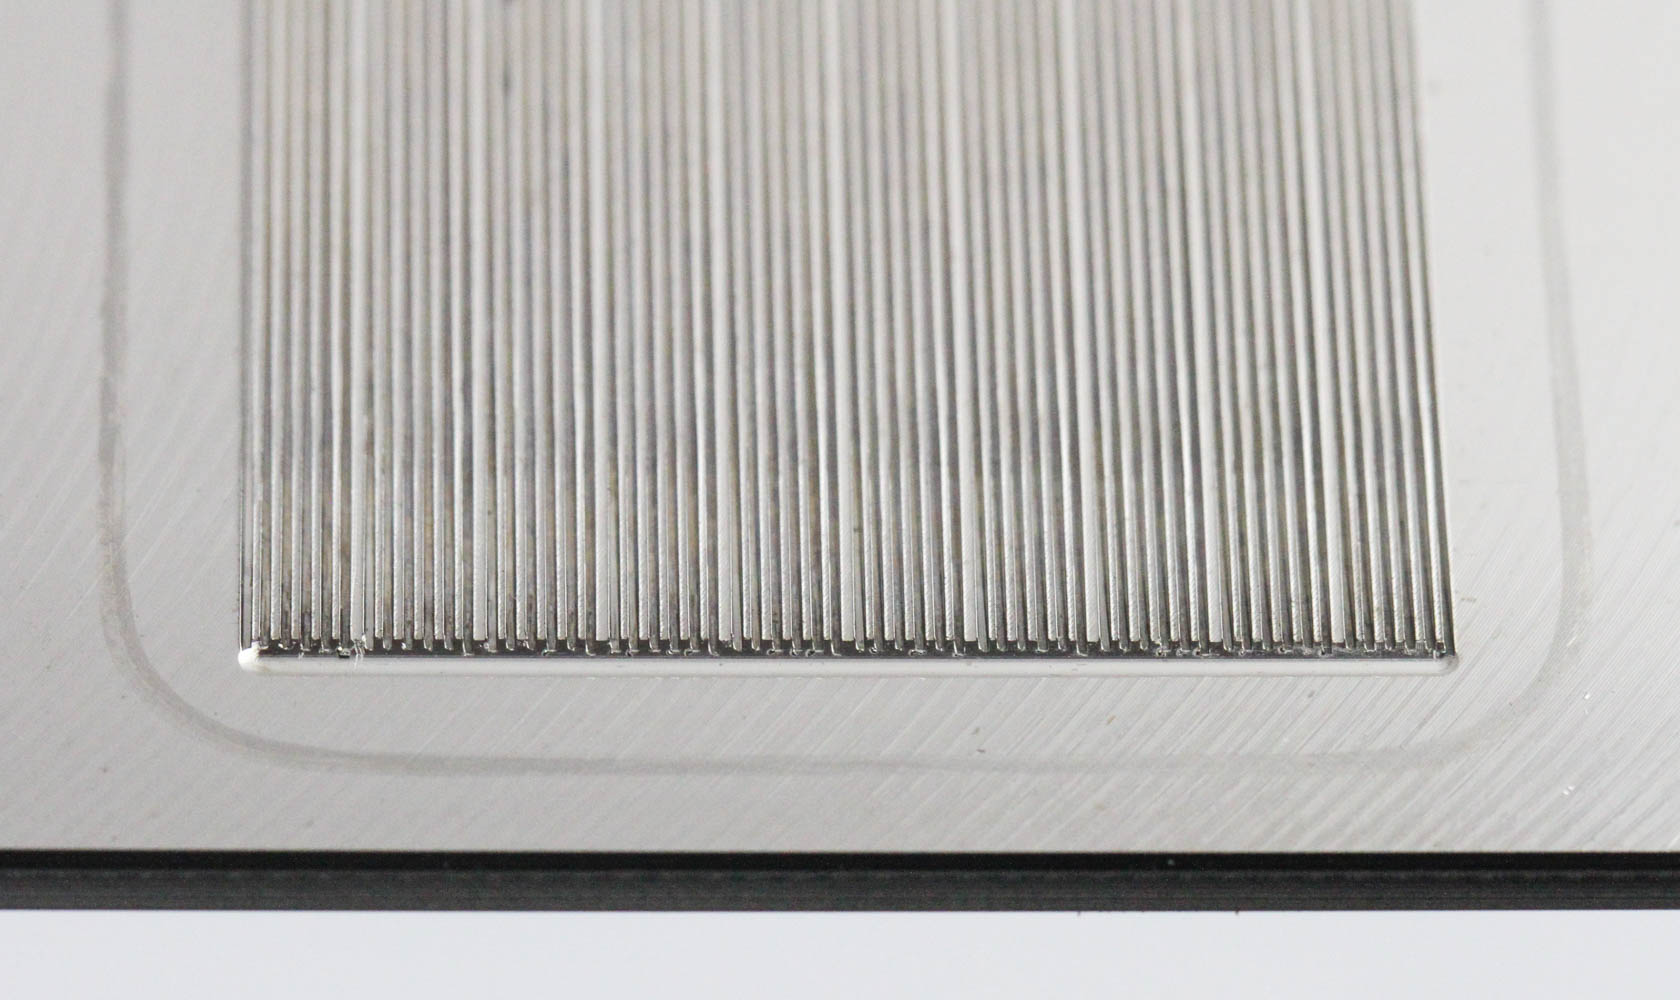
Disassembly was done after all testing was completed, and there isn't a lot to do here since the clear top already provides a good look at the internals. Still, I saw that the cold plate had a smaller section that was screwed in place so I removed it to gain access to the active area cooling the GPU core itself. This is also similar to a CPU cold plate and the modular design is clever if Watercool aims to use similar parts across its lineup. This smaller cold plate is 2.3 mm thick—less than average, so the thermal heat transfer barrier is lower too—with 60 machined microfins occupying a 30.3 x 41 mm area. The fins are 250 µm thick with the same distance between them for the microchannels that the coolant will flow through. They are not as tall as most other such fins on GPU blocks I've tested though, so we'll see soon how all these factors come together for both coolant flow restriction and thermal performance itself. Overall, I am plenty pleased with the design and build quality of the Heatkiller V Pro GPU block.
Jul 12th, 2025 03:36 CDT
change timezone
Latest GPU Drivers
New Forum Posts
- What's your latest tech purchase? (24237)
- What are you playing? (23921)
- Can you guess Which game it is? (226)
- Gigabyte graphic cards - TIM gel SLIPPAGE problem (144)
- [Intel AX1xx/AX2xx/AX4xx/AX16xx/BE2xx/BE17xx] Intel Modded Wi-Fi Driver with Intel® Killer™ Features (367)
- NVIDIA RTX PRO 6000 Workstation Runs Much Hotter Than 5090 FE (22)
- 3D Printer Club (539)
- Will you buy a RTX 5090? (644)
- [GPU-Z Test Build] New Kernel Driver, Everyone: Please Test (89)
- No offense, here are some things that bother me about your understanding of fans. (34)
Popular Reviews
- Fractal Design Epoch RGB TG Review
- Corsair FRAME 5000D RS Review
- Lexar NM1090 Pro 4 TB Review
- NVIDIA GeForce RTX 5050 8 GB Review
- NZXT N9 X870E Review
- Sapphire Radeon RX 9060 XT Pulse OC 16 GB Review - An Excellent Choice
- AMD Ryzen 7 9800X3D Review - The Best Gaming Processor
- Our Visit to the Hunter Super Computer
- Upcoming Hardware Launches 2025 (Updated May 2025)
- Chieftec Iceberg 360 Review
TPU on YouTube
Controversial News Posts
- Intel's Core Ultra 7 265K and 265KF CPUs Dip Below $250 (288)
- Some Intel Nova Lake CPUs Rumored to Challenge AMD's 3D V-Cache in Desktop Gaming (140)
- AMD Radeon RX 9070 XT Gains 9% Performance at 1440p with Latest Driver, Beats RTX 5070 Ti (131)
- NVIDIA Launches GeForce RTX 5050 for Desktops and Laptops, Starts at $249 (119)
- NVIDIA GeForce RTX 5080 SUPER Could Feature 24 GB Memory, Increased Power Limits (115)
- Microsoft Partners with AMD for Next-gen Xbox Hardware (105)
- Intel "Nova Lake‑S" Series: Seven SKUs, Up to 52 Cores and 150 W TDP (100)
- NVIDIA DLSS Transformer Cuts VRAM Usage by 20% (97)