 19
19
be quiet! Light Wings 120 mm PWM High-Speed Fan Review
Closer Examination »Packaging and Accessories
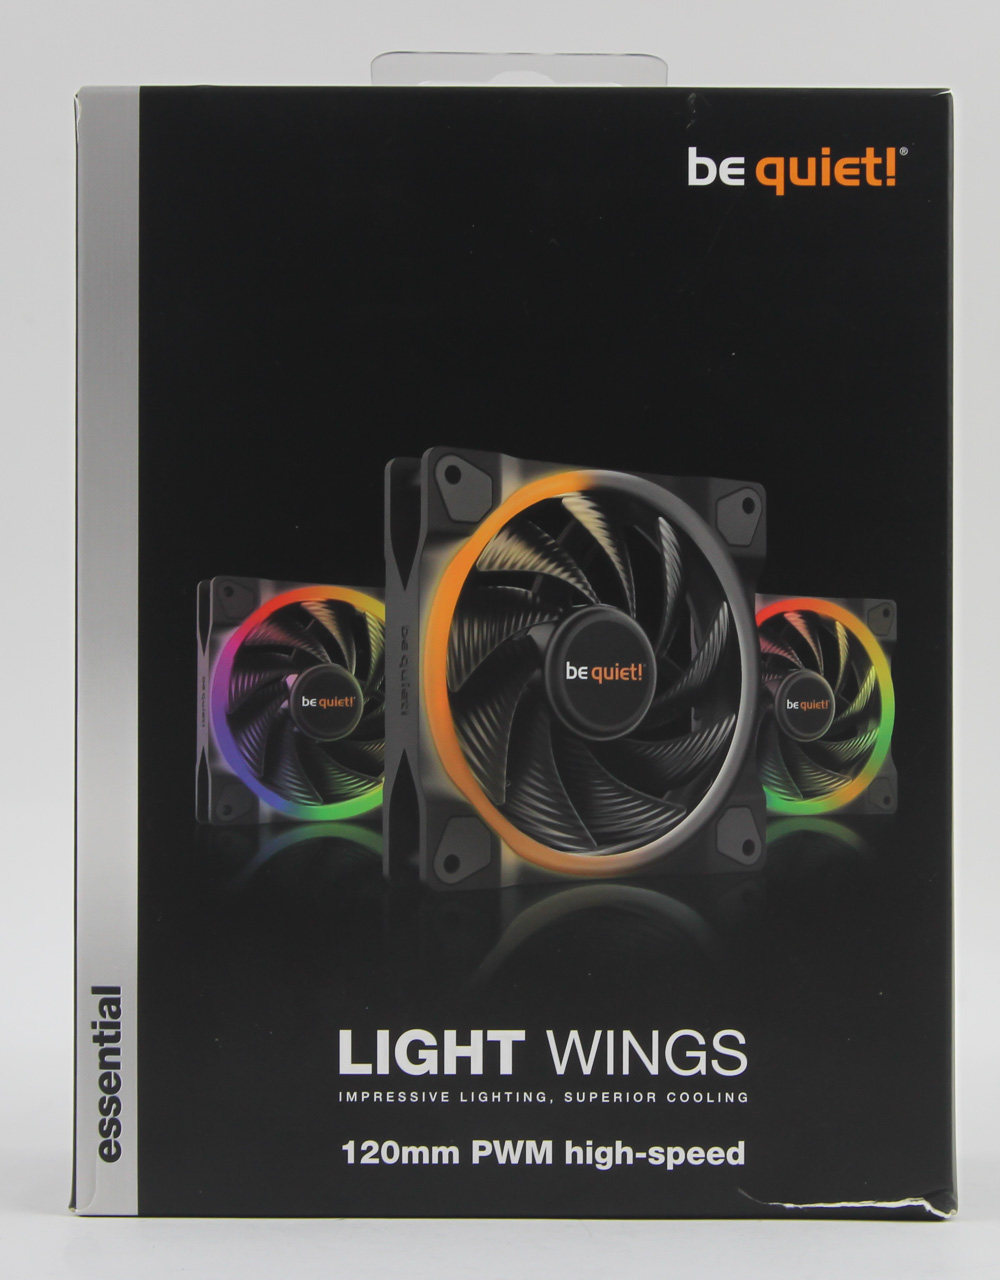
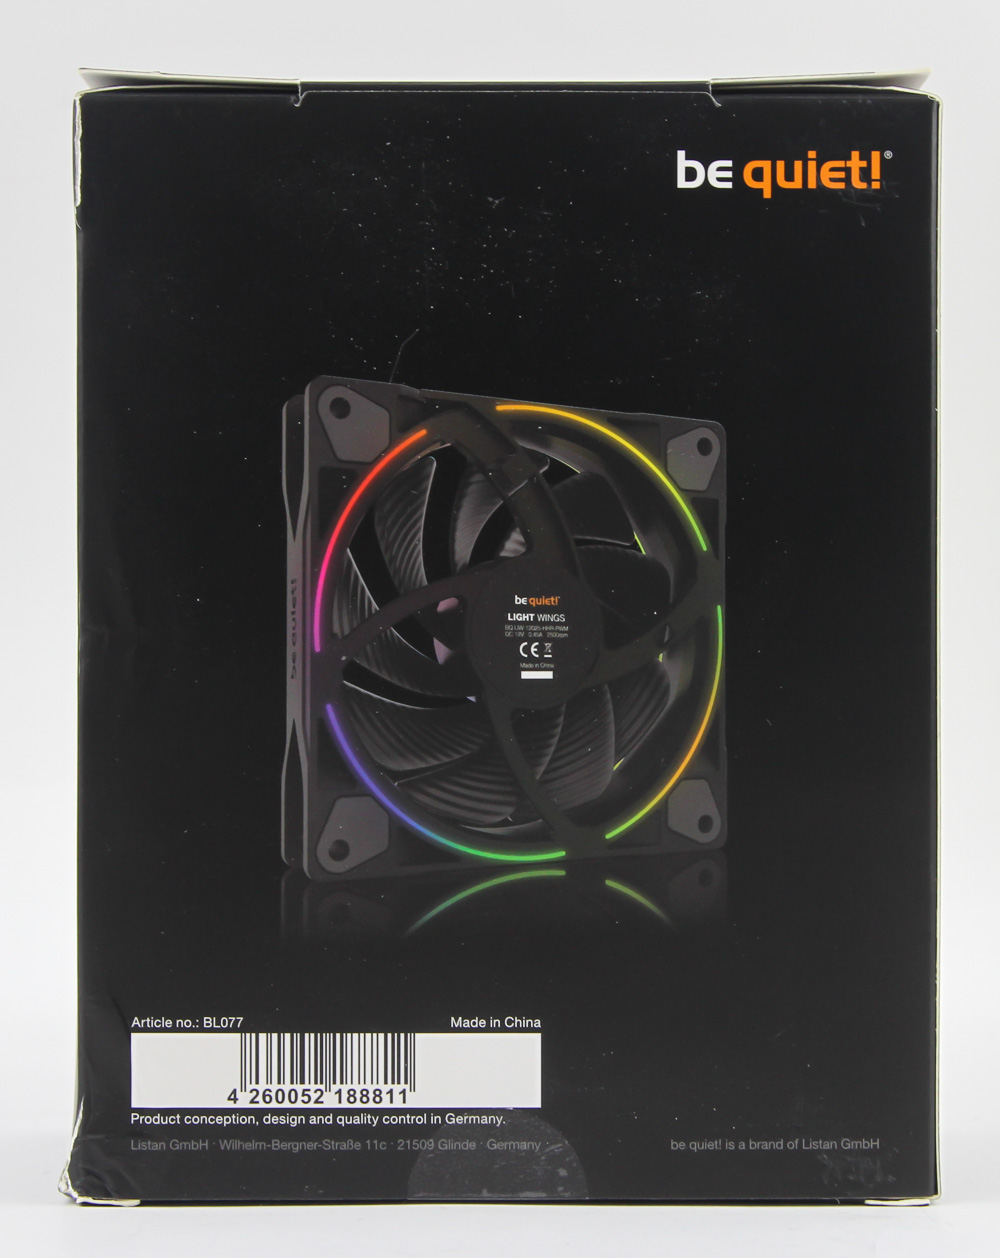

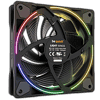
There are four versions of the new be quiet! Light Wings fans, as these are available in 120 and 140 mm and regular and high-speed versions. All four come as a single or triple pack, making for a total of eight SKUs. I have the triple-pack version of the 120 mm high-speed fan here, which of course shows up in a box larger than the single pack. This box design is still be quiet! at its core with the predominantly black base and white and orange accents throughout. A render of the fans lit up on the front clearly shows that these are RGB fans, which the product name and marketing tagline also support. I do like that the equivalent render on the back is again of the fan lit up, but from the back to confirm there are two light rings aboard. Technical specifications and certification information have been put on the sides, where we also spot a seal in the middle on the bottom.


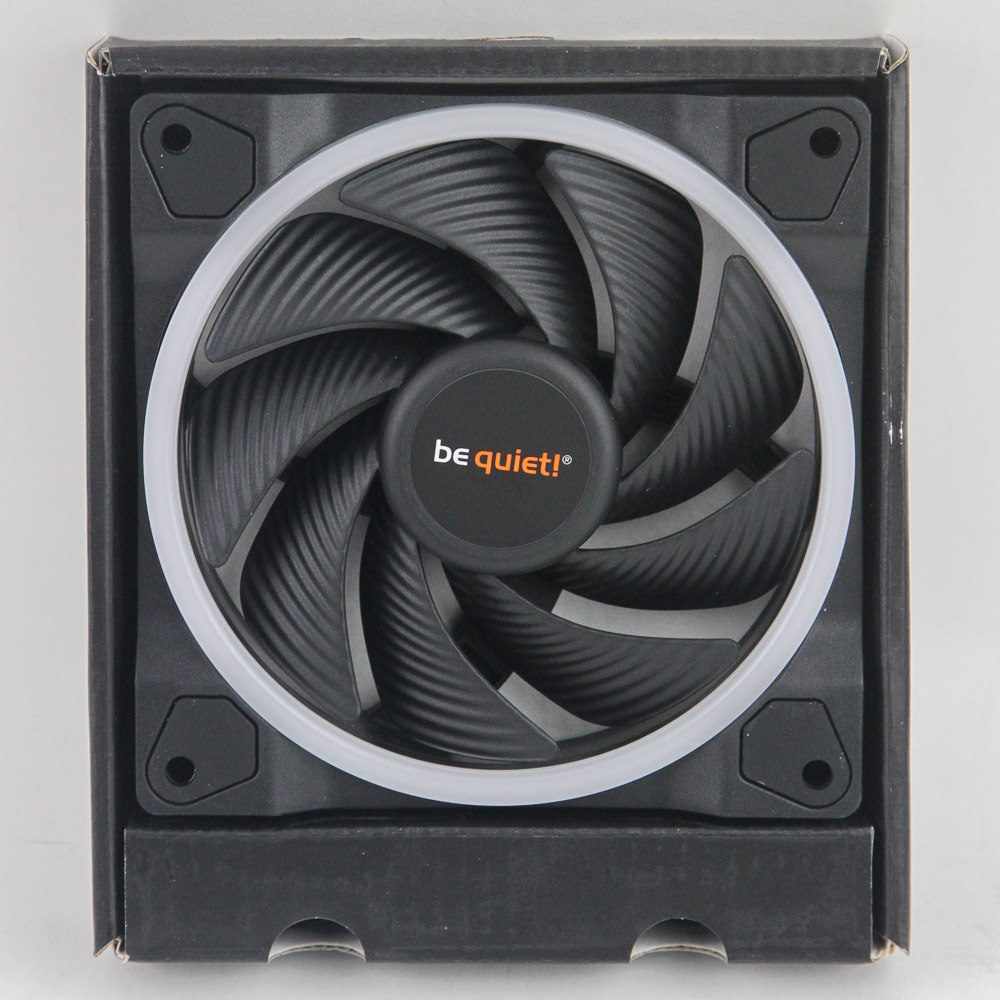

There is no need to remove that seal, however. The top has a double flap which opens up to easily access all the contents inside. As with most such RGB fans in a multi-pack SKU, we see an additional accessory bundled in a cardboard box titled "ARGB Hub." Underneath are three cardboard boxes, each semi-open and holding a fans inside. A folded layer on the bottom hides the cables, but everything else is actually in that box from before, including four sets of four self-tapping metal screws—one each for the fans and ARGB hub—a piece of 3M double-sided tape to help install the hub itself, a multi-language user manual describing the wiring for the fans (online copy in the downloads tab here), and of course the ARGB hub itself.

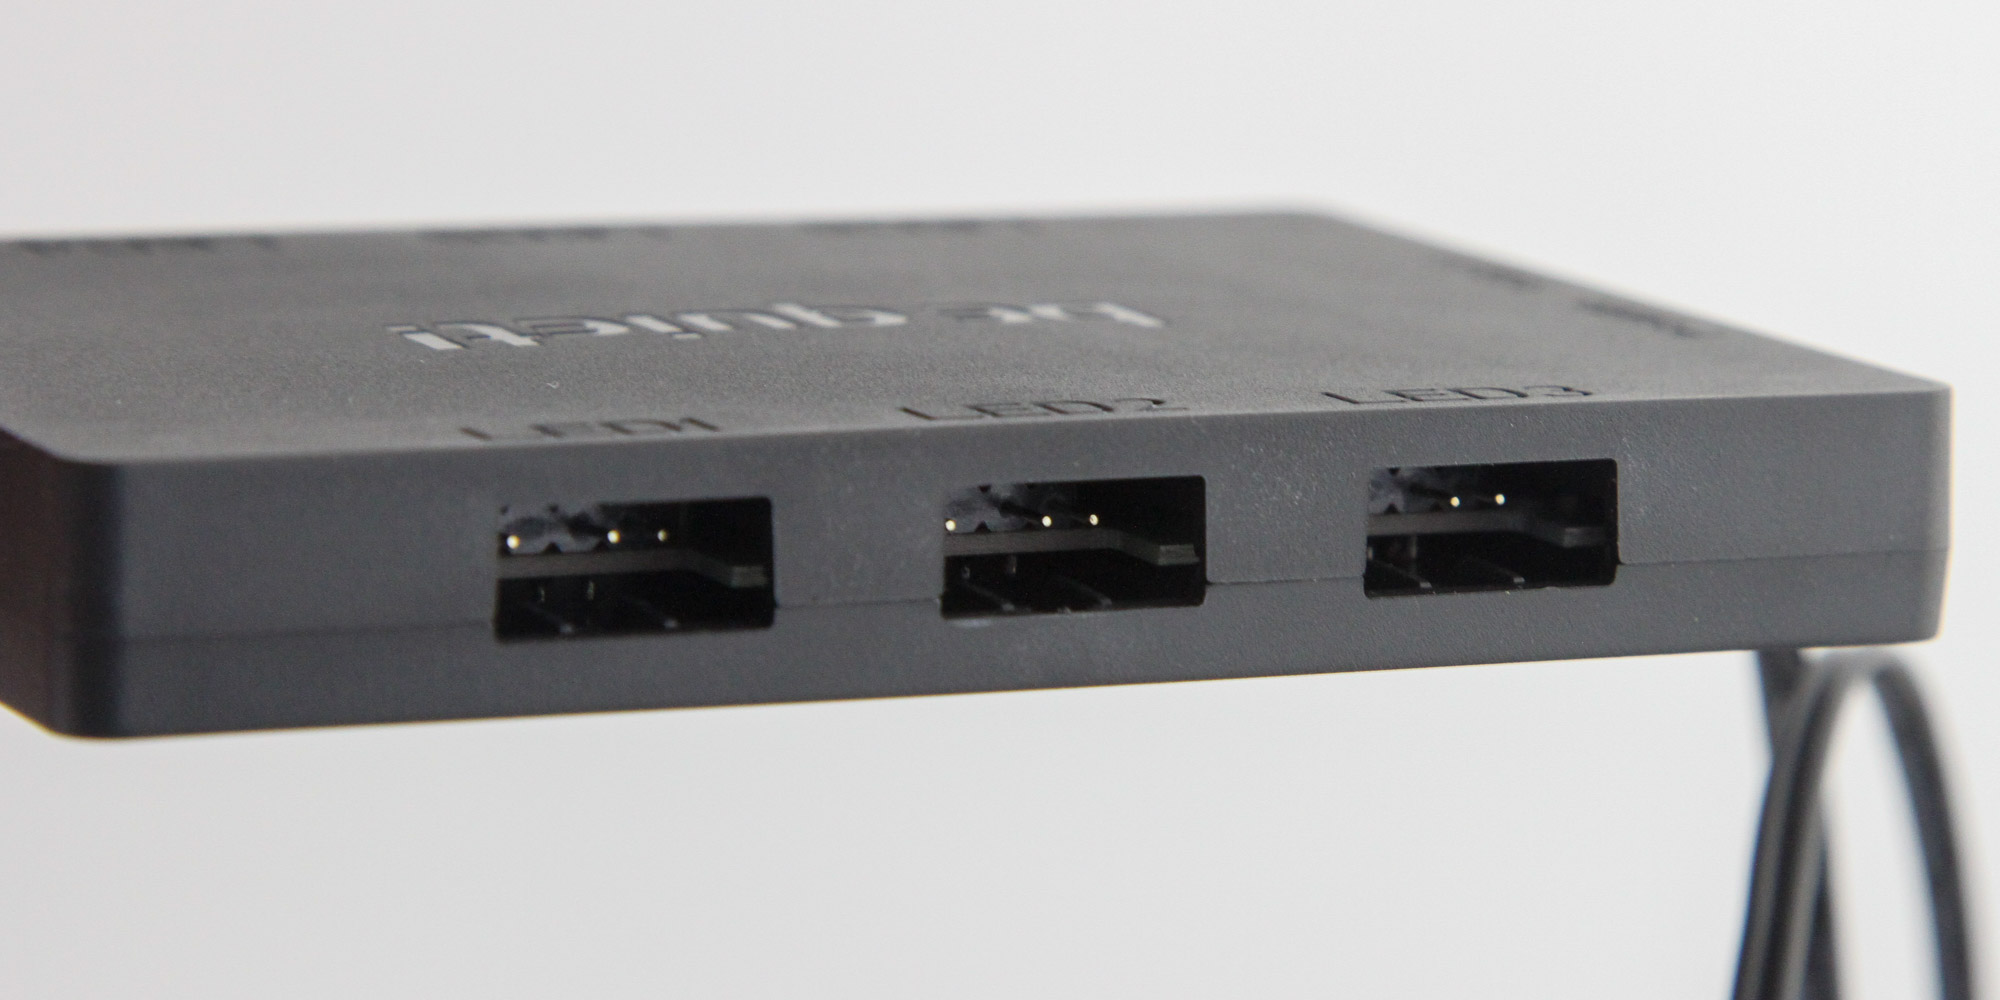


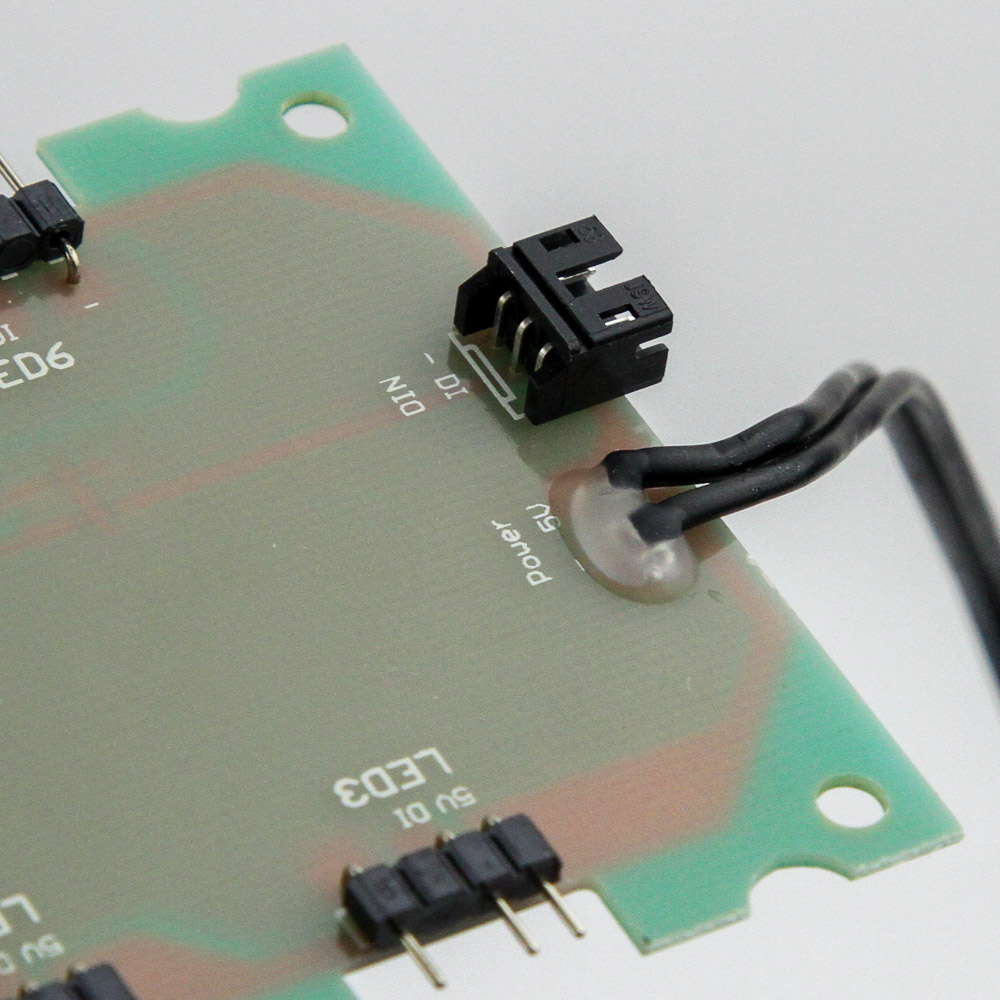

Okay, there's also a mini 3-pin to a 5-pin 5 V ARGB connector cable to connect the hub to a compatible 3-pin 5 V ARGB LED header on your motherboard or another LED controller of your choosing. There are six ports on the hub for up to six of these, with the LEDs powered through the full-sized SATA connector on a cable on the side of the hub. Turning the hub around, we see more branding, as well as empty space for the tape-installation if going that route.
At the corners of the chassis are four holes. Used in conjunction with the self-tapping screws from before, these would provide a more secure fit inside the chassis. The holes don't really coincide with any fan-hole spacing, so you may well need to make your own. Next to these four holes are four others, this time occupied by Phillips head screws that keep the hub assembly together. Taking them off reveals a three-part configuration with the PCB doing all the hard work and the plastic case adding to the user experience with a neater finish and easier identification of the ports.
Jul 19th, 2025 00:04 CDT
change timezone
Latest GPU Drivers
New Forum Posts
- What's your latest tech purchase? (24311)
- 9060 XT 8GB or 5060 8GB? (35)
- question for everyone about google play games beta (1)
- Gacha Games - Discussions, Pulls, Updates, etc. (0)
- Idle issue since 5060 ti installed (28)
- Windows 11 General Discussion (6151)
- Have you got pie today? (16795)
- Anime Nation (13054)
- Stalker 2 is looking great. (214)
- Intel Core i9-13980HX Undervolt - Observations and Questions (62)
Popular Reviews
- MSI GeForce RTX 5060 Gaming OC Review
- Razer Blade 16 (2025) Review - Thin, Light, Punchy, and Efficient
- Thermal Grizzly WireView Pro Review
- Pulsar X2 Crazylight Review
- SilverStone SETA H2 Review
- AVerMedia Live Gamer Ultra S (GC553Pro) Review
- Upcoming Hardware Launches 2025 (Updated May 2025)
- Sapphire Radeon RX 9060 XT Pulse OC 16 GB Review - An Excellent Choice
- NVIDIA GeForce RTX 5050 8 GB Review
- Our Visit to the Hunter Super Computer
TPU on YouTube
Controversial News Posts
- Intel's Core Ultra 7 265K and 265KF CPUs Dip Below $250 (288)
- Some Intel Nova Lake CPUs Rumored to Challenge AMD's 3D V-Cache in Desktop Gaming (140)
- AMD Radeon RX 9070 XT Gains 9% Performance at 1440p with Latest Driver, Beats RTX 5070 Ti (131)
- NVIDIA Launches GeForce RTX 5050 for Desktops and Laptops, Starts at $249 (124)
- NVIDIA GeForce RTX 5080 SUPER Could Feature 24 GB Memory, Increased Power Limits (115)
- Microsoft Partners with AMD for Next-gen Xbox Hardware (105)
- NVIDIA DLSS Transformer Cuts VRAM Usage by 20% (99)
- AMD Sampling Next-Gen Ryzen Desktop "Medusa Ridge," Sees Incremental IPC Upgrade, New cIOD (97)