 24
24
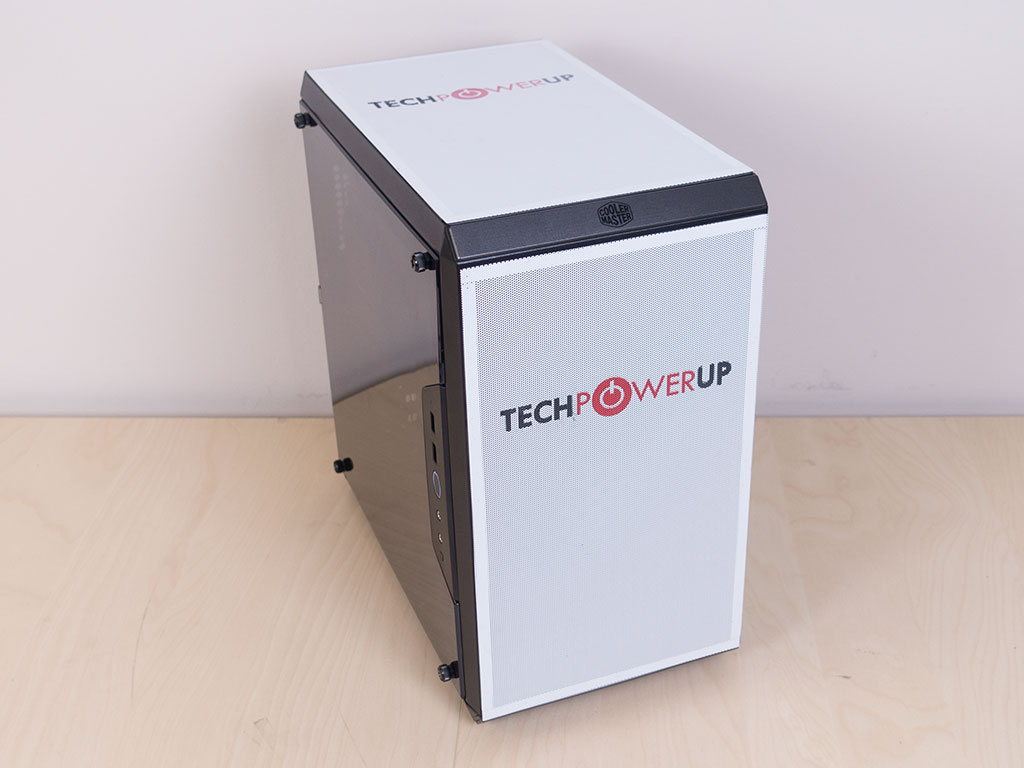
Cooler Master Masterbox Q500L Review
Value & Conclusion »Test System
| System Parts for Case Reviews | |
|---|---|
| Processor: | Intel Core i7-8600K |
| Motherboards: | ATX: MSI Z370 GAMING PRO CARBON AC MATX: Z370M GAMING PRO CARBON Mini-ITX: MSI Z370i GAMING PRO CARBON Provided by: MSI |
| Graphics Card: | Long: ASUS Radeon RX580 Short: HIS Radeon 5350 HD |
| Memory: | 16 GB XPG Dazzle DDR4 2800 MHz CL17-17-17 1.25 V 32 GB GB XPG SPECTRIX D40 3000 MHz. CL16-18-18 1.35 V 16 GB XPG GAMMIX D10 DDR4 2400 MHz CL16-16-16 1.20 V Provided by: ADATA |
| HDD: | Western Digital 320 GB 7200 RPM |
| SSD: | ADATA XPG SX850 256 GB ADATA Ultimate SU800 3D 256 GB ADATA Ultimate SU700 240 GB Provided by: ADATA |
| Power Supply: | Antec High Current Gamer 650 W Antec High Current Gamer 750 W Provided by: Antec |
| Cooling: | be quiet! Dark Rock 4 be quiet! Pure Slim be quiet! Shadow Rock 2 be quiet! Shadow Rock LP Provided by: be quiet! |
Assembly
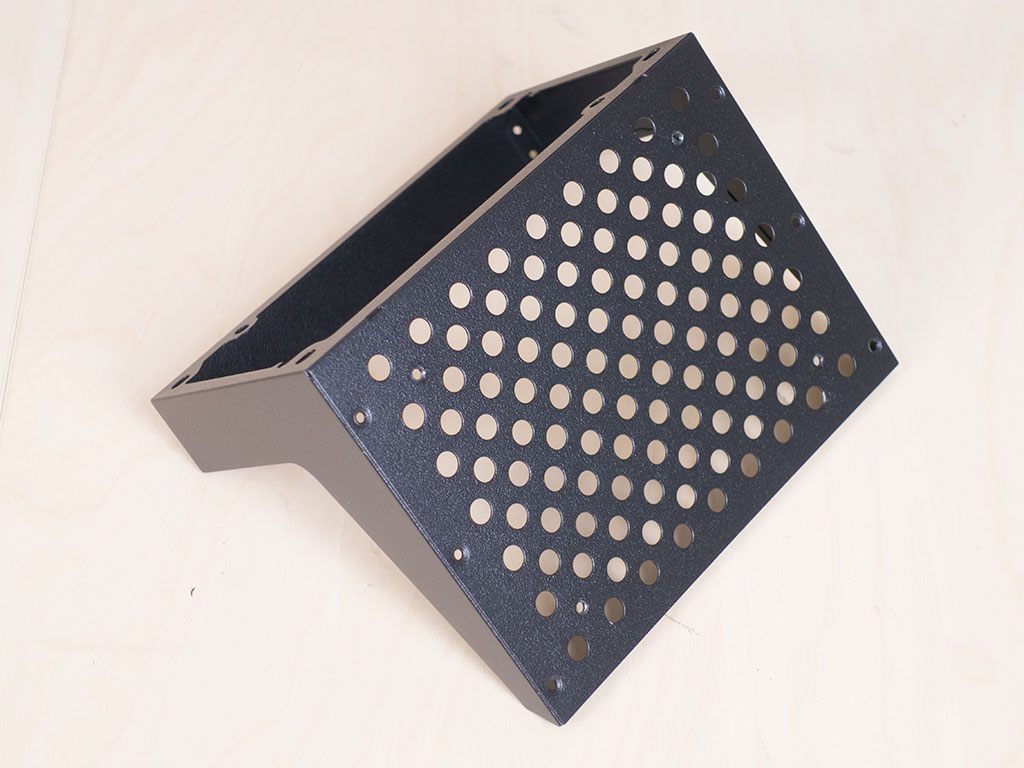

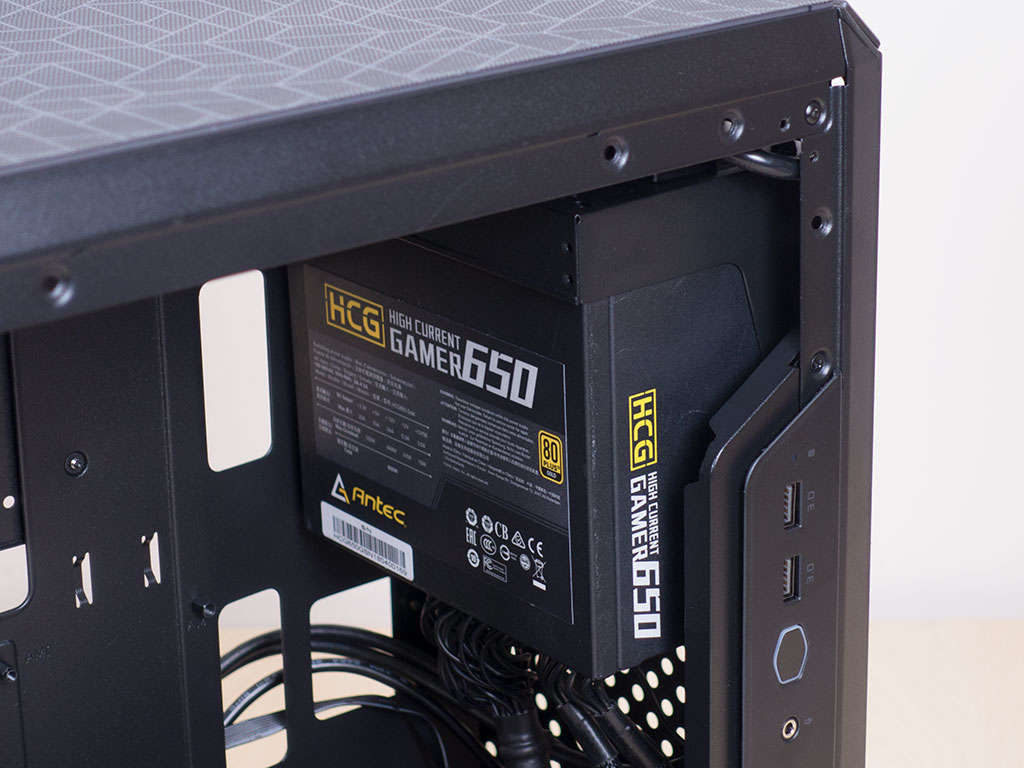
As the chassis is quite compact, I went with installing the PSU first. To do so, take out the bracket first, attach it to your power supply, and screw the whole thing back into place. Thanks to the perforations on the front, you have a bit of flexibility as to where to attach the whole thing, at least vertically.

installing a motherboard within the Q500L is naturally a bit of a tight affair, but that was to be expected. It fits well, and the only tricky area would be the top of the motherboard where the CPU power plug usually resides. A little extra patience and nimble fingers are the solution to that step of the assembly process. All other edges are surprisingly accessible with the cable-routing holes lining up perfectly between the board and PSU.
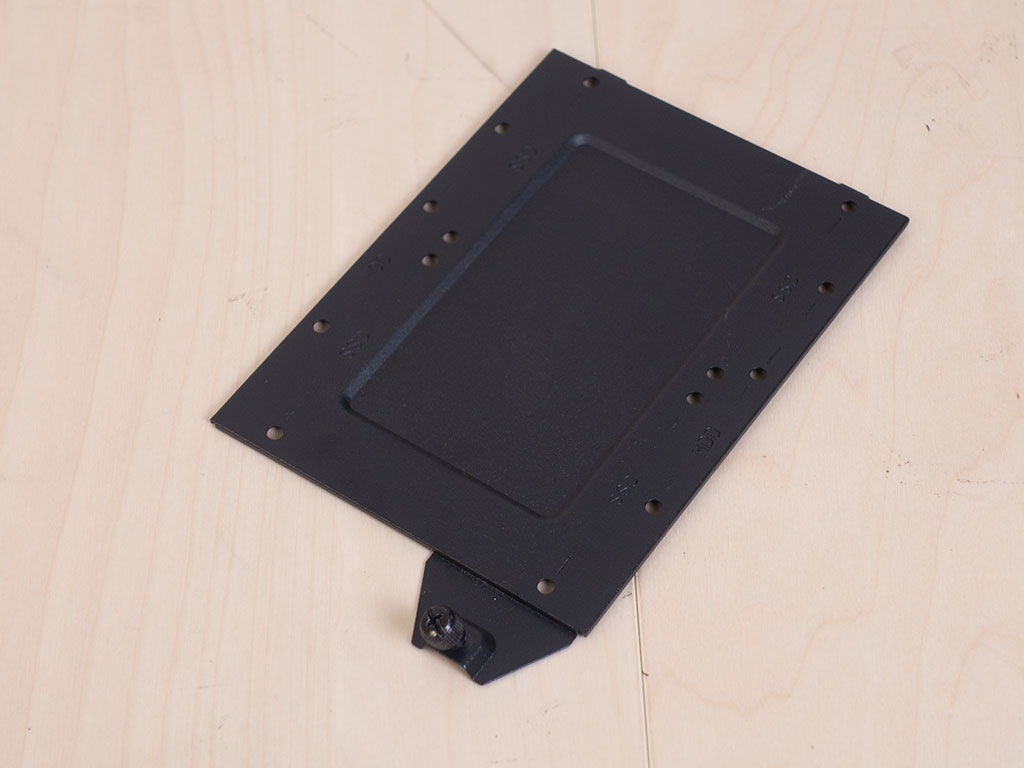
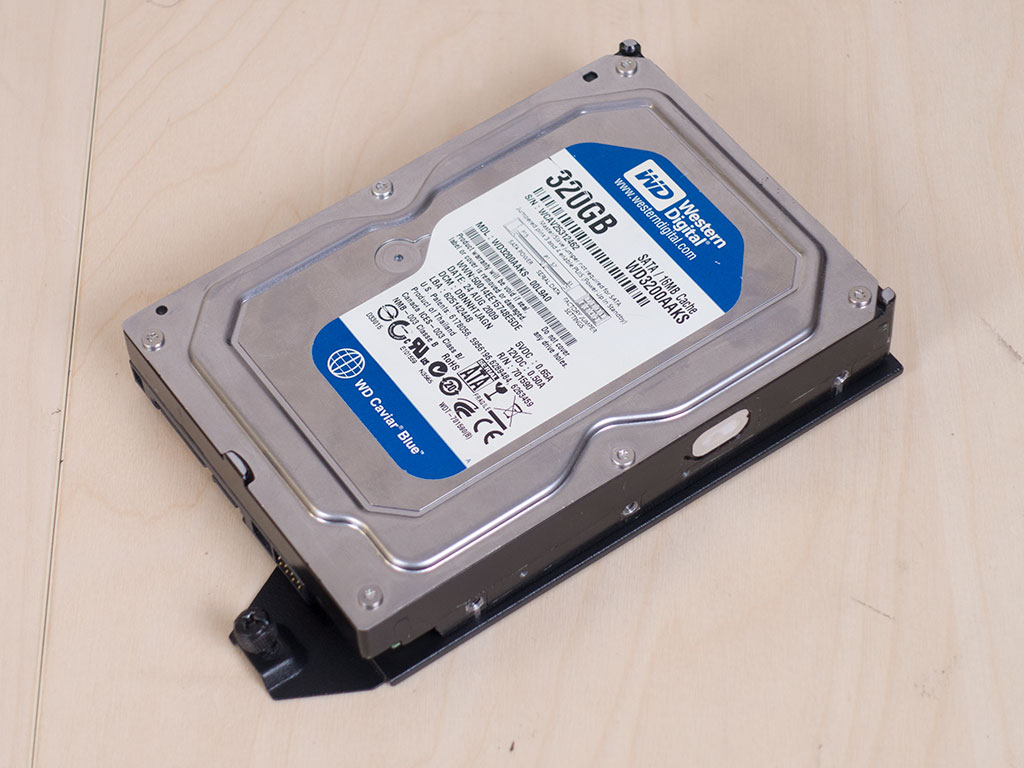
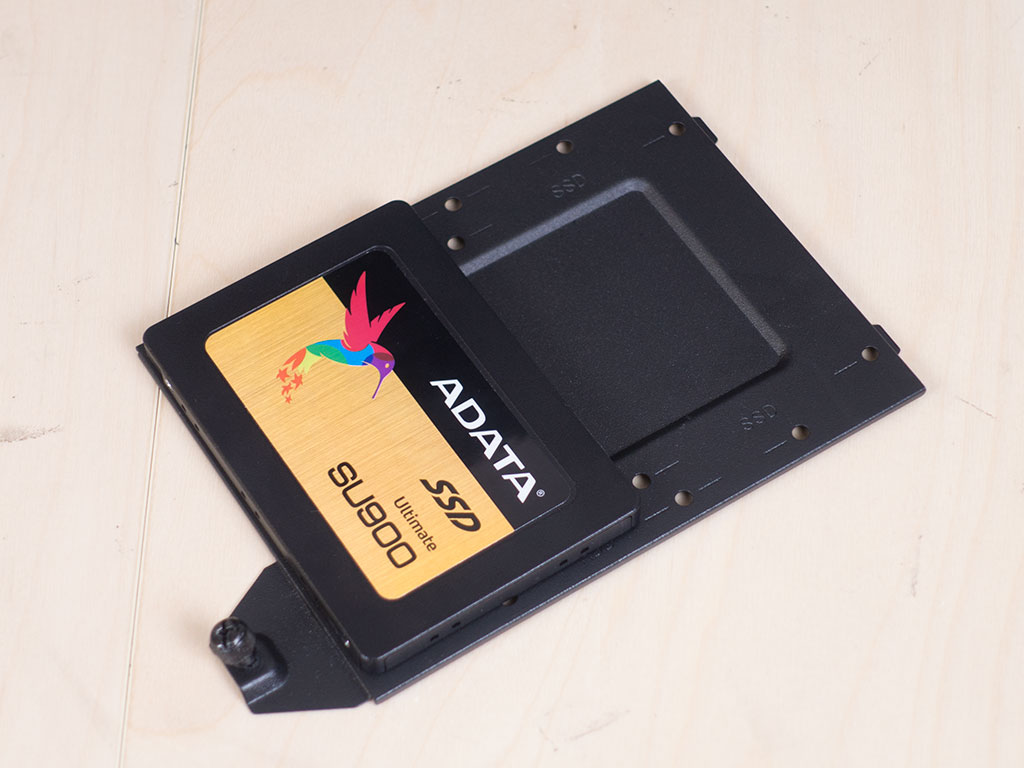
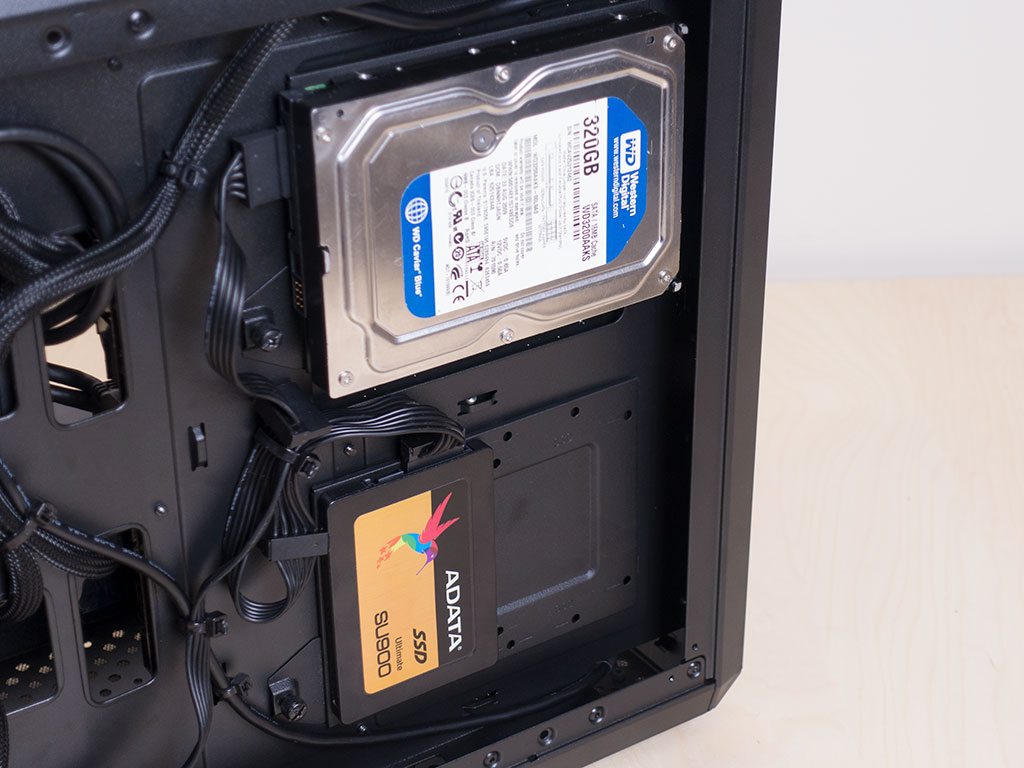
Adding both HDD and SSDs to the Masterbox requires you to take the trays off the backside before pinning them down with the supplied screws. Once filled, simply put these back into the chassis. This is really the point where you should start thinking about cable routing to make sure you can keep things as clean as possible, while still having the ability to close the side panel after assembly is complete.

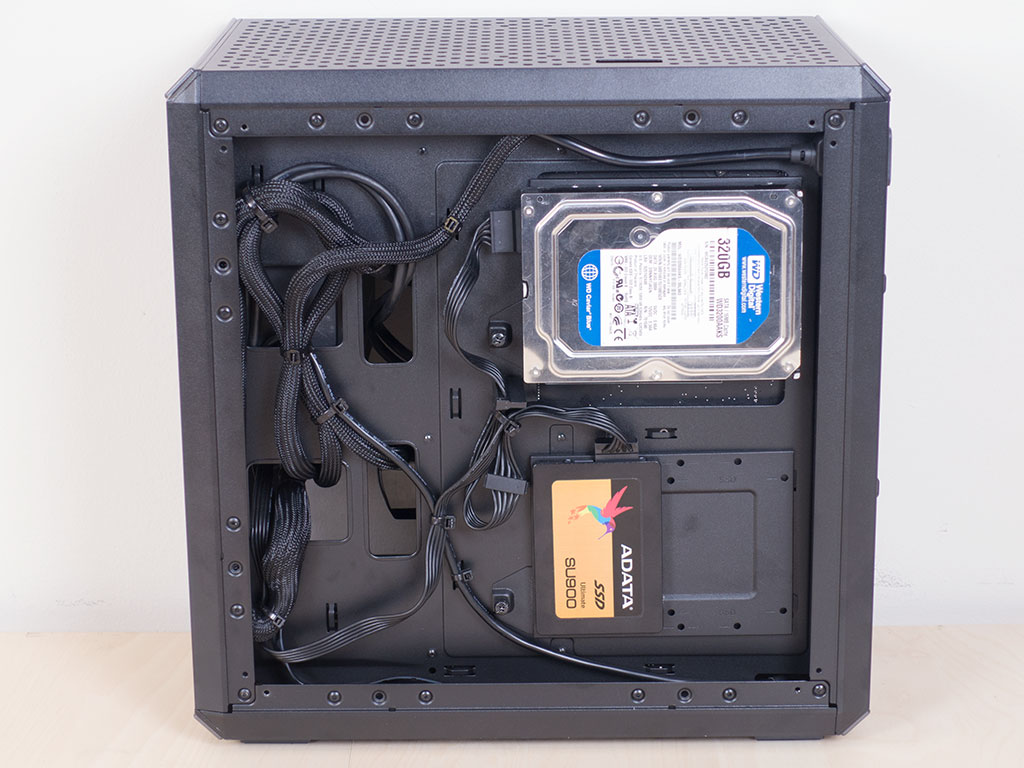
As you can see, the interior of the Q500L looks perfectly fine with the cables nicely out of the way and mostly out of sight. However, take into account that I am using a modular PSU, so if yours is not, you will really have to get creative to hide everything behind the motherboard tray, for example.
Finished Looks
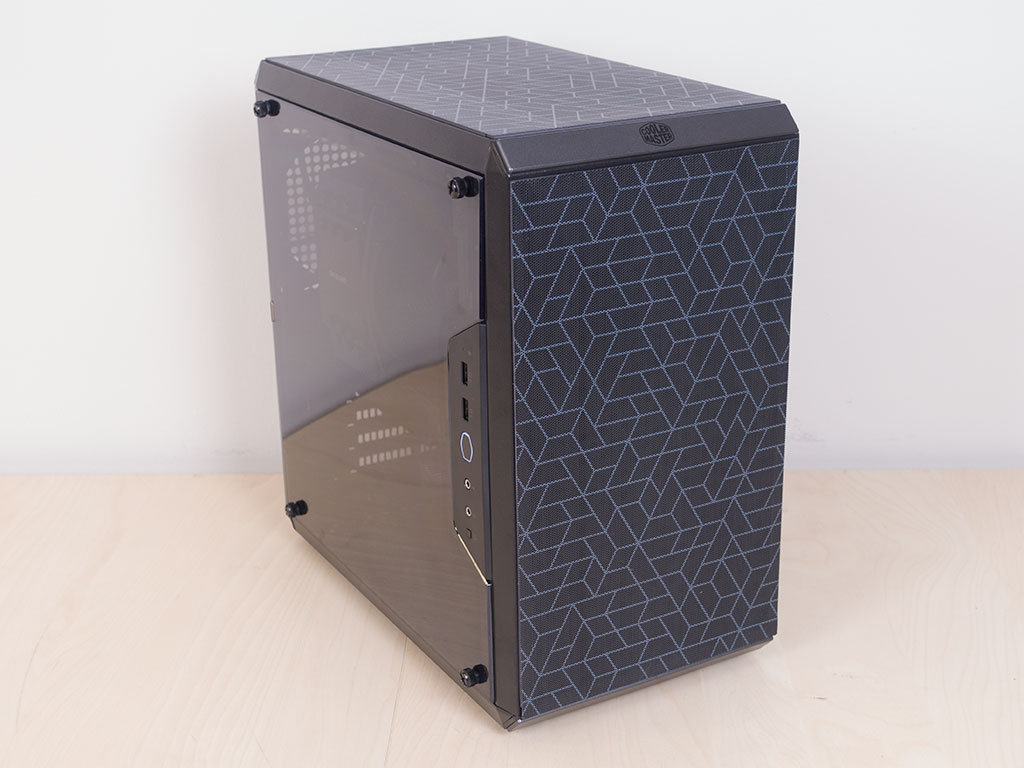
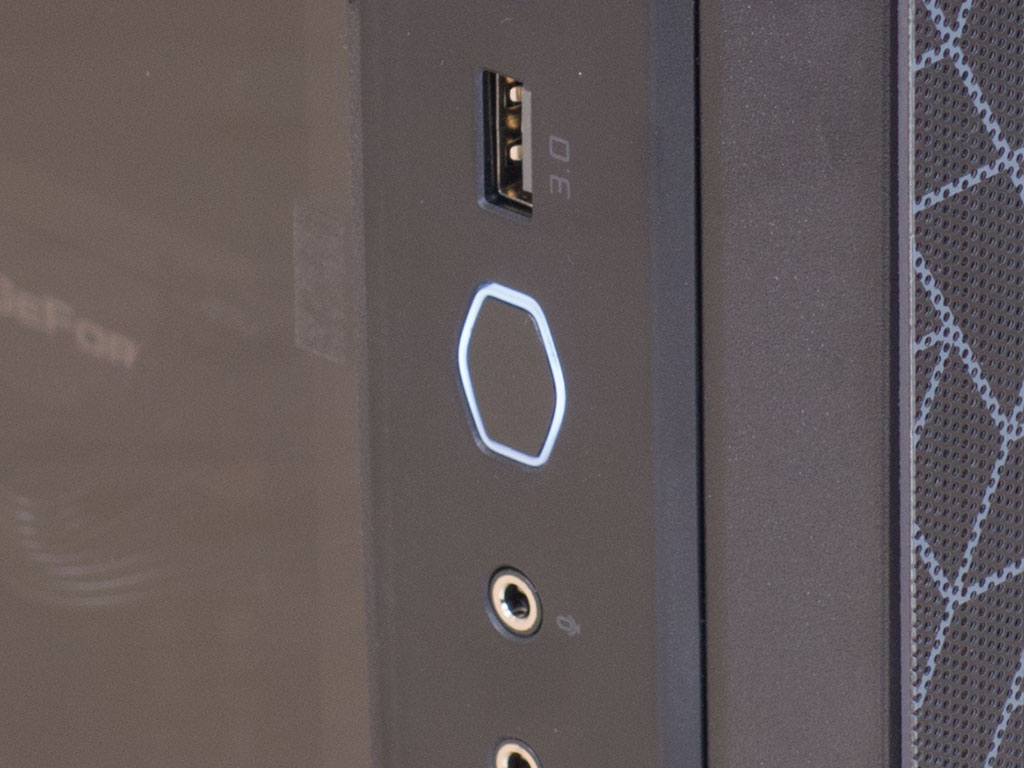
Once turned on, the Masterbox Q500L makes a pretty cool impression, especially due to its compact size. Both long GPUs and a large CPU cooler easily fit within chassis, with the latter being important as most people for this price segment will opt for air over liquid cooling. The power button on the side of the chassis lights up white to let you know the system is up and running.
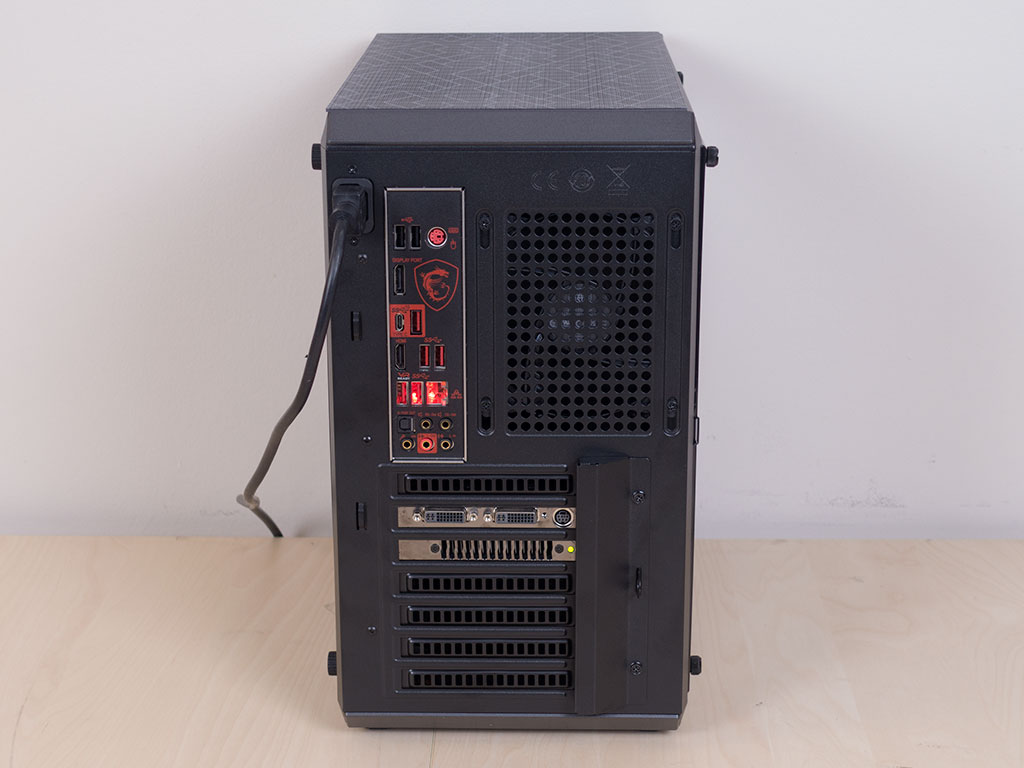
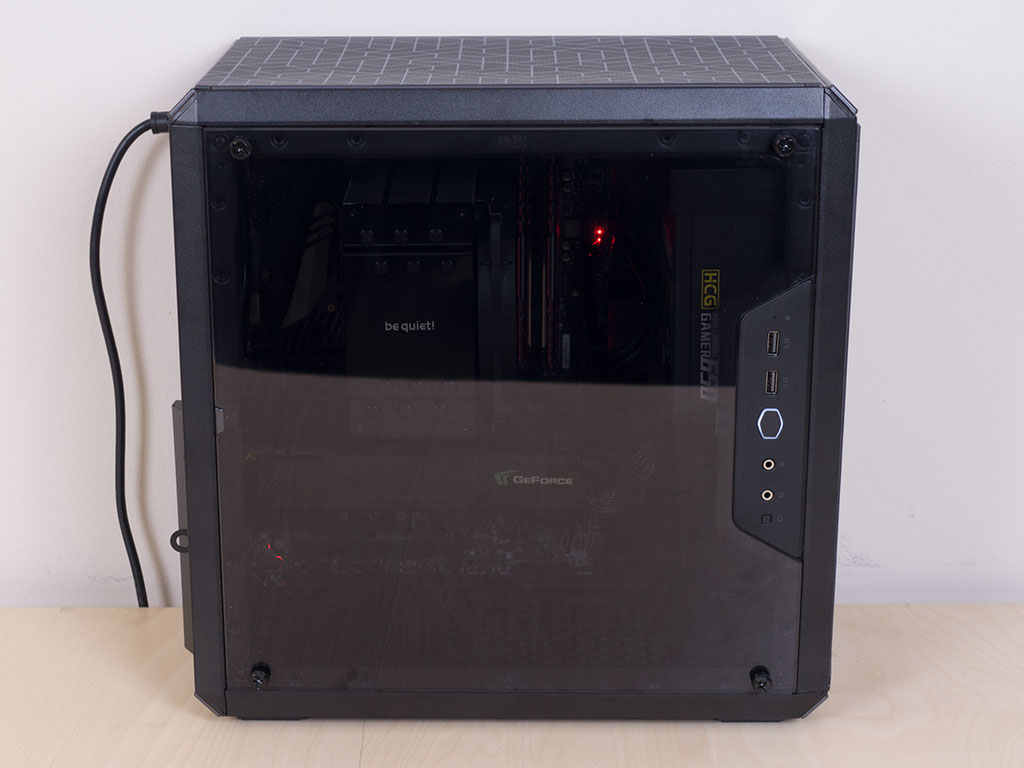
Everything in the rear is where you would expect it to be, with the PSU cable well out of the way in the corners regardless of how you use the chassis. Last but not least, flipping the Q500L on to the side, "desktop mode" works well, too. I can see this being a configuration for those who want to place the chassis in their home entertainment environment, for example. That said, the third magnetic cover is woefully missing.
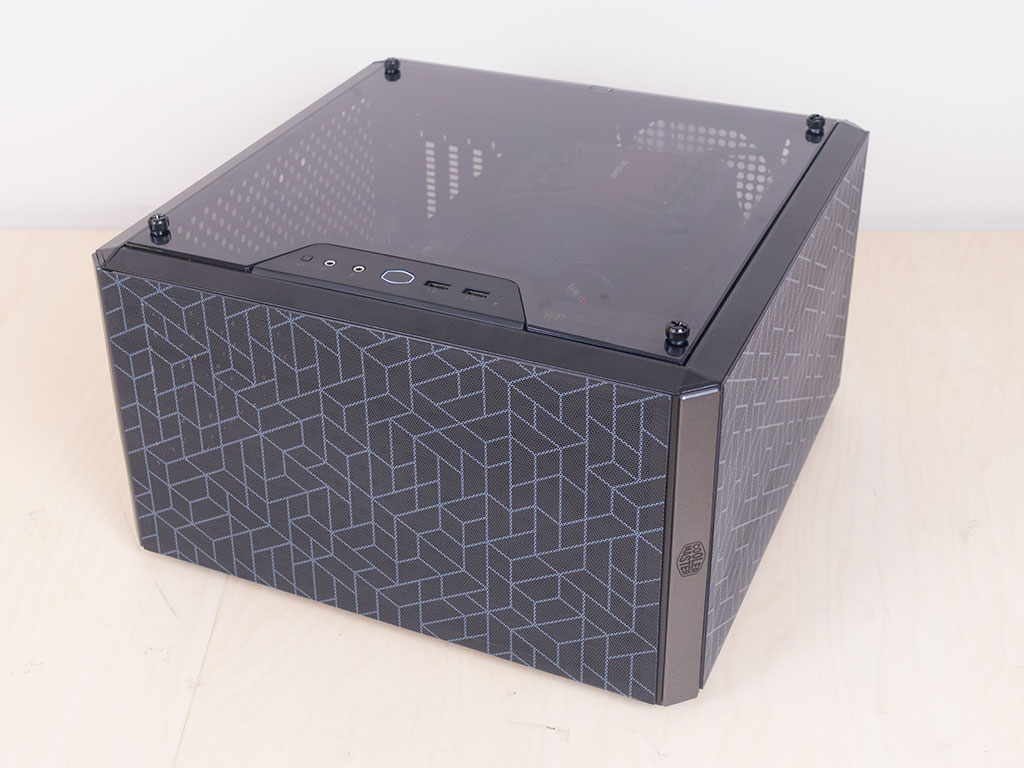
Just for kicks, here is a picture of the TPU mesh covers applied to the chassis, so you know what you can expect if you choose to change things up in the future.
Apr 2nd, 2025 21:34 EDT
change timezone
Latest GPU Drivers
New Forum Posts
- What do you do for a living? (482)
- New AM5 build [help] (12)
- What's your latest tech purchase? (23448)
- A Final Fantasy IX Reminiscence - My love letter and homage to one of the best stories ever told (81)
- Help me pick a UPS (33)
- ROG-STRIX-LC-RX6900XT-O16G-GAMING (3)
- The TPU UK Clubhouse (26035)
- Is ARC SLI friendly? (10)
- Questions about CPU thermal throttling mechanism (7)
- Stuttering and frame drops when watching 4K videos (windowed only) (4)
Popular Reviews
- DDR5 CUDIMM Explained & Benched - The New Memory Standard
- Sapphire Radeon RX 9070 XT Pulse Review
- SilverStone Lucid 04 Review
- Sapphire Radeon RX 9070 XT Nitro+ Review - Beating NVIDIA
- ASRock Phantom Gaming B850 Riptide Wi-Fi Review - Amazing Price/Performance
- Palit GeForce RTX 5070 GamingPro OC Review
- PowerColor Radeon RX 9070 Hellhound Review
- Samsung 9100 Pro 2 TB Review - The Best Gen 5 SSD
- AMD Ryzen 7 9800X3D Review - The Best Gaming Processor
- Assassin's Creed Shadows Performance Benchmark Review - 30 GPUs Compared
Controversial News Posts
- MSI Doesn't Plan Radeon RX 9000 Series GPUs, Skips AMD RDNA 4 Generation Entirely (146)
- Microsoft Introduces Copilot for Gaming (124)
- AMD Radeon RX 9070 XT Reportedly Outperforms RTX 5080 Through Undervolting (119)
- NVIDIA Reportedly Prepares GeForce RTX 5060 and RTX 5060 Ti Unveil Tomorrow (115)
- Over 200,000 Sold Radeon RX 9070 and RX 9070 XT GPUs? AMD Says No Number was Given (100)
- NVIDIA GeForce RTX 5050, RTX 5060, and RTX 5060 Ti Specifications Leak (96)
- Retailers Anticipate Increased Radeon RX 9070 Series Prices, After Initial Shipments of "MSRP" Models (90)
- China Develops Domestic EUV Tool, ASML Monopoly in Trouble (88)