 6
6
Corsair Carbide 300R Review
Assembly & Finished Looks »A Closer Look - Inside

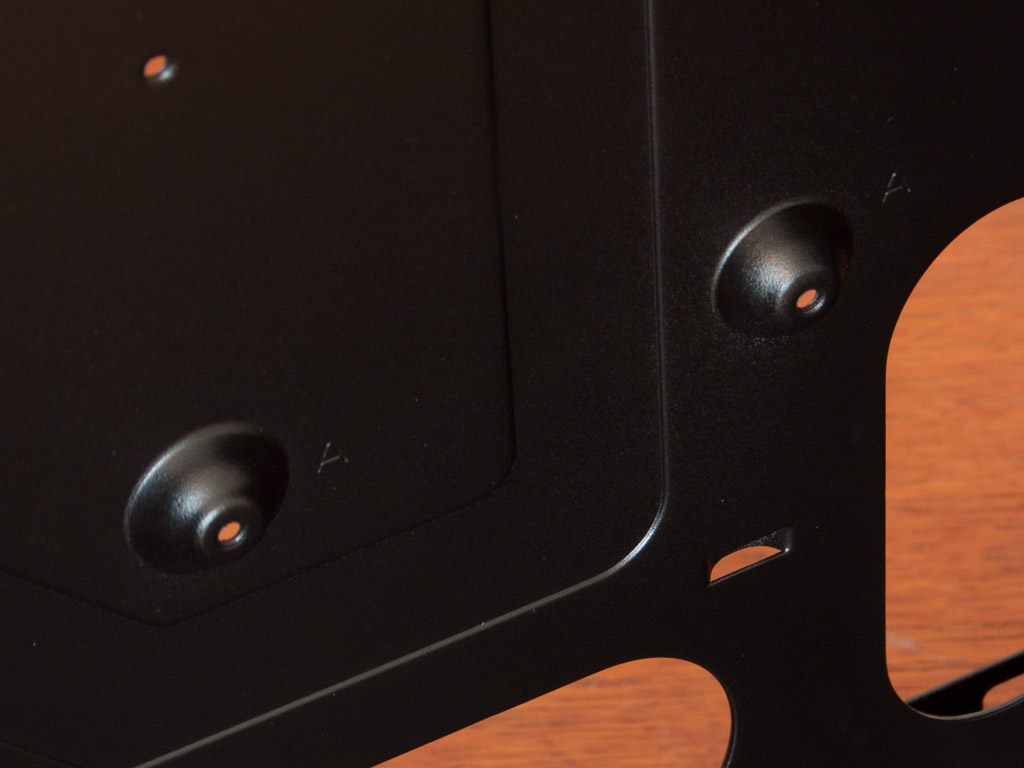
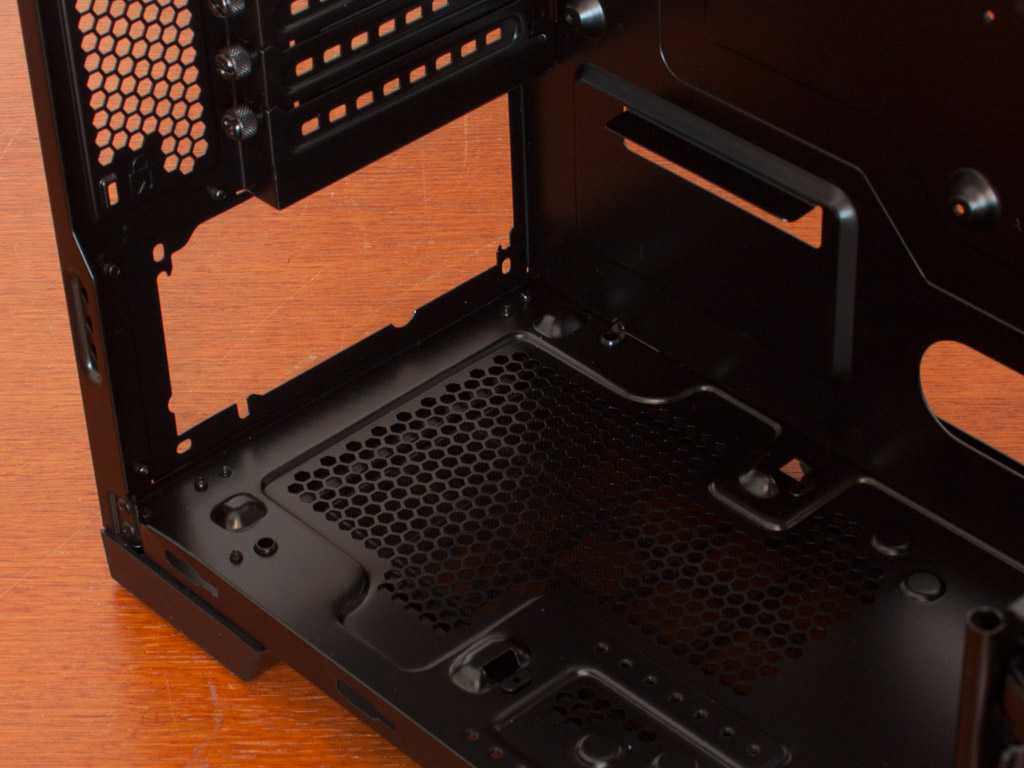
To gain access to the interior, simply remove the pair of thumb screws holding each side panel in place. The first thing I noticed right away, is the fact that the chassis uses bumps instead of normal spacers to hold the motherboard in place. Having worked as a PC assembler before, these were quite often the cause of shorts in the board, so I suggest you tape them up before putting the board there.


There is a large opening in the motherboard tray, so you should have easy access to the underside of the CPU area. You will get around 20 mm of space between the tray and side panel, thus routing cables here should not be an issue.
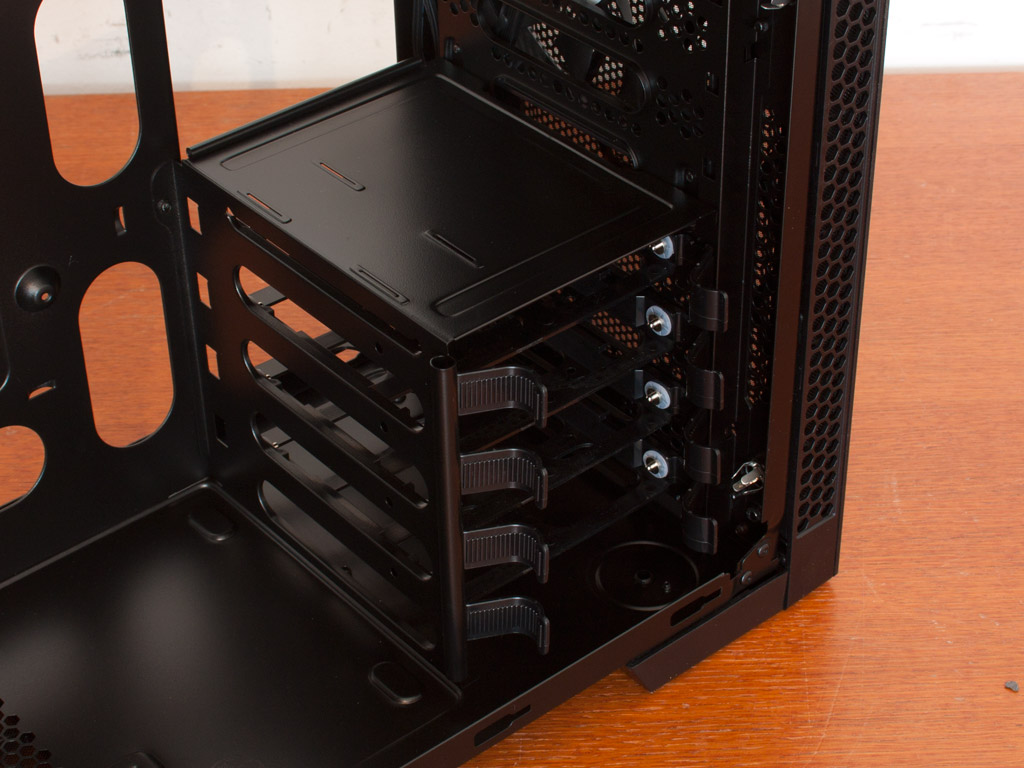
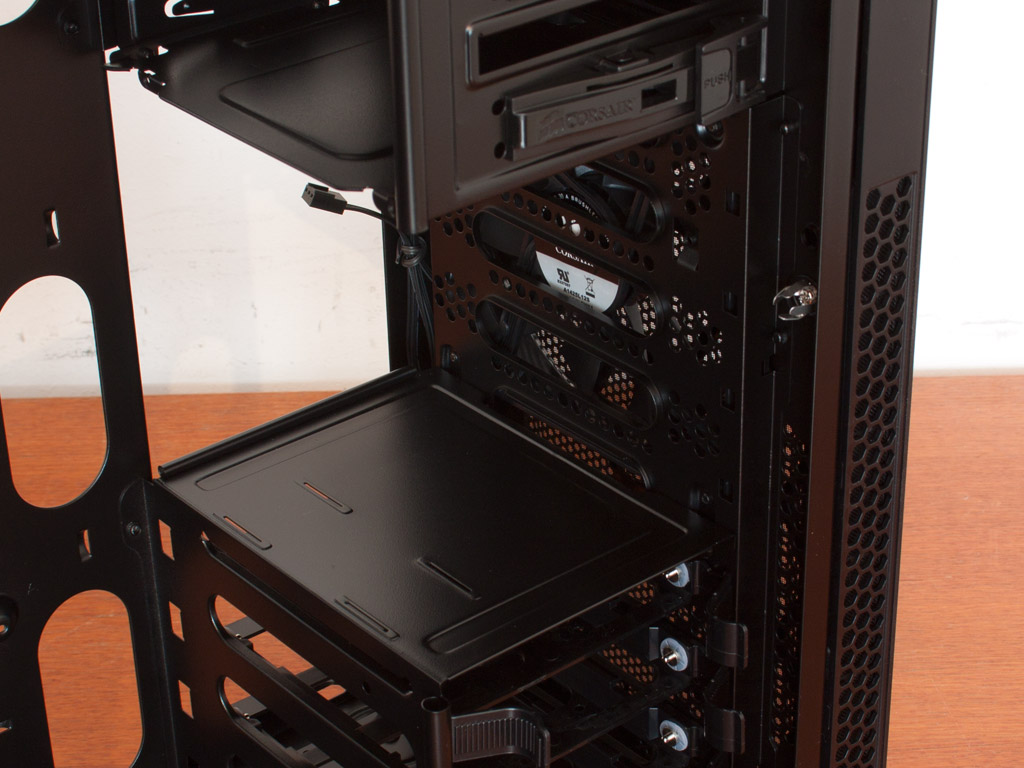

Corsair has only placed a single hard drive cage in the Carbide 300R. There are markings and openings to suggest the possibility of having a second one to fill the gap to the 5.25" variants though. With only one such cage, the chassis can hold up to four 3.5 or 2.5" drives. In the very top you will find the three external drive bays, each of them utilizing the same screw-less locking mechanism also found in other Corsair cases.
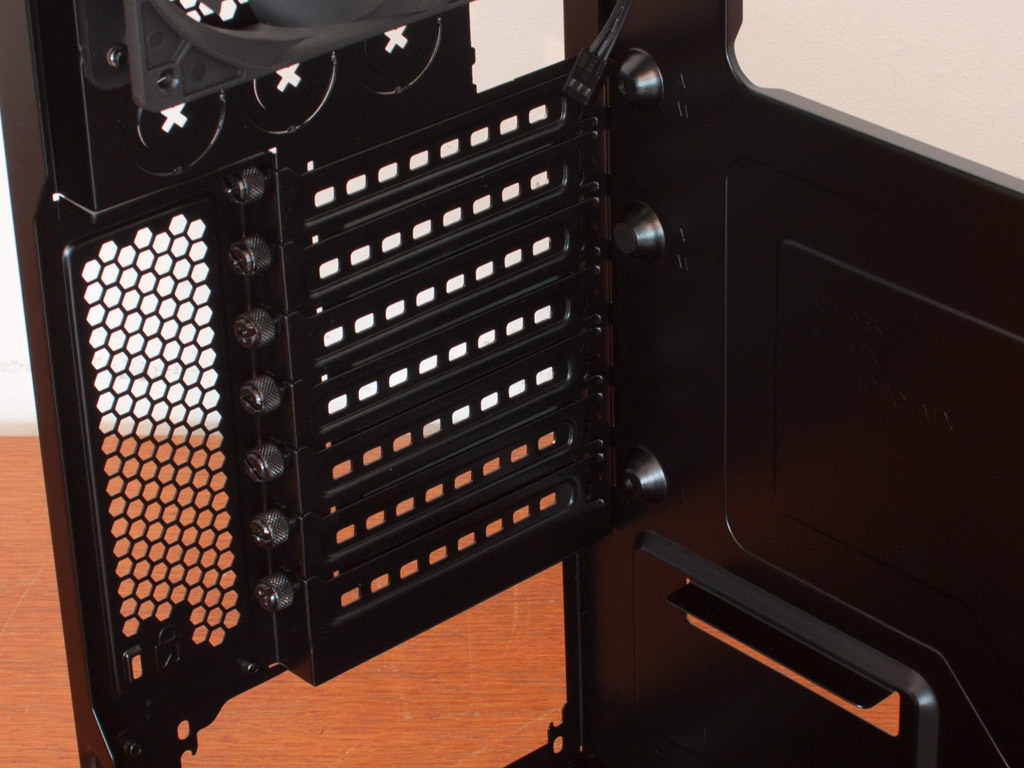
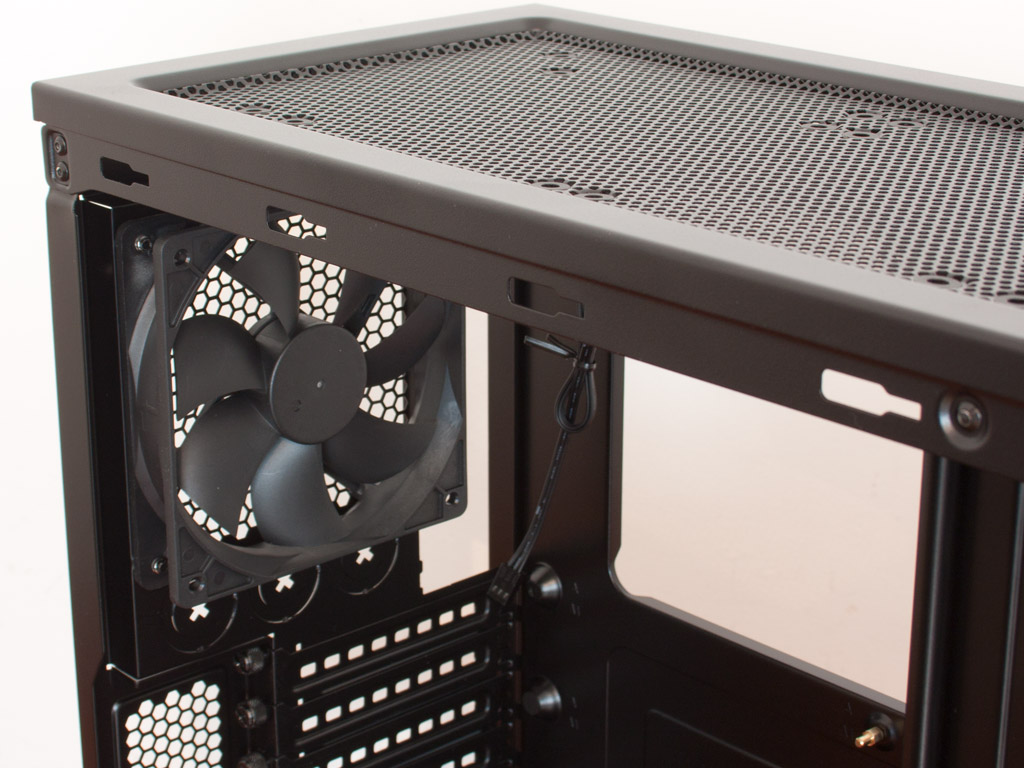
Turning our focus to the rear of the case, the bottom PSU bay also features a few bumps, lined with foam as an anti vibration measure. Above that are the seven motherboard expansion slots, each with an individual cover and thumb screws to hold them in place. In the very top is the aforementioned 120 mm fan with a 3-pin connector.

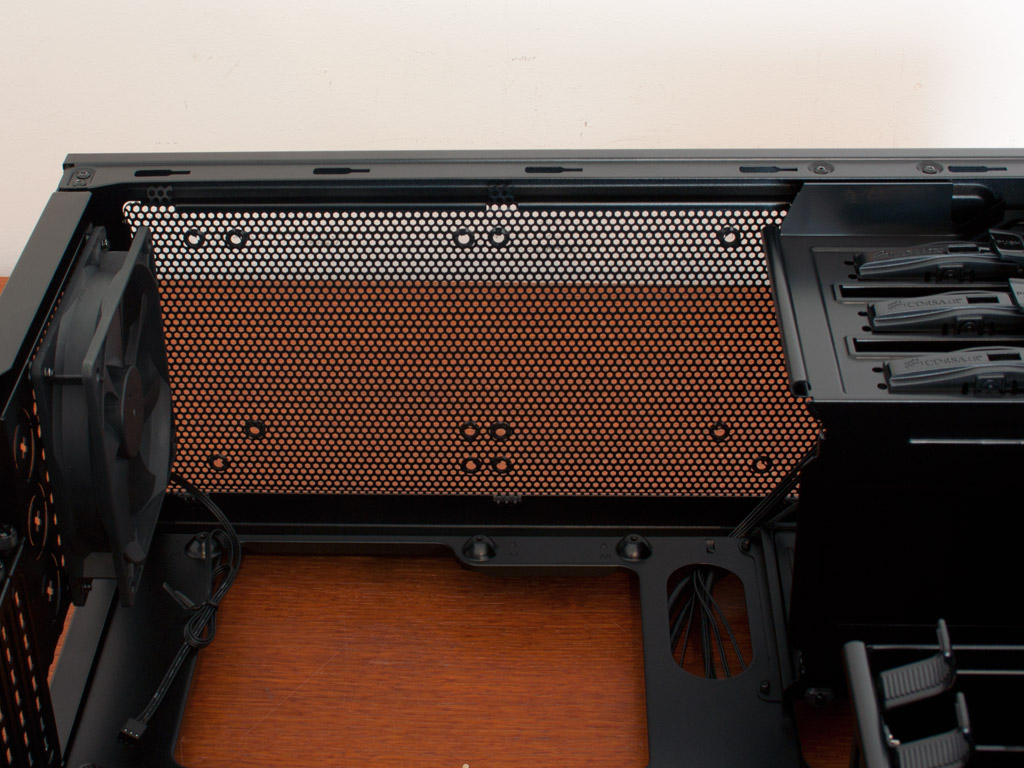
There is a simple but well constructed, removable dust filter on the underside of the chassis, while the opening in the top clearly shows where the optional 120 or 140 mm fans may be mounted.
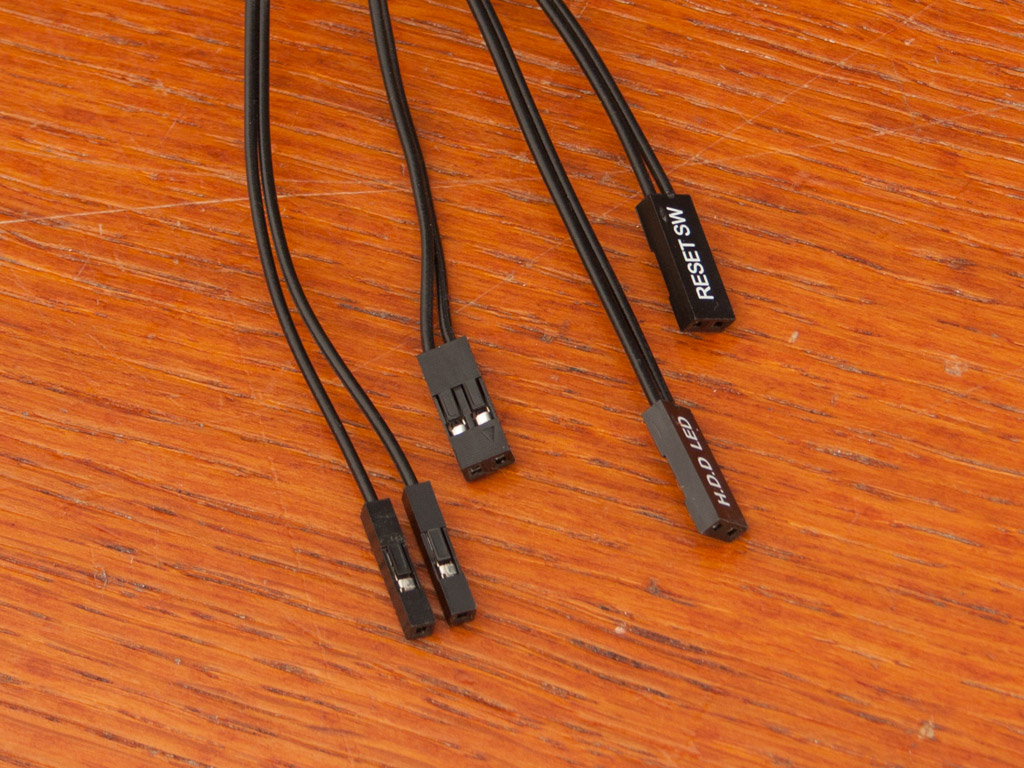
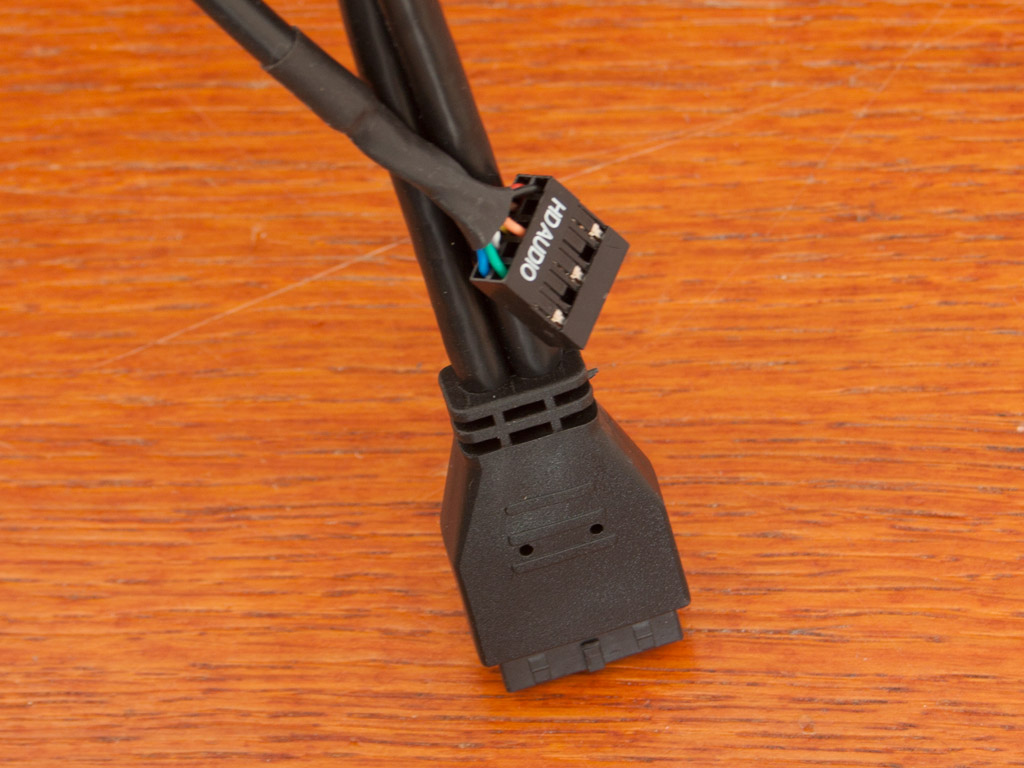
In terms of case cables, the Carbide 300R is nothing out of the ordinary, besides the fact that all of these are black. Having a very simple I/O set, you will only find a 20-pin USB 3.0 header and HD Audio connector. Considering the fact, that this chassis is geared toward the entry/mid-range user, it would have been very important to include a USB 2.0 adapter or expand the front I/O to include such ports.
Jan 5th, 2025 08:16 EST
change timezone
Latest GPU Drivers
New Forum Posts
- Questions about 9900x performance for purely gaming and the dual-CCD (47)
- Potential Clearance Issue on B550 PLUS AC-HES (0)
- Next Gen GPU's will be even more expensive (984)
- What is the best pc case? (23)
- GPU usage 99% idle (59)
- B580 tanks performance with low end CPUs (29)
- HDD SMR or CMR many differences? (1)
- Why did we abandon hydrogen cars so quickly? (1419)
- AAF Optimus Modded Driver For Windows 10 & Windows 11 - Only for Realtek HDAUDIO Chips (255)
- GPU runs in PCIe X1 instead of X16 problem (0)
Popular Reviews
- DDR5 Thermal Testing & Analysis
- SCYROX V8 Review
- AMD Ryzen 7 9800X3D Review - The Best Gaming Processor
- Klevv Genuine G560 2 TB Review
- INTUAURA Lakeview In-Ear Monitors Review - The Power of DSP!
- HIFIMAN Arya Unveiled Headphones Review - The Next Best?
- ASUS ROG Falchion Ace HFX Hall Effect Keyboard Review
- GPU Test System Update for 2025
- Intel Arc B580 Review - Excellent Value
- Arrow Lake Retested with Latest 24H2 Updates and 0x114 Microcode
Controversial News Posts
- AMD Radeon RX 9070 XT Alleged Benchmark Leaks, Underwhelming Performance (204)
- 32 GB NVIDIA RTX 5090 To Lead the Charge As 5060 Ti Gets 16 GB Upgrade and 5060 Still Stuck With Last-Gen VRAM Spec (173)
- NVIDIA GeForce RTX 5090 Features 575 W TDP, RTX 5080 Carries 360 W TDP (173)
- Potential RTX 5090 and RTX 5080 Pricing in China Leaks (173)
- AMD Radeon RX 9070 XT Boosts up to 3.10 GHz, Board Power Can Reach up to 330W (167)
- NVIDIA GeForce RTX 5070 Ti Leak Tips More VRAM, Cores, and Power Draw (161)
- NVIDIA GeForce RTX 5070 and RTX 5070 Ti Final Specifications Seemingly Confirmed (152)
- AMD Radeon "RDNA 4" RX 9000 Series Will Feature Regular 6/8-Pin PCI Express Power Connectors (133)