 0
0
Kinesis Gaming Freestyle Edge Keyboard Review
Disassembly »Closer Examination
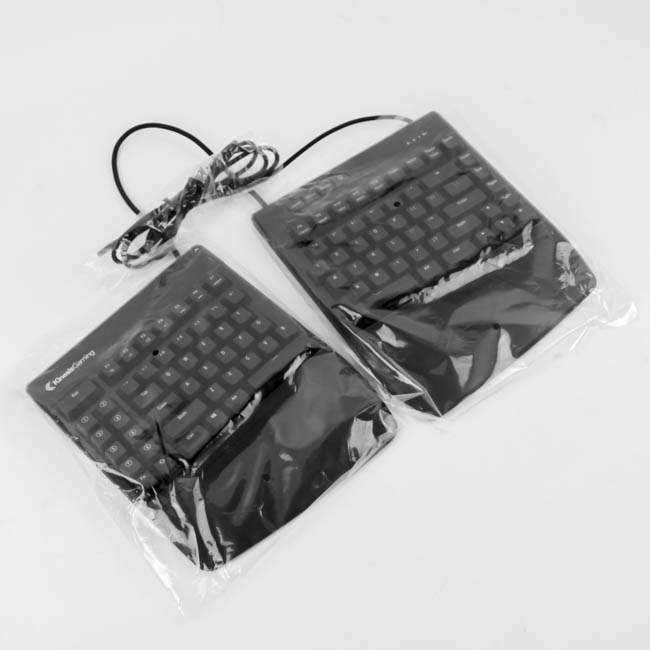
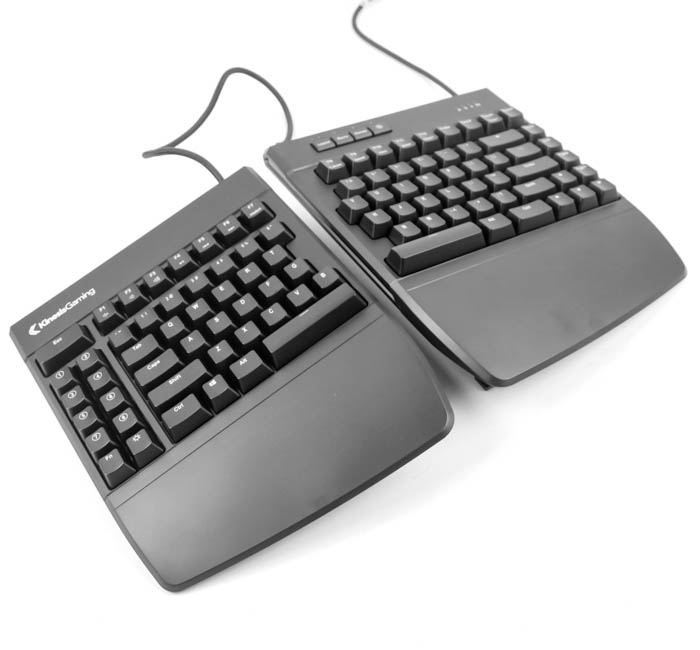
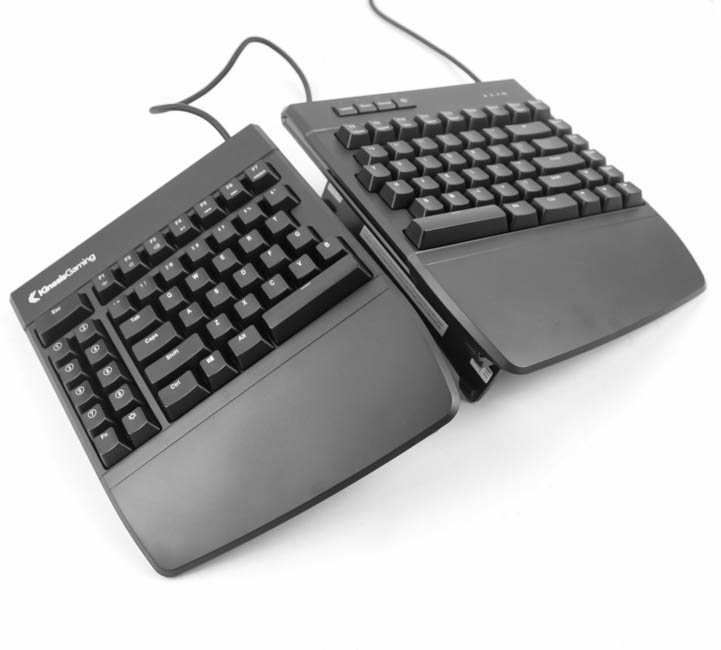
With a plastic wrap on both halves and another on the USB cable, Kinesis makes sure you get the Freestyle Edge in pristine condition and free of dust. Removing these, we get our first look at the keyboard, and any split keyboard automatically draws attention solely by being different enough from the rest. A lot of initial reactions end up being of surprise and intrigue, filled with thoughts of how this could even work and why there appear to be two space bar keys. After a closer look, things become clearer. Notice the second cable connecting the two pieces, and that this is essentially a TKL form factor split across two pieces. Indeed, there are more keys here on both halves to where this is a modified US ANSI layout, and bezels are on the larger side without even counting the wrist support.
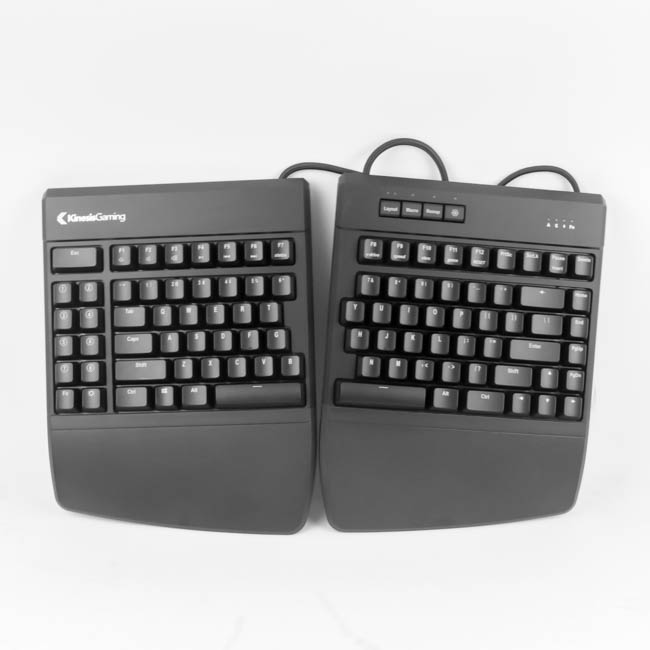
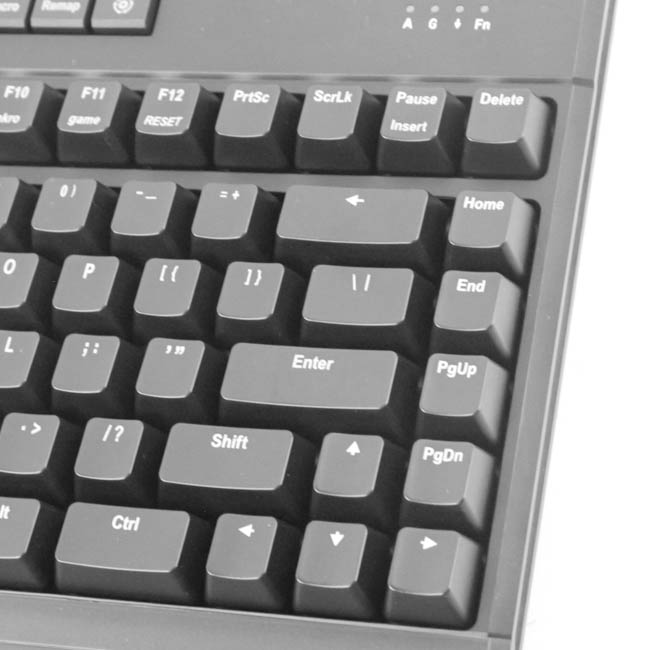
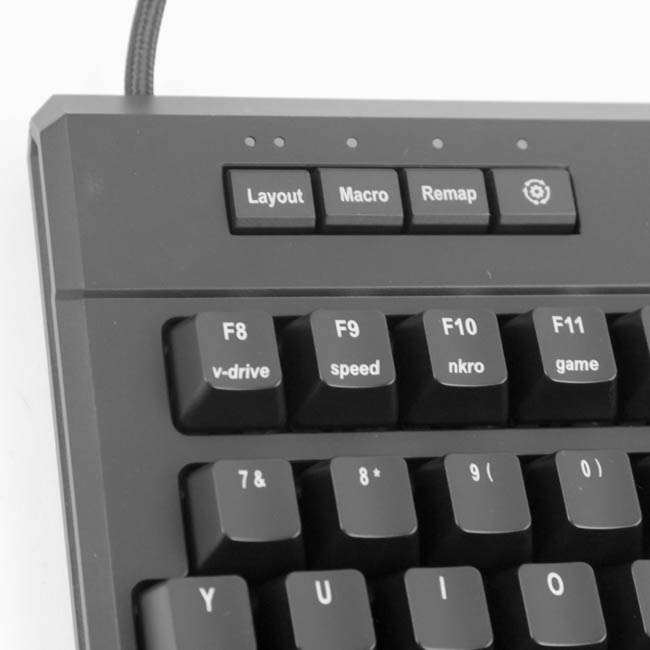
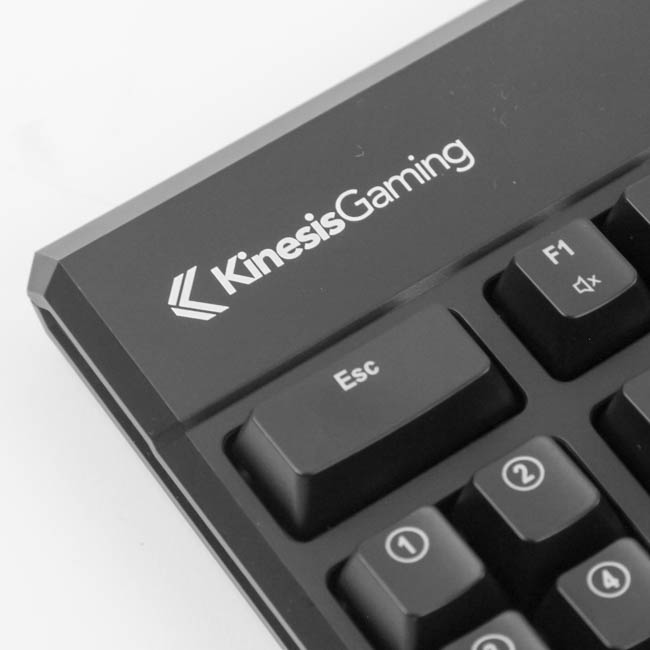
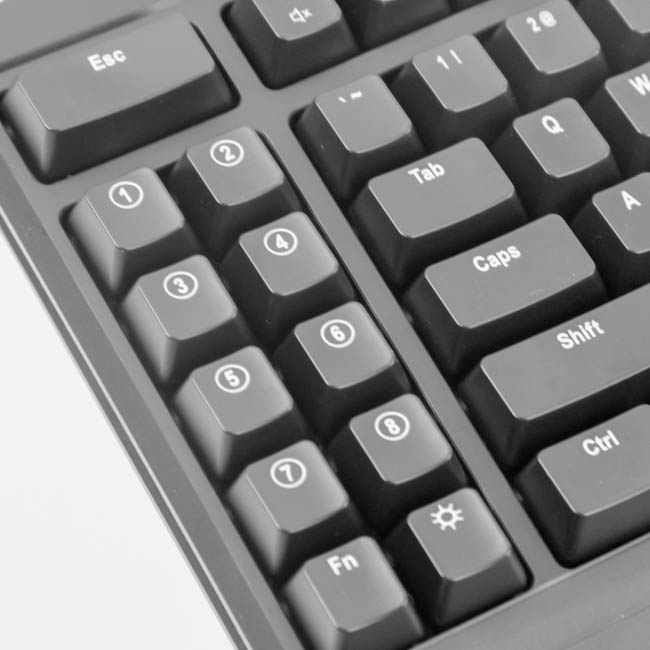
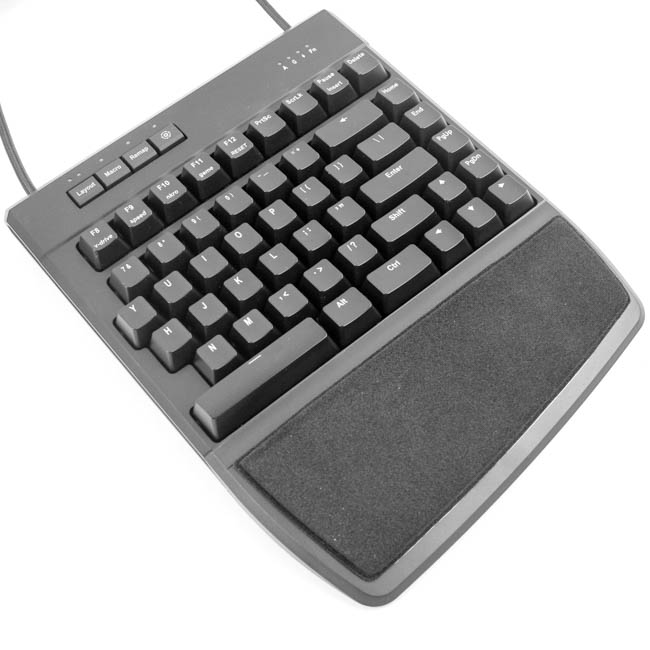
Looking even closer at the right half, we see that the arrow-key column is integrated into the alphanumeric section, which makes this more of a 75% form factor keyboard rather than a true TKL. The indicator LEDs are the four top-right LEDs here, and there are four other buttons on the top left with their own set of LEDs as well. The left half has a small space bar to go with another on the right half to where either can be used, and this half has a large Esc key to go along with a set of ten more keys to the left of the alphanumeric section. There is a Kinesis Gaming logo in the top-left corner here, above the Esc key, and this is the only piece of branding around. Single legend placement is in the middle of the top on these keycaps, which is indicative of where the LEDs are present for backlighting, with the general secondary legends alongside the primary ones for a lot of room underneath. In contrast, the keyboard-specific secondary (or tertiary in some cases) legends are located underneath, and in italics to help distinguish them better. The font size is on the smaller side of things, especially with legends located alongside each other on 1u keycaps, but I can understand what Kinesis was looking to do here.
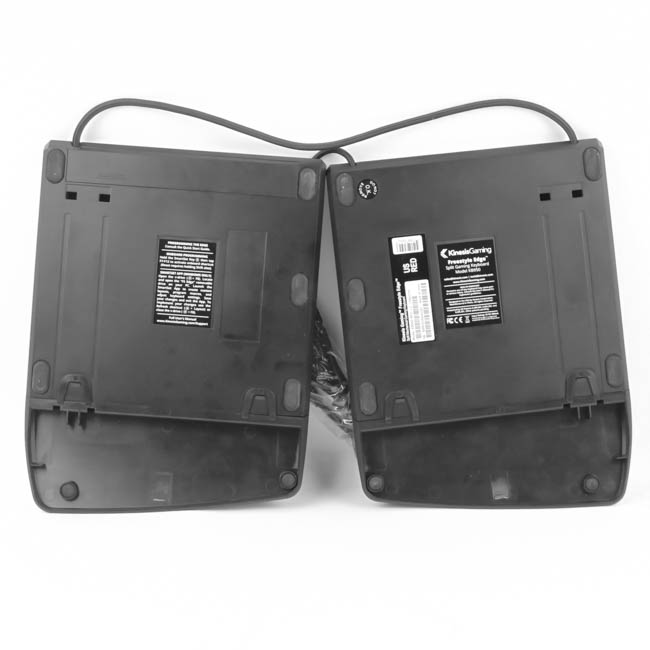
Flipping the keyboard around, we see the usual certification sticker on the right half. In addition, there are two more stickers that provide more information, including a notice to let the user know to read the quick start guide to learn more about how to program this keyboard. There are no feet on the keyboard to help elevate it, which is where the lift kit accessory comes in, and we instead see rubber pads all along the edge to keep it from moving on the desk.
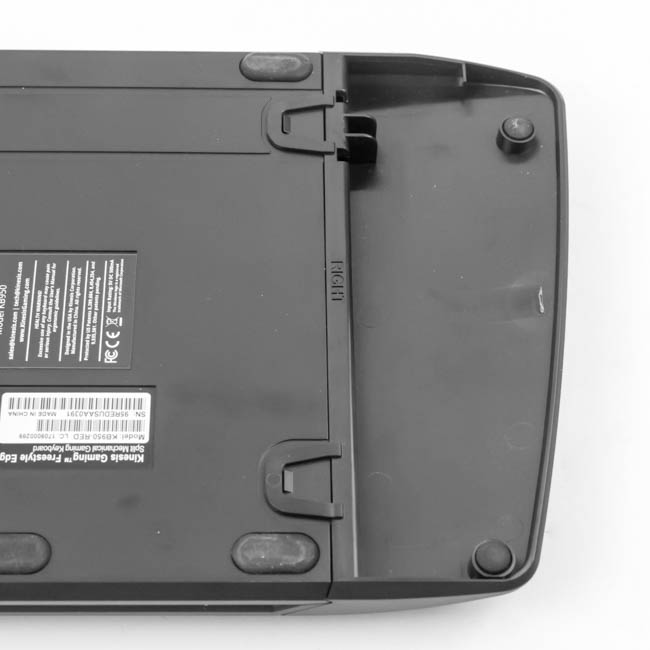
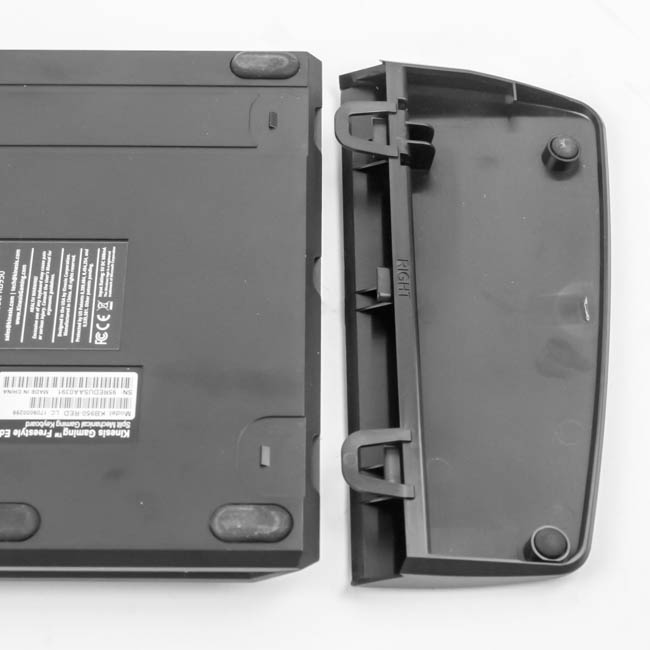
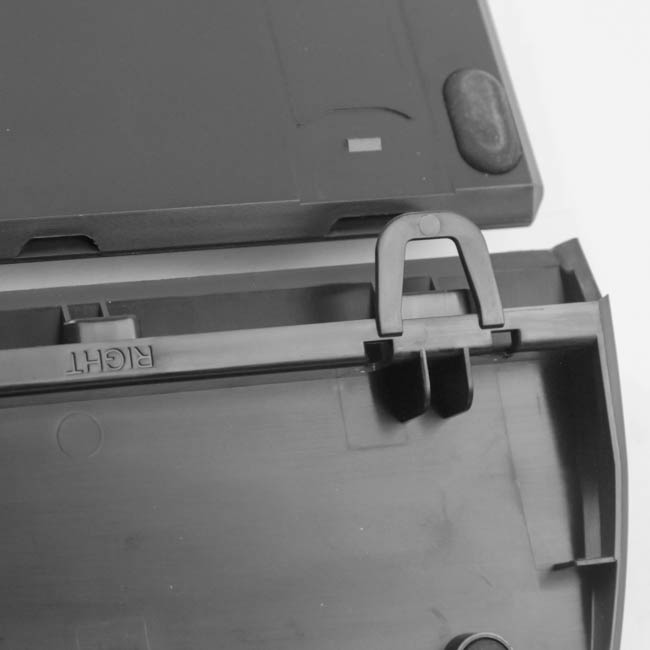

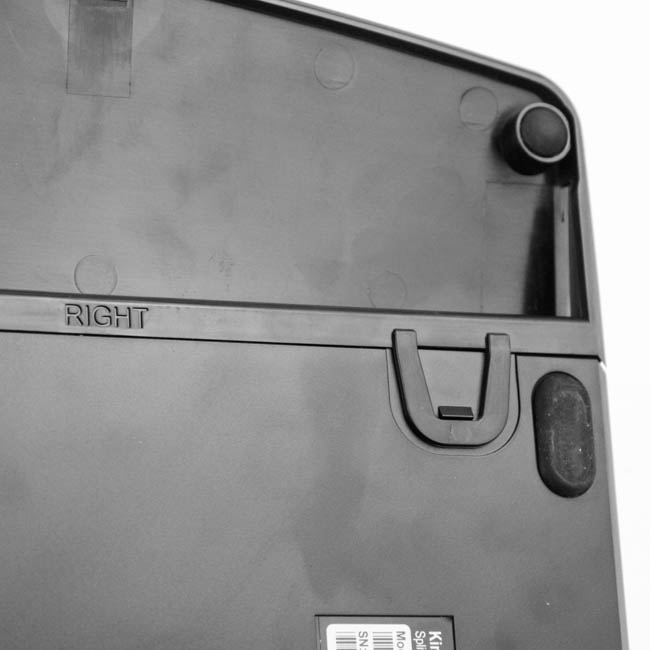
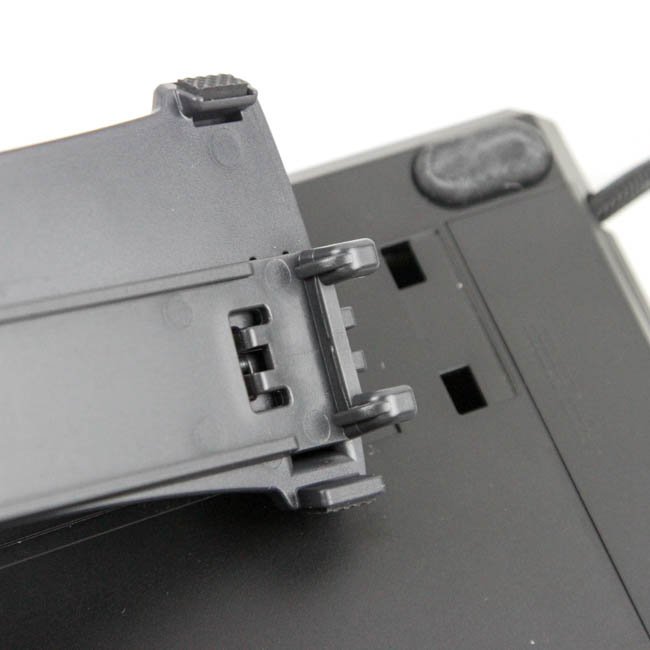
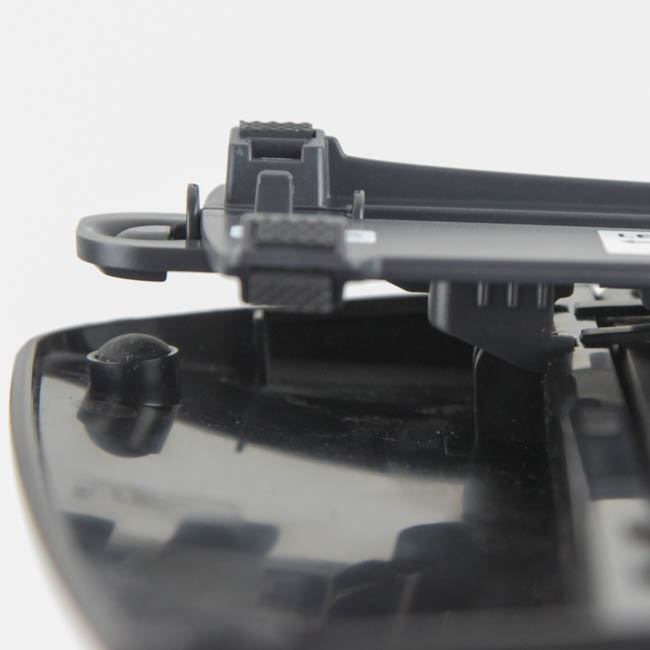
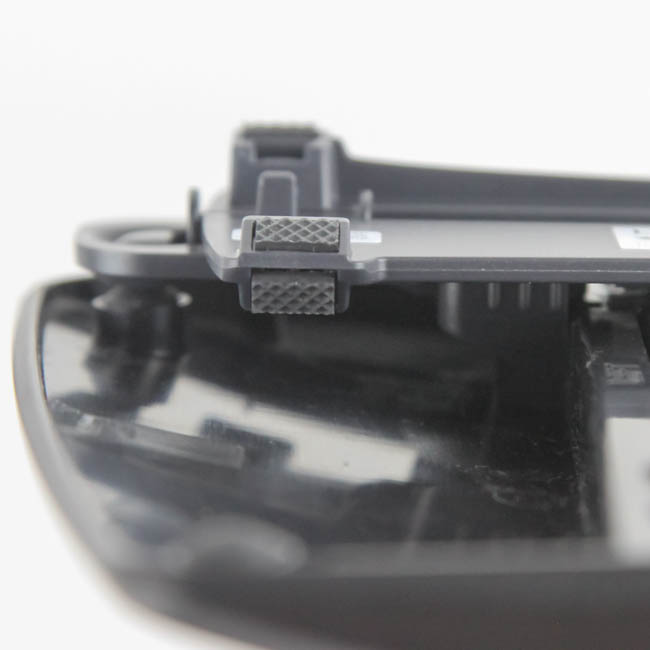
Looking at the back, you also see that the wrist supports are removable, but held in place at three points per half with clips and inserts at each point. The wrist supports are simply removed by pressing down on both sides to where they latch on before pulling them off, which gives us a better look at the latching mechanism here. The wrist supports are also marked to let you know which goes with which half of the keyboard, and with them removed, you gain another 3" of room on your desk as well. The wrist supports have a matte finish to their plastic and are easy to clean and re-install.
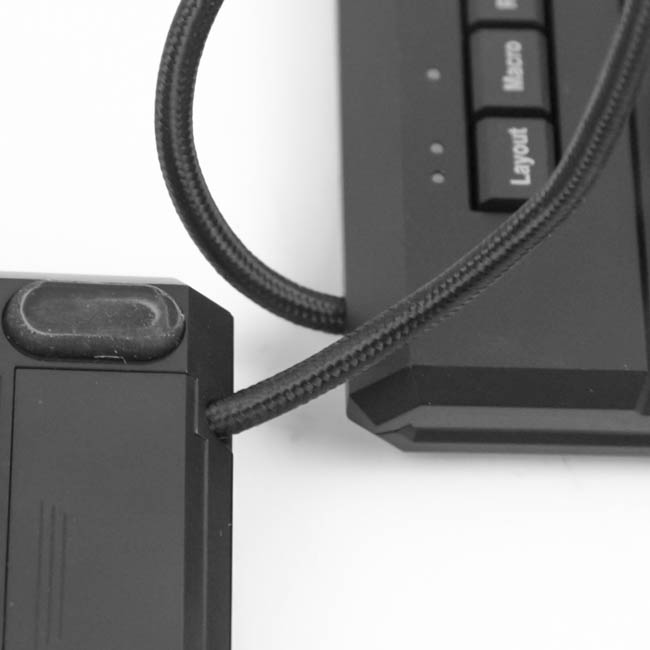

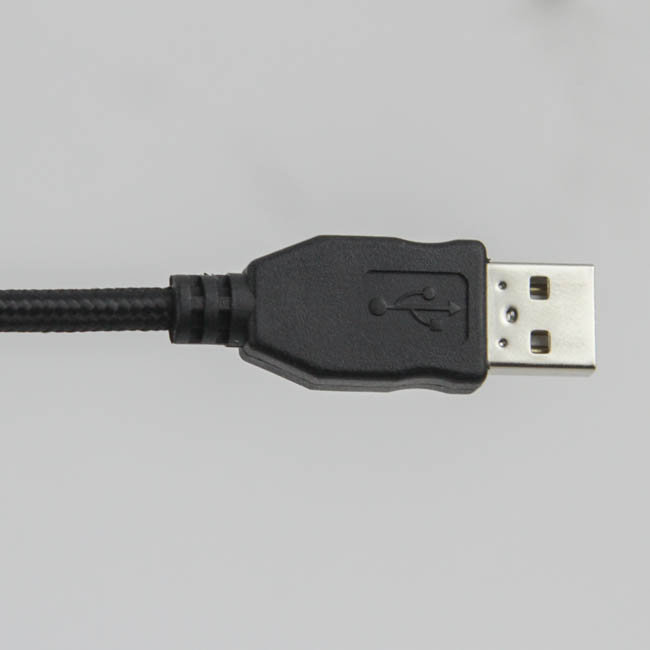
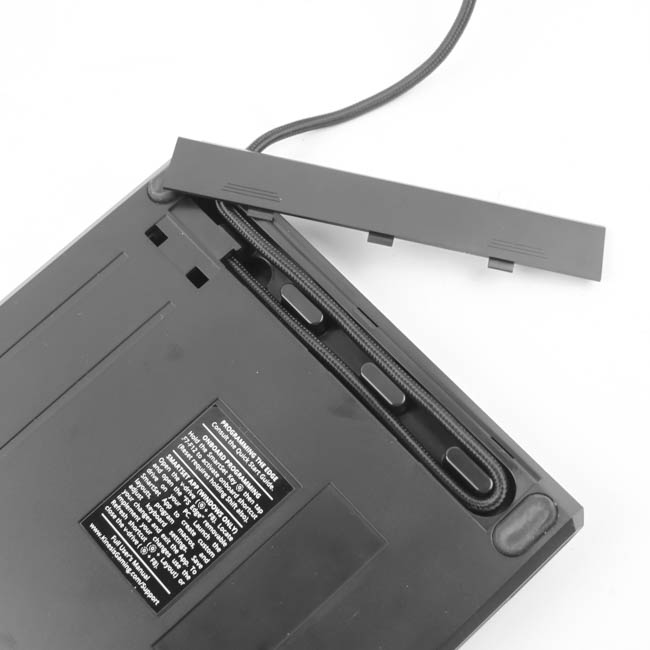
As we saw before, the keyboard has a non-removable, 12" long (as it comes out of the box) cable that connects the two halves. There is another 6' long cable in the top-right corner of the right half to connect the keyboard to your computer. Both cables are nicely braided in black, and neither feels as though the braiding will come off anytime soon. On the thicker side to prevent kinking and prolong longevity, The USB cable terminates in a USB male Type-A connector, and the keyboard requires a single USB Type-A port on your computer, with USB 2.0 (5V/500 mA) being sufficient for power and data. Should a foot long cable not be enough between the two halves, Kinesis actually has tucked away more of the cable you can access by removing a cover on the back of the left half. This allows for a total length of 20" for the cable connecting the two halves, which gives you a lot of freedom to place items in between or even have a half far enough away to only work with a single half if you want to use it as a game pad, for example. Oh, there is also a whopping 74" long XL link cable optional accessory if you want to go further.
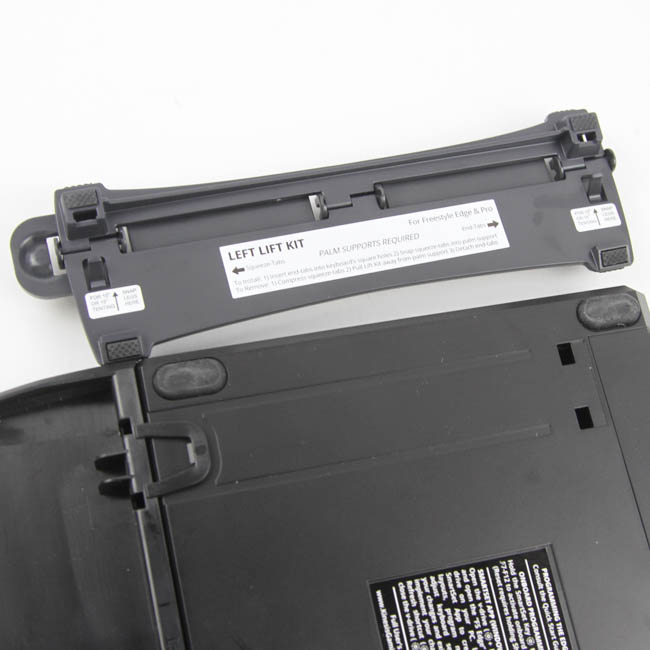
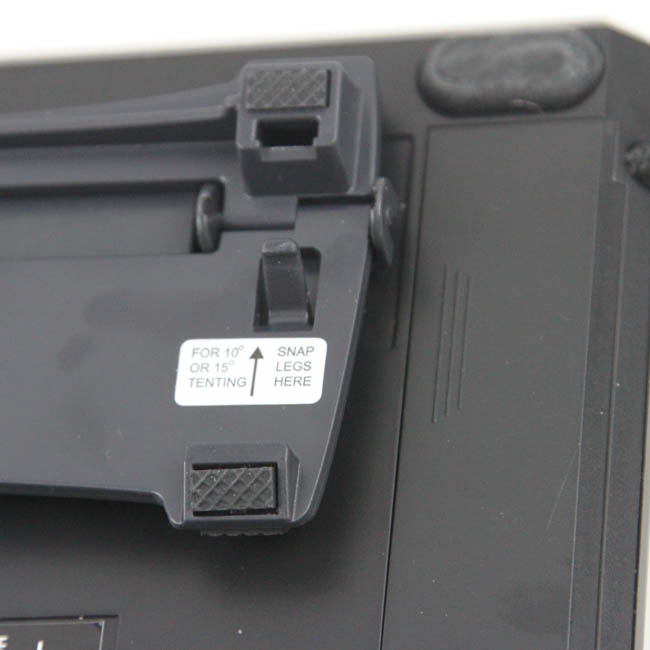

The current lift kit accessory is almost a must-have in my opinion. It does need the wrist supports to be installed because the legs on one end go into the holes on each half of the keyboard's body, while the other set of legs squeezes into recessed slits in the wrist rest as seen above. The instructions for their installation are not fool-proof, but it takes less than a minute to get these in place once you know how it is done. Kinesis tells me they are working on a new lift kit that can be used without the wrist rests as well.

With the lift kit installed, you automatically get a 5° lift as a result of the kit pieces on a side on each of the two halves. Using the kit as we saw on the previous page also gives us the two additional options of 10° and 15° of tenting, and it is a far more comfortable and natural typing experience than without the lift kit. Also seen above is the palm pad on the right half to show you how it looks, and I would personally not spend $12 on these when the wrist supports are good for how you should be using it properly anyway.
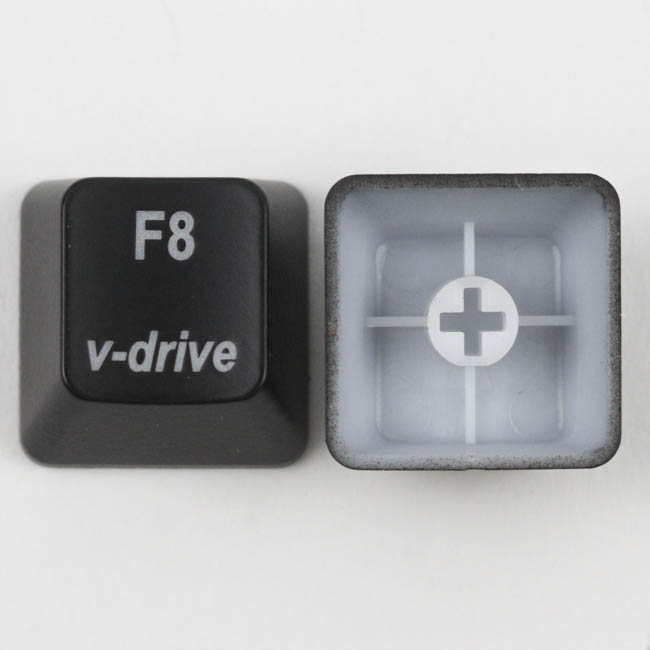

Kinesis is stepping away from the norm by also not adopting the usual OEM keycap profile and instead going with keycaps all having a single-row design with a slanted top surface that is slightly concave to support your fingertips. The lift kit works great with their approach since you do not have to counter the sideways tenting against contoured rows from one to another. The keycaps are thin ABS plastic, and the legends are also laser etched, so expect these to show signs of wear and tear sooner rather than later. Backlighting is going to be biased towards the legends on the top, directly above the LEDs, which means the secondary/tertiary legends located underneath will not be backlit as well, though to which degree will depend on how bright the keyboard's backlighting will be.
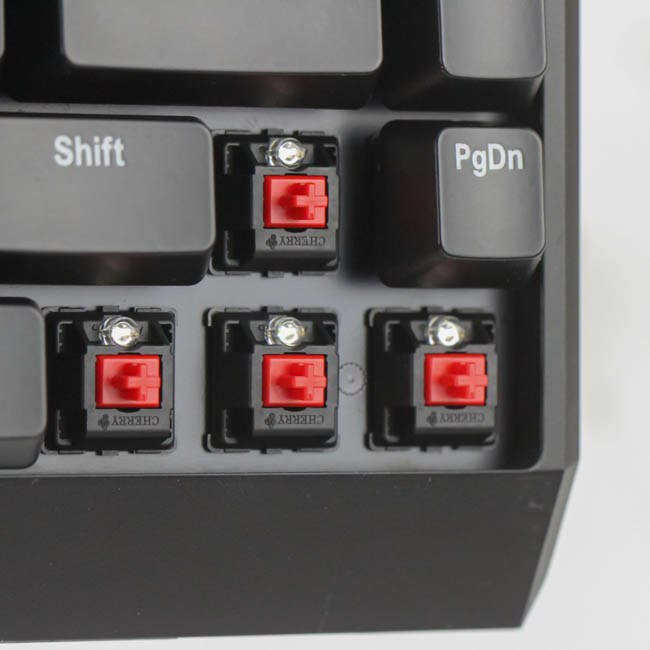
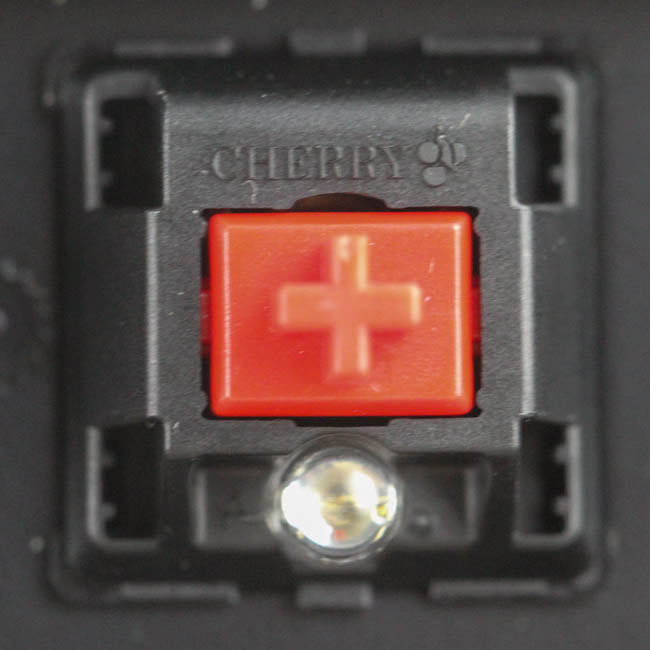
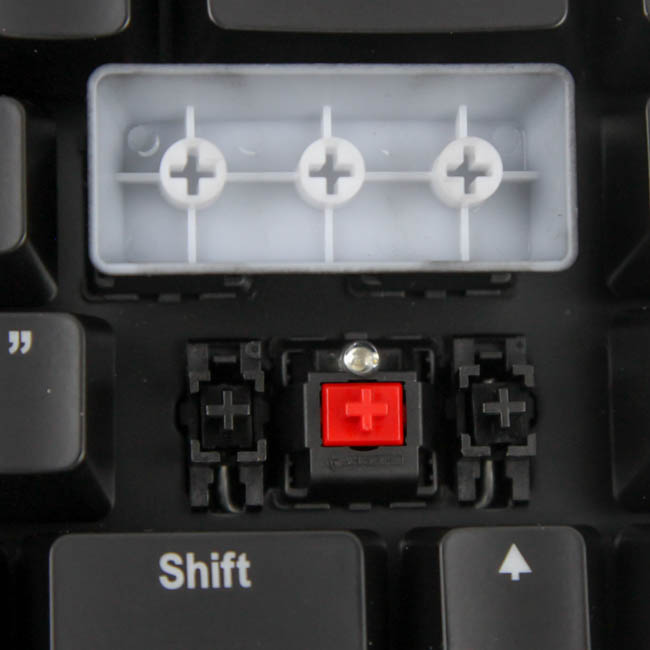
The sample I received had Cherry MX Red switches, and you can get the Freestyle Edge with Cherry MX Brown or Blue switches as well. Given the single-color backlighting, we see the black opaque housing on the switches with the LED present at the top. Larger keycaps use Cherry stabilizers as well, and the split space bar means things are not as mushy here as with a single, larger space bar with a Cherry stabilizer.
Jul 13th, 2025 03:00 CDT
change timezone
Latest GPU Drivers
New Forum Posts
- Best motherboards for XP gaming (117)
- 9800x3D - 6400 CL32 1:1 not stable (13)
- Archival HDD constantly starting up for no reason (0)
- 6400c30 vs 8000c36 Ryzen 9800X3D (1)
- 9070XT BIOS flash (what to use?) (6)
- New ToS of Take Two and 2K (12)
- Radeon RX 6700, 6700 XT & 6750 XT users club (1138)
- Is there a WIFI chip I should get? (1)
- What are you playing? (23945)
- 9060 XT 16GB or 6800 XT/6900XT? (30)
Popular Reviews
- Fractal Design Epoch RGB TG Review
- Lexar NM1090 Pro 4 TB Review
- Corsair FRAME 5000D RS Review
- Our Visit to the Hunter Super Computer
- NVIDIA GeForce RTX 5050 8 GB Review
- NZXT N9 X870E Review
- Sapphire Radeon RX 9060 XT Pulse OC 16 GB Review - An Excellent Choice
- AMD Ryzen 7 9800X3D Review - The Best Gaming Processor
- Upcoming Hardware Launches 2025 (Updated May 2025)
- Chieftec Iceberg 360 Review
TPU on YouTube
Controversial News Posts
- Intel's Core Ultra 7 265K and 265KF CPUs Dip Below $250 (288)
- Some Intel Nova Lake CPUs Rumored to Challenge AMD's 3D V-Cache in Desktop Gaming (140)
- AMD Radeon RX 9070 XT Gains 9% Performance at 1440p with Latest Driver, Beats RTX 5070 Ti (131)
- NVIDIA Launches GeForce RTX 5050 for Desktops and Laptops, Starts at $249 (120)
- NVIDIA GeForce RTX 5080 SUPER Could Feature 24 GB Memory, Increased Power Limits (115)
- Microsoft Partners with AMD for Next-gen Xbox Hardware (105)
- Intel "Nova Lake‑S" Series: Seven SKUs, Up to 52 Cores and 150 W TDP (100)
- NVIDIA DLSS Transformer Cuts VRAM Usage by 20% (97)