 6
6
Thermaltake Divider 550 TG Ultra Review
Assembly & Finished Looks »A Closer Look - Inside
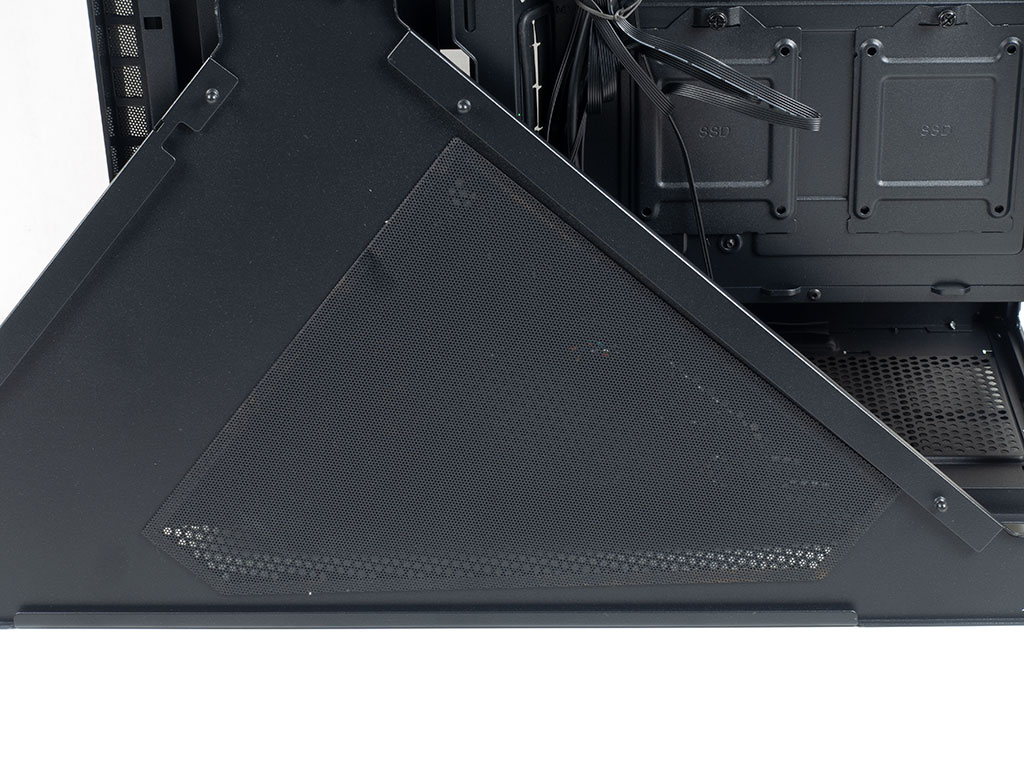
To access the interior, simply unscrew the thumb screws of the glass panel and one steel triangle, with the vented variant held in place by push pins. That piece also comes with a magnetic dust filter shaped to fit the venting.
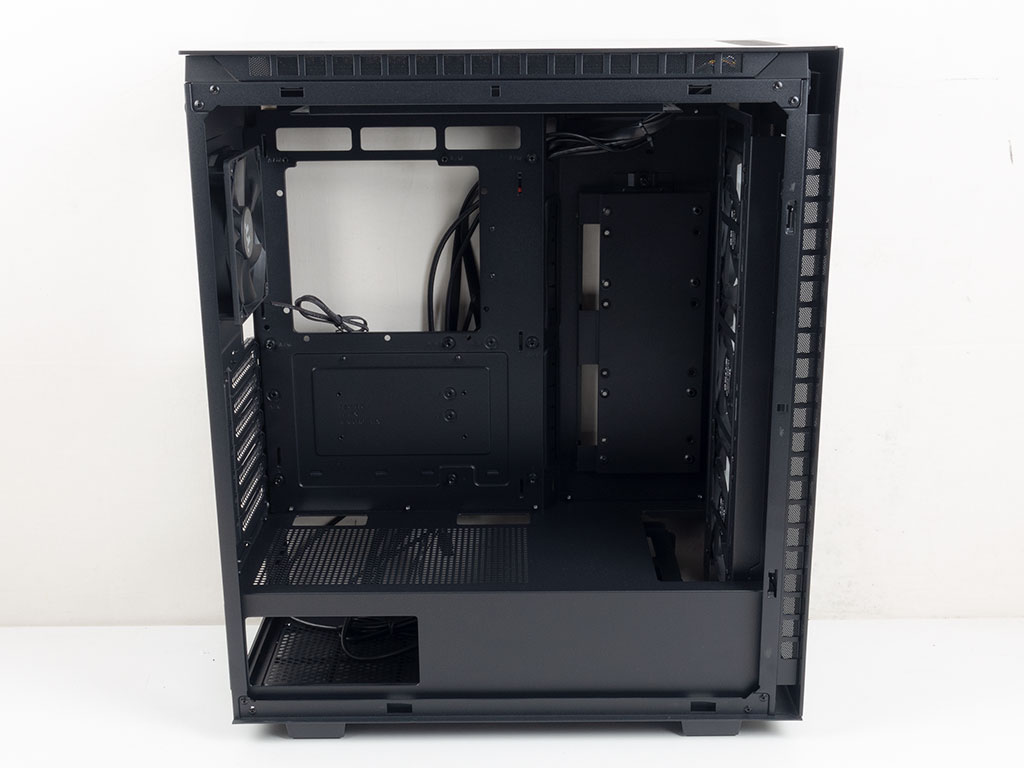

The interior of the Divider 550 TG Ultra is essentially identical to that of the Divider 500 series. Thermaltake made the frame slightly taller than most mid-tower cases for more vertical space, and the opening of the shroud in front for liquid-cooling setups is larger to allow for push/pull configurations. Thermaltake also added routing holes on the plate covering the side fan/radiator mounting position. That said, as with those variants we have reviewed in the past, cable routing is still far from ideal.
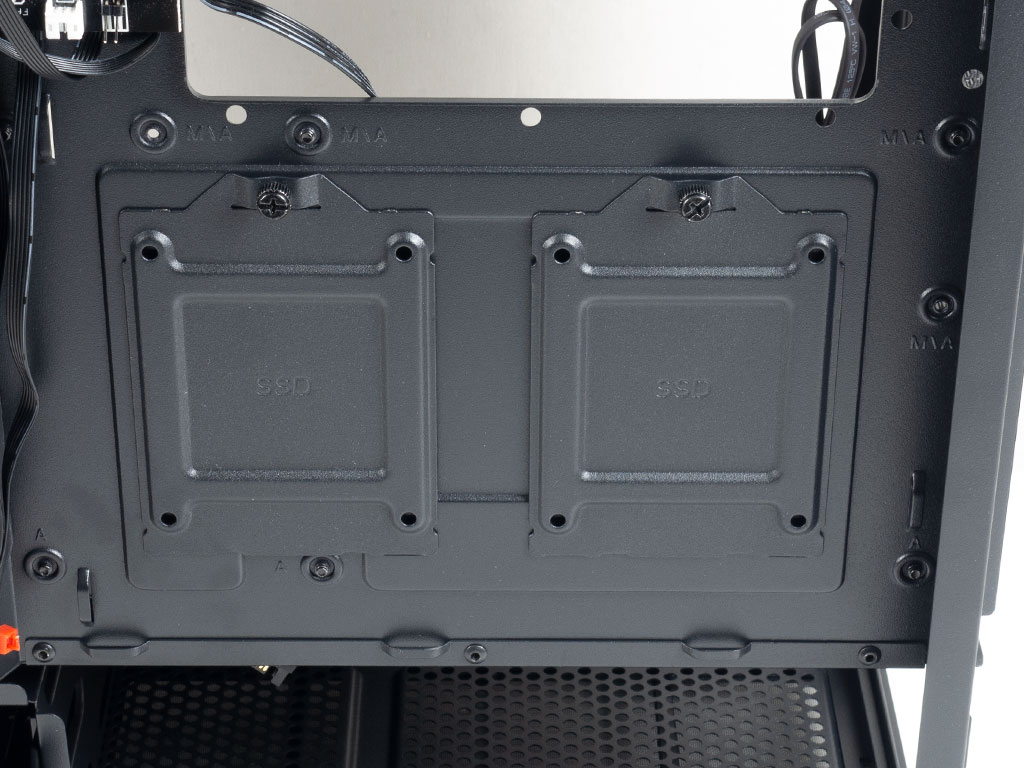
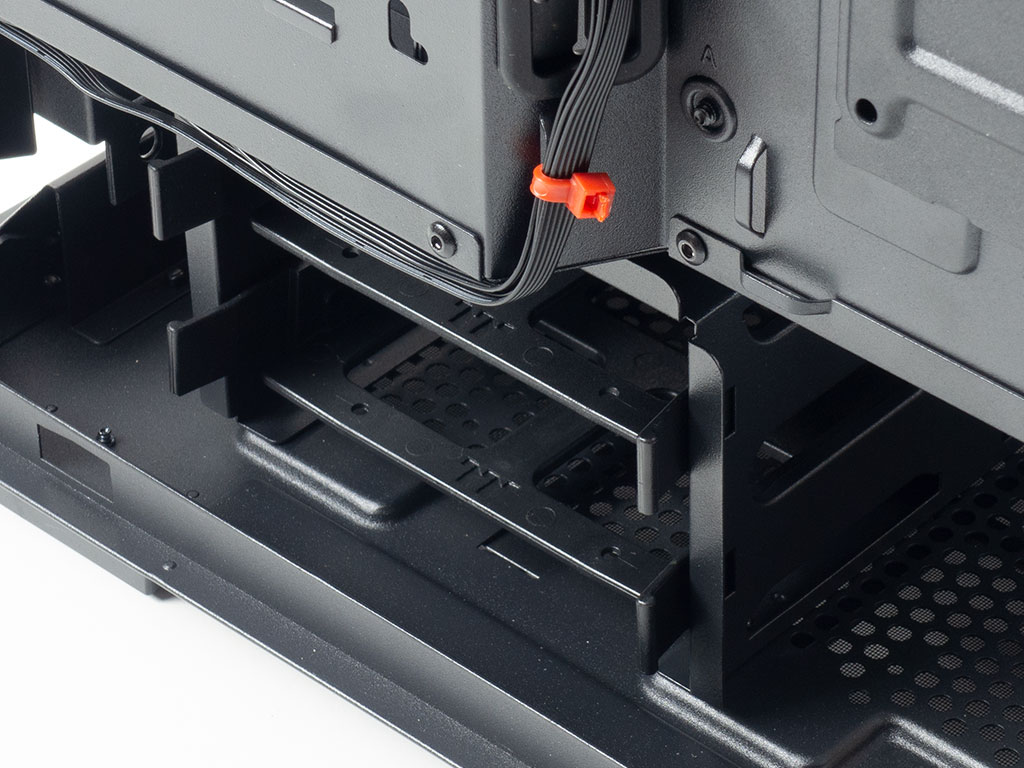
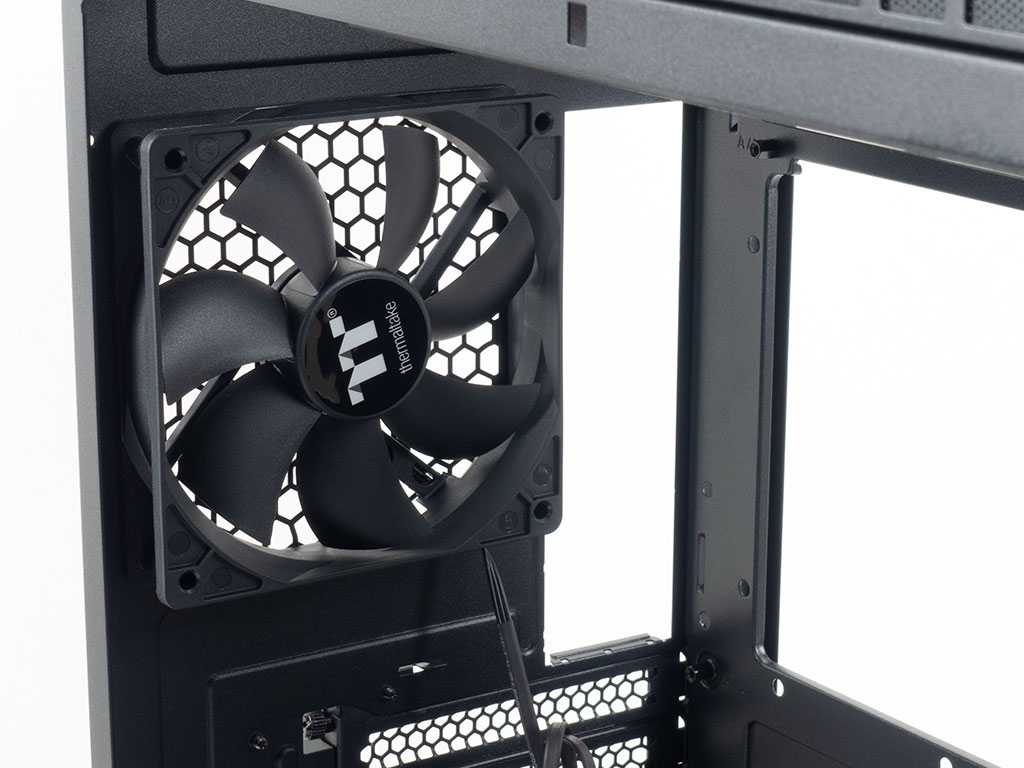
First, we took the unusual step of re-routing the front fan wires in a creative manner for cleaner pictures, so please don't mind the red zip tie as this is not how Thermaltake ships the chassis. The side fan mount is specifically meant for a 240 or two 120 mm fans. A 120 mm radiator setup may fit because the mounting holes on the outer corners are L-shaped for a slight radiator offset, which keeps it from colliding with the front fans. However, securing it properly wouldn't be possible. There are two separate SSD brackets underneath the large opening for the motherboard CPU area.
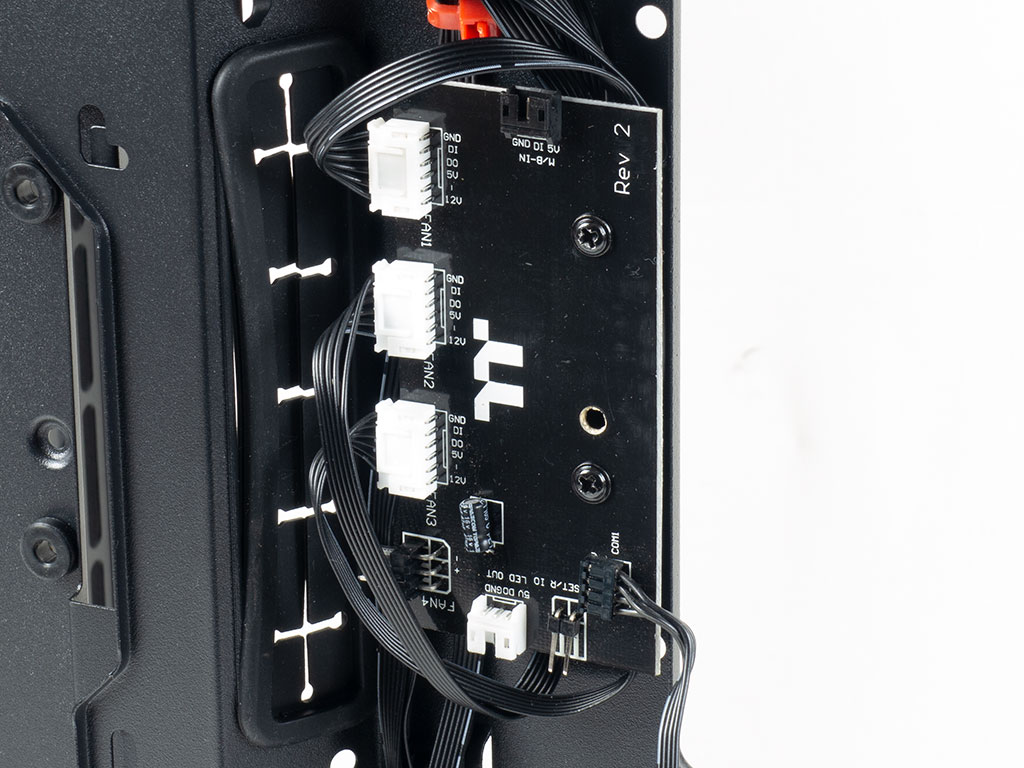
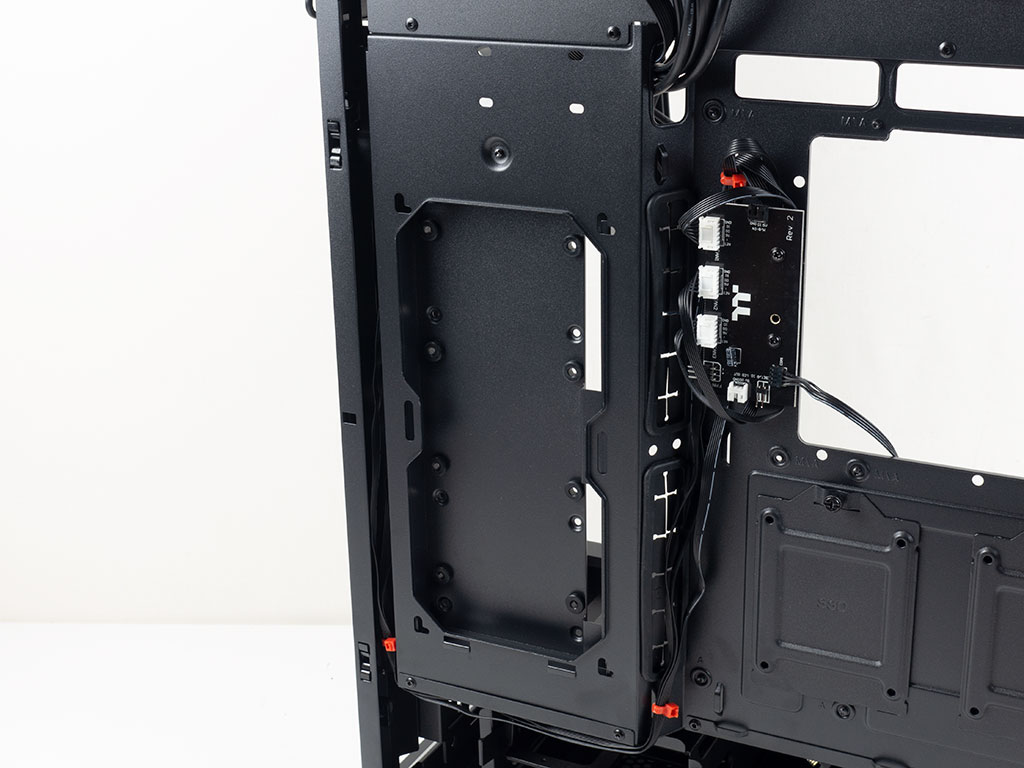
The PCB is the same as on other Thermaltake cases in the past. While it does allow for motherboard or case-button ARGB control, it does not take an RPM signal from the motherboard and only comes with a single 3-pin fan header for expandability. While this may be fine for a mainstream chassis, anyone spending larger amounts of money on a chassis can rightfully expect to have fully fledged, generic PWM-interfaced ARGB fans and a hub instead.
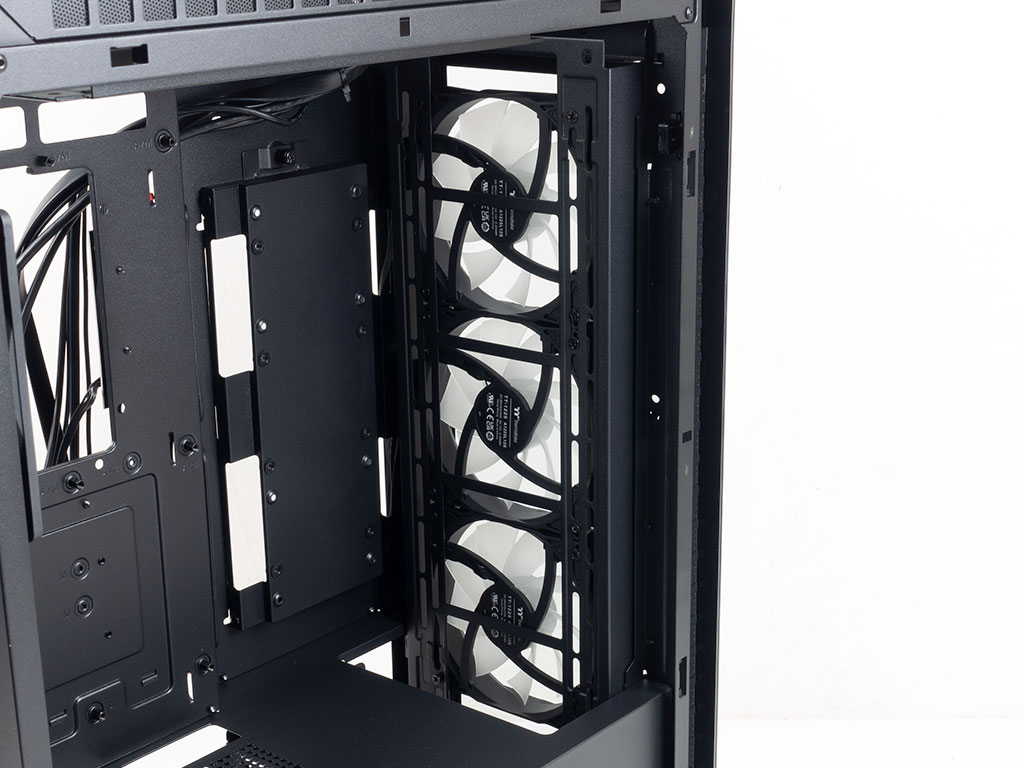

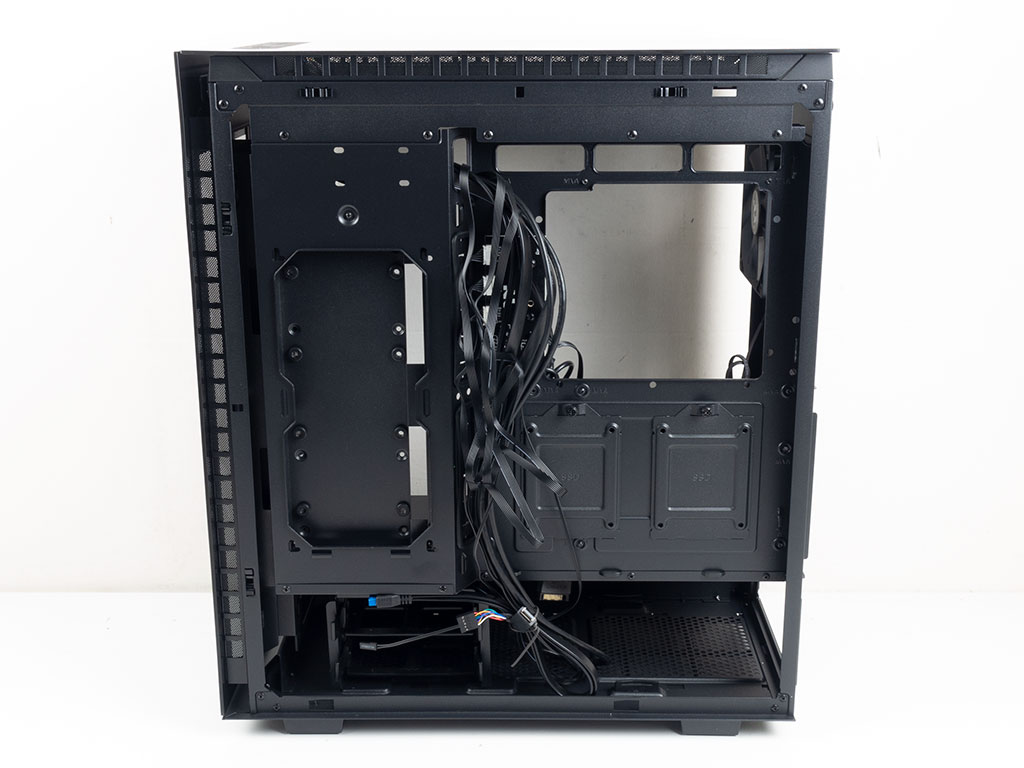
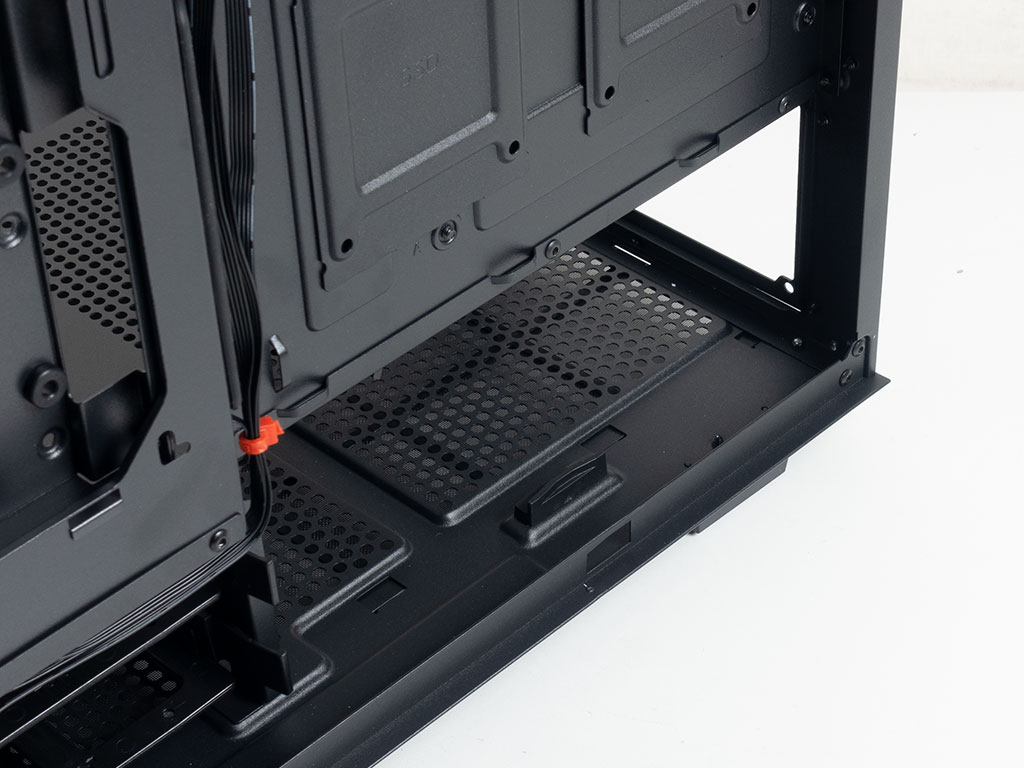
Underneath the shroud is a cage with two hard-drive trays for either 3.5" or 2.5" drives. It is all about cooling in the front above that, with three fans mounted on that single bracket. A solid metal cover on the side mount may hold three more 2.5" drives if this area isn't used for cooling. This is a nice touch and allows you to show off your drives nicely in such a build scenario. You may remove the cover by detaching a single thumb screw, which reveals the cutout for cooling purposes.
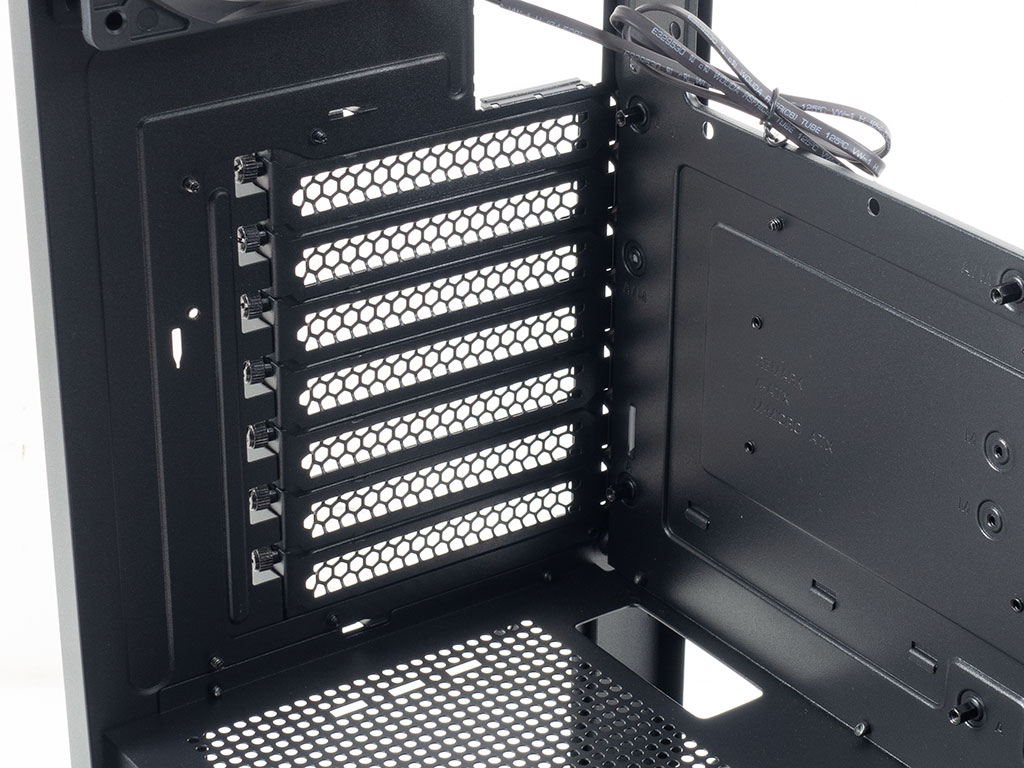
The PSU bay on the bottom of the rear is pretty standard, but Thermaltake added two little guides to the 550 TG Ultra for PSU installation. There is plenty of space for a potent mainstream PSU, so you are free to install beefy components. The seven expansion slots above that are protected by individual, reusable covers in the same color as the rest of the case, each secured by a black thumb screw. In the very top, the black exhaust fan feels and looks sturdy. It comes with a 3-pin header and nicely sleeved cable.
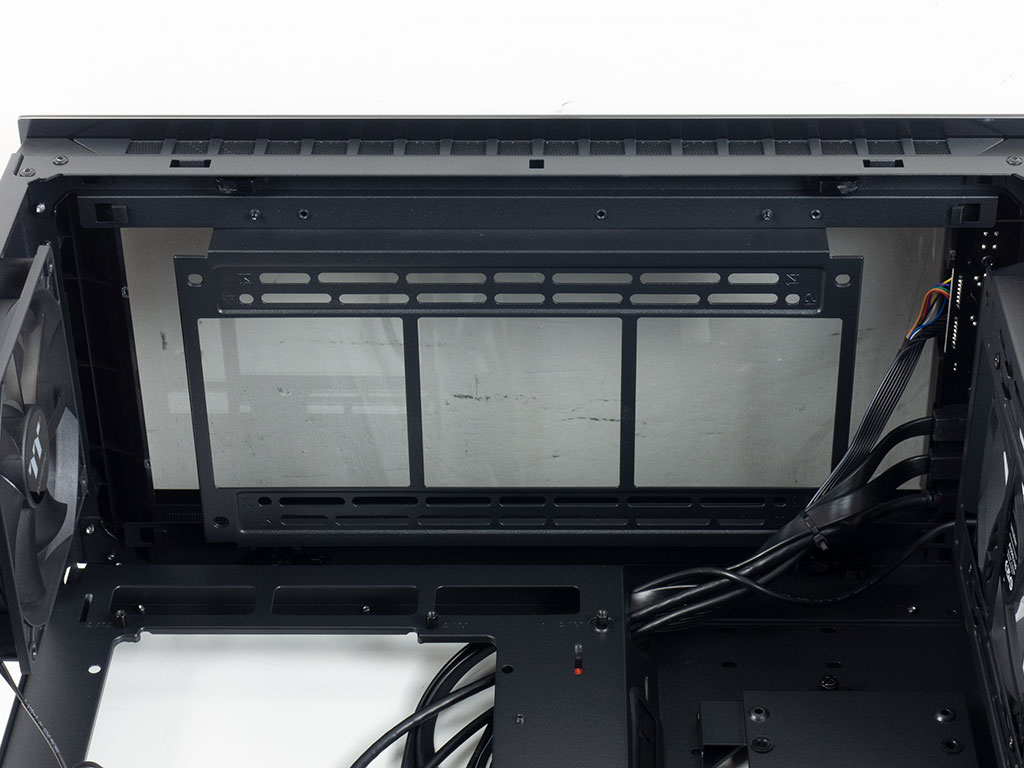
Looking at the ceiling, this is probably the most noticeable difference to the Divider 300 series. In the larger Divider 550 TG Ultra, there is a removable frame for three 120 or two 140 mm fans and the ability to install a radiator of up to 280 mm with plenty of room above the motherboard.
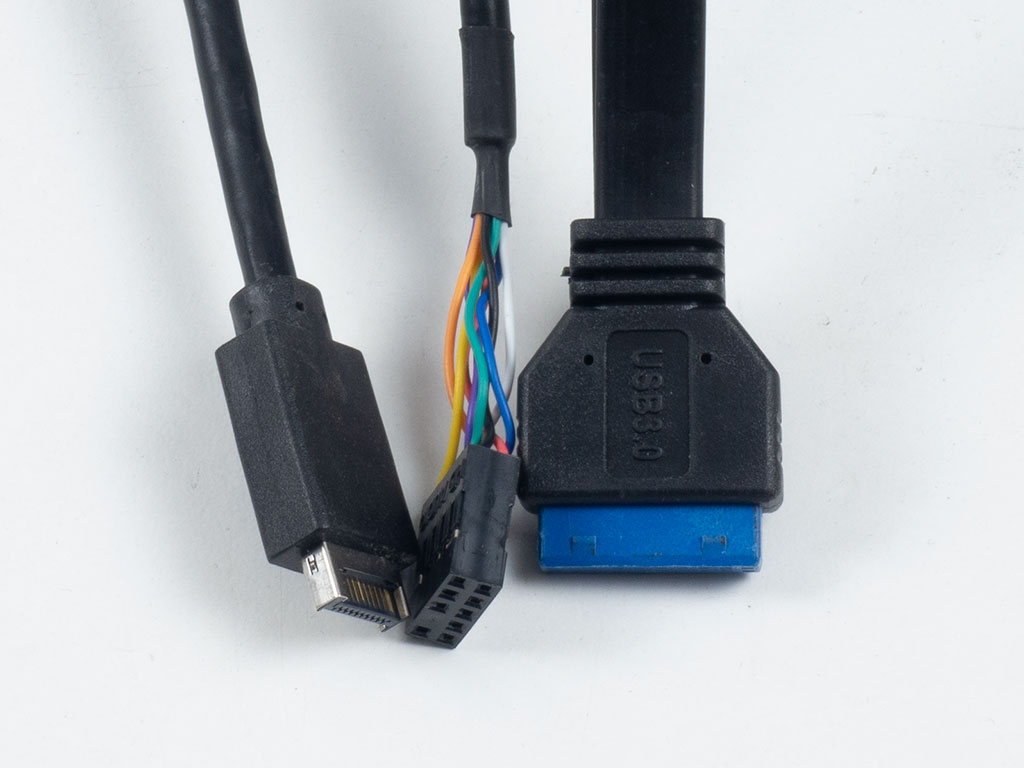
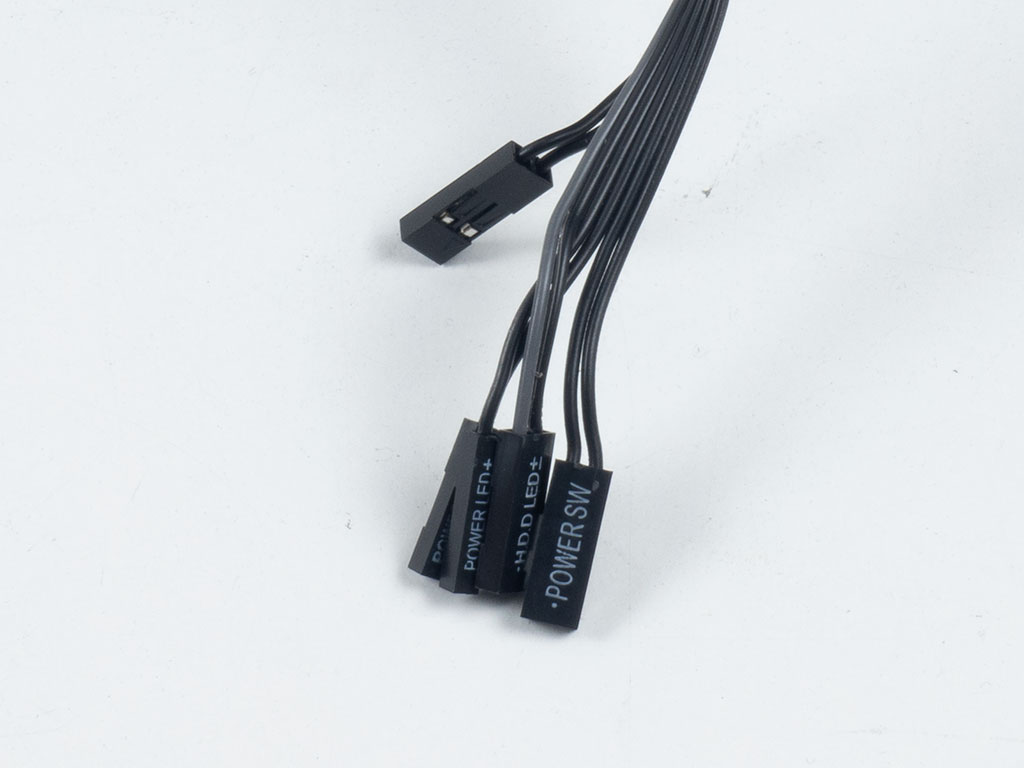

All the leads within the Thermaltake Divider 550 TG Ultra are of the standard variety. By default, the reset cable is used for LED control, but functionality is reversible. In addition to these, you will find a USB 2.0 header cable that connects two Micro-USB ends to a single motherboard header. One of these ends is already connected to the display in the front, while the other end will be used to power the AIO in our system.
Jul 12th, 2025 01:20 CDT
change timezone
Latest GPU Drivers
New Forum Posts
- Will you buy a RTX 5090? (642)
- 'NVIDIA App' not usable offline? (8)
- Can you guess Which game it is? (222)
- What are you playing? (23920)
- RX 9070 XT freezing/locking up only on desktop, anyone else? (43)
- NVIDIA RTX PRO 6000 Workstation Runs Much Hotter Than 5090 FE (22)
- Quick charging your USB devicesUSB 3.2 Gen 2x2 Type-C® front-panel. (1)
- GTX 1050 GPU Owners Club (12)
- ASUS ProArt GeForce RTX 4060 Ti OC Edition 16GB GDDR6 Gaming - nvflash64 VBIOS mismatch (2)
- No offense, here are some things that bother me about your understanding of fans. (33)
Popular Reviews
- Fractal Design Epoch RGB TG Review
- Corsair FRAME 5000D RS Review
- Lexar NM1090 Pro 4 TB Review
- NVIDIA GeForce RTX 5050 8 GB Review
- NZXT N9 X870E Review
- Sapphire Radeon RX 9060 XT Pulse OC 16 GB Review - An Excellent Choice
- AMD Ryzen 7 9800X3D Review - The Best Gaming Processor
- Upcoming Hardware Launches 2025 (Updated May 2025)
- Our Visit to the Hunter Super Computer
- Chieftec Iceberg 360 Review
TPU on YouTube
Controversial News Posts
- Intel's Core Ultra 7 265K and 265KF CPUs Dip Below $250 (288)
- Some Intel Nova Lake CPUs Rumored to Challenge AMD's 3D V-Cache in Desktop Gaming (140)
- AMD Radeon RX 9070 XT Gains 9% Performance at 1440p with Latest Driver, Beats RTX 5070 Ti (131)
- NVIDIA Launches GeForce RTX 5050 for Desktops and Laptops, Starts at $249 (119)
- NVIDIA GeForce RTX 5080 SUPER Could Feature 24 GB Memory, Increased Power Limits (115)
- Microsoft Partners with AMD for Next-gen Xbox Hardware (105)
- Intel "Nova Lake‑S" Series: Seven SKUs, Up to 52 Cores and 150 W TDP (100)
- NVIDIA DLSS Transformer Cuts VRAM Usage by 20% (97)