 6
6
Thermaltake Divider 550 TG Ultra Review
TT RGB PLUS 2.0 Software »Review System
| System Parts for Case Reviews | |
|---|---|
| Processor: | ATX: Intel Core i5-11600K mATX/ITX: Intel Core i5-10600K Provided by: Intel |
| Motherboards: | ATX: Gigabyte Z590 AORUS PRO AX ITX: Gigabyte Z590I Vision D Provided by: Gigabyte mATX: ASRock B560M Steel Legend Provided by: ASRock |
| Graphics Card: | Gigabyte Radeon RX 6600 Eagle Provided by: Gigabyte ZOTAC GAMING GeForce RTX 3060 Ti Twin Edge OC Provided by: Zotac |
| Memory: | 16 GB XPG SPECTRIX D50 3200 MHz 16 GB XPG SPECTRIX D60G DDR4 3000 MHz 16 GB XPG GAMMIX D20 DDR4 3200 MHz Provided by: ADATA |
| HDD: | Toshiba MG08ADA400E 7200 RPM SATA III Provided by: Toshiba |
| SSD: | ATX:XPG SPECTRIX S20G 500 GB mATX: XPG GAMMIX S50 Lite 1 TB ITX: ADATA Falcon 512 GB ADATA Ultimate SU800 512 GB ADATA Ultimate SU720 500 GB Provided by: ADATA |
| Power Supply: | ATX: Fractal Design ION+ 650W 80 Plus Gold SFX: Fractal Design ION SFX-L 650W 80 Plus Gold Provided by: Fractal Design |
| Cooling: | be quiet! Pure Loop 120/240/280/360 Provided by: be quiet! |
Assembly
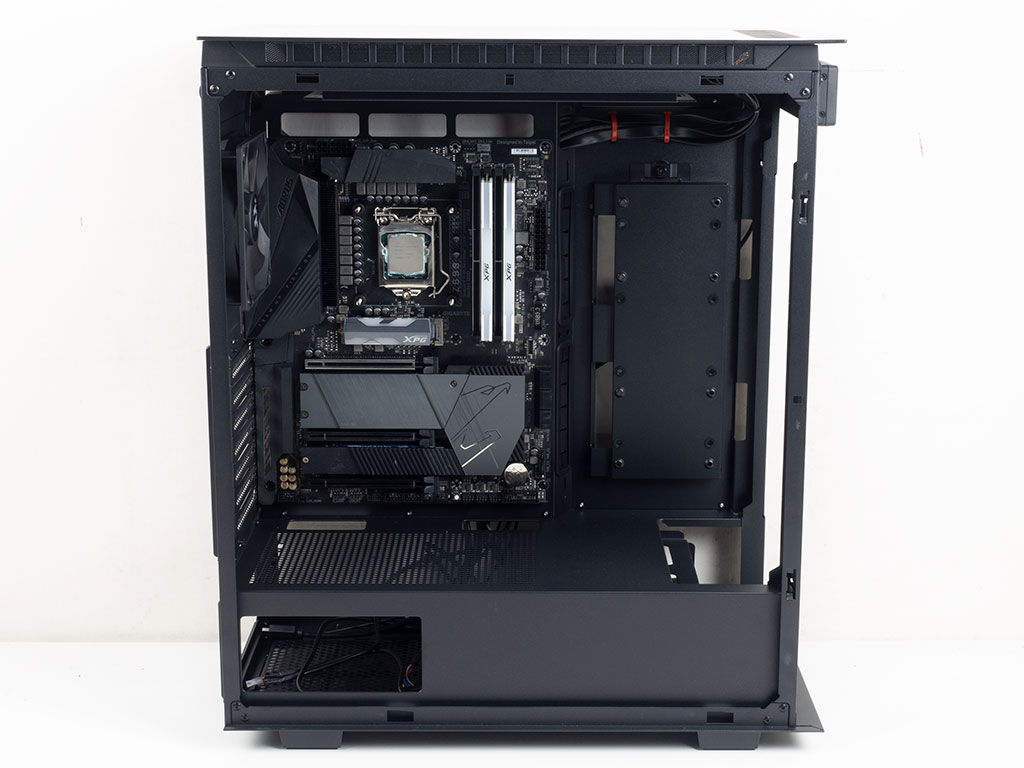
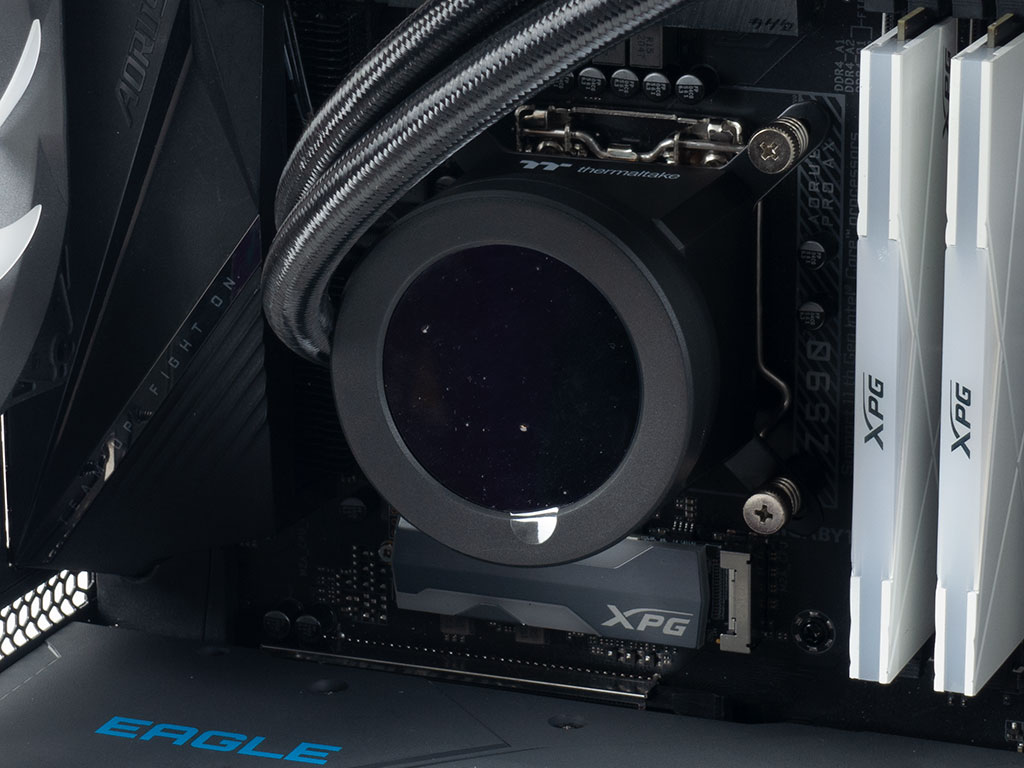
Using traditional screws and spacers, installing the motherboard is straightforward, and should allow for clean cable management with a bit of creativity. There is plenty of space for long GPUs as long as you only go for fans and no liquid cooling on the side, as we learned the hard way while reviewing the Divider 300 TG ARGB review. For this build, we will install the supplied AIO into the front and ARGB variants the top and back of the chassis, which had us detach the front frame and fans before installing the motherboard.
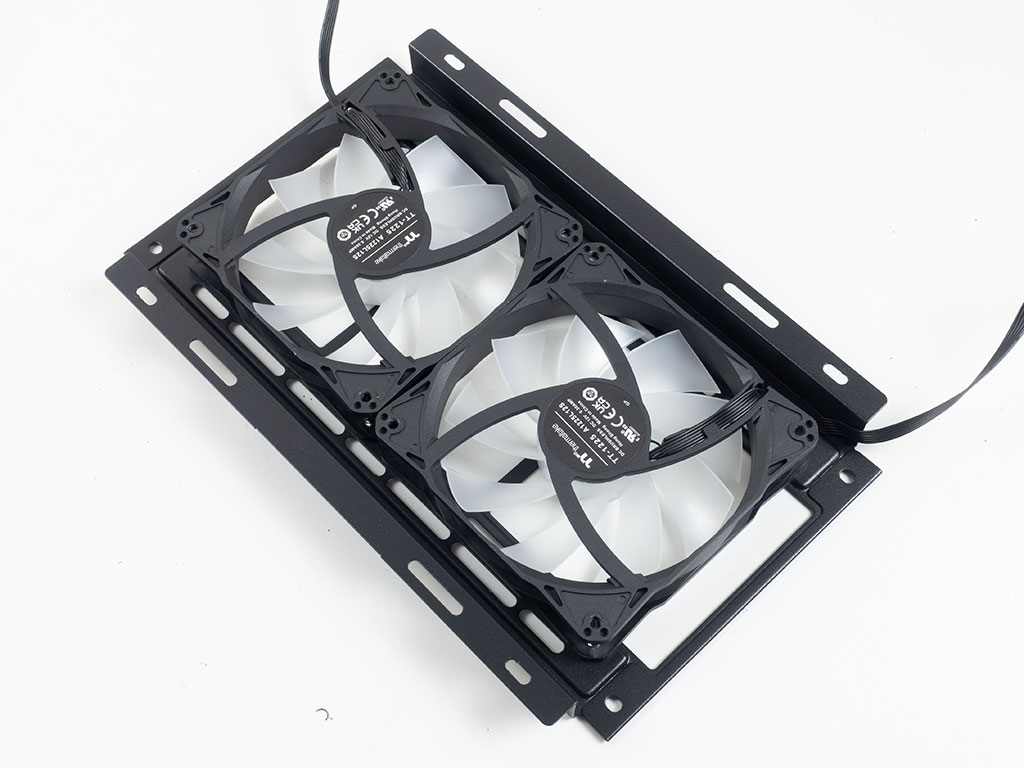
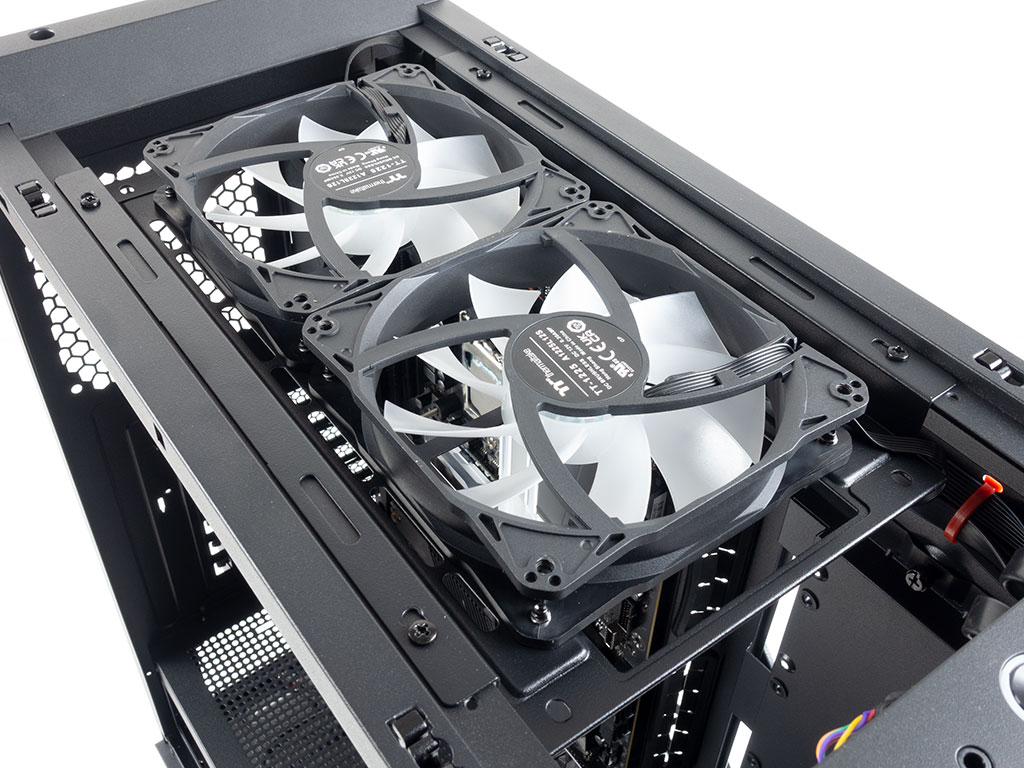
Adding fans to the ceiling is easy because of the detachable frame. Simply secure them with the supplied screws and place the frame back onto the top of the chassis. For a bit of flexibility, there are two sets of mounting holes for the screws, which should come in handy when opting for an AIO here.
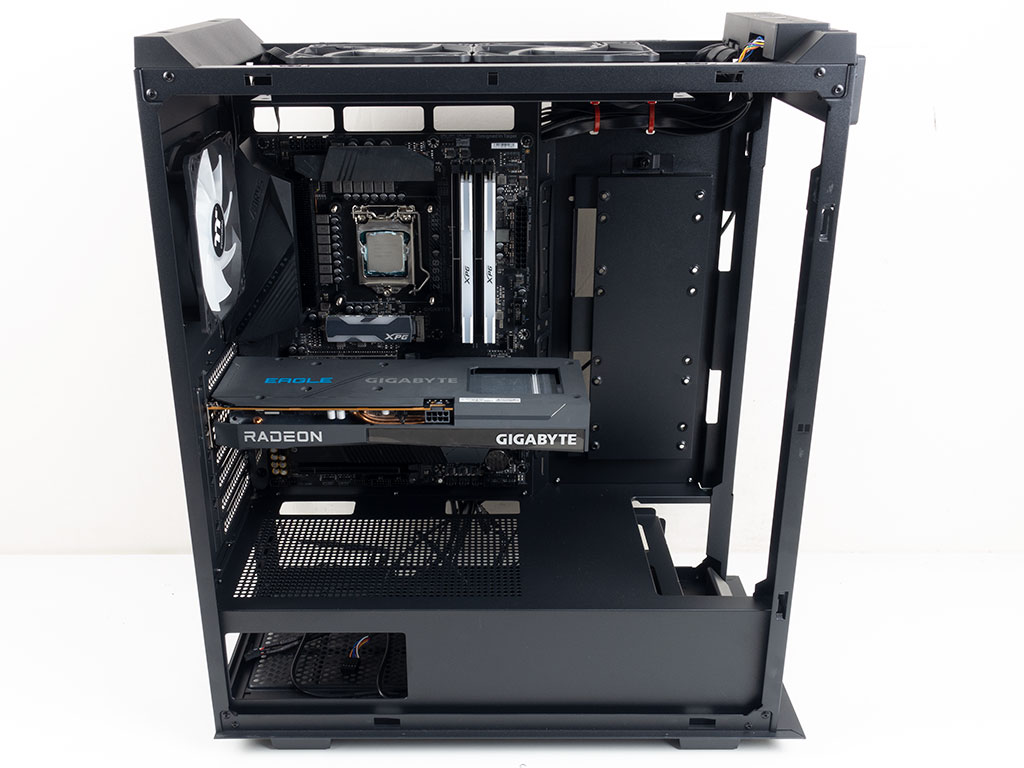
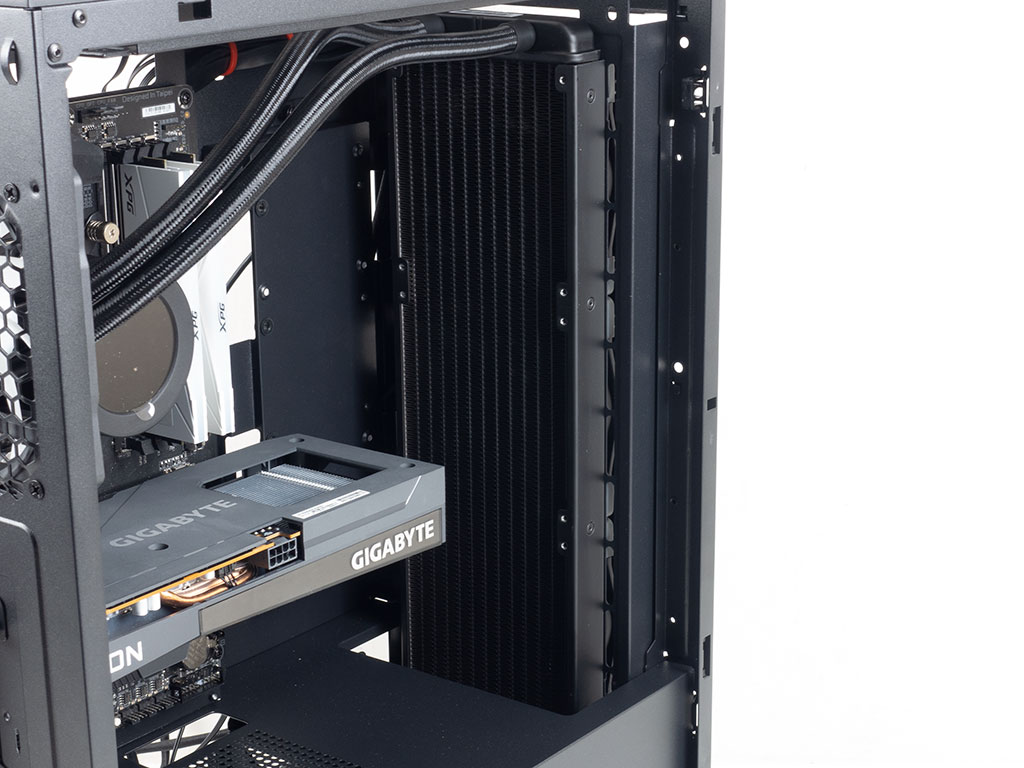
There is plenty of space for long GPUs as long as you only go for fans and opt for no liquid cooling on the side. That said, Thermaltake explicitly mentions the shorter clearance when doing so in the specification table.
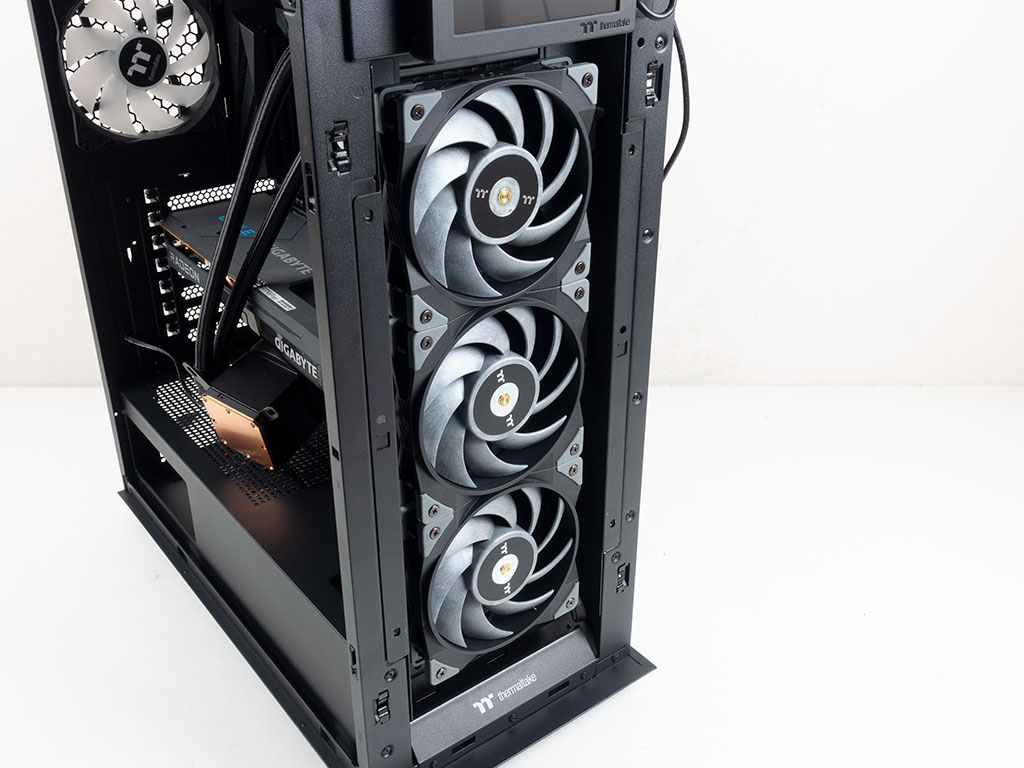
Adding the AIO is really easy as well, even with the TOUGHLIQUID Ultra 360 being as large as it is. We first removed the frame and attached one fan to it. With that done, I placed the frame inside the case, which made attaching the remaining TOUGHFAN 12 Turbo units easier.
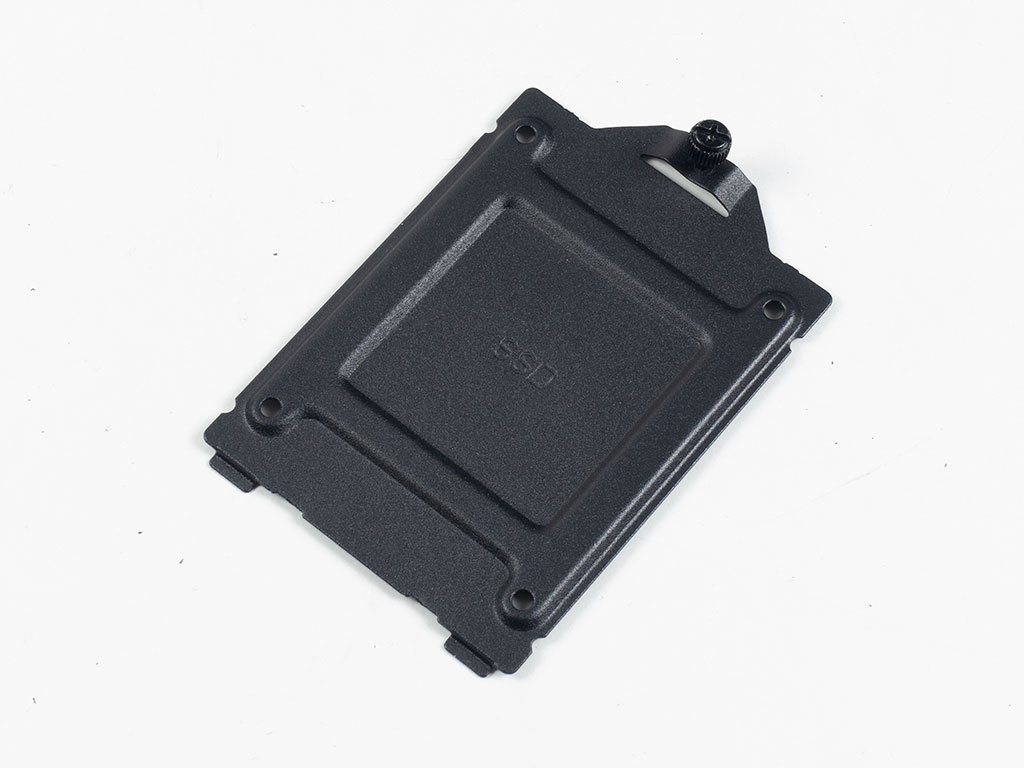
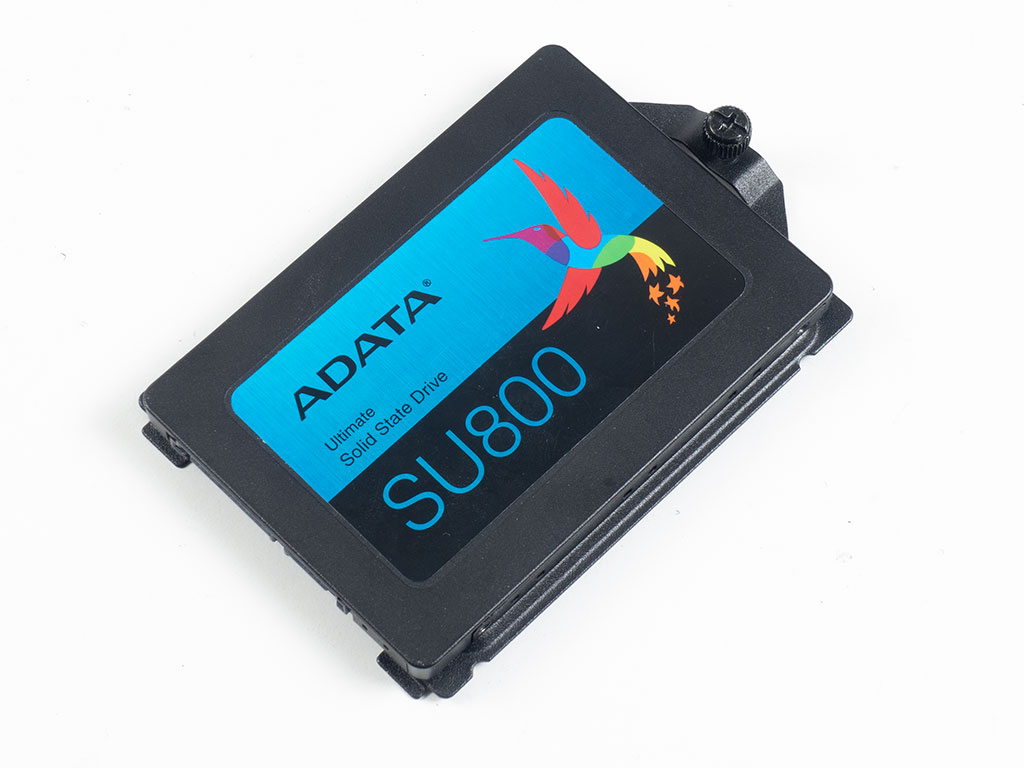
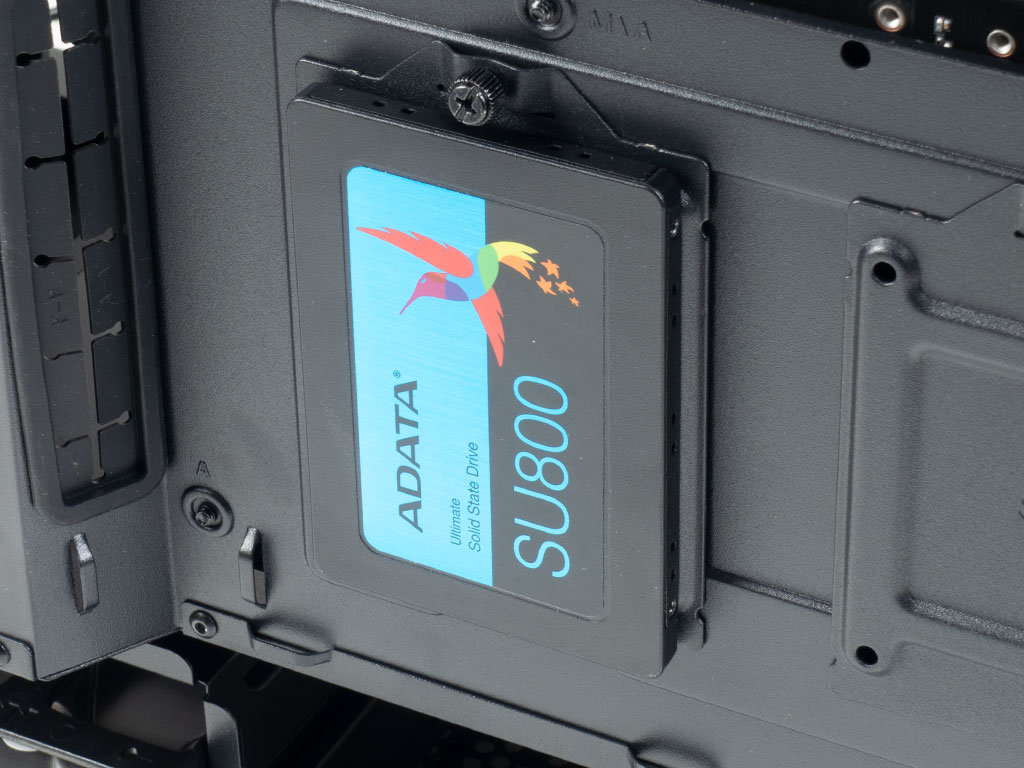
Installing SSDs is easily done by taking one of those trays and securing the drive by using screws and a screwdriver. Once filled, simply put the whole thing back where you found it and make sure it stays there by screwing down the thumb screw.
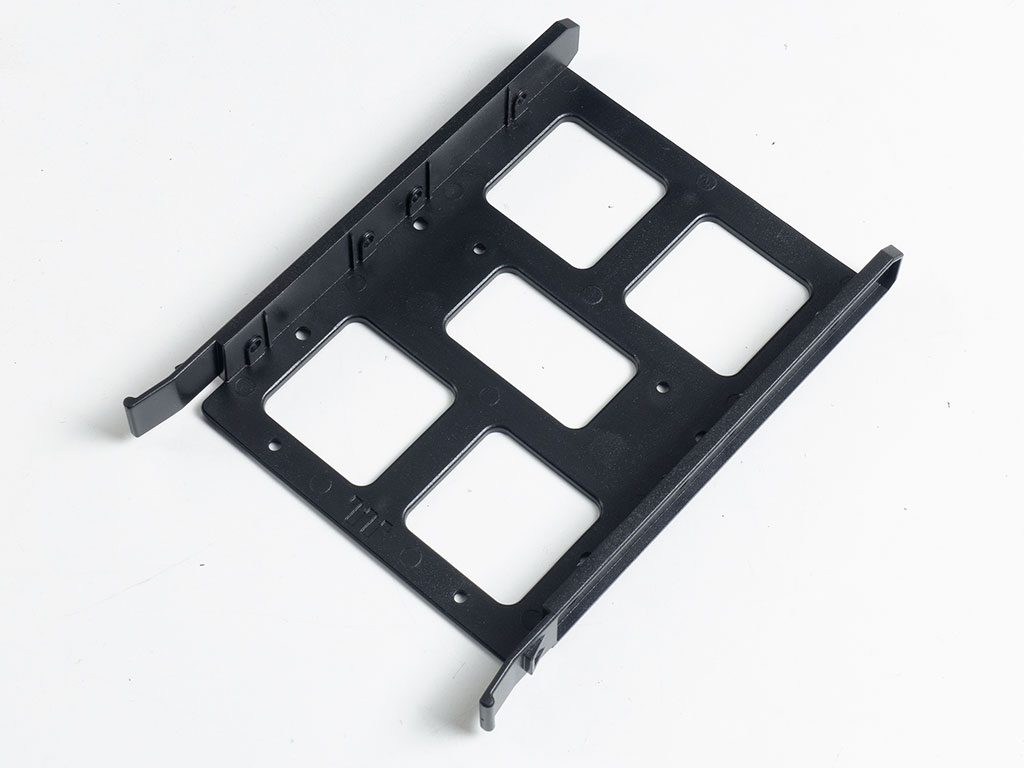
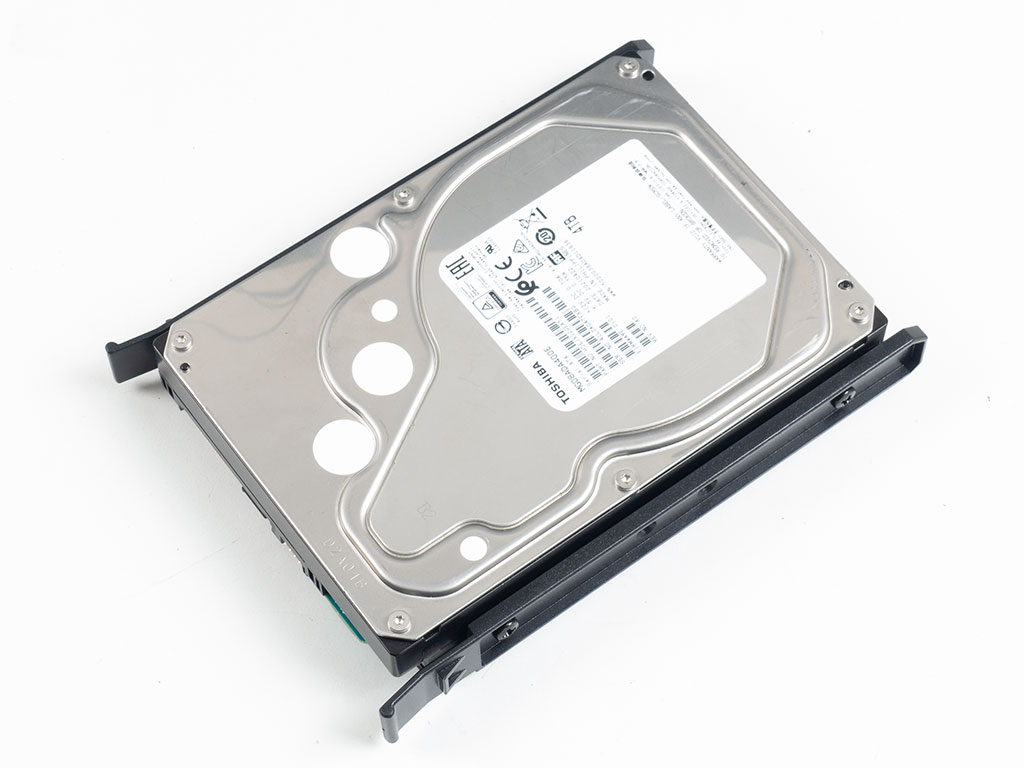
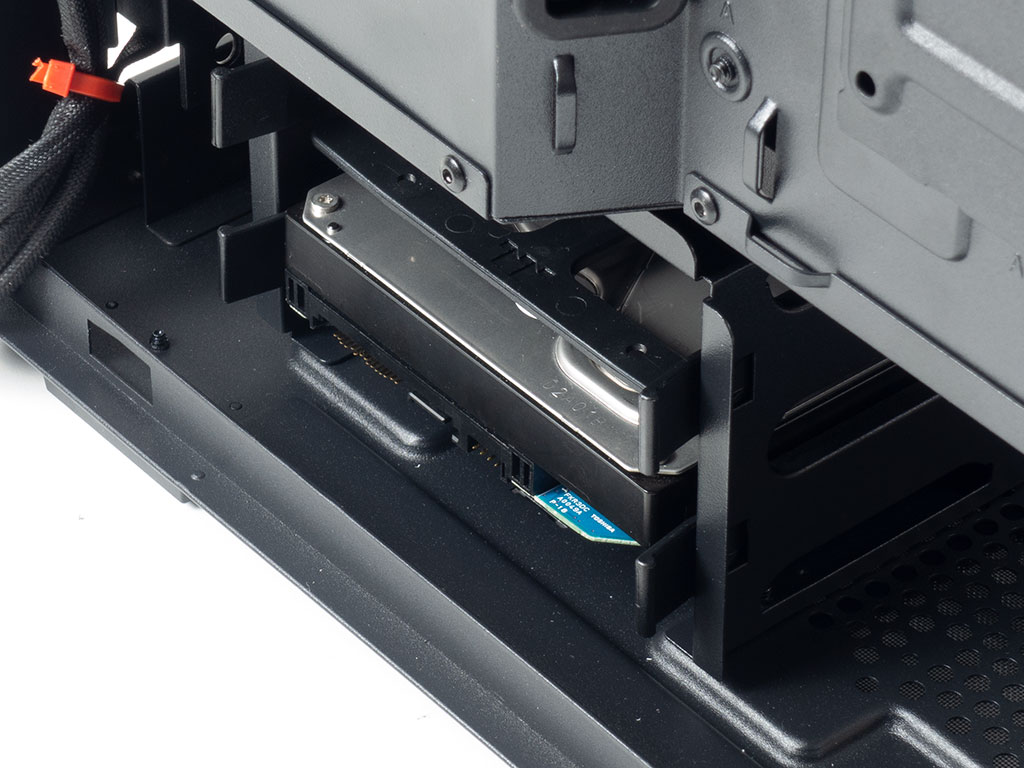
Including 3.5" drives in the build is similar as you pull out the plastic tray of choice and screw down the drive before sliding it back in until it clicks down securely.
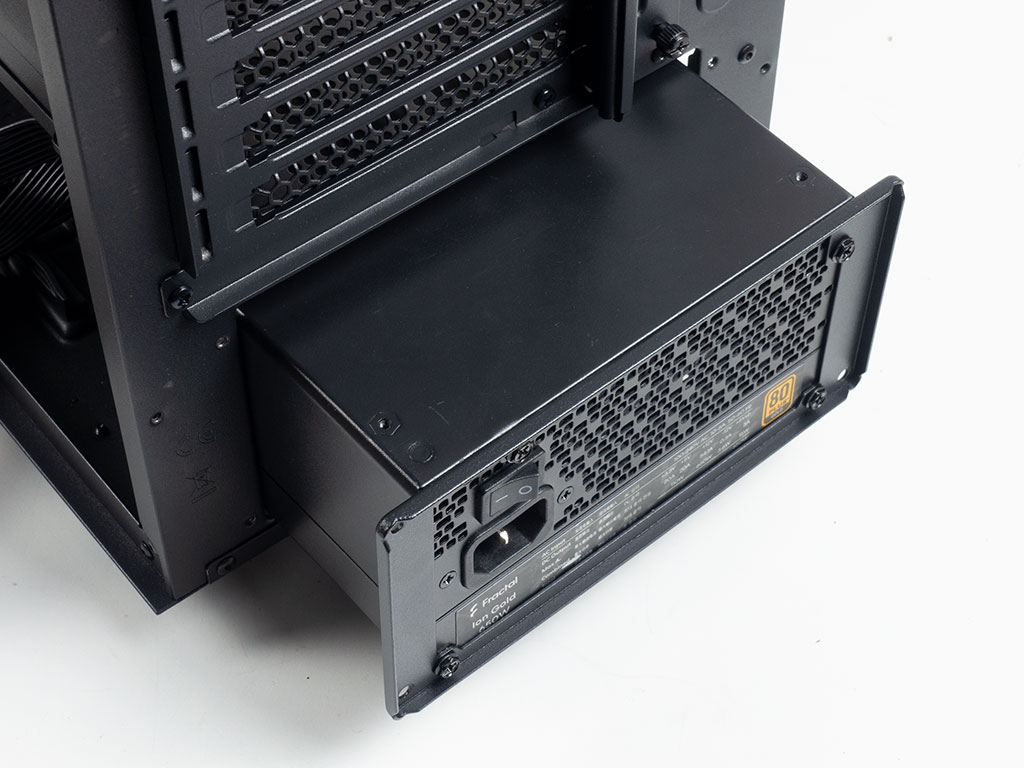
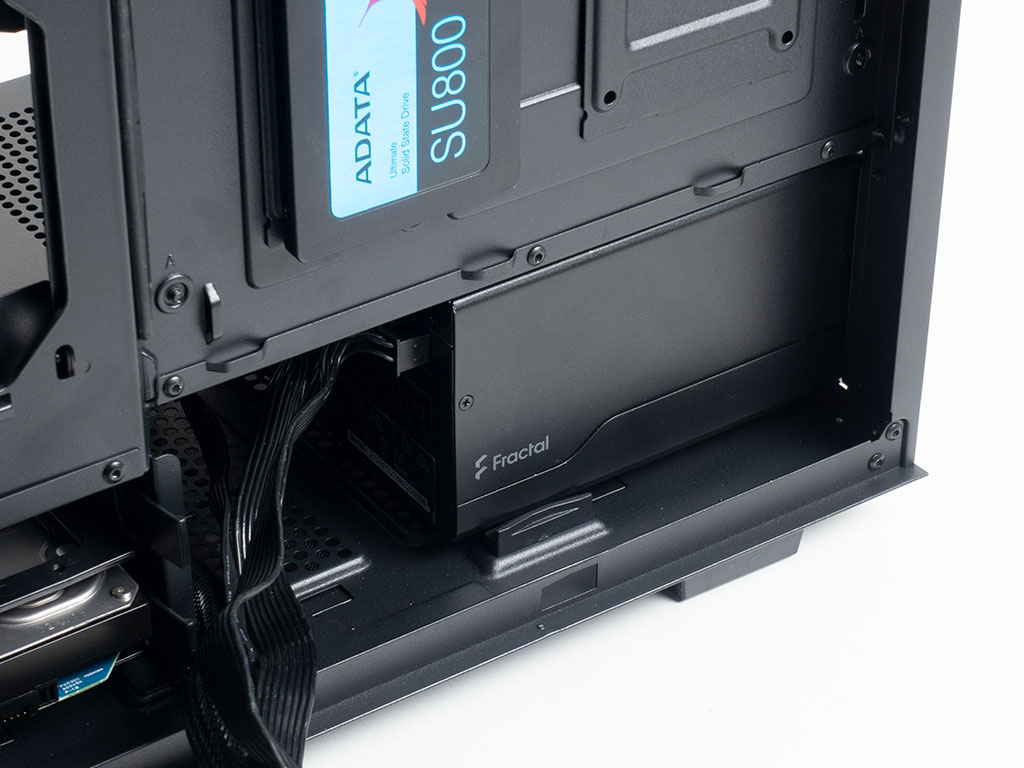
Lastly, adding a power supply is pretty traditional as well. It slides underneath the metal shroud easily; simply screw it down and move on.

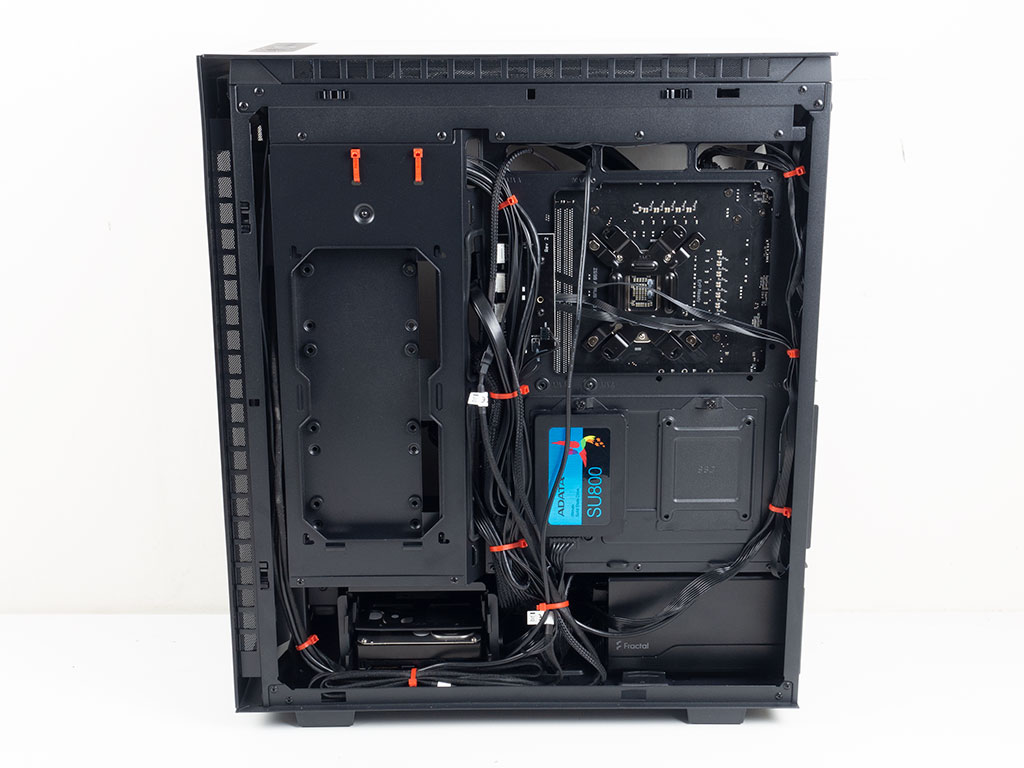
With everything installed, the Thermaltake Divider 550 TG Ultra looks quite clean because of the time invested into creatively routing all the cables on the backside. This result took time, as we had to wrangle six fans cables and the additional leads for the displays, but the result is adequate.
Finished Looks
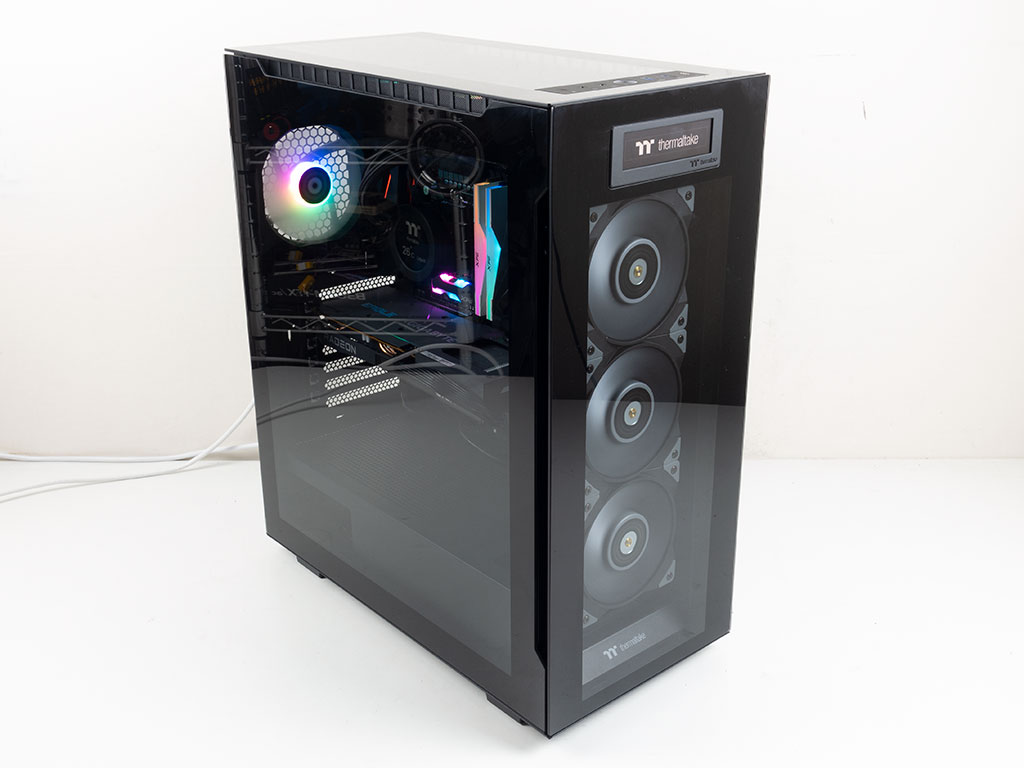
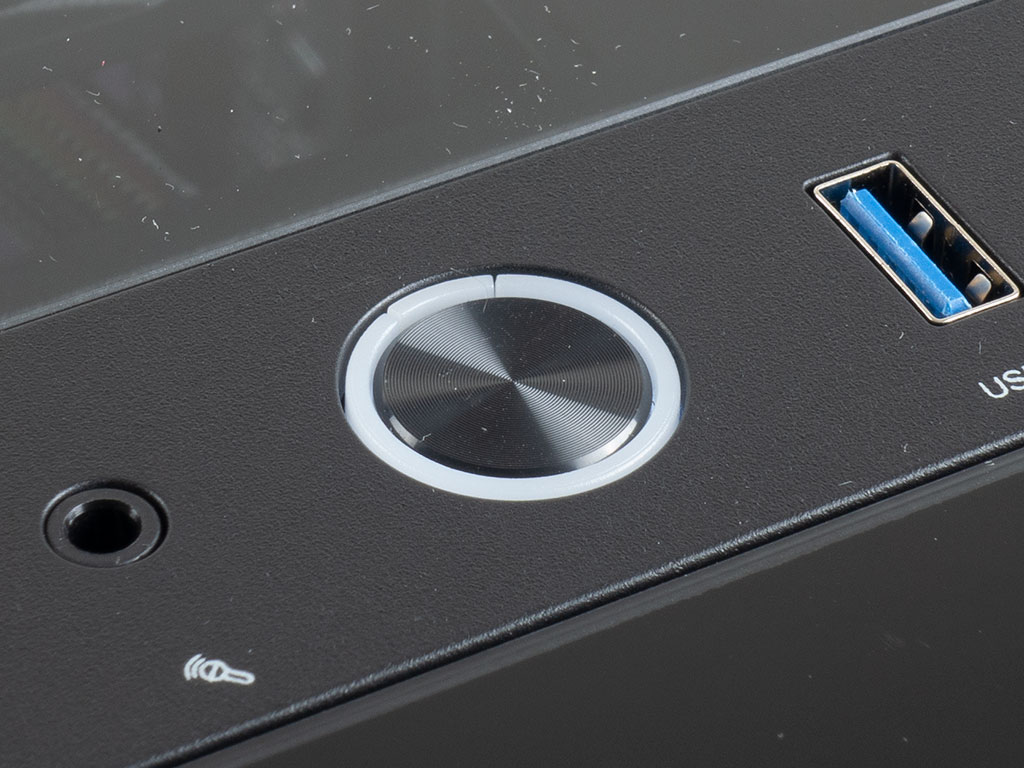
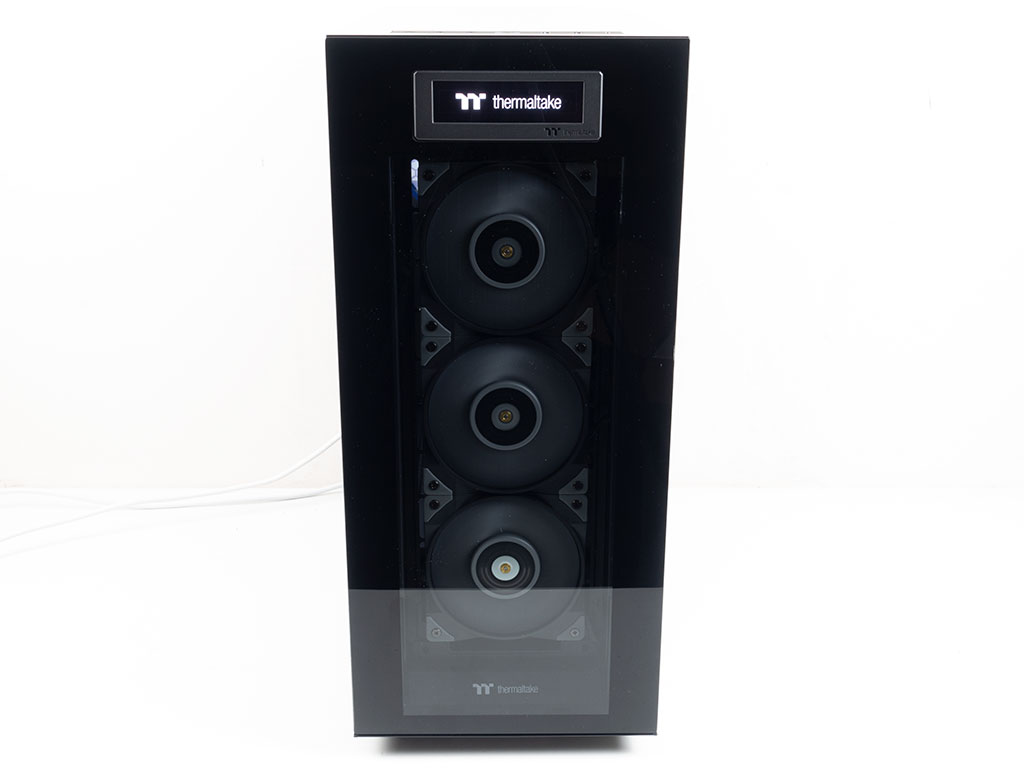
With the build complete, the Thermaltake 550 TG Ultra may not look like the case out of the box, but seeing those TOUGHFAN 12 Turbo fans spin up in the front is pretty cool. A white LED around the power button also lights up gently to let you know the system is on. Lastly, Thermaltake initially has some default branding on both LCD displays without the TT RGB Plus 2.0 software setting it to anything else.
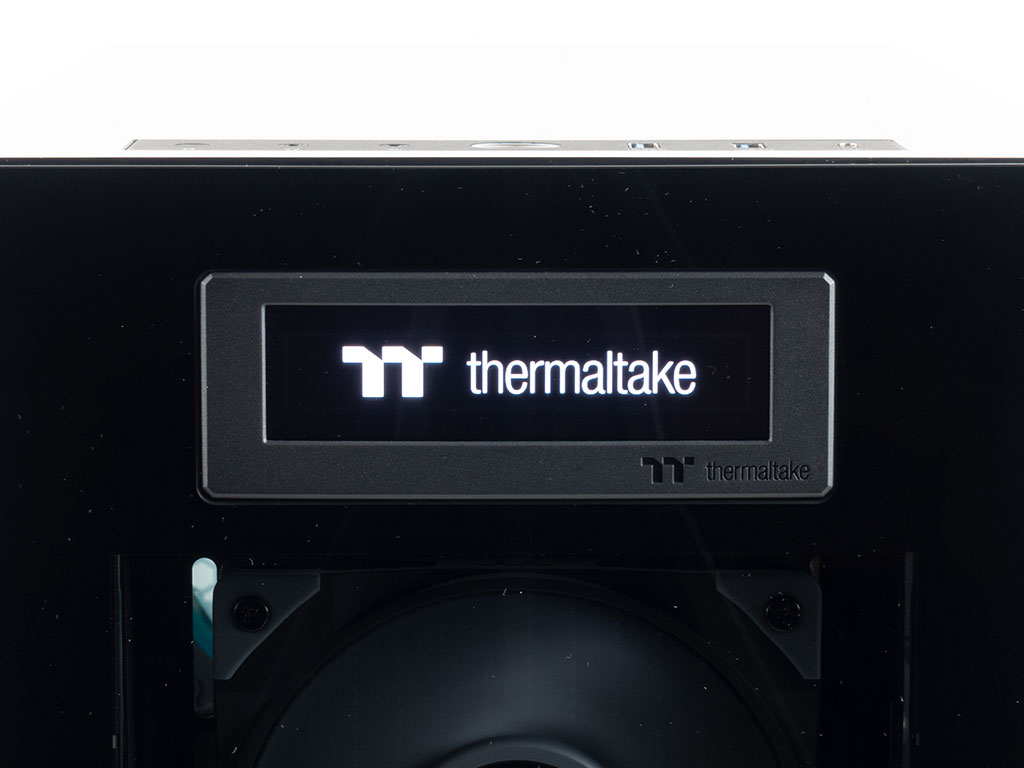
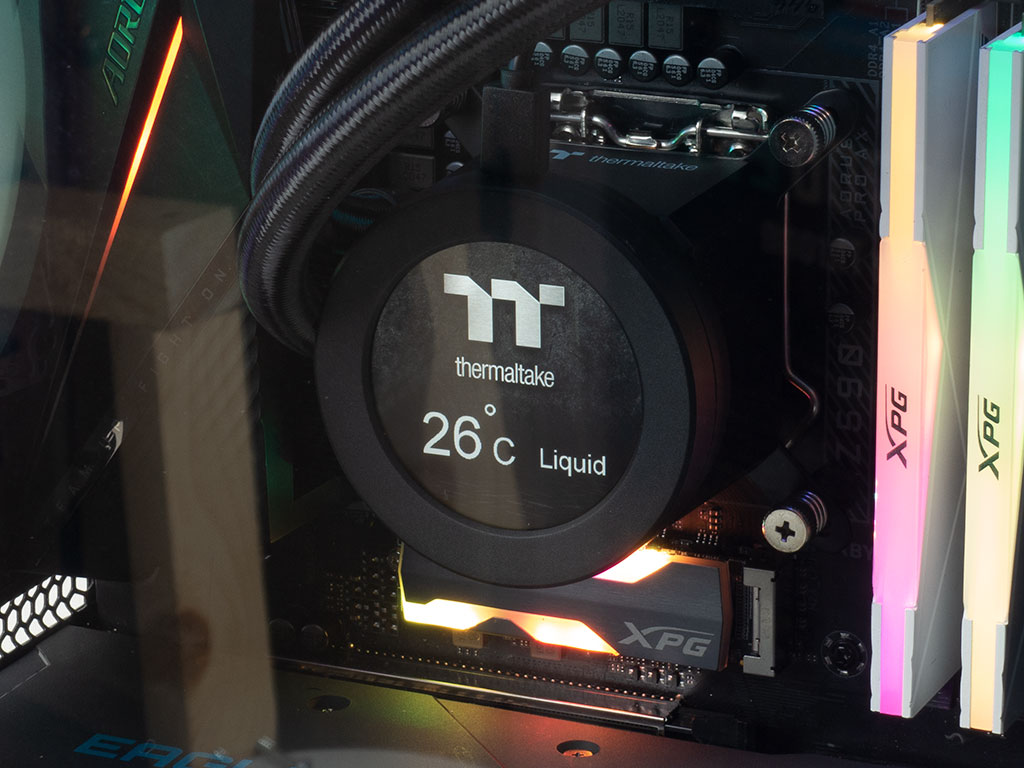
The LCDs actually looks pretty cool on both, and seeing full color screens so cohesively embedded into the front of a chassis is a nice addition. One could also go for the Pacific R2 Ultra Memory LCD monitor kit to really go all out.
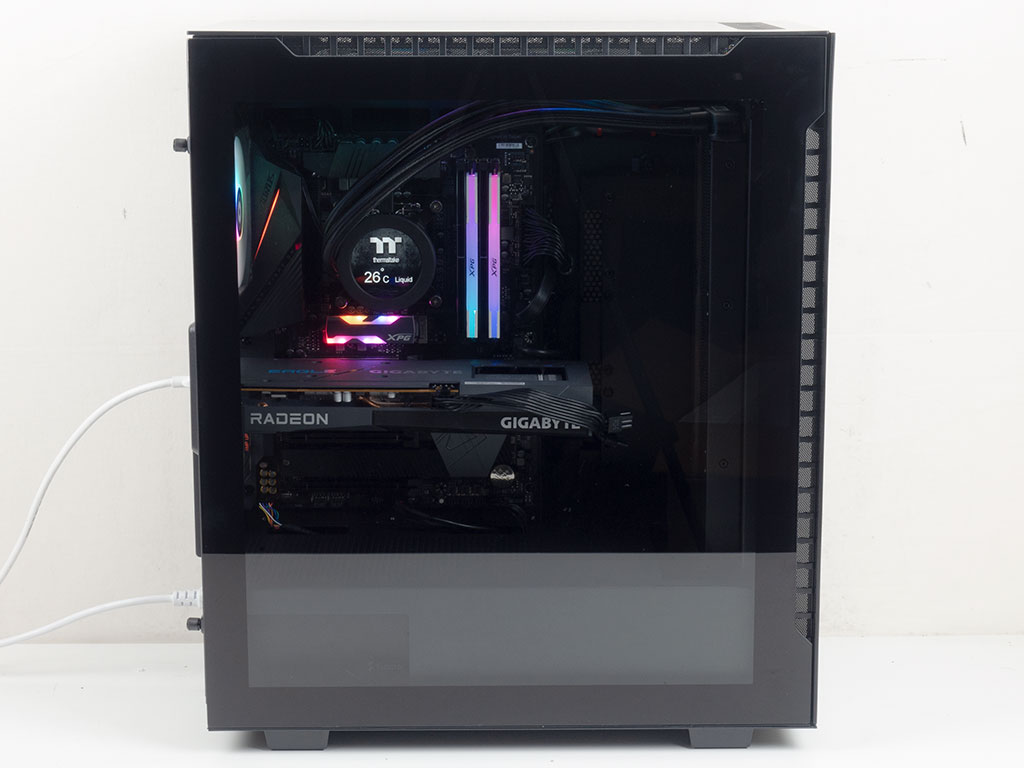
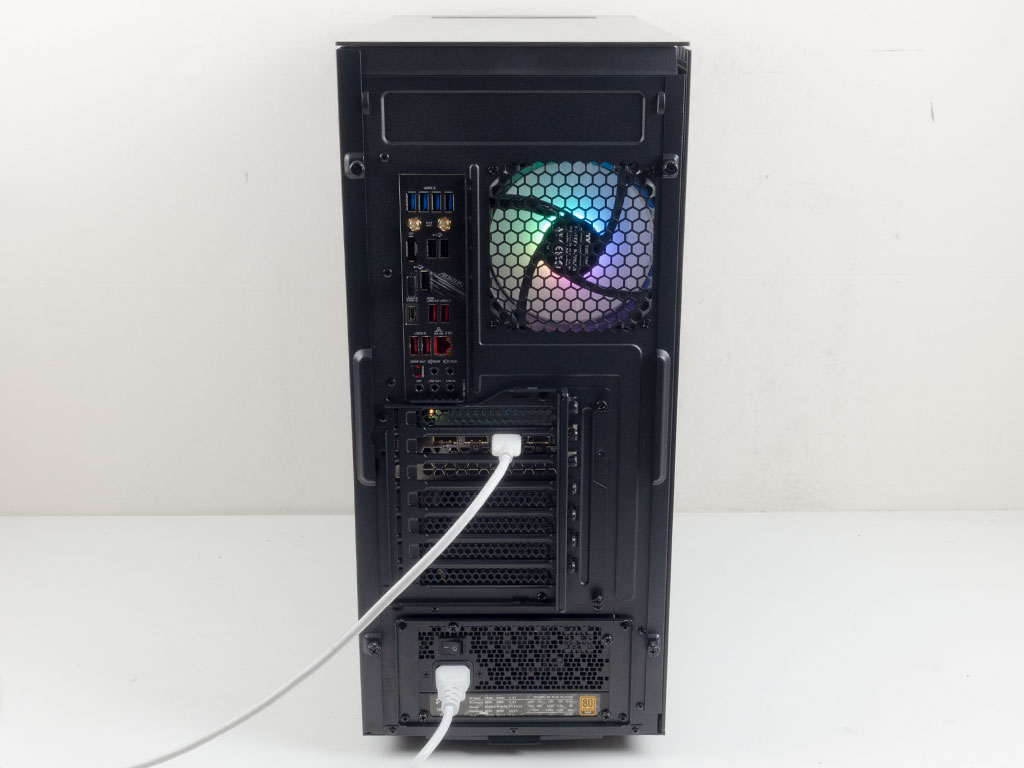
Otherwise, due to the missing dust filter over the Divider 500 series, you can clearly see the fans doing their work. We know from our previous reviews of this series that the ARGB fans in the front provide a gentle glow that is not overpowering. In the rear, things look quite normal, but you can see the glow of that third ARGB fan from the front, which replaced the generic one in the rear, too.
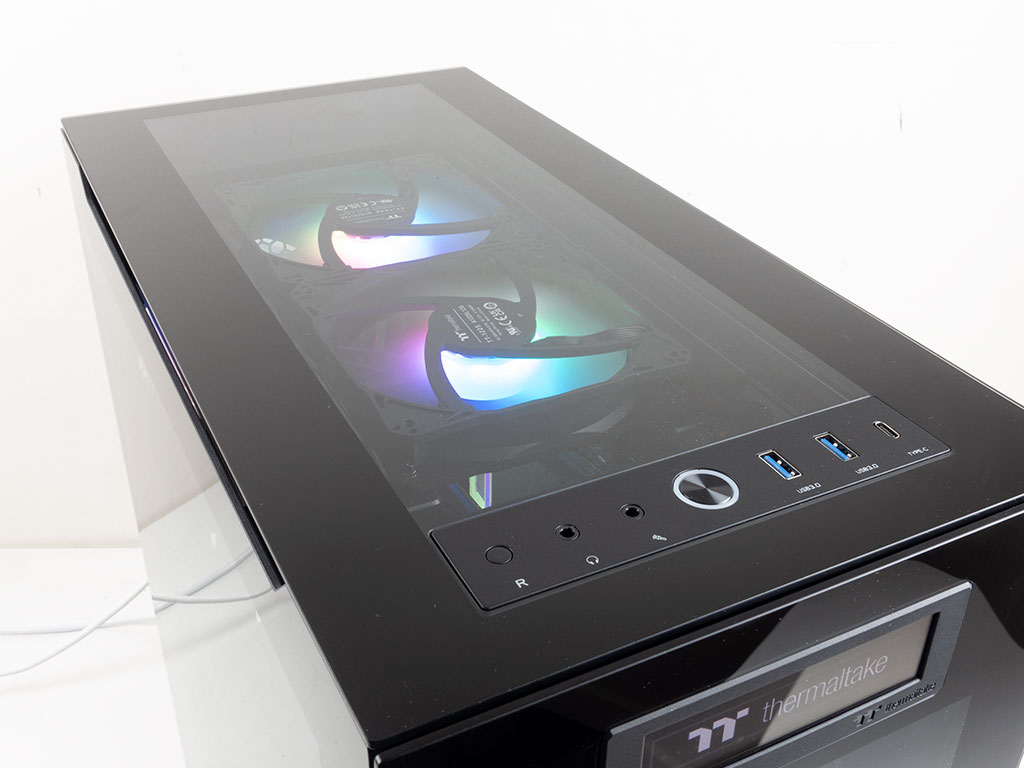
A quick peek at the ceiling with the fans set to push air out the top, it is nice to have a full visual of the colors, but you have to make do with the fan frames as a result.
Jul 2nd, 2025 14:54 CDT
change timezone
Latest GPU Drivers
New Forum Posts
- What kills gpus? (2)
- Need advices with undervolting my I9 13900h, Acer Nitro V15 ANV15-51-93PU (2)
- [GPU-Z Test Build] New Kernel Driver, Everyone: Please Test (26)
- RX 9000 series GPU Owners Club (1111)
- Windows 11 General Discussion (6123)
- Found an exploit in a really old Wordpress plugin... (21)
- R-T-B's PNY RTX 5080 OC Photo sideshow. (13)
- What would you buy? (42)
- TPU's Nostalgic Hardware Club (20463)
- What are you playing? (23880)
Popular Reviews
- ASUS ROG Crosshair X870E Extreme Review
- Crucial T710 2 TB Review - Record-Breaking Gen 5
- Sapphire Radeon RX 9060 XT Pulse OC 16 GB Review - An Excellent Choice
- AVerMedia CamStream 4K Review
- Upcoming Hardware Launches 2025 (Updated May 2025)
- AMD Ryzen 7 9800X3D Review - The Best Gaming Processor
- PowerColor ALPHYN AM10 Review
- Sapphire Radeon RX 9070 XT Nitro+ Review - Beating NVIDIA
- Lexar NQ780 4 TB Review
- AMD Ryzen 9 9950X3D Review - Great for Gaming and Productivity
TPU on YouTube
Controversial News Posts
- Intel's Core Ultra 7 265K and 265KF CPUs Dip Below $250 (288)
- NVIDIA Grabs Market Share, AMD Loses Ground, and Intel Disappears in Latest dGPU Update (210)
- Some Intel Nova Lake CPUs Rumored to Challenge AMD's 3D V-Cache in Desktop Gaming (140)
- NVIDIA GeForce RTX 5080 SUPER Could Feature 24 GB Memory, Increased Power Limits (114)
- Microsoft Partners with AMD for Next-gen Xbox Hardware (105)
- NVIDIA Launches GeForce RTX 5050 for Desktops and Laptops, Starts at $249 (105)
- Intel "Nova Lake‑S" Series: Seven SKUs, Up to 52 Cores and 150 W TDP (100)
- NVIDIA DLSS Transformer Cuts VRAM Usage by 20% (94)