 4
4
Ubiquiti Labs AmpliFi Teleport Kit Review
Usage & Monitoring »Setup
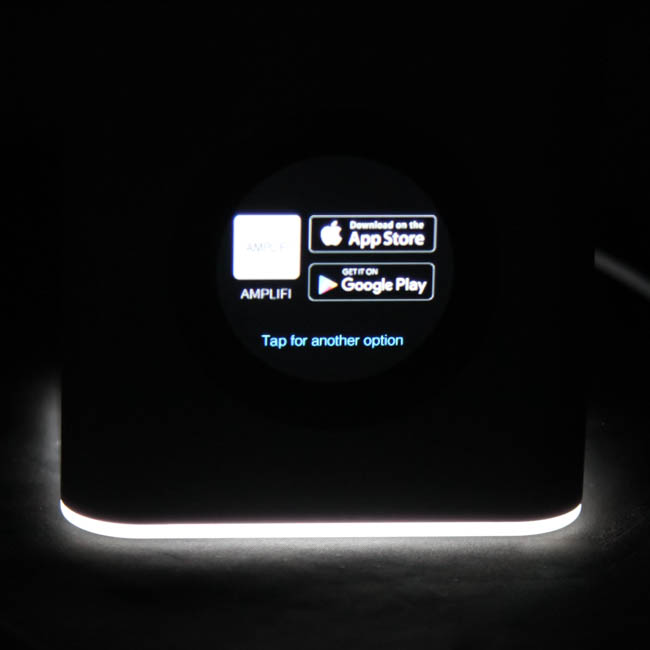


When first powered on, the screen lights up in all of its 240 x 240 pixel resolution, which does not look great up close. However, that is a non-issue from even a couple of feet away. If not set up, the screen tells you of three available options - a mobile app for the Apple iOS platform, one for the Google Android platform, and "another option" which just has you using a web browser to access the temporarily generated Wi-Fi network and following the prompts on screen to set up an SSID (or two, if you want to use different ones for the 2.4 and 5 GHz networks). It is quite clear where the focus is here, so I set about using the mobile app to best replicate the end-user experience.

On Google Playstore, search for AmpliFi WiFi, and the top result should be this very one. Once the app is installed, it will walk you to go through the various steps in order with the HD mesh router before setup commences. The quick start guide also does a good job here by going over the process in more detail. If you already have a router connected to your modem, just follow the steps to disconnect it from the mode, power it and the modem off, plug the Ethernet cable from the modem to the AmpliFi router, and power both on.

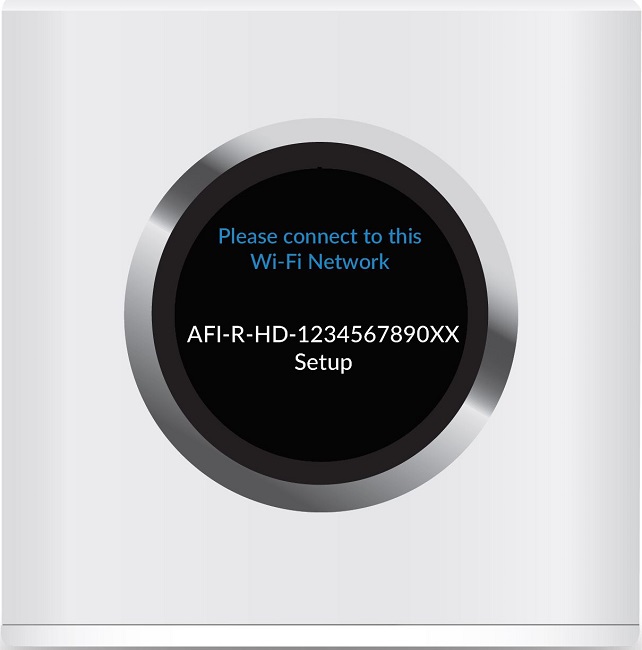
The app defaults to handling the HD mesh router first, which in turn provides information on other devices (mesh access points, or the Teleport in this case) it came with. Setting up the router is similar to how it is done with the web browser in that the app will connect to the temporarily generated Wi-Fi network and ask you to name the wireless network with a password to keep it private. It will finally prompt you to allow remote access, which takes a Google or Facebook account - more on that soon.

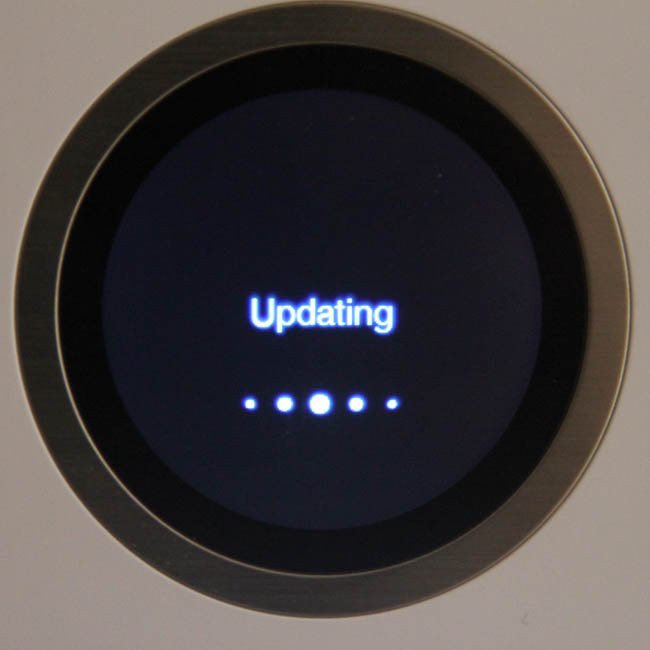
Once the router was set up, the app automatically was told that a Teleport unit also needs to be similarly configured, and this is definitely a handy feature instead of having to manually add other units from, say, a drop down list to then have the app figure out what to do. At this point, I wanted to first ensure the router was fully up to date before getting the Teleport involved, and here, the app notified me that a firmware update was due. The review kit arrived as a pre-retail unit in that the hardware was finalized, but the firmware was in beta at the time of shipping. AmpliFi has been pushing out consistent updates since, and a non-beta firmware release was already out by the time I had this set up. The screen on the router complements the app in showing the current status of the unit during each of these steps as well.

Installation of the AmpliFi Teleport is slightly more involved, but here too the app and/or quick start guide make sure to walk you through everything even if you are a novice user. Tapping the device icon in the app leads to a "Test Connectivity" option, and make sure the unit is plugged in and within range of the router during this time. The LED on the unit will flash to denote it is being configured, and make sure to connect the phone to the wireless network named "Teleport XXXXXX", where XXXXXX represents the last six characters of the Teleport's MAC address on the device label. In most cases, there should just be a single such network visible unless your neighbor/colleague is also a fan of the AmpliFi Teleport in which case you now have something in common to talk about. When prompted, select and sign into the local home network you want the Teleport to be paired to, and finally agree to pair the Teleport to the specific AmpliFi router you have previously installed and set up.
Jul 13th, 2025 02:49 CDT
change timezone
Latest GPU Drivers
New Forum Posts
- 9070XT BIOS flash (what to use?) (6)
- New ToS of Take Two and 2K (12)
- Radeon RX 6700, 6700 XT & 6750 XT users club (1138)
- 6400c30 vs 8000c36 Ryzen 9800X3D (0)
- Best motherboards for XP gaming (116)
- 9800x3D - 6400 CL32 1:1 not stable (12)
- Is there a WIFI chip I should get? (1)
- What are you playing? (23945)
- 9060 XT 16GB or 6800 XT/6900XT? (30)
- ASUS ProArt GeForce RTX 4060 Ti OC Edition 16GB GDDR6 Gaming - nvflash64 VBIOS mismatch (5)
Popular Reviews
- Fractal Design Epoch RGB TG Review
- Lexar NM1090 Pro 4 TB Review
- Corsair FRAME 5000D RS Review
- Our Visit to the Hunter Super Computer
- NVIDIA GeForce RTX 5050 8 GB Review
- NZXT N9 X870E Review
- Sapphire Radeon RX 9060 XT Pulse OC 16 GB Review - An Excellent Choice
- AMD Ryzen 7 9800X3D Review - The Best Gaming Processor
- Upcoming Hardware Launches 2025 (Updated May 2025)
- Chieftec Iceberg 360 Review
TPU on YouTube
Controversial News Posts
- Intel's Core Ultra 7 265K and 265KF CPUs Dip Below $250 (288)
- Some Intel Nova Lake CPUs Rumored to Challenge AMD's 3D V-Cache in Desktop Gaming (140)
- AMD Radeon RX 9070 XT Gains 9% Performance at 1440p with Latest Driver, Beats RTX 5070 Ti (131)
- NVIDIA Launches GeForce RTX 5050 for Desktops and Laptops, Starts at $249 (120)
- NVIDIA GeForce RTX 5080 SUPER Could Feature 24 GB Memory, Increased Power Limits (115)
- Microsoft Partners with AMD for Next-gen Xbox Hardware (105)
- Intel "Nova Lake‑S" Series: Seven SKUs, Up to 52 Cores and 150 W TDP (100)
- NVIDIA DLSS Transformer Cuts VRAM Usage by 20% (97)