 8
8
Antec Nineteen Hundred Review
Assembly & Finished Looks »A Closer Look - Inside
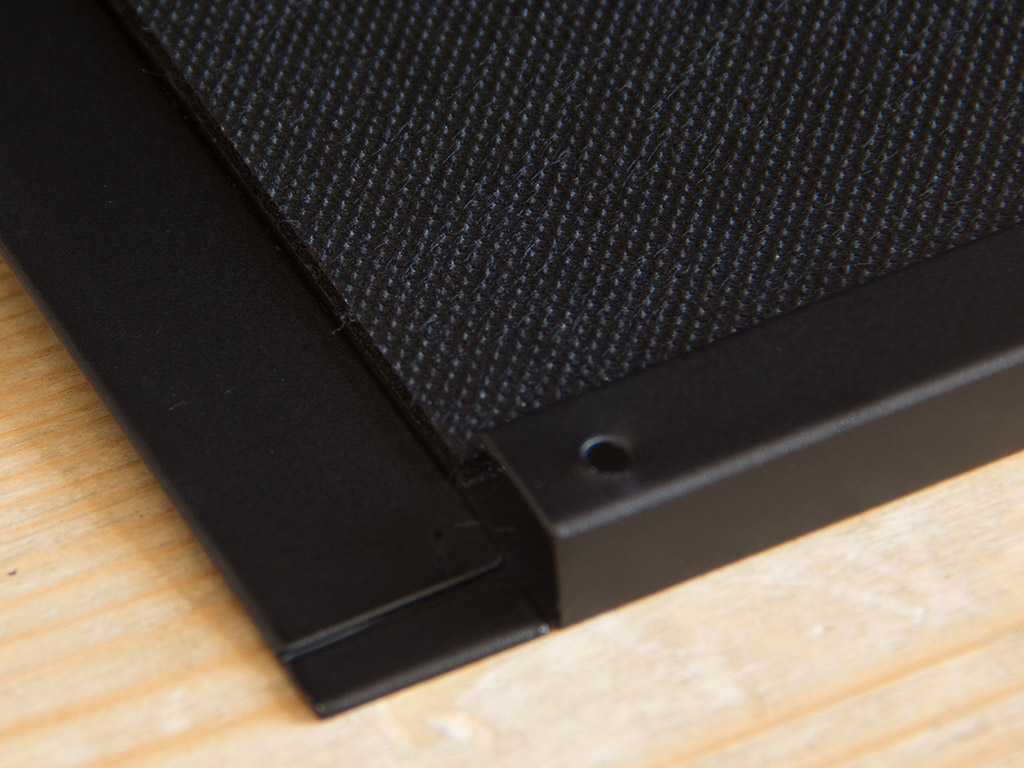
To access the interior, simply remove the thumbscrews that hold each of the larger panels in place. Antec employs firmly attached drop-down covers for the bottom compartment. These can be dropped down by pushing a large square button in the back. Unfortunately, the contraption does not hold in place well, so the small covers kept opening up on their own as I wrote this review up. So often that I left them open. On a positive note, Antec did line these with a thin sound-dampening material, while the larger top panels only have a thin lining of a material that resembles plastic.
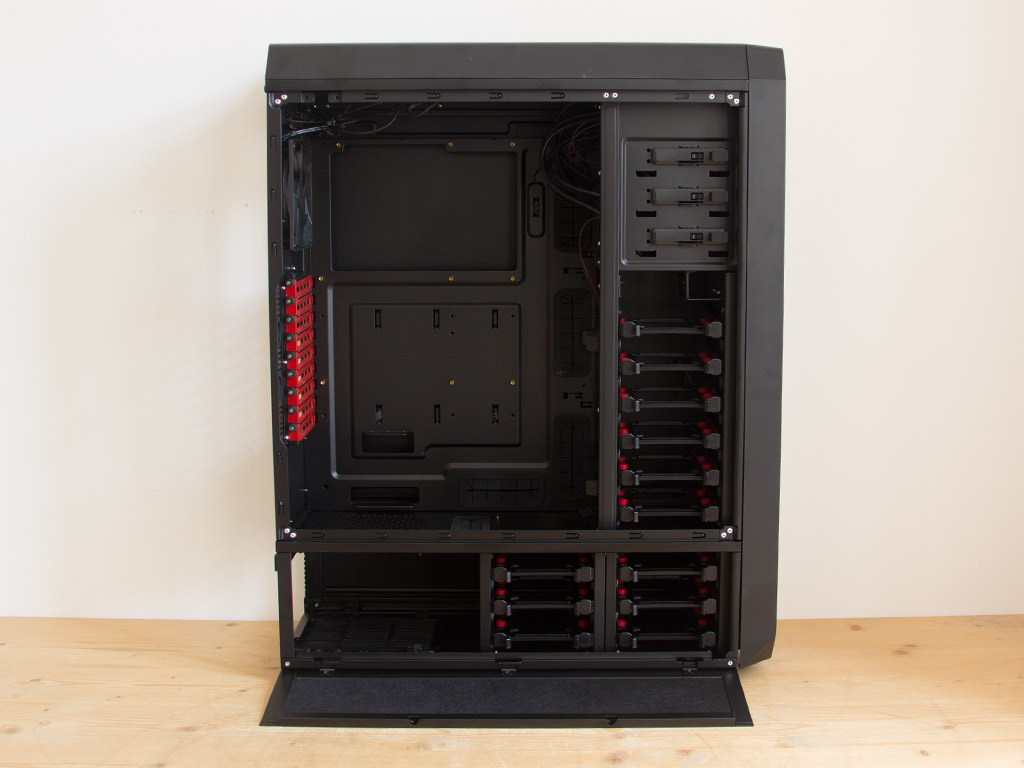
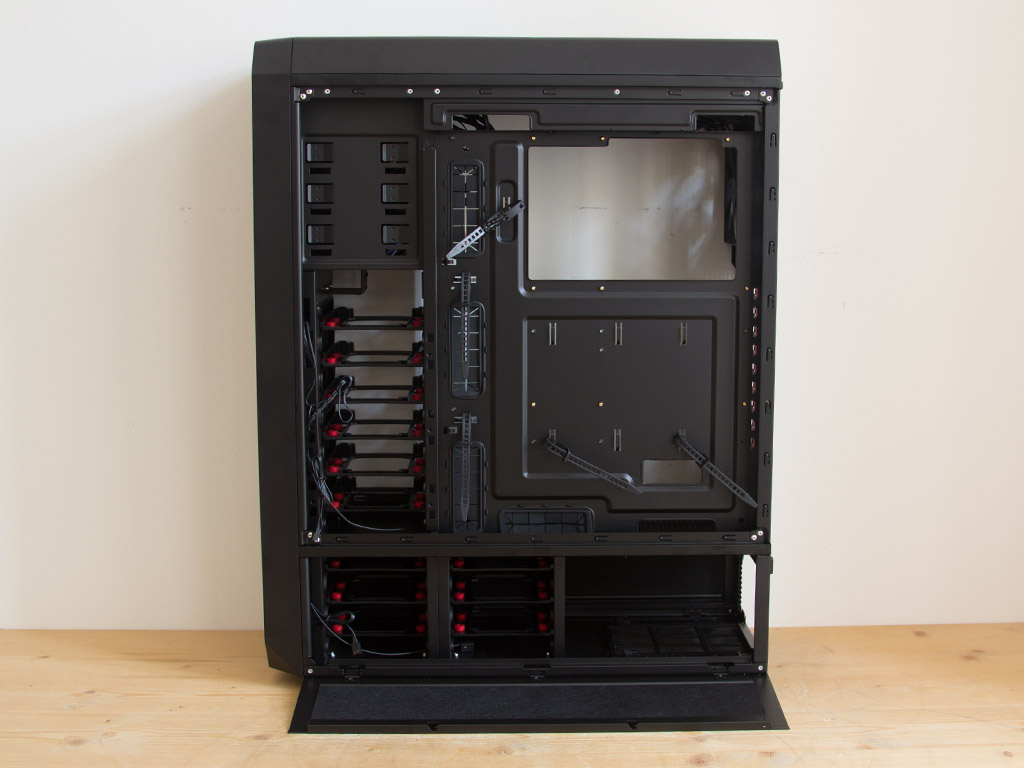
The entire interior is black; that is, with except of its expansion slot covers. The quality of the metal frame is excellent, and there is a huge opening in the mainboard's tray, so you will be able to access a CPU backplate without having to remove the entire board to do so. There are a number of smaller holes, lined with rubber grommets, around the mainboard's area, and there are numerous large cutouts to attach zip ties to. Another interesting aspect are the two large openings in the very top of the tray. These allow you to route cables through to the upper edges of the mainboard, for example.
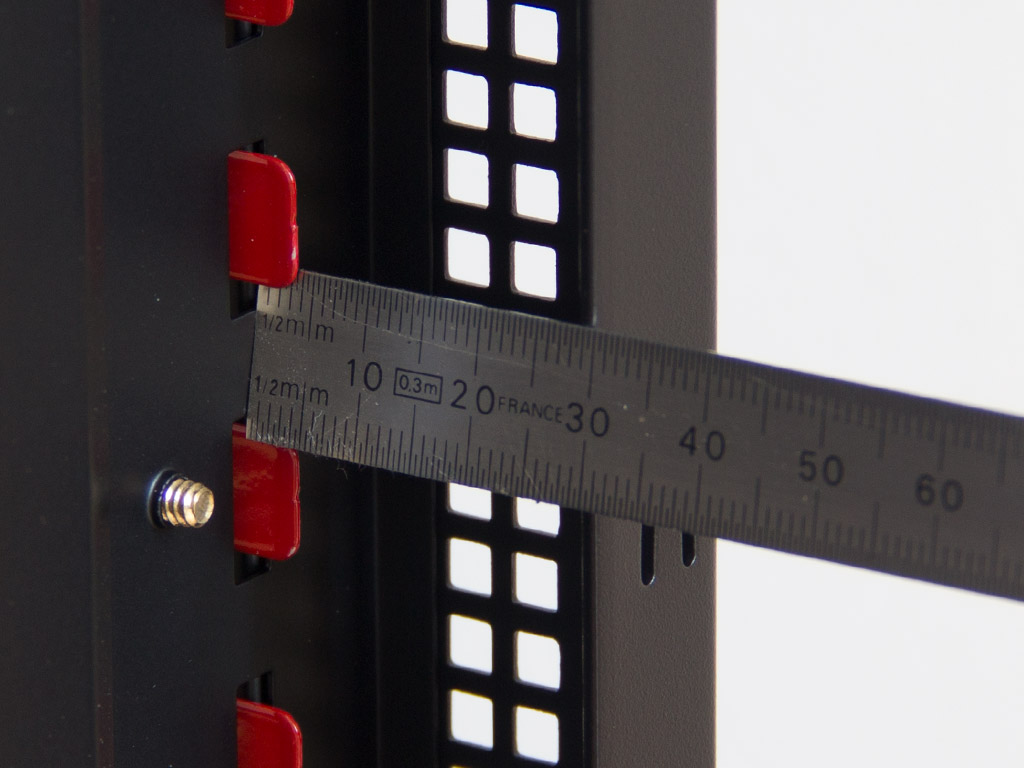
Antec also includes some extra cable-tying possibilities within the chassis, and with a whooping 30 mm of space for cables in the area, you should not have any problems hiding everything nicely within the Antec Nineteen Hundred.
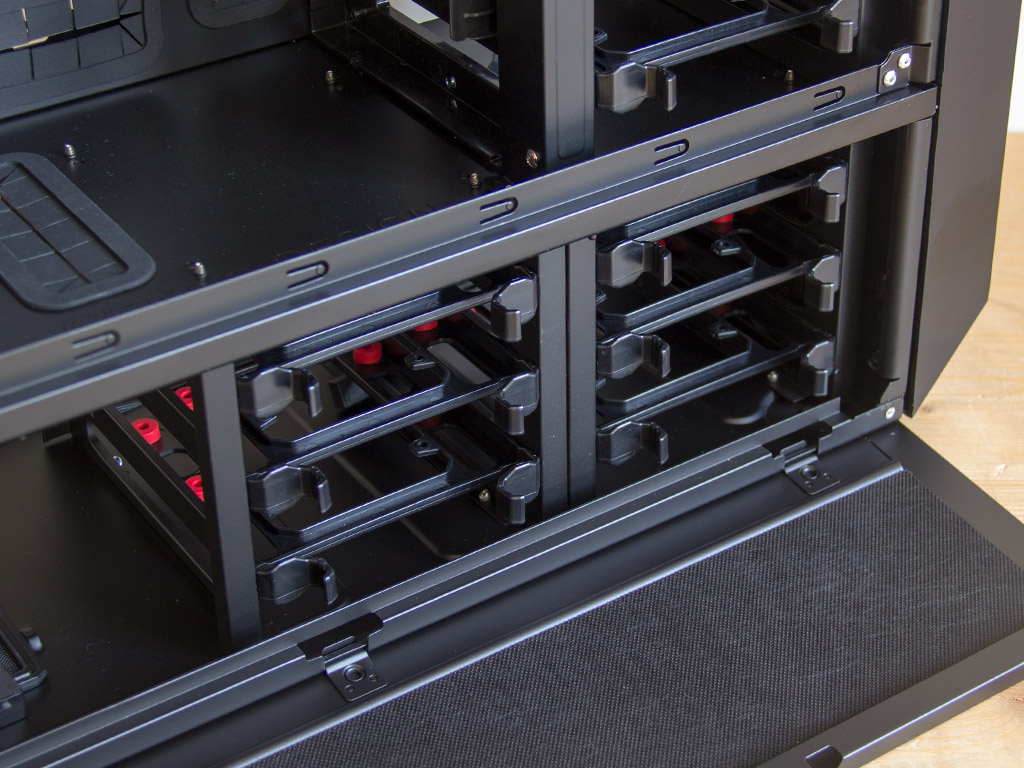

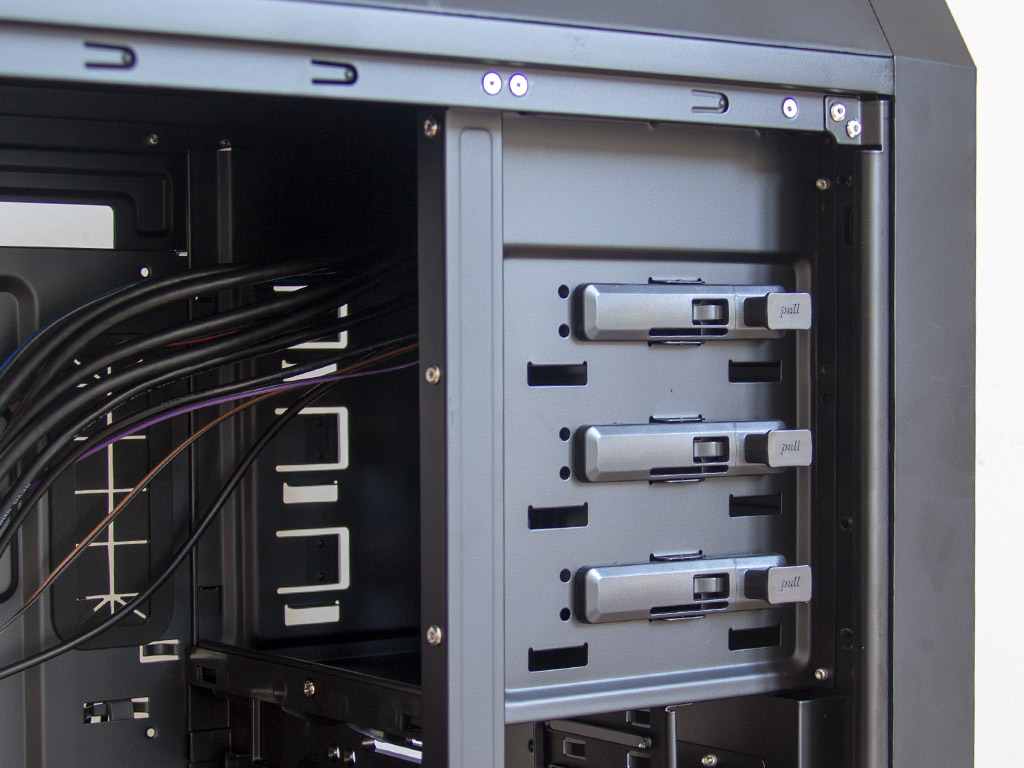
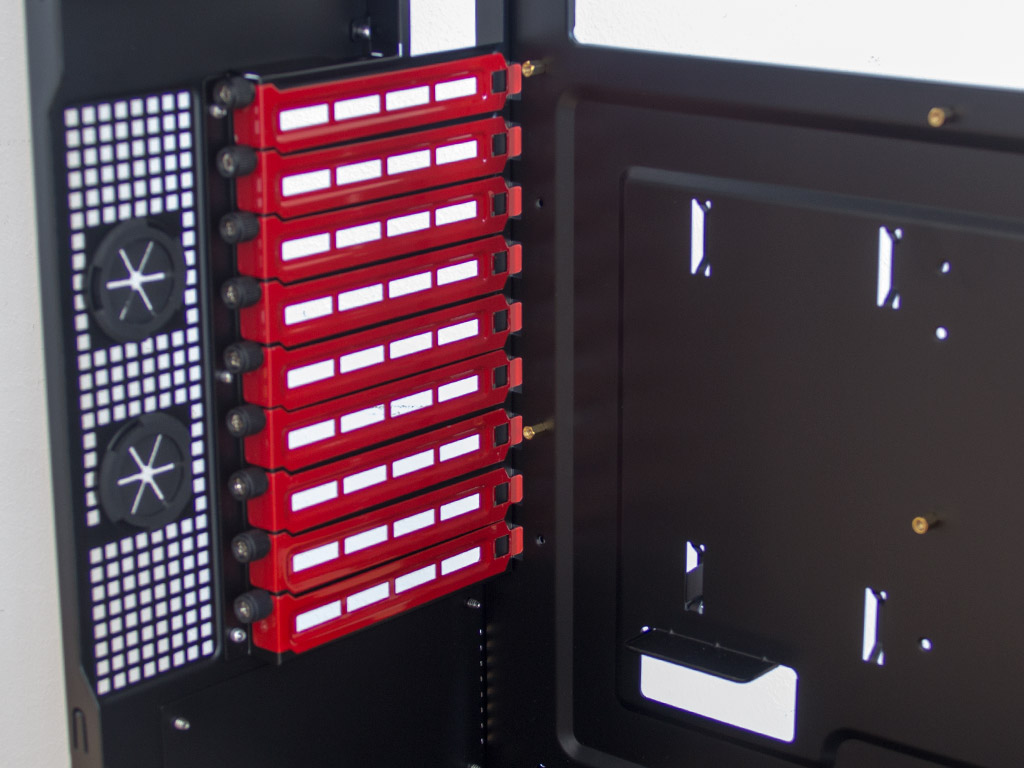
Starting with the bottom compartment, there are six hard-drive trays here, but you will find six more for 3.5'' drives in the main chamber. There are clips on these bays for two 120 mm fans. The bays may also be used for 2.5'' variants, but Antec also designed the chassis in such a way as to include two additional bays for SSDs and the like. The three 5.25'' bays above those are equipped with a tool-less system out of solid plastic locks that employ metal pins to hold a drive in place. It will be interesting to see how well these work.
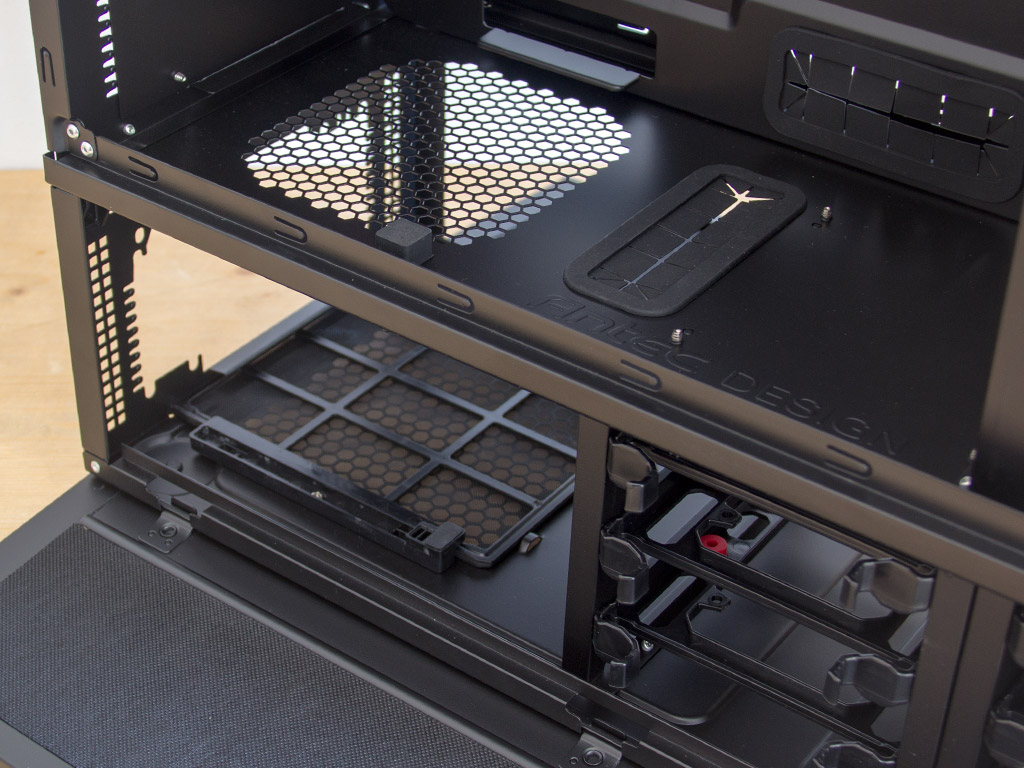
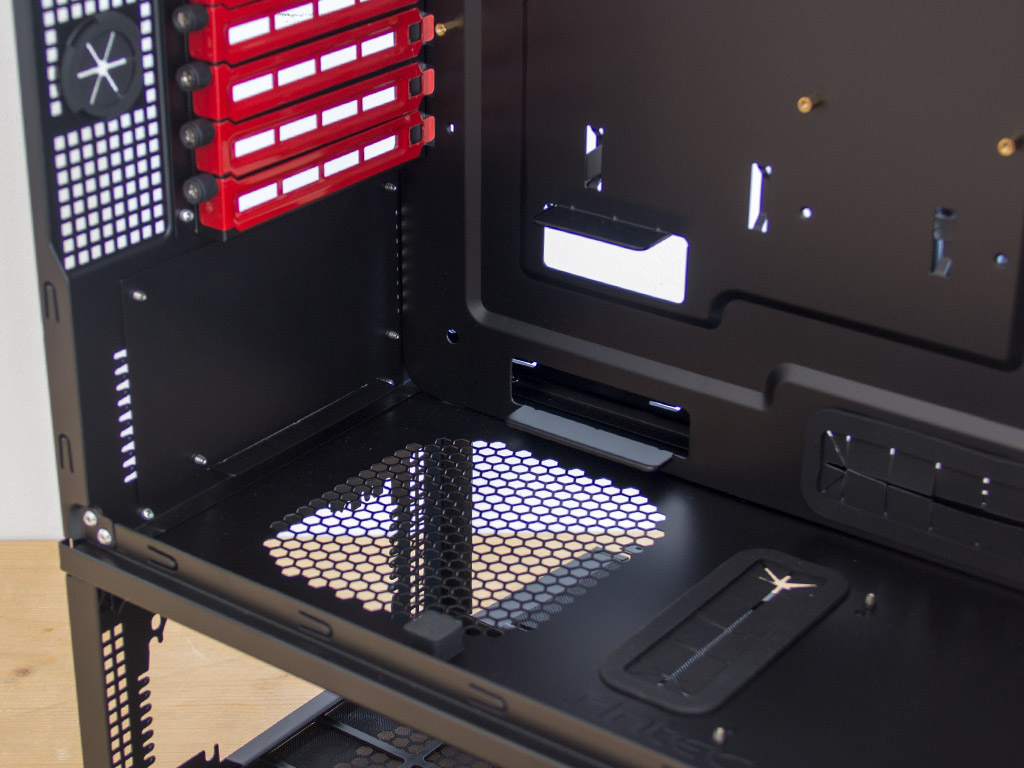
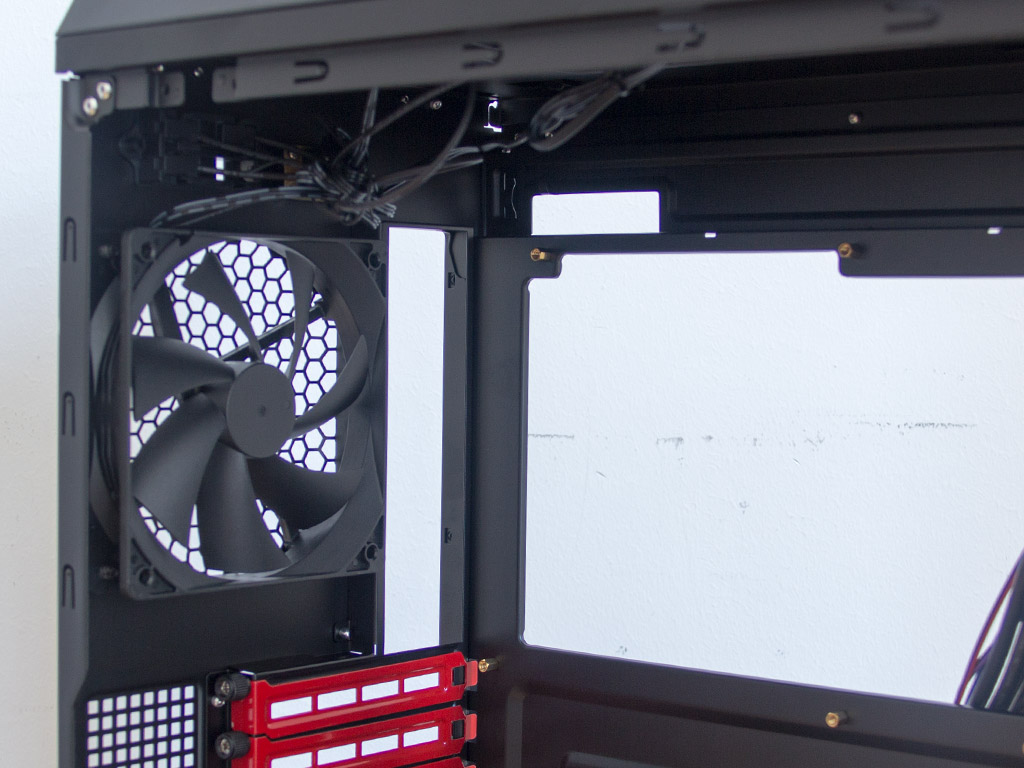
The two PSU bays in the bottom do not hold any surprises, aside from the air vent for the one on top. Above those are the nine mainboard expansion slots, each with a separate cover and thumbscrew. There are also two large openings to route water-cooling tubes through. You will find one of the aforementioned fans in the very top. A small PCB in this area allows you to power up to four units with a single Molex connector, which cuts down on the cable clutter. Antec ships the Nineteen Hundred pre-wired, but the cabling is rather messy. We rewired everything to clean it up for the final build.
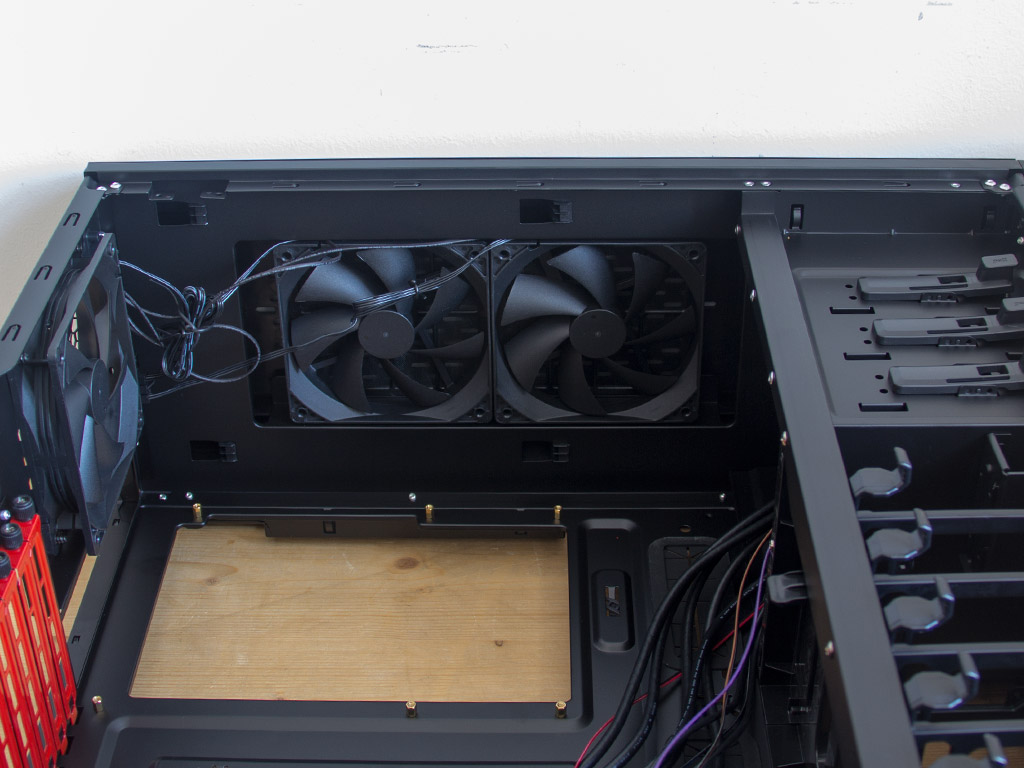
You can clearly see the mess of cables due to the three pre-installed fans in these pictures. Two of those are in the ceiling and may also be used for liquid-cooling setups.
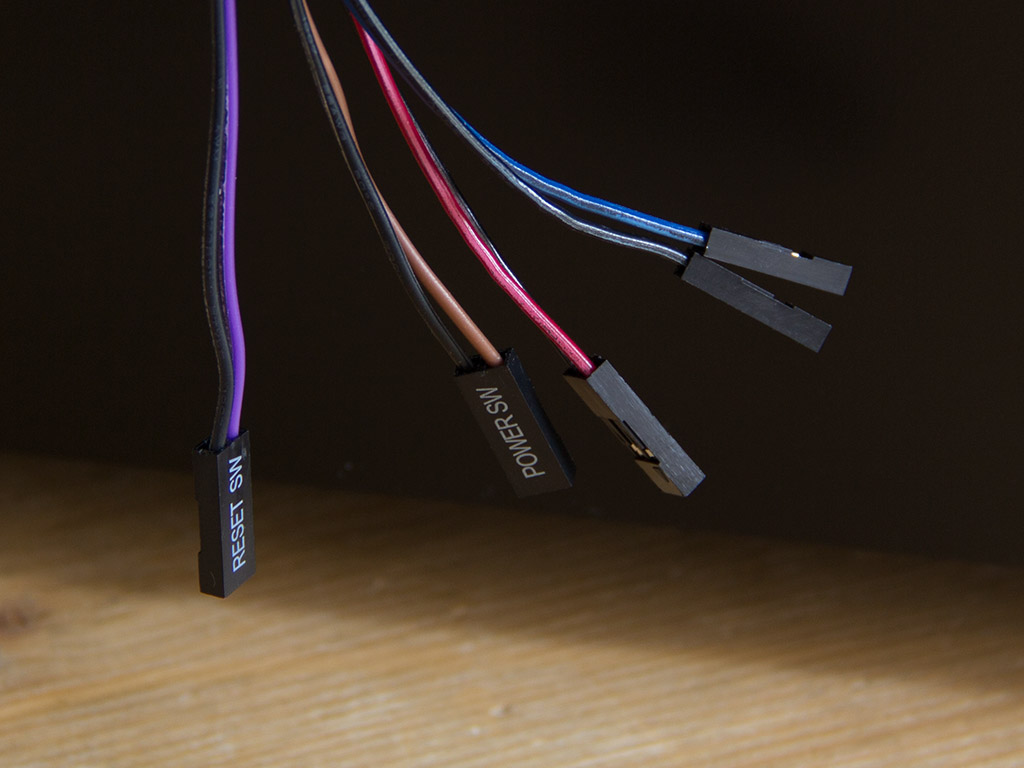
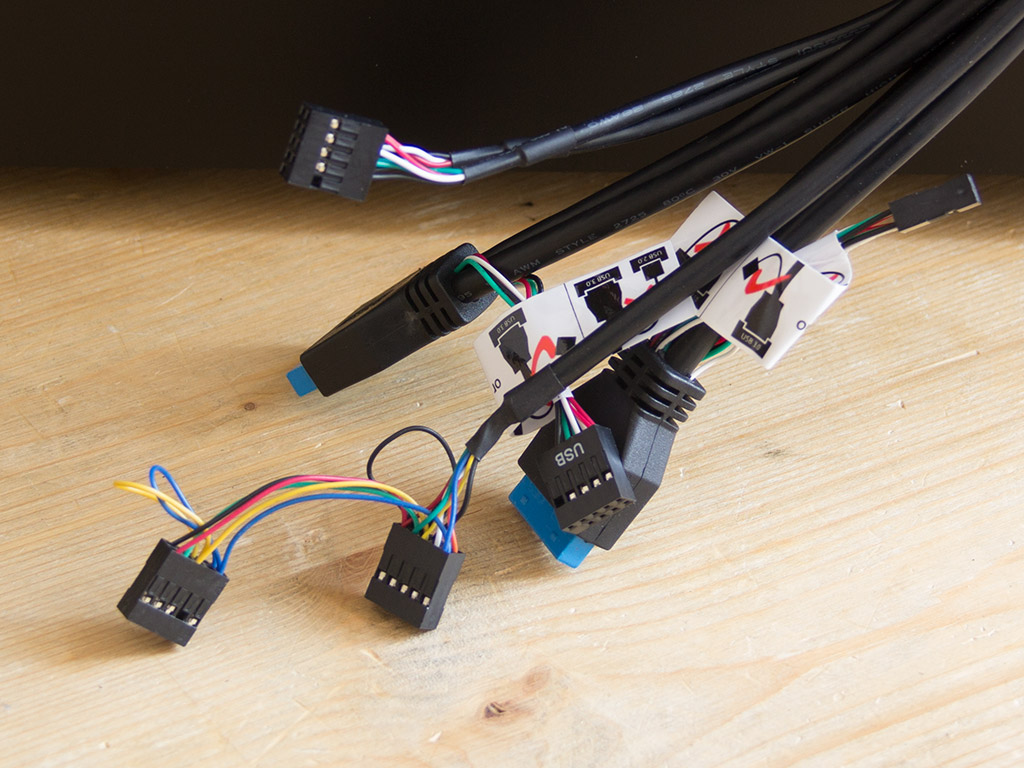
Before we dive into the assembly process, let us take a quick look at the cables. All of them are black and of the standard variety. Since the Nineteen Hundred comes equipped with six USB connectors, you will find the corresponding number of cables leading to each set of plugs. Antec also equips the USB 3.0 variants with connectors for USB 2.0 if you rather have them attached to those headers on your motherboard.
Jul 13th, 2025 02:52 CDT
change timezone
Latest GPU Drivers
New Forum Posts
- 9070XT BIOS flash (what to use?) (6)
- New ToS of Take Two and 2K (12)
- Radeon RX 6700, 6700 XT & 6750 XT users club (1138)
- 6400c30 vs 8000c36 Ryzen 9800X3D (0)
- Best motherboards for XP gaming (116)
- 9800x3D - 6400 CL32 1:1 not stable (12)
- Is there a WIFI chip I should get? (1)
- What are you playing? (23945)
- 9060 XT 16GB or 6800 XT/6900XT? (30)
- ASUS ProArt GeForce RTX 4060 Ti OC Edition 16GB GDDR6 Gaming - nvflash64 VBIOS mismatch (5)
Popular Reviews
- Fractal Design Epoch RGB TG Review
- Lexar NM1090 Pro 4 TB Review
- Corsair FRAME 5000D RS Review
- Our Visit to the Hunter Super Computer
- NVIDIA GeForce RTX 5050 8 GB Review
- NZXT N9 X870E Review
- Sapphire Radeon RX 9060 XT Pulse OC 16 GB Review - An Excellent Choice
- AMD Ryzen 7 9800X3D Review - The Best Gaming Processor
- Upcoming Hardware Launches 2025 (Updated May 2025)
- Chieftec Iceberg 360 Review
TPU on YouTube
Controversial News Posts
- Intel's Core Ultra 7 265K and 265KF CPUs Dip Below $250 (288)
- Some Intel Nova Lake CPUs Rumored to Challenge AMD's 3D V-Cache in Desktop Gaming (140)
- AMD Radeon RX 9070 XT Gains 9% Performance at 1440p with Latest Driver, Beats RTX 5070 Ti (131)
- NVIDIA Launches GeForce RTX 5050 for Desktops and Laptops, Starts at $249 (120)
- NVIDIA GeForce RTX 5080 SUPER Could Feature 24 GB Memory, Increased Power Limits (115)
- Microsoft Partners with AMD for Next-gen Xbox Hardware (105)
- Intel "Nova Lake‑S" Series: Seven SKUs, Up to 52 Cores and 150 W TDP (100)
- NVIDIA DLSS Transformer Cuts VRAM Usage by 20% (97)